Quick and Easy Top Tutorial

I’m pretty sure this top is the world's easiest top to sew. I kid you not! I made this top yesterday and filmed the tutorial yesterday - it truly was so simple and took almost no time. So, without further ado, here is this simple top tutorial, from pattern to finish.
Tools and materials:
- 1.5 yards of fabric
- Interfacing
- Sewing machine
- Measuring tape
- Scissors
- Marker
- Bias tape
Make your pattern
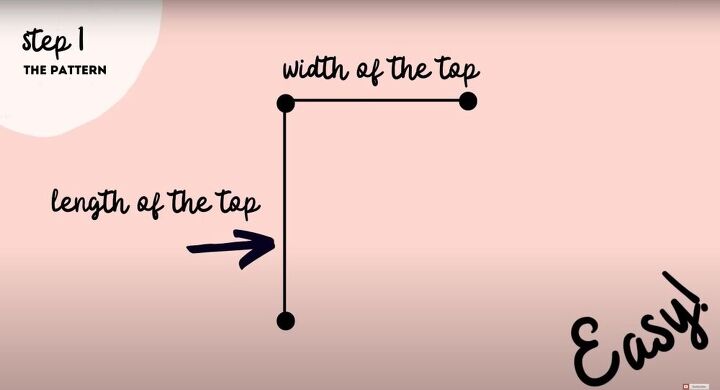
The pattern only uses two measurements: width and length. For the length, place the measuring tape in the center of your back and let it drop it as low as you’d like your top to be. Next, measure the width by placing the measuring tape in the center of your neck and stretching it along one of your arms. Again, you are going to decide this measurement based on your own sleeve length preference.
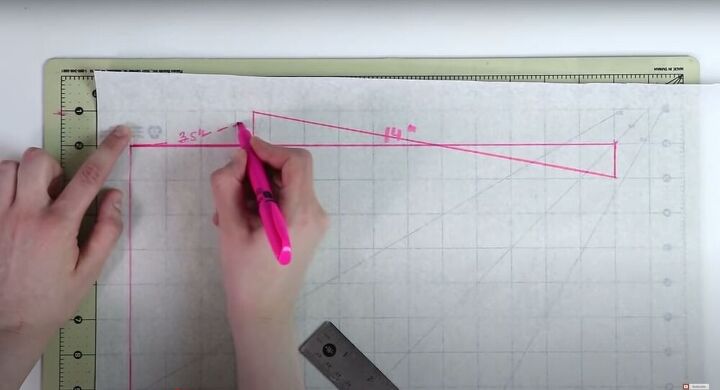
The only other measurement we need is for the neckline. Measure 3.5 inches from the edge for half of the neckline width and then measure one inch up from that point. Next, measure one inch down from the edge and connect the points of each line (diagonally). Then, to trace out the neckline by connecting the corner with the high point of the line you traced out. Finally, measure four inches down the length and connect that point (slightly curved) to the top point as well for a v-neck neckline.
The final step is to turn your pattern sideways and with a dash curved line, create a quarter of an oval by connecting both sides. To test the size of your pattern, measure your hips, waist, and bust, take the largest of the three, divide it by four and make sure it is one inch larger than the width of your pattern.
Cut out your fabric
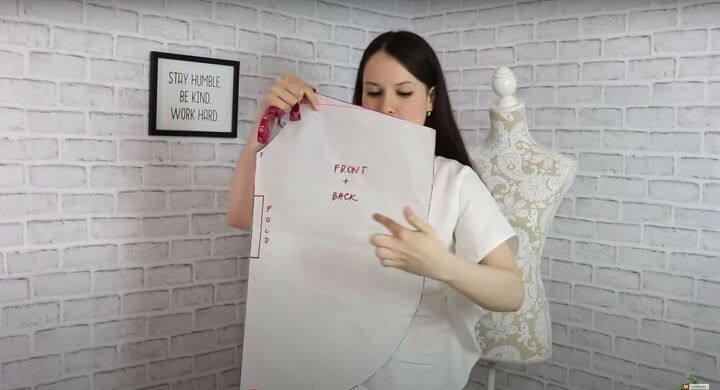
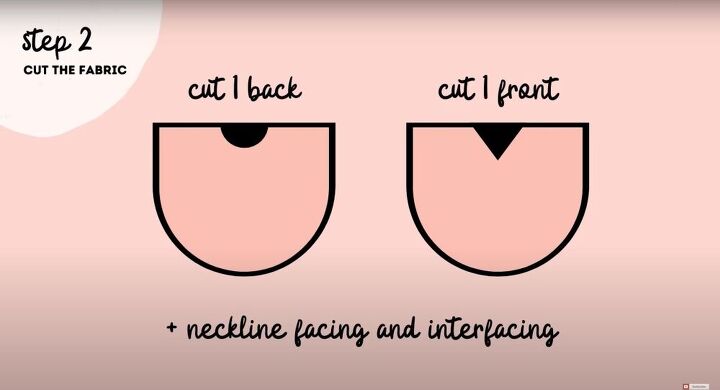
Cut out your pattern. You will need two pieces, both on a fold. One will be the front piece and the other will be the back. The only difference between the two cutouts should be the necklines. Remember to add in a quarter of an inch seam allowance.

Cut out your interfacing
Draft another pattern (using the original one as a template) for the facing. I made my facing 1.5 inches wide. Cut this out twice - one piece in fabric and the other in interfacing.
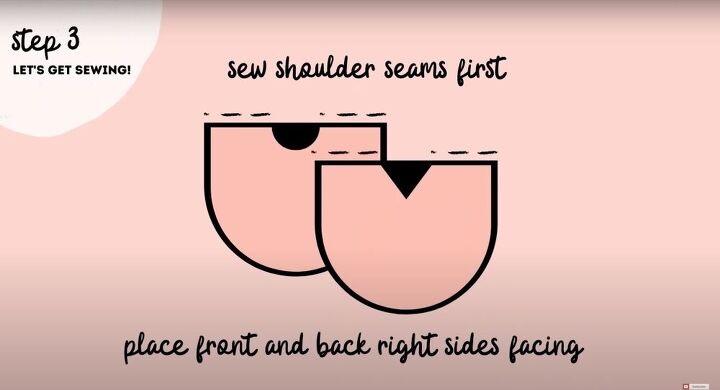
Sew the shoulders
The first step is to serge the edges of the shoulders. Next, we are going to fuse the fabric to the interfacing by placing them together (wrong sides touching) and iron them together. Then, once that is done we will also serge the bottom edges. Once that is done, sew the shoulders together with a straight stitch. Repeat on the facing. To finish, press the seams on both.
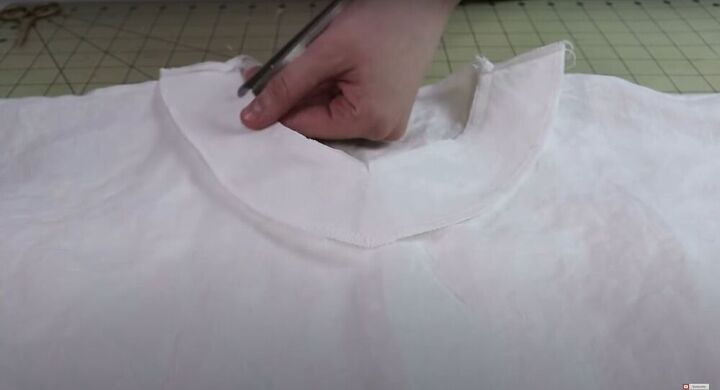
Connect your interfacing
Place your top, right side up and your facing right side down. Align the shoulder seams, center front, and the back. Pin it in place and with a quarter-inch seam allowance, stitch the interfacing to the neckline. Once that is done, notch the edges of the interfacing so that it lays flat and then understitch the interfacing. Fold the interfacing in and press it flat with an iron.
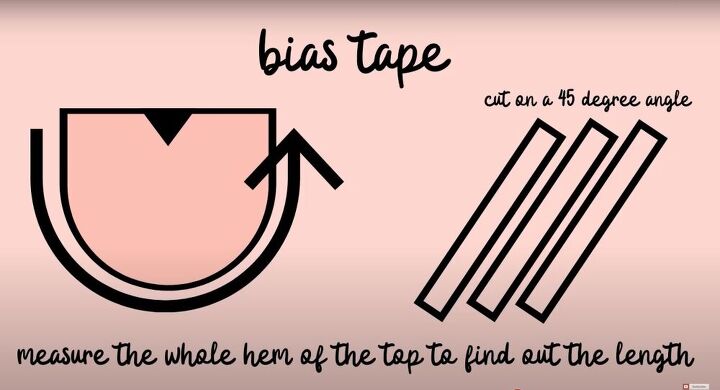
Hem the garment
Measure the length of the top to get the required length of your bias tape (it is okay if you have multiple pieces instead of one continuous piece). Next, place the top of the bias tape, right sides together with the hem, and stitch onto the crease. After that is done, press the seam allowance onto the bias tape and understitch it. Fold it and completely stitch it to the top - this will give you a strong hem with only one seam showing.
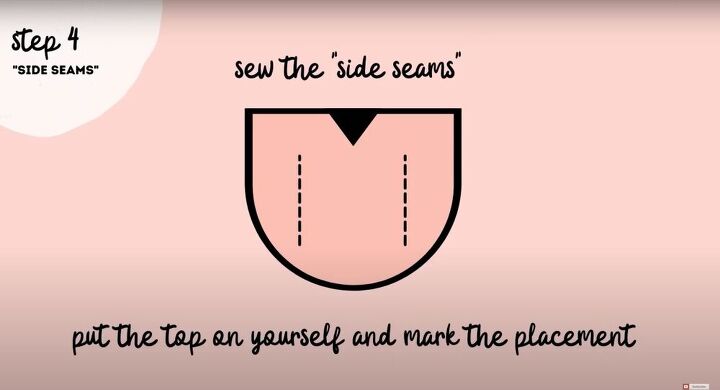
Sew the side seams
Put the top on, pin it where you want to secure the side seams, and mark it with a fabric marker. Then, take the top off and use a straight stitch to secure the sides.
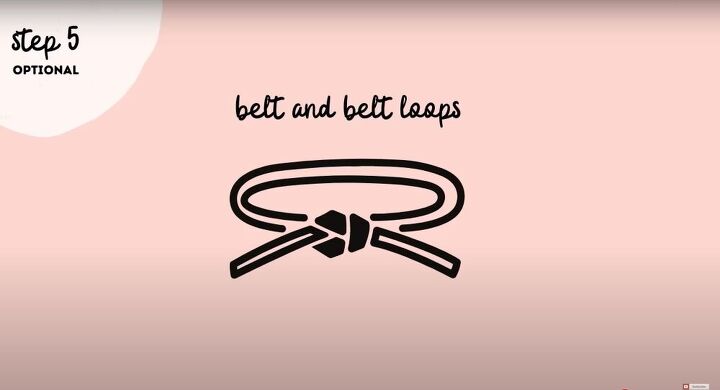
Make the belt
Sew buttonholes into the side seams (around your waist) to create belt loops. Next, take your measuring tape, tie it around your waist (even make a little knot), and find a length that works for you. Just remember not to make the width of the belt too wide that it won’t weave through the buttonhole. To make the belt, cut a piece of fabric that is twice your desired length, sew the belt right sides together (with a small opening so that you can turn the belt right side out) and secure the edges.
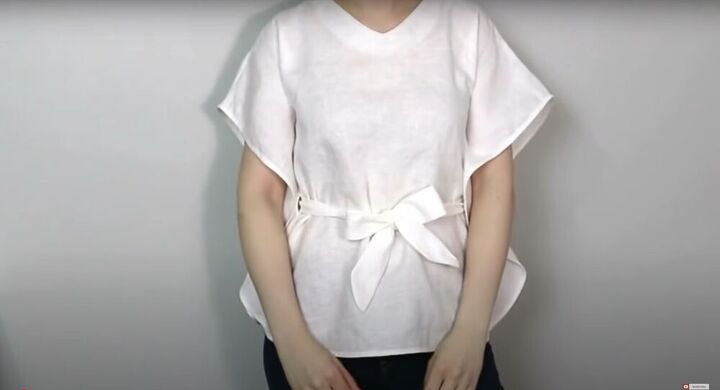
This easy top tutorial is the perfect project for beginners. It is easy to master, exciting to finish and a gorgeous piece to wear!
The author may collect a small share of sales from the links on this page.


Comments
Join the conversation
Great idea, I might make one for my grand daughter. Thanks for sharing.
I made something like this, but I find I need to wear a shell or cami under it because the sleeves leave me a little exposed. Maybe I didn't do it right. It was just "seat of your pants" sewing.