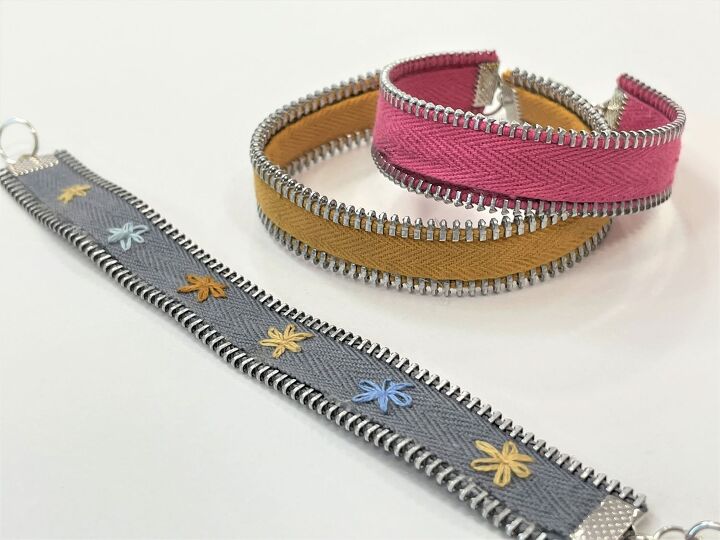
3 Adorable DIY Upcycled Zipper Bracelets Styles

These upcycled zipper bracelets are unique, easy to make, and quite adorable. In this tutorial, you will learn how to make them using 3 simple methods. Oh, how I love upcycling and making useful items out of repurposed items! When you think “outside the box” you can come up with so many fun things that are UNIQUE and ONE-OF-A-KIND.
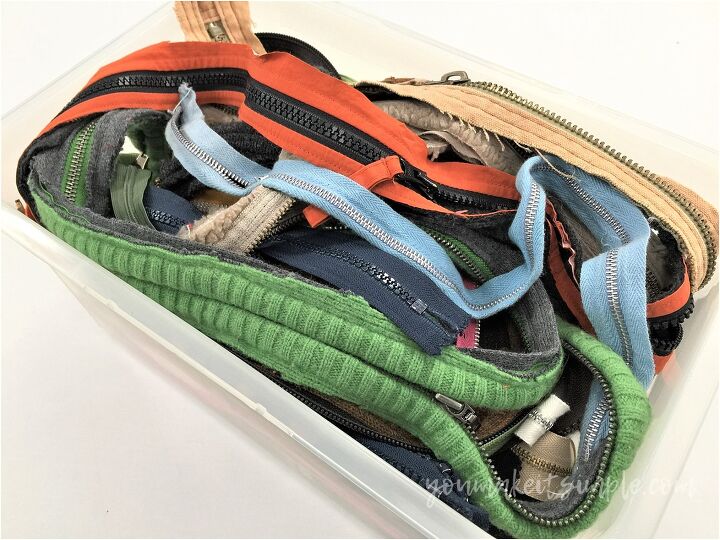
In a previous post, I gave some great tips for zipper upcycling that you may want to check out. These bracelets can also be made with new zippers, after all, zippers are inexpensive and you may not have a zipper stash as I do. LOL.
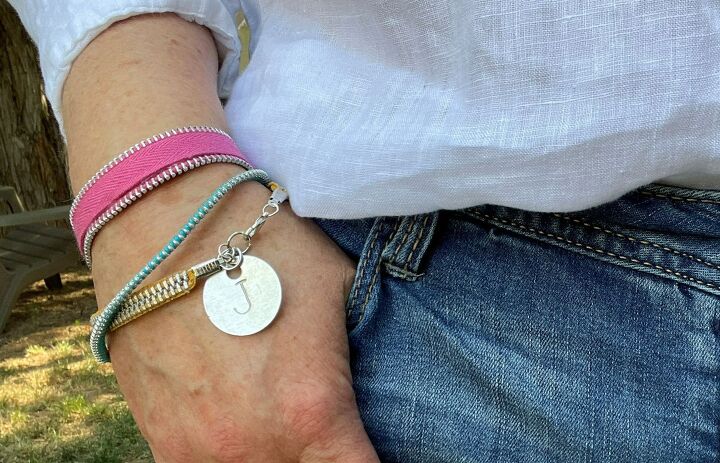
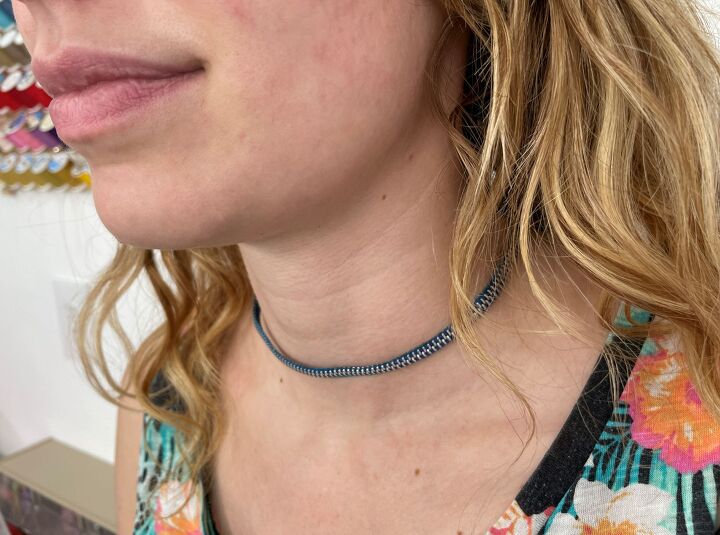
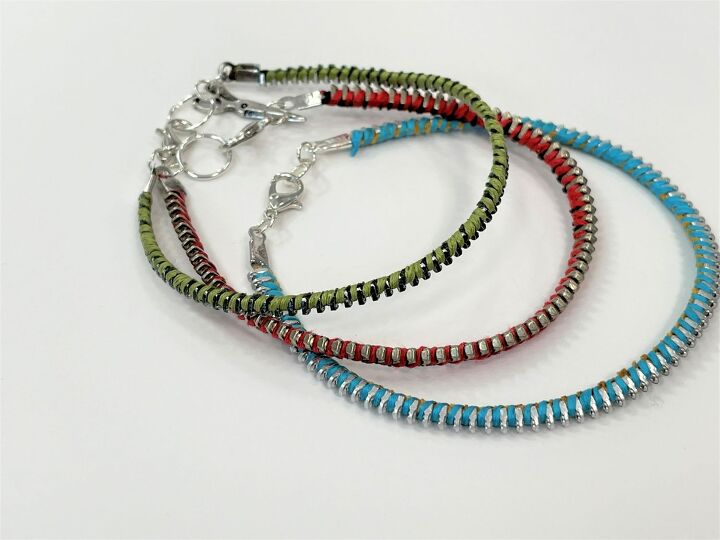
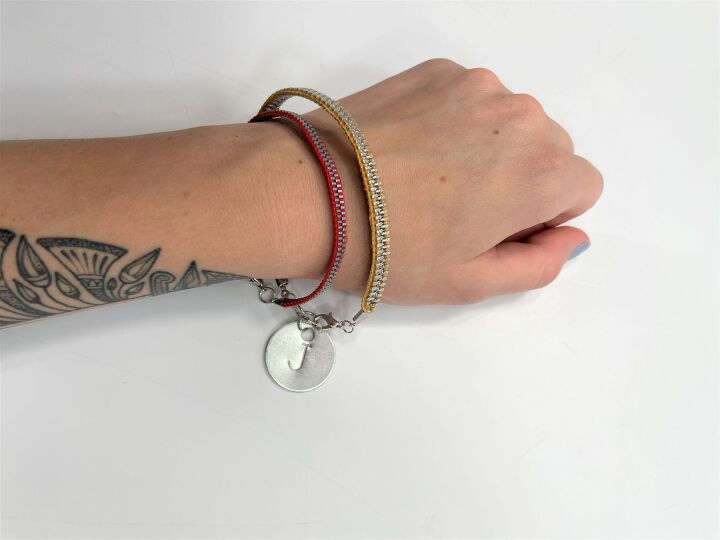
These zipper bracelets are really cute layered with other types of bracelets and can also be made into cute necklaces.
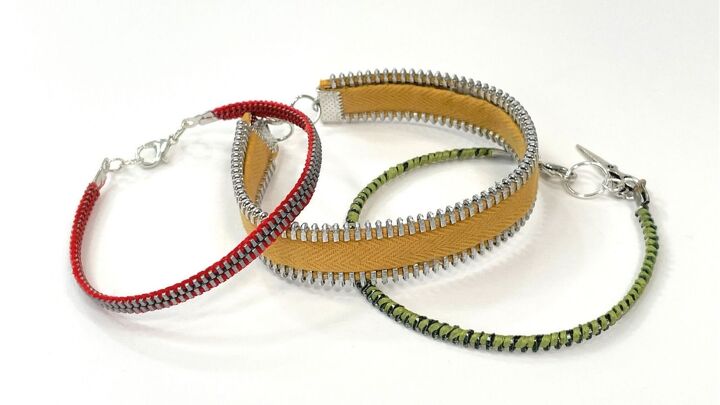
Here are 3 different styles and methods for making bracelets.

Zipper Bracelets Materials & Items Needed
- Zipper (7 inch/18cm zipper or zipper cut to the desired length)
- Scissors
- Glue gun or industrial glue (wide band bracelet)
- Fray check
- Beeswax (optional to coat embroidery floss)
- Needle nose pliers
- Embroidery floss (optional wide band and embroidery wrapped bracelet)
- School glue
- Lighter (optional)
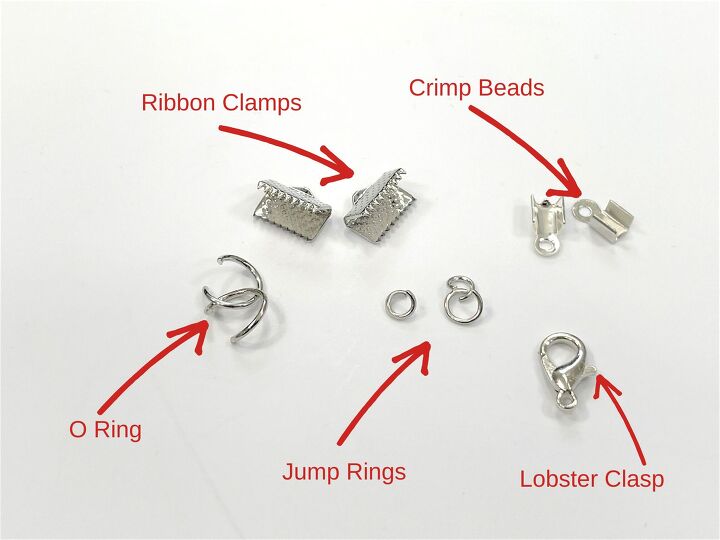
- Lobster Clasp – (1)
- Jump rings – (2-4)
- Ribbon clamps (2) (wide band bracelet)
- 2 Crimp beads (center cut and embroidery wrapped bracelet)
- O Ring (1-2)
Wide Band Zipper Bracelets Instructions1 – Plug in your hot glue gun and get that heated up.
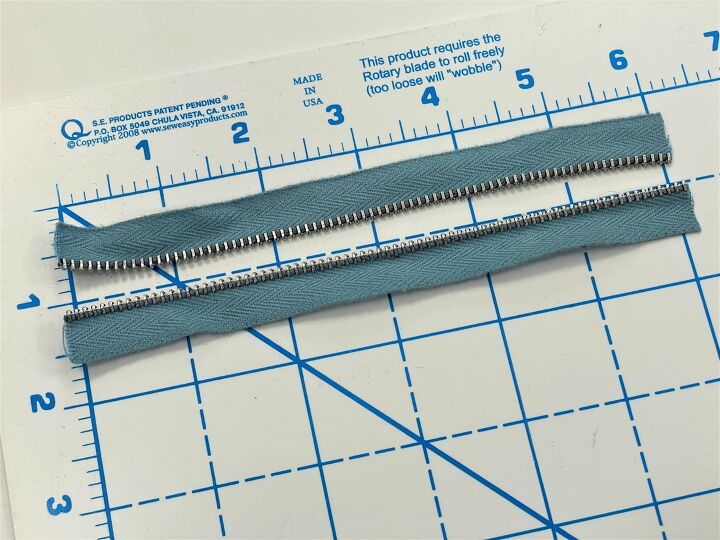
2 – Cut zipper to the desired length.
For an adult bracelet, I recommend cutting 6-7 inches. If you’re making bracelets for a child, measure then cut.
3 – Unzip the zipper and flip the zipper teeth to the outside.
Decide which side of the zipper you want to expose. (I prefer exposing the metal teeth over the colored teeth), but it’s just preference.
***If you want to embroider on the bracelet, do it now before you glue the two pieces tougher. You can add any kind of bling you want to the bracelet at this time.
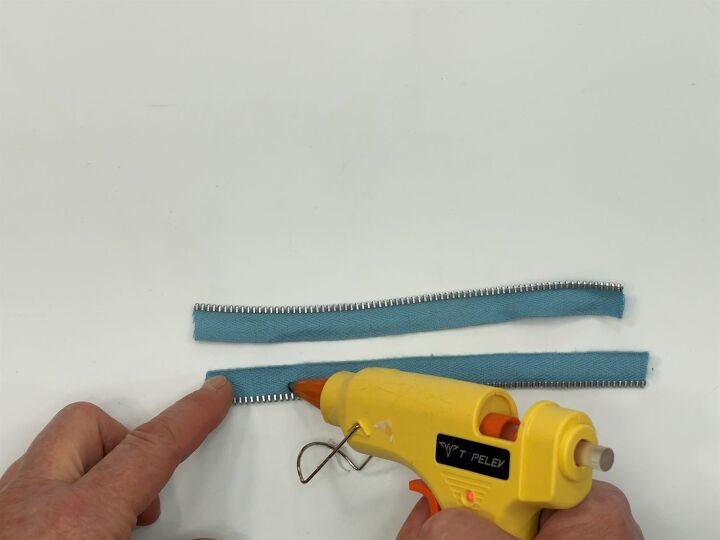
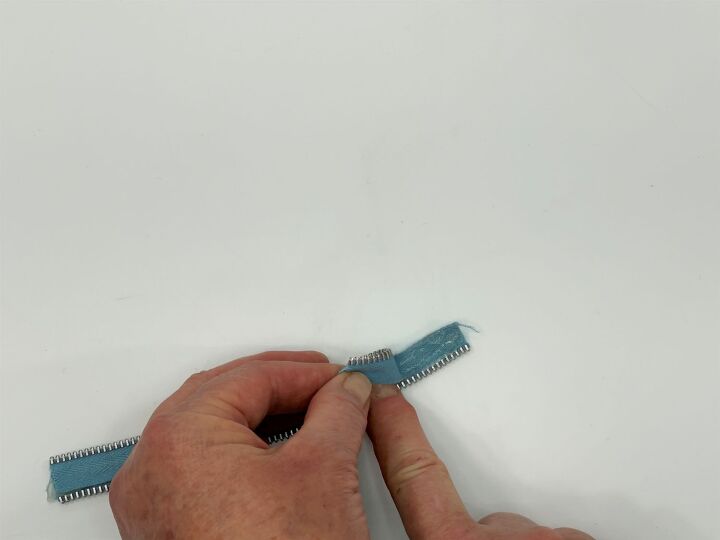
4 – Apply hot glue to one side of one section of the zipper.
You can apply all the glue at once or do it in sections as you stick the two pieces of the zipper together. Line up the fabric edge of one zipper section with the other section’s zipper edge teeth as shown in the photo.
5 – Trim the ends of the zipper to square off and cut any threads.
Apply a bead of Fray Check to the raw edges on both the top and underside of the ends to keep the fabric from fraying.

6 – Take the ribbon clamps and apply them to the ends of the zipper using needle nose pliers. Clamp tightly.
Apply a jump ring and the lobster clasp to one end and a jump ring and an O ring to the other. You can add more jump rings or charms at this point.

Center Cut Zipper Bracelet Instructions
You can use this method to make a single wrap bracelet, a double wrap bracelet, or a necklace/choker.
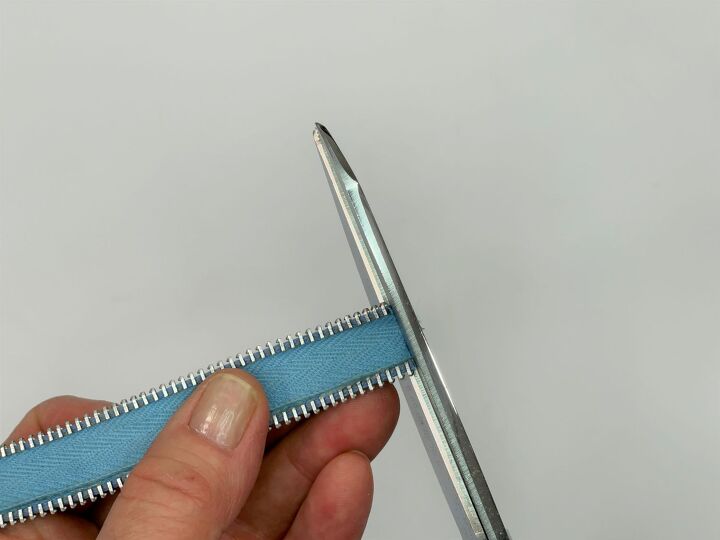
1 – Cut a zipper 7 inches long for a bracelet, 14 inches for a double wrap bracelet, and 15-16 inches for a choker necklace.
DO NOT SEPARATE THE ZIPPER!
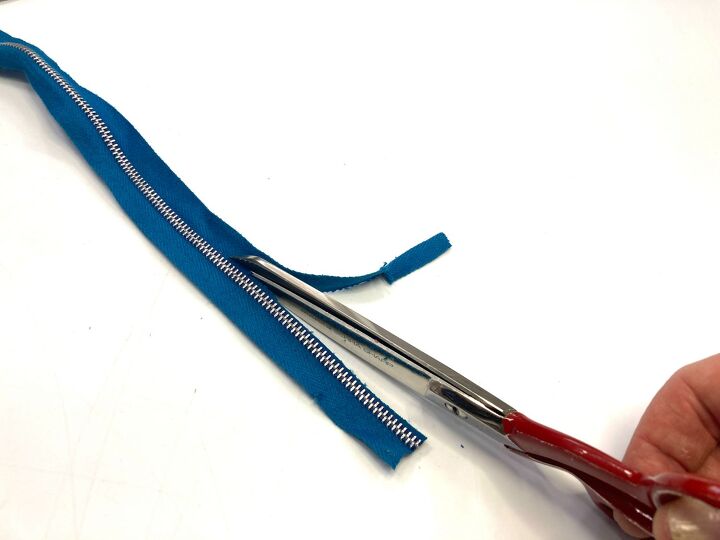
2 – Using a pair of scissors, cut along the edge of the zipper teeth on both sides of the zipper teeth.
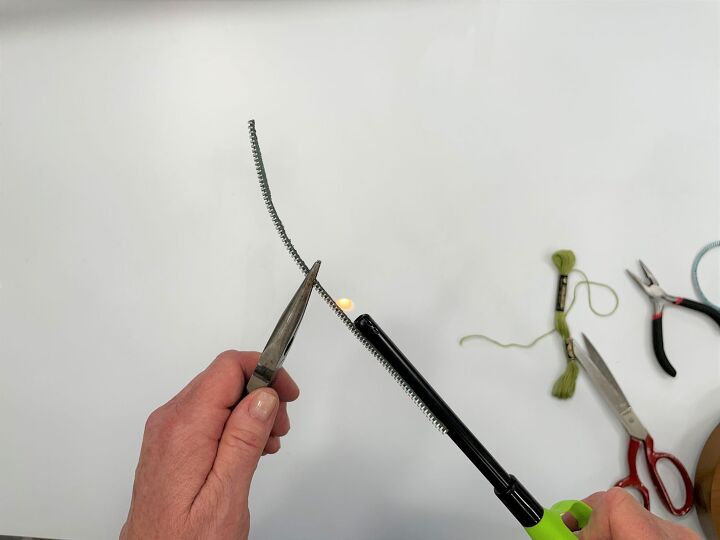
Using a lighter ( I like this long handle lighter) burn the edges of the zipper fabric to keep it from fraying. (If it is an all-cotton fabric zipper, you may need to use the Fray Check to keep the edges from fraying. The Fray Check dries clear.
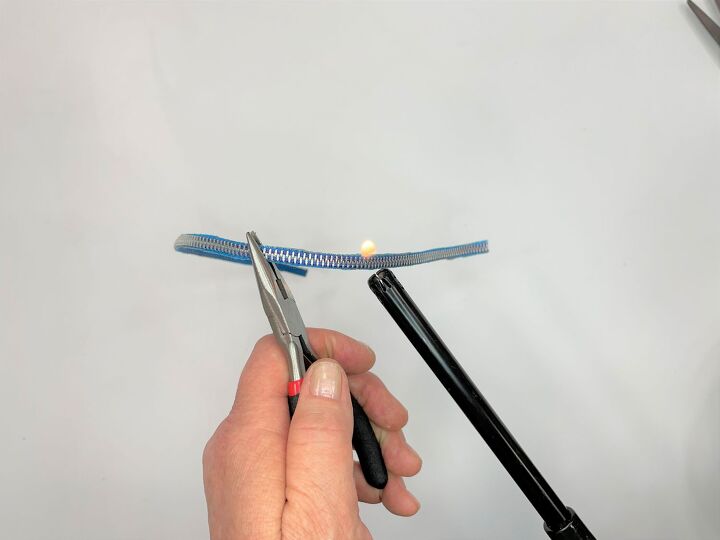
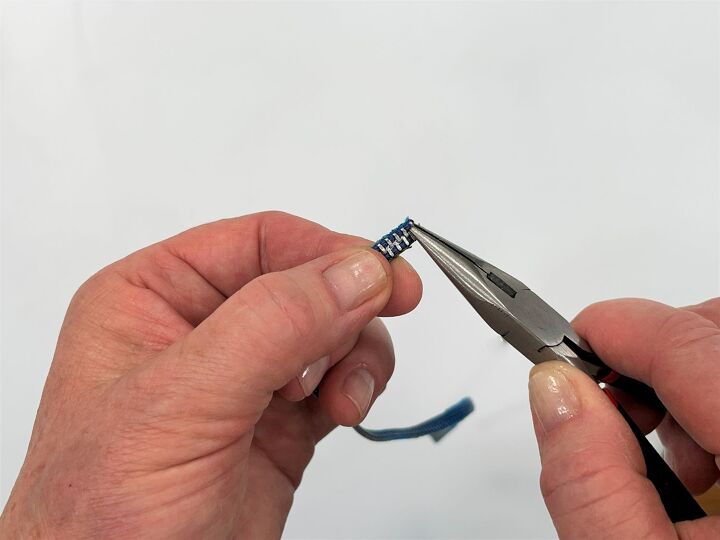
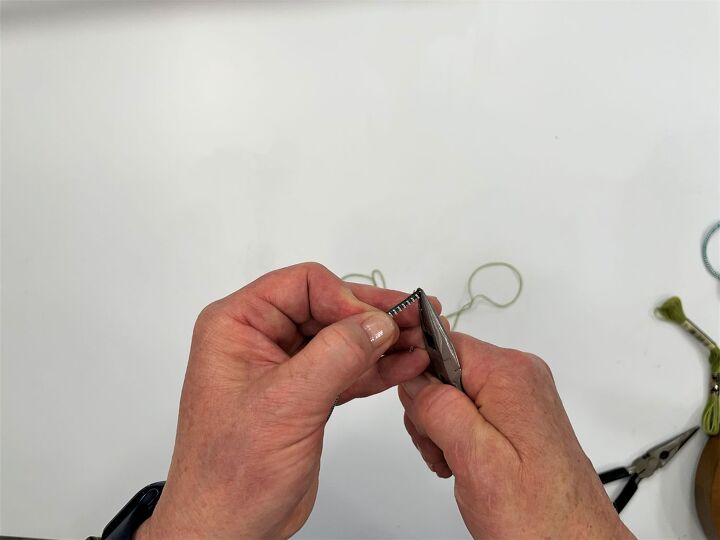
3- Take the needle nose pliers and remove 2-3 sets of zipper teeth.
How many teeth you remove depends on the length of your clamp beads. (it literally feels like you’re pulling teeth).
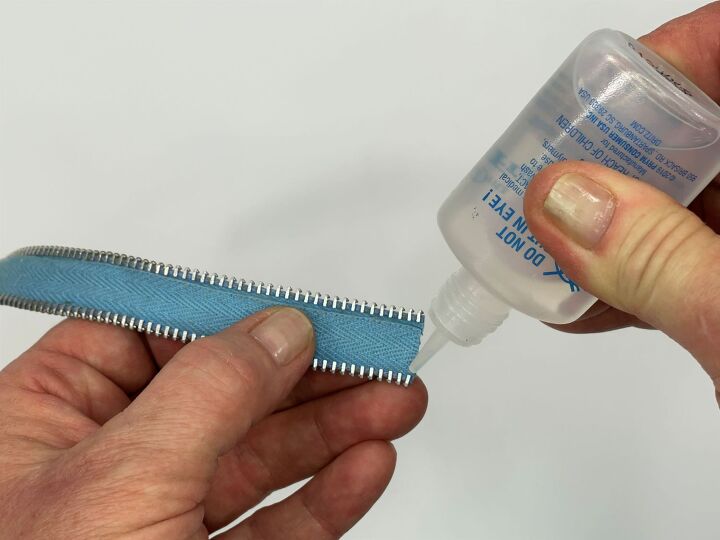
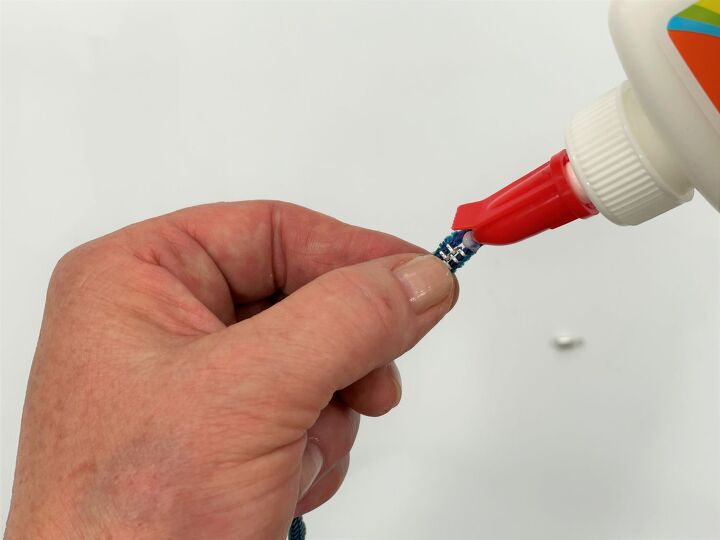
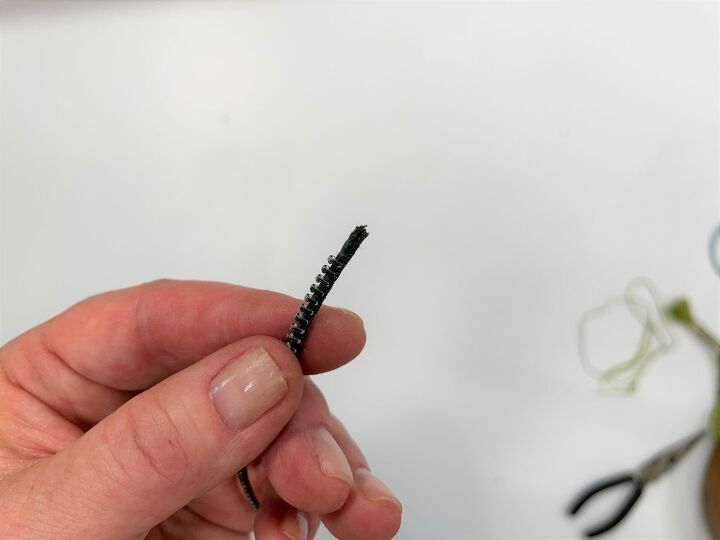
4 – Apply a dab of school glue to the end of the zipper fabric and roll it with your fingers to keep the ends together.
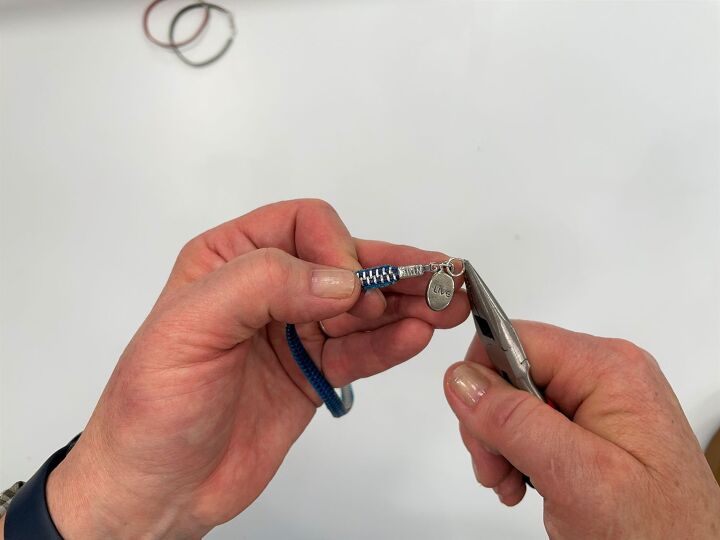
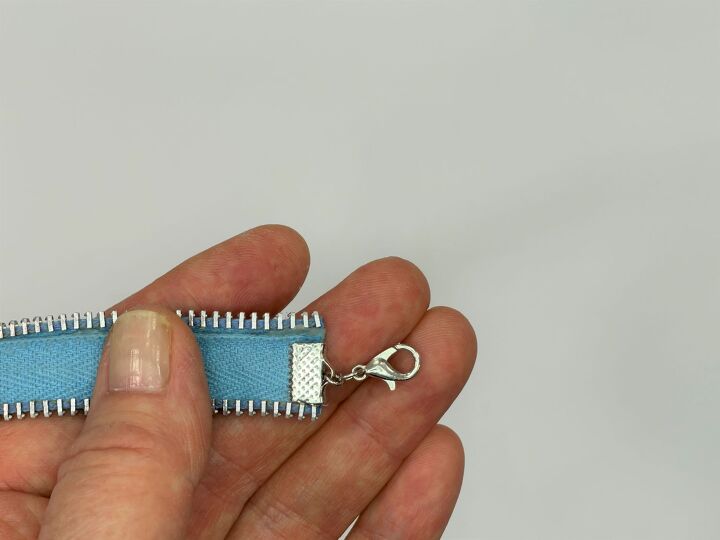
5 – Apply the crimp bead over the fabric ends (make sure the right side of the zipper is facing the way you want it to be) and clamp tightly using the pliers.
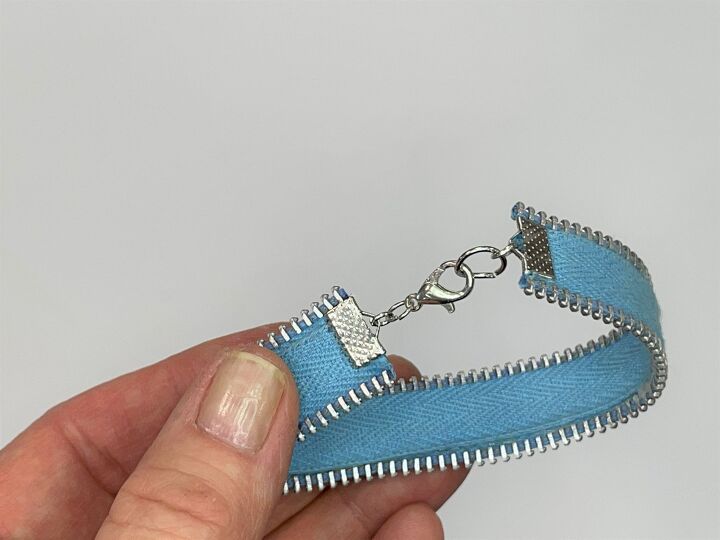
Add the jewelry hardware the same way as described above.
Embroidery Thread Wrapped Bracelet Instructions1 – Cut a zipper to the desired length and separate the zipper. (You’ll only be using one side of the zipper).
2 – Cut a strand (all six threads) 4 x the length of the cut zipper.
For a 7-inch zipper cut at least 28 inches. It doesn’t have to be exact, just make sure it is long enough so you’re not running out of thread.
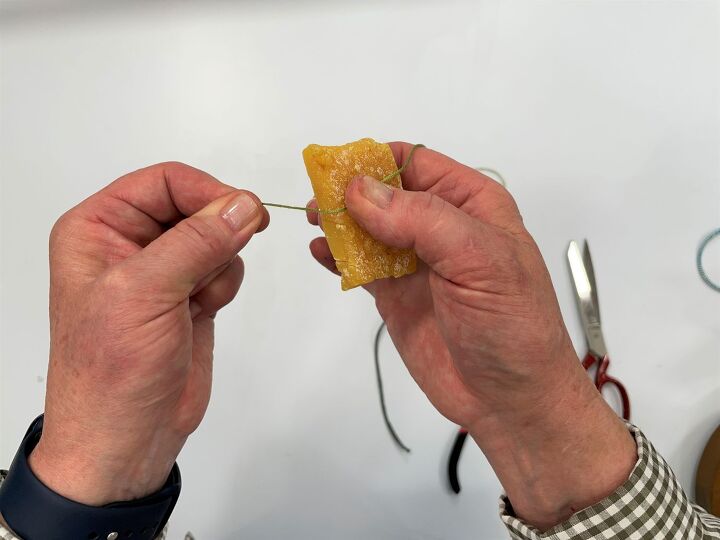
**tip: I have found a trick that keeps the embroidery floss from separating and coats it for moisture protection. Simply take a piece of bees wax or other wax and pull the thread along an edge of the wax. It will lightly coat it with wax which also makes it easier to work with.
3 – Remove 2-3 zipper teeth on each end with your pliers. 4 – Burn the edges of the zipper fabric as shown above.
4- Apply a dab of glue to the fabric end of the zipper and place the end of the embroidery floss on top of the glue.
Twist the ends of the zipper and floss to stick them together and then apply the crimp bead. Do this to only one end of the zipper at this time.
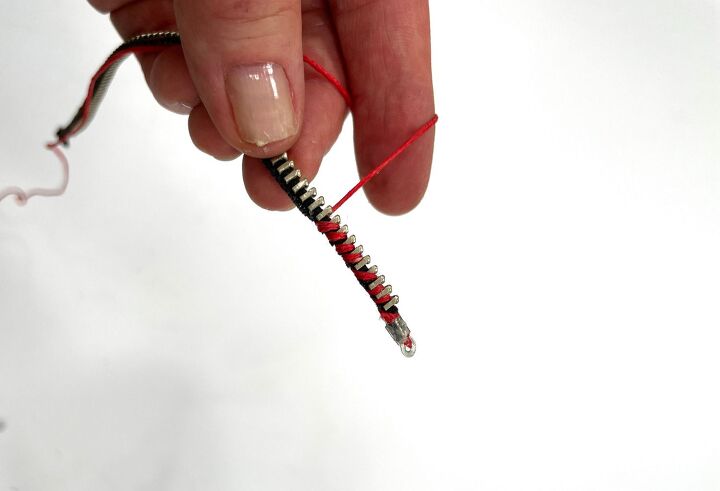
5 – Start wrapping the embroidery floss around the zipper and between the teeth.
Continue wrapping until you’ve covered the whole zipper.
Cut any remaining embroidery floss and apply glue, twist and then add the crimp bead. Add jewelry hardware and you’re finished.
These zipper bracelets are fun little on-the-go crafts for traveling or to do while watching a good movie.
Be on the lookout at thrift stores, yard sales, and even in items of clothing for a GOOD ZIPPER! You can find some really cool zippers with great colors and hardware if you look for them.
I hope you enjoyed this tutorial.
Be sure to check out my other upcycling posts and video tutorials.
T-Shirt Yarn | Made From Upcycled T-Shirts

Have fun making zipper bracelets!

The author may collect a small share of sales from the links on this page.


Comments
Join the conversation
Very cute idea!!