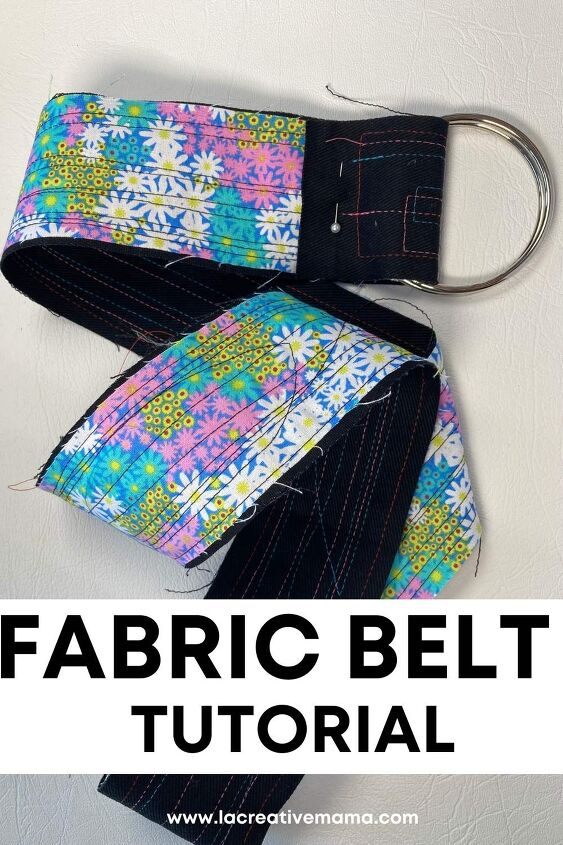
How to Make a Fabric Belt
This post contains affiliate links, which means I receive a small commission, at no extra cost to you, if you make a purchase using this link. Please see my disclosure for more details.
Hi Creative Mamas! I am super excited to share with you a very easy way to make a fabric belt. This is another fantastic DIY sewing tutorial. All you need is a good sewing machine, a belt buckle and fabric scraps.
When I came up with this belt I was looking for a way to make use of long strips of fabric leftovers.
However, you can use any kind of fabric sizes for these fabric belts. You can sew little pieces of fabric and create a long strip in that way or you can even patch small pieces of fabric scraps onto a base fabric.
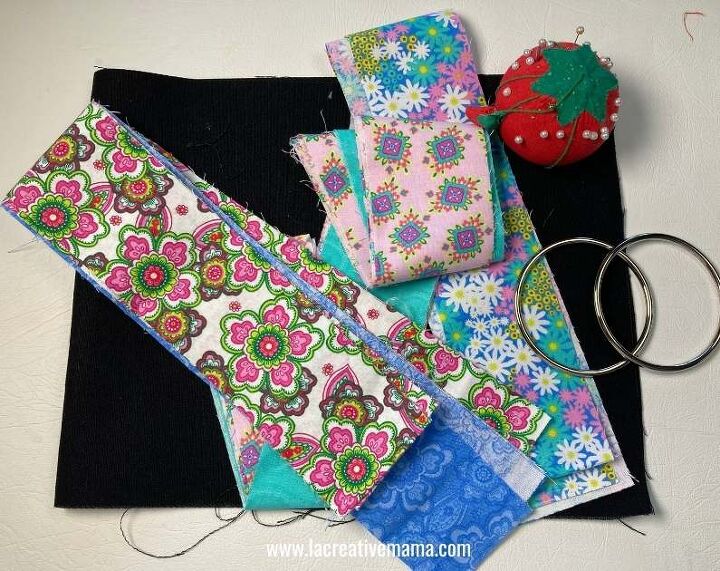
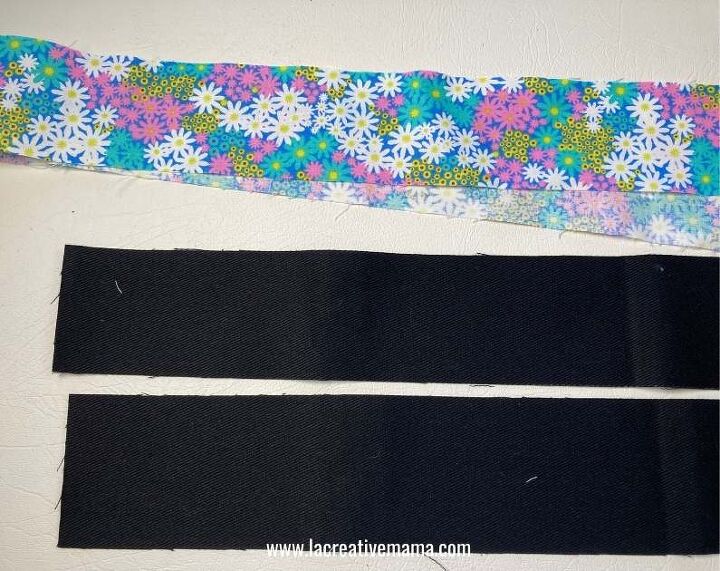
- Fabric scraps (I am using a jelly roll cotton and a black canvas leftovers)
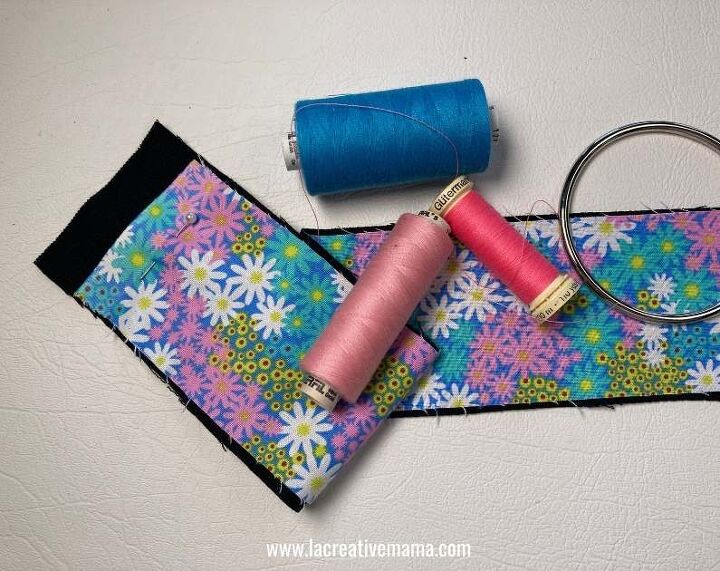
- Sewing machine
- Color threads
- Belt buckle
I have used 2 metal rings but there are other options, the buckles can br rectangular, square or circular.
you can get amazing antique belt buckles from thrift stores as well.
You will need to know the waist measurement that you need for the belt. Meassure your waist and then add 13 inches (33 cm).
That will give you the length you need. For this fabric covered belt I have used a 3 inches (8 cm) width but the width is up to you.
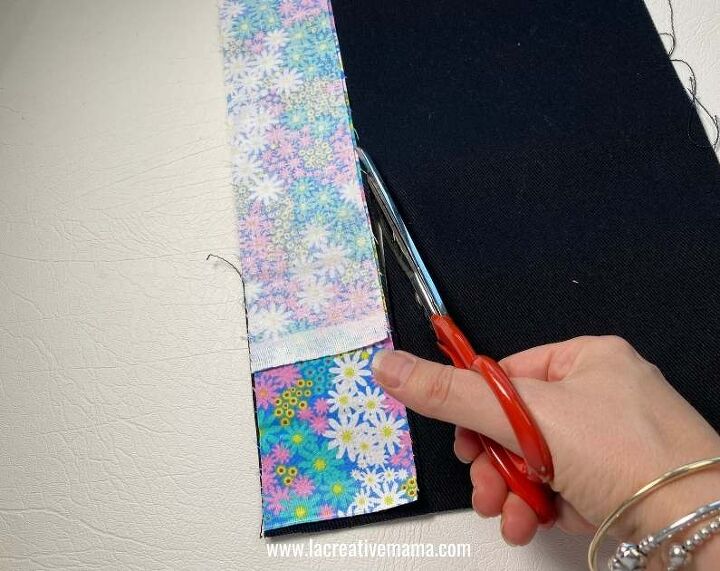
This belt has no seam allowances because I have left the edges raw. The idea is for them to fray overtime.
I haven’t used any heavy interfacing either but this is an option in case you want your own belt to be a little stiffer.
Gather your fabric scraps and the belt loops or belt buckles.
For the printed fabric I have used jelly rolls fabric so they came already cut.
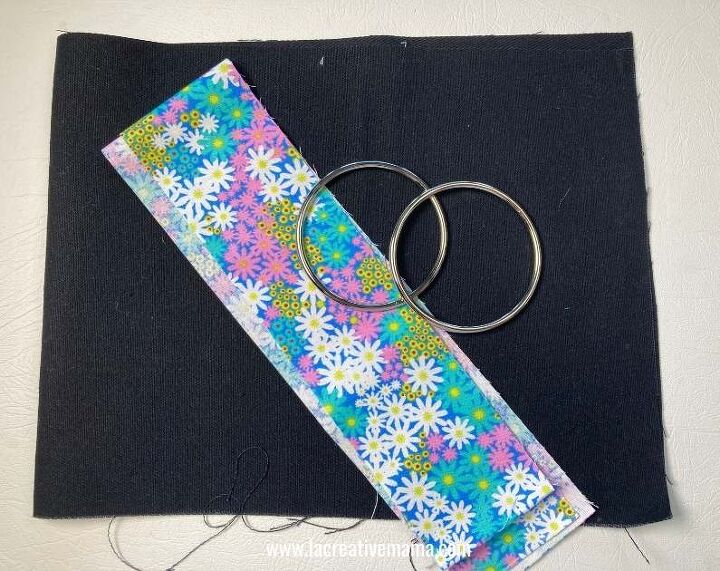
Cut the base fabric to fit the size in width as the printed fabric (whatever you choose this to be).
If you are using fabric scraps for your base fabric you will probably need to sew the strips to achieve the desired length as I had to.
The jelly rolls were a little shorter but I left them as they were because the ends of the belt need to be fiolded.
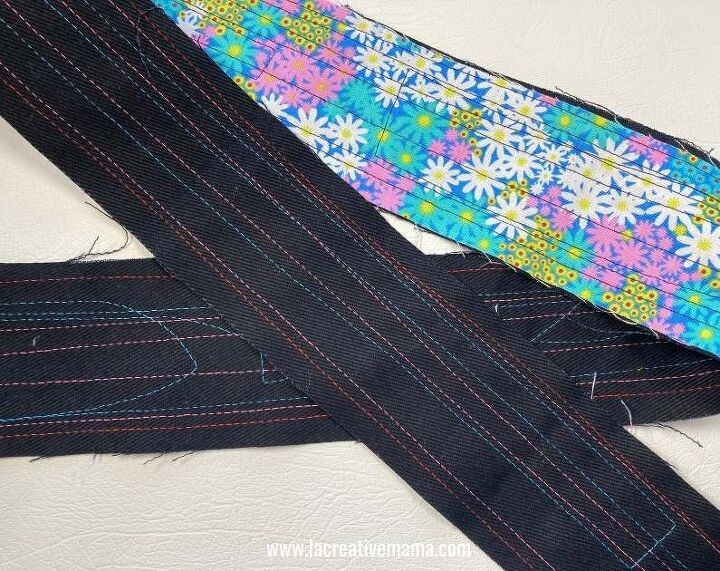
For the black canvas, I sewed 2 strips together to get the perfect length.
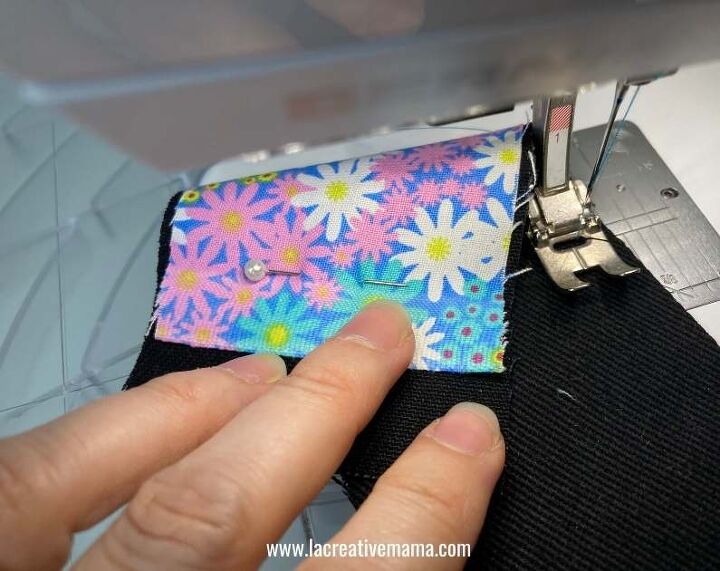
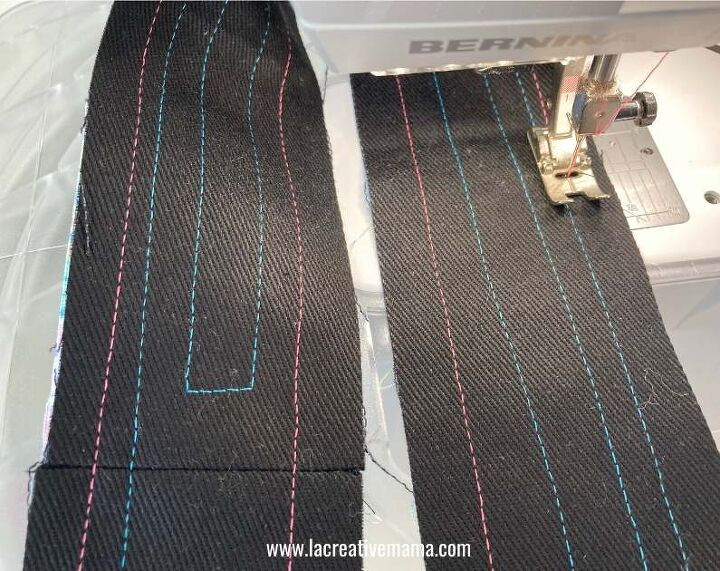
Pin the 2 strips of fabrics and choose the color threads you want to use. I used 3 different colors for my belt.
for the next step I used a black thread for the bobbin and a colored thread as the top thread.
Start sewing random patterns. Have the black side up so that the colored thread will be noticeable.
I used a larger stitch than normal. In my bernina machine it is a 3.5.
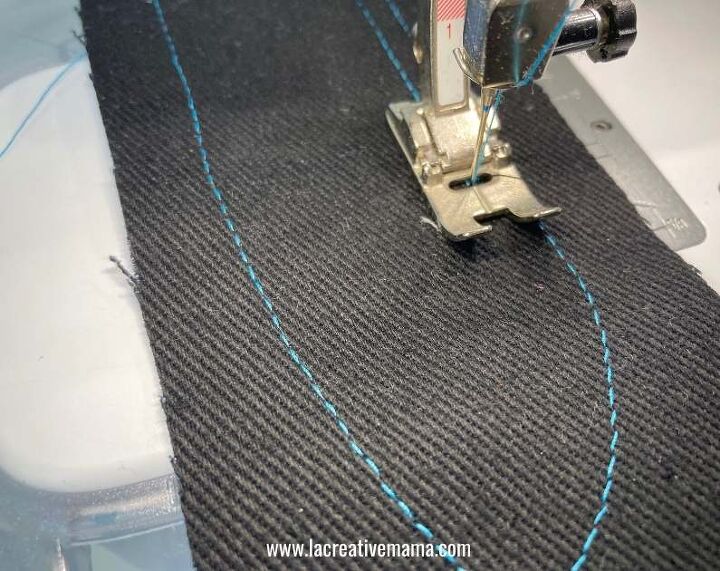
Have fun sewing straight or curvy lines in different colors.
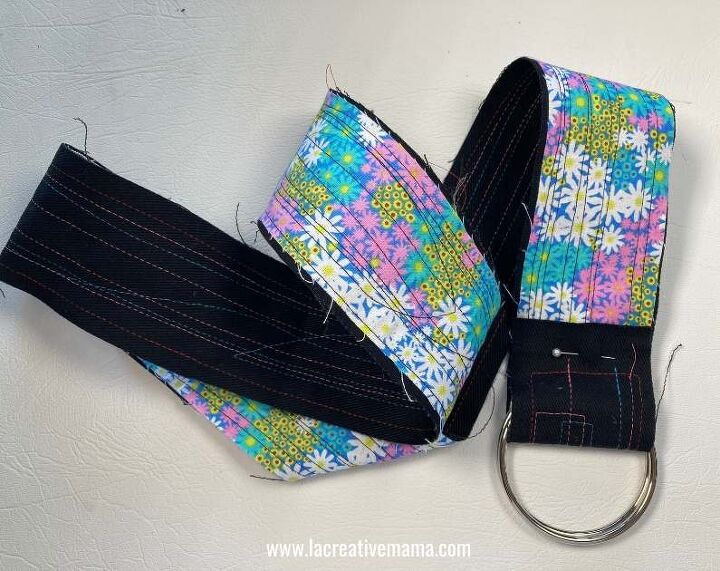
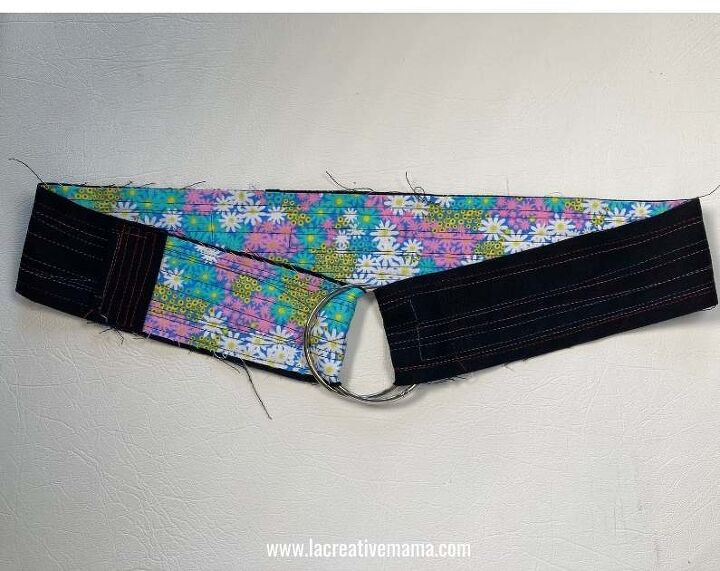
The finished belt fabric will look like this:
Now you need to sew the belt buckles.
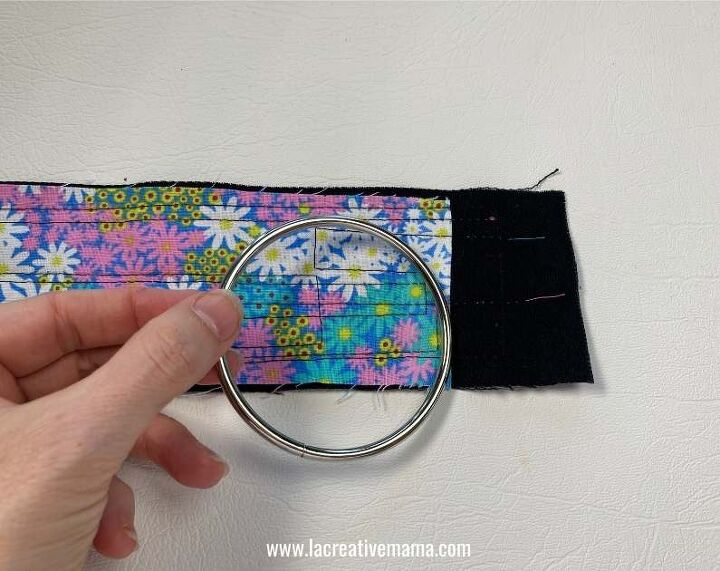
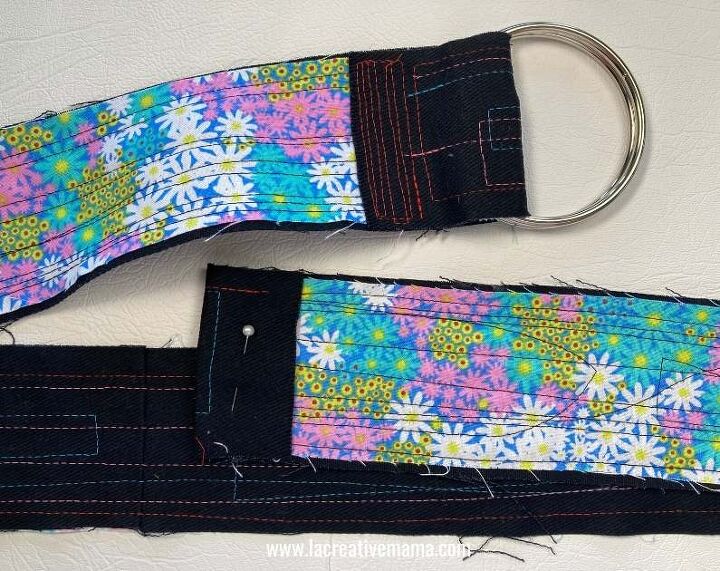
Place them on the fabric belt and fold the belt end.
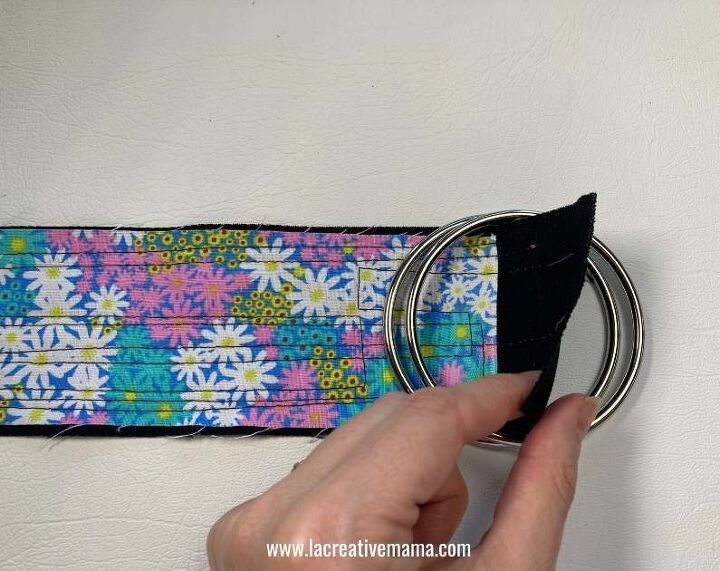
Pin in place.
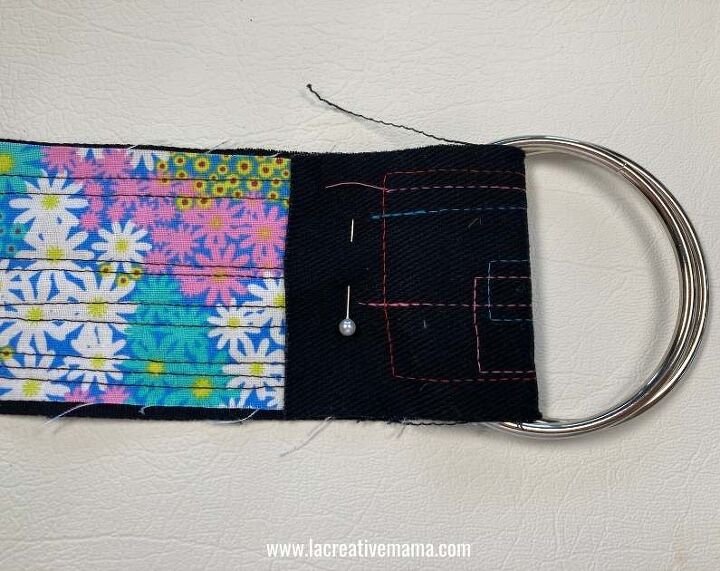
This is how the belt should look at this stage:
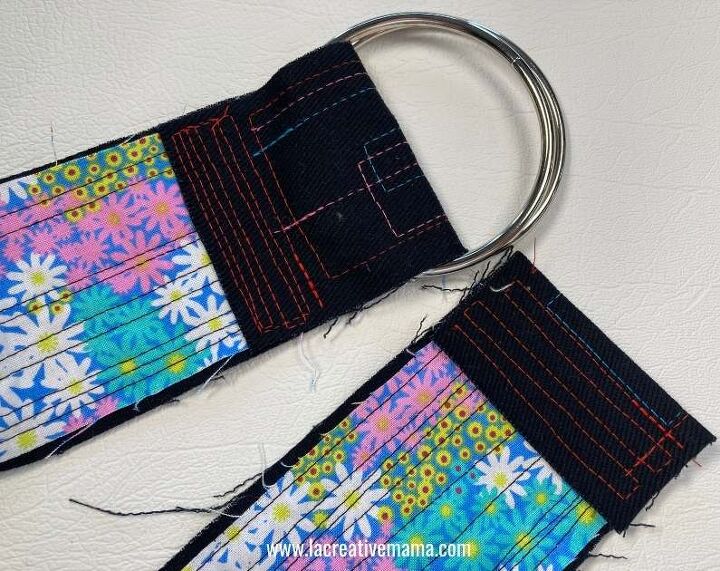
Sew the pinned folded end several times. this will enclose the belt buckles and will be a nice detail.
Do the same with the other end.
And this is how the finishes fabric belt should look 🙂
I hope you have enjoyed this tutorials as much as I enjoyed making it! Check out these other tutorials of fun things to do using fabric scraps:
The author may collect a small share of sales from the links on this page.


Comments
Join the conversation