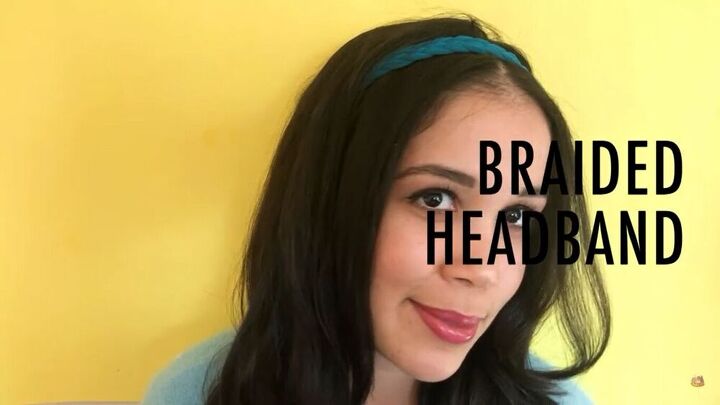
How to Make a Headband - 3 Cool Ways to Make a Fabric Headband

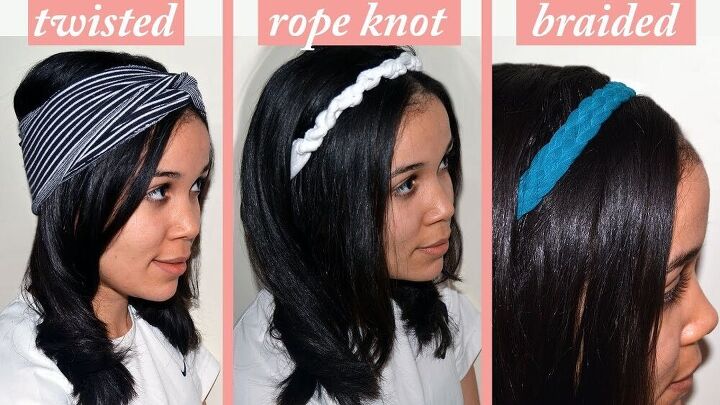
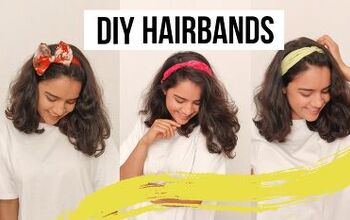
In this tutorial, I'll show you how to make a headband in three different ways: a twisted headband, a knotted headband, and a braided headband. If you’ve got old t-shirts or extra strips of fabric at home, you can make these gorgeous DIY headbands for yourself or even to give away as gifts.
Let's learn how to make a fabric headband and how to make a headband out of a t-shirt!
Tools and materials:
- Scissors
- Fabric
- T-shirt yarn
- Ruler
- Pen
- Sewing machine
- Needle
- Thread
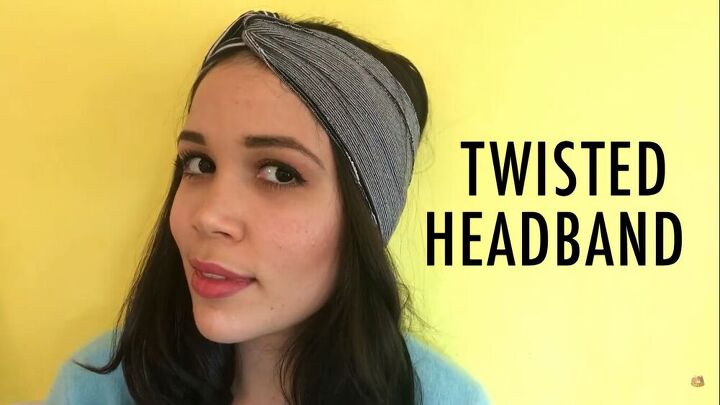
How to make a twisted headband
This simple headband looks anything but! This chic look takes under 5 minutes.
1. Cut the fabric
You’ll need 2 pieces of fabric about 12 inches or 30cm long and 4 inches or 10cm wide. You can use the same or contrasting colors, depending on what you want the finished piece to look like.
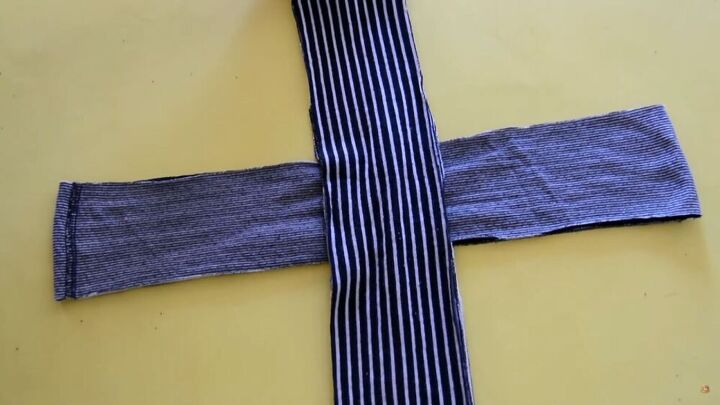
2. Assemble the pieces
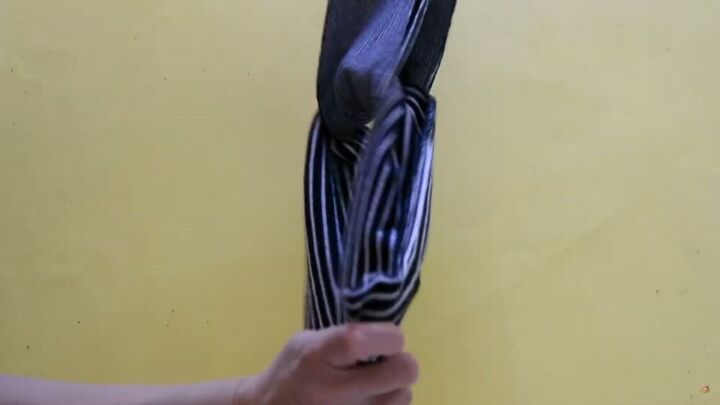
Lay the first piece of fabric on a flat surface, then lay the second piece in a cross on top. Pull the bottom piece up with one hand and the second piece downward with your other hand. It will look like a chain.
3. Sew the ends together
Flip it over and then sew the open parts straight across with a seam allowance of ¼ inch or 0.6cm. If you don’t have a sewing machine, you can hand sew this. Easy and beautiful!
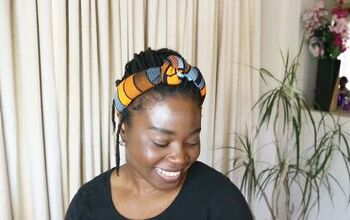
How to make a knot headband
This pretty headband uses two types of knots.
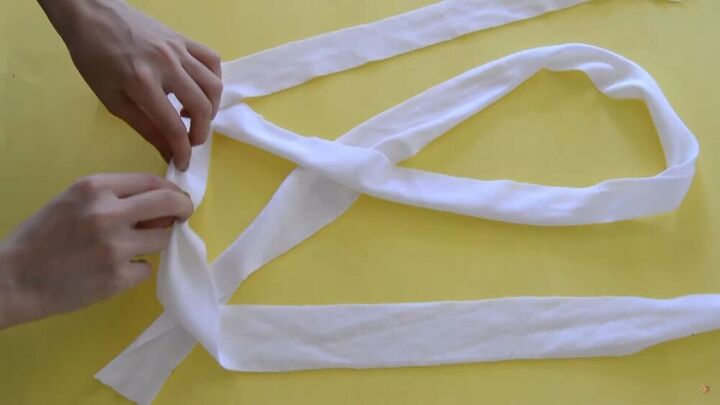
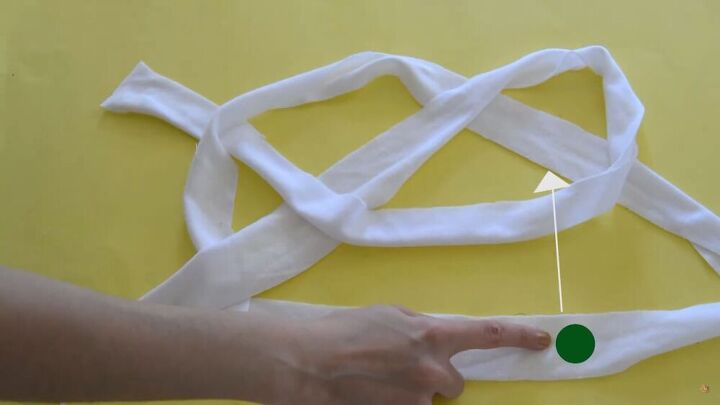
1. Tie a Celtic knot
You’ll need 2 pieces of soft fabric about 15 inches or 40cm long and 2 inches or 6cm wide. The center is a Celtic knot made with both pieces of fabric. You can use the same color fabric or mix it up.
Lay the first piece down on a flat surface, making a loop by crossing over one of the legs at the halfway point. Pull open both of the legs.
Lay the second piece down with the center on top of the open legs with these legs going up towards the top of the loop.

Put the right leg of the second piece underneath the first piece.
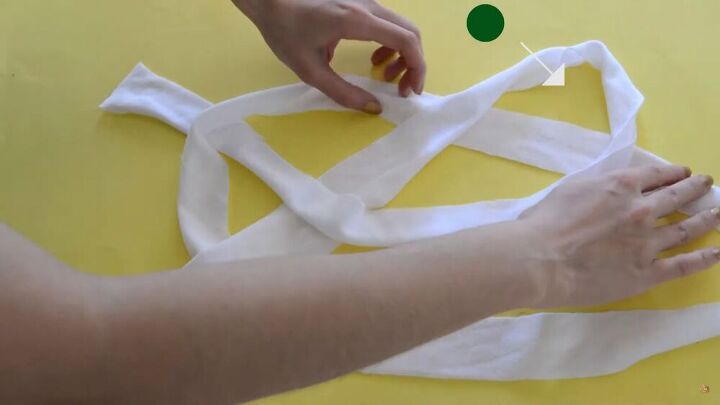
Place the left leg under the loop itself. You’ll have part of the left leg over the loose end of your bottom fabric.
Now, put the right side of the second strip under the left loose leg on top.
Once you have the Celtic knot in the center, you pull all the loose legs tightly together to hold.
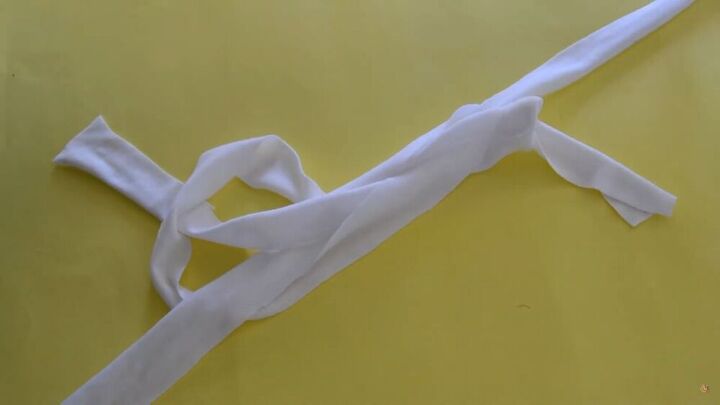
2. Tie simple knots
Begin tying simple knots on either side of the Celtic knot. To do a simple knot, create a loop, pull one leg through, and knot it tightly.
Keep doing simple knots, leaving a few inches or centimeters at the end free of knots. Use your scissors to even out the unknotted ends.
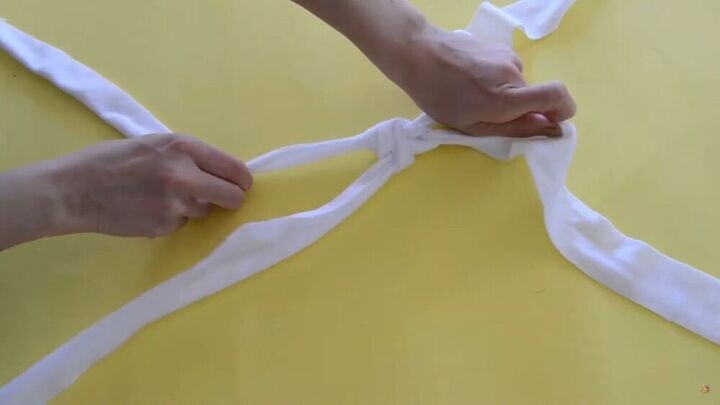
3. Sew the ends
Sew these parts together with your machine using a ¼ inch or 0.6cm seam allowance or sew by hand.
Expect to receive compliments!
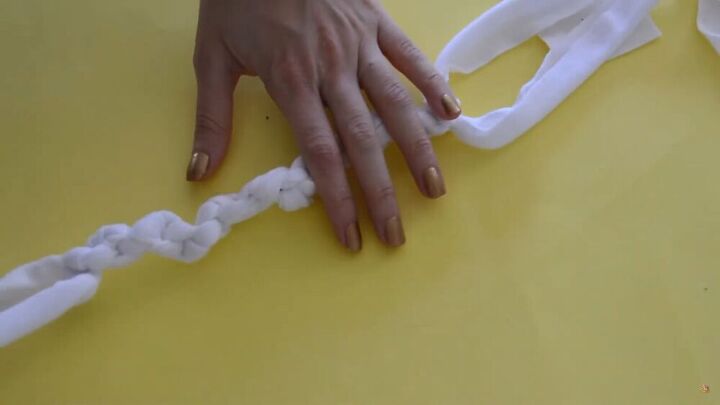
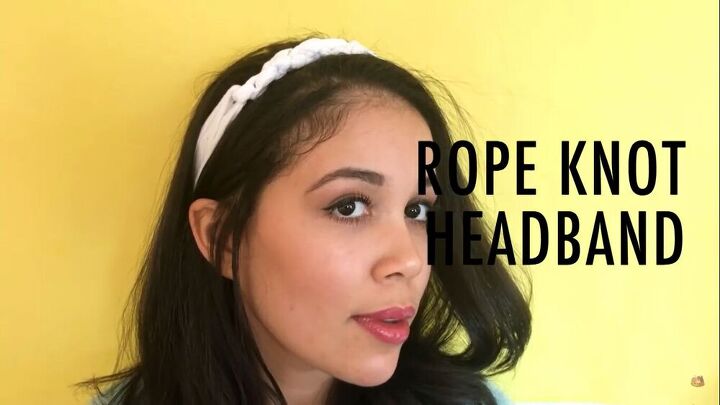
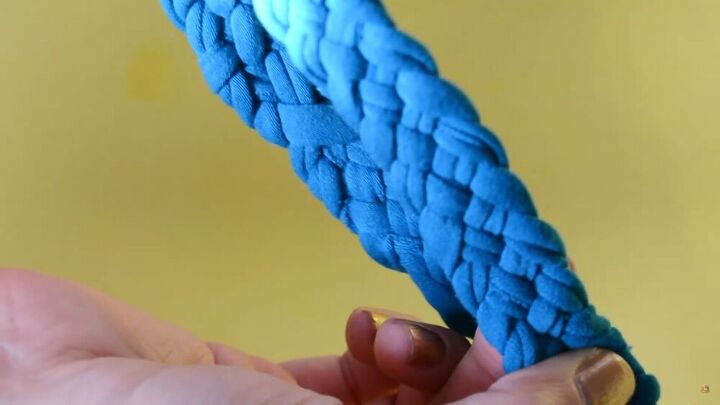
How to make a braided headband
This headband takes a bit more time to make. It is totally worth it because the braiding is intricate and super beautiful, especially if you mix colors. You’ll need to use t-shirt yarn to make it.
If you don’t have t-shirt yarn, cut the body of a t-shirt horizontally from one seam to another and cut into strips about ½ inch or 1.3cm.
1. Prepare your braid
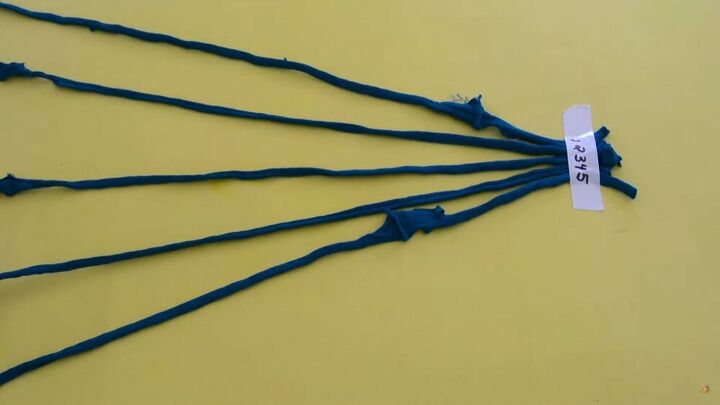
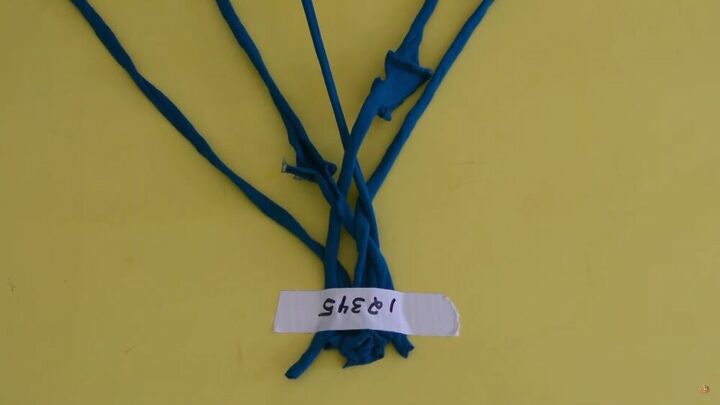
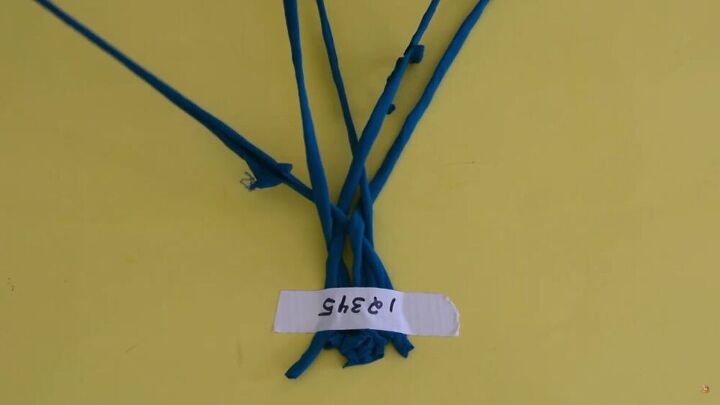
Take 5 strips of 12 inches or 30cm of t-shirt yarn and tape them tightly down at the top with a piece of tape you can write on. Starting from the side furthest away from you, using your Sharpie or pen, number each piece 1 through 5.
Spread out the t-shirt yarn and begin doing a 5-strand braid. This type of braid has 8 steps. It might be challenging in the beginning, so use this cheat sheet until you have the pattern down.
2. Braid the t-shirt yarn
Follow this order for steps 1 through 8 for a 5-strand braid:
- Put strand 1 over strand 2
- Put strand 3 over strand 1
- Put strand 5 over strand 4
- Put strand 1 over strand 5
- Put strand 2 over strand 3
- Put strand 5 over strand 2
- Put strand 4 over strand 1
- Put strand 2 over strand 4
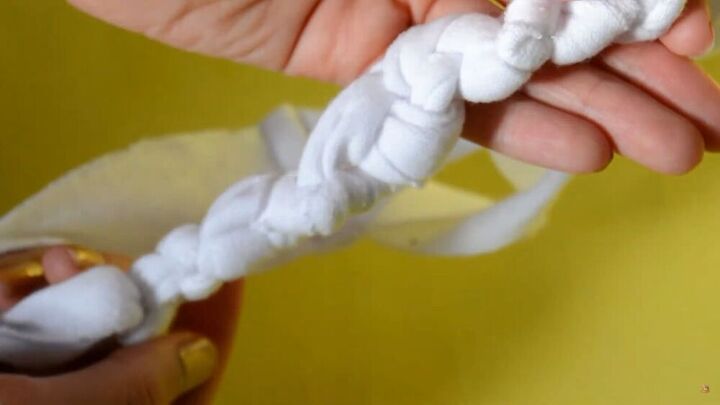
Keep a good grip on the fabric so you can keep the braid tight.
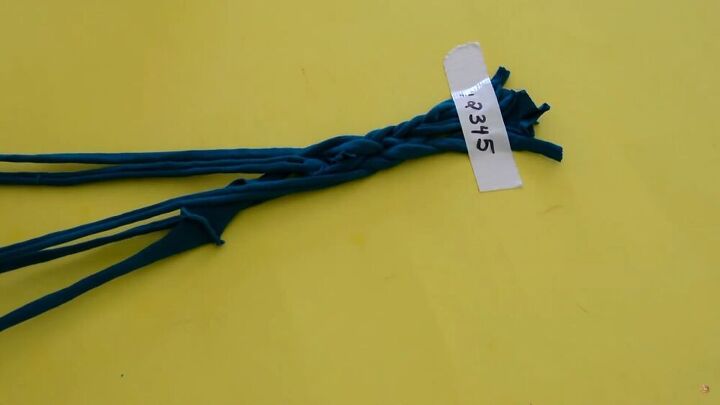
Keep doing this over and over again until you get about 2 inches or 5cm from the bottom. Trim any loose ends.
3. Sew the braid
Sew the ends together with a ¼ inch or 0.6cm seam allowance. You can also hand sew this.
Though doing a braided headband takes a bit more patience, you’ll love the results!
How to make a headband tutorial
Using old t-shirts or fabric scraps you can make gorgeous headbands at home. Let me know your feedback on this tutorial on how to make a headband in the comments below.
Which of these three headband styles would you wear most?
The author may collect a small share of sales from the links on this page.


Comments
Join the conversation