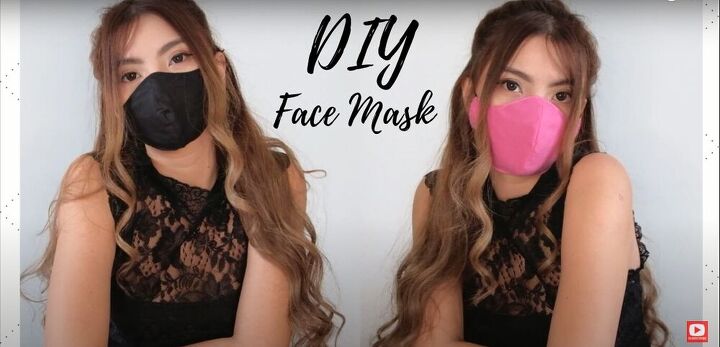
Easy DIY Face Mask Tutorial

Even if your nose and mouth are covered, you can still show some personality with a homemade face mask. Check out this easy DIY face mask tutorial, and stop the spread of COVID in style.
Tools and materials:
- Parchment paper or a thin piece of cardboard
- Pencil
- Ruler
- Dinner plate
- Scissors
- Fabric
- Pins
- Bobby pin
- Elastic
- Sewing machine
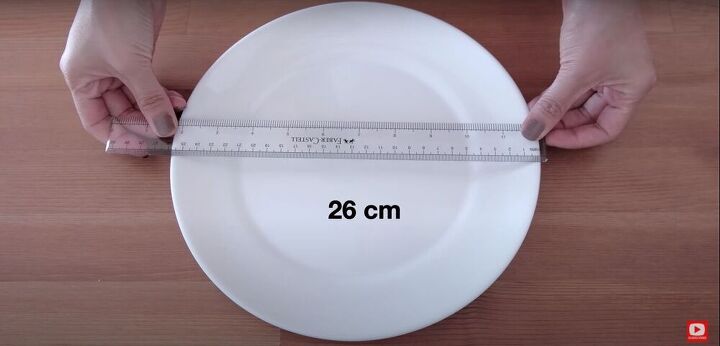
Create the pattern
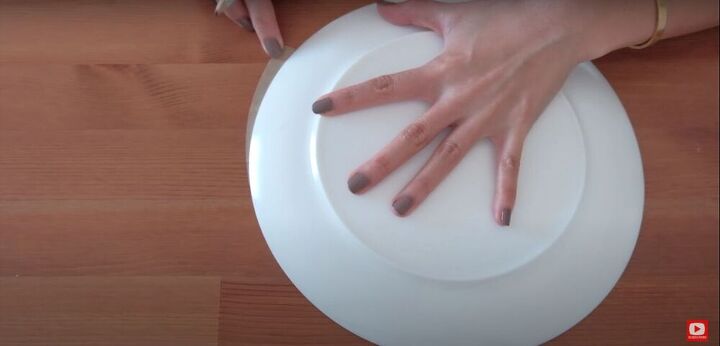
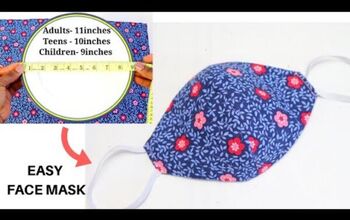
To create the pattern, I used a dinner plate that measured 26 centimeters (10 inches) in diameter.
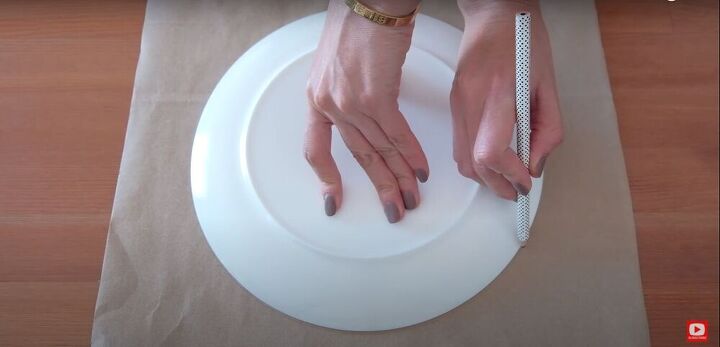
Trace the plate
I placed the plate face down on a piece of paper and traced around it.
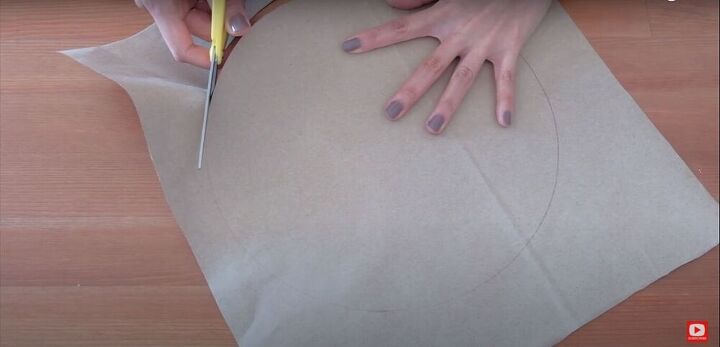
Cut it out
Then I cut the circle I had traced out of the paper.
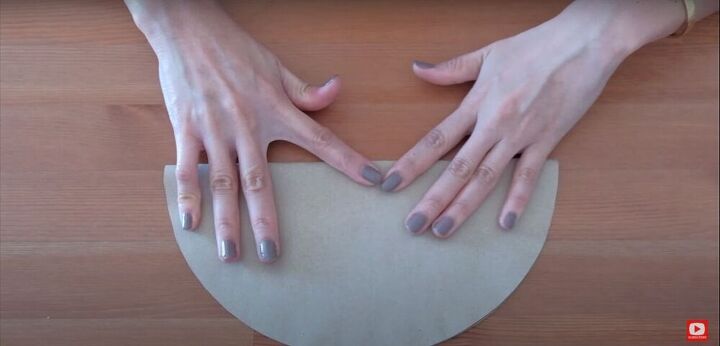
Fold the paper
I folded the paper in half.
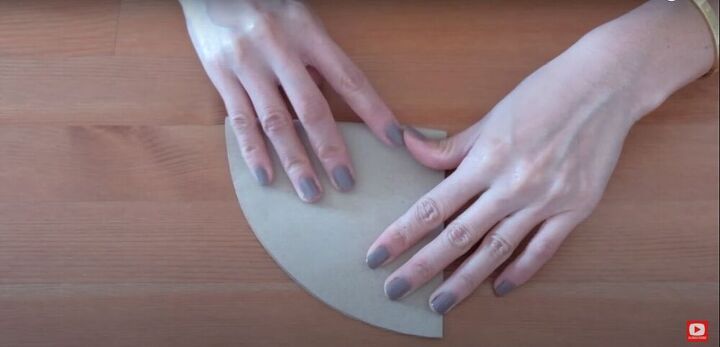
Then I folded it in half again. I now had a quarter of a circle.

Mark the paper
I made a mark on the curved edge of the paper eight and a half centimeters (three and a half inches) across from one straight edge.
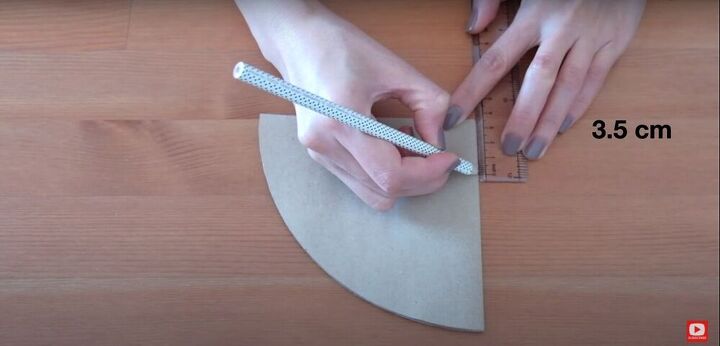
Then, on the second straight edge, I marked a point three and a half centimeters (one and a half inches) from the corner.
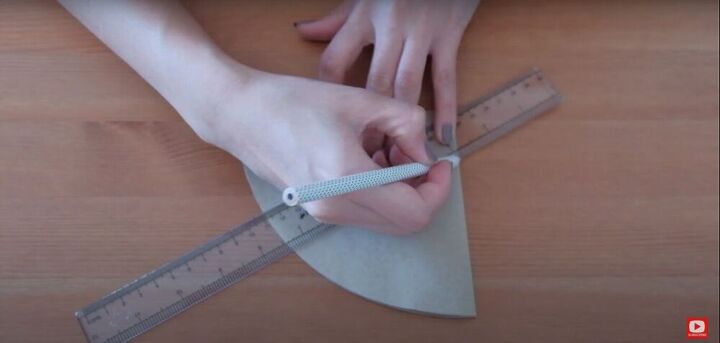
Then I drew a line across the paper, connecting those two points.
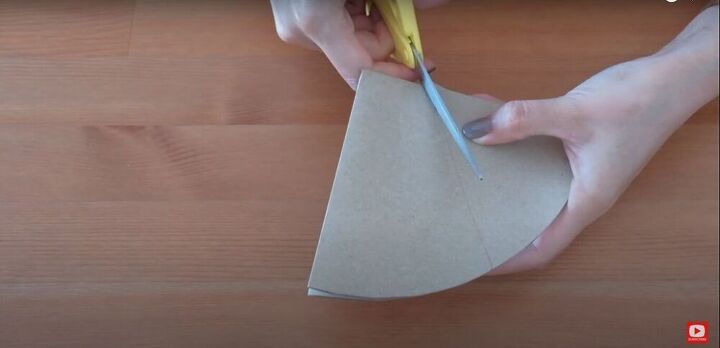
Cut the paper
I cut the paper along the line I had just created.
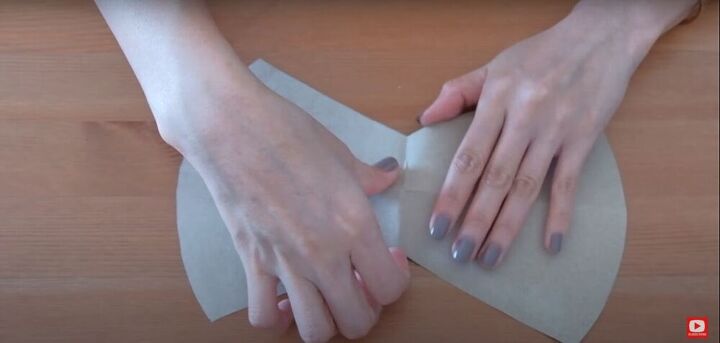
Refold the paper
I unfolded the paper, which was now in the shape of a bow, and refolded it along the line through the center.
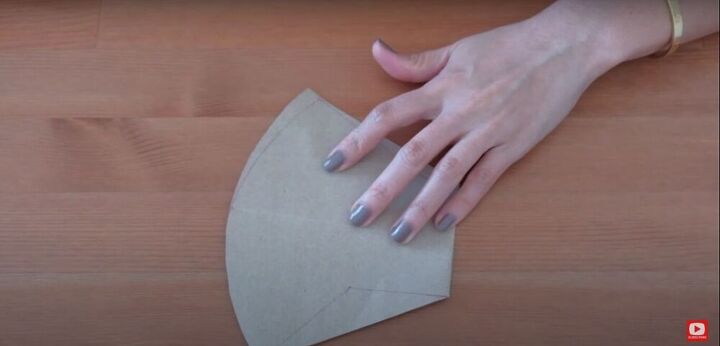
Mark the pattern
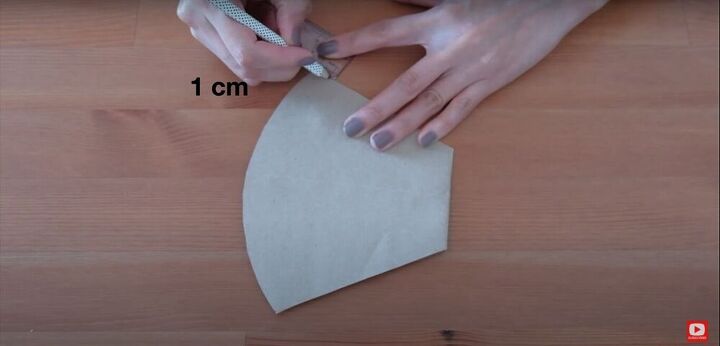
I measured one centimeter (half an inch) from the corner where the curved edge and one straight edge met, and marked that point.
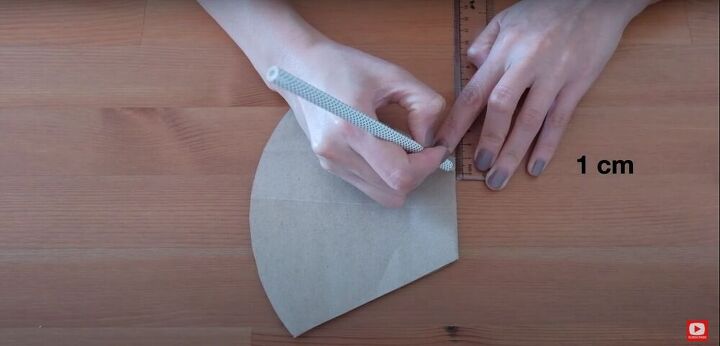
Then I measured one centimeter (half an inch) along the center fold, down from the corner where the fold meets the same straight edge I marked previously and drew a straight line connecting those points.
Next, I made a mark in the center of the curved edge.
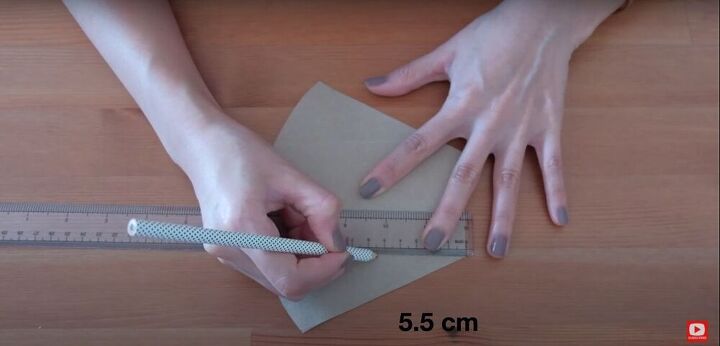
Using my ruler, I drew a straight line five and a half centimeters (two inches) in length from the corner where the second straight edge met the fold, toward the curved edge.
Then, using the end of that five and a half centimeter line as my starting point, I drew another straight line to the point where the second straight edge met the curved edge.
This is what my pattern looked like with all the lines marked properly.
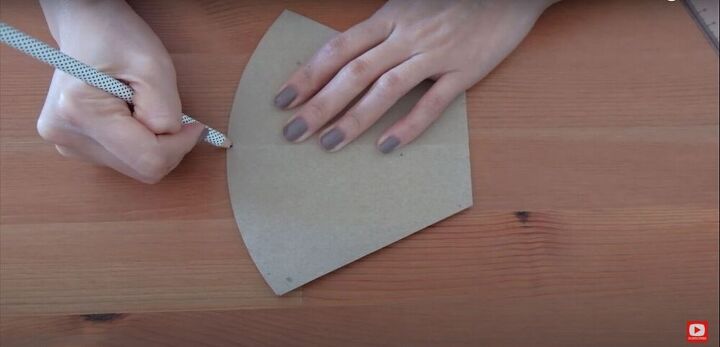
Use the plate to make a curved line
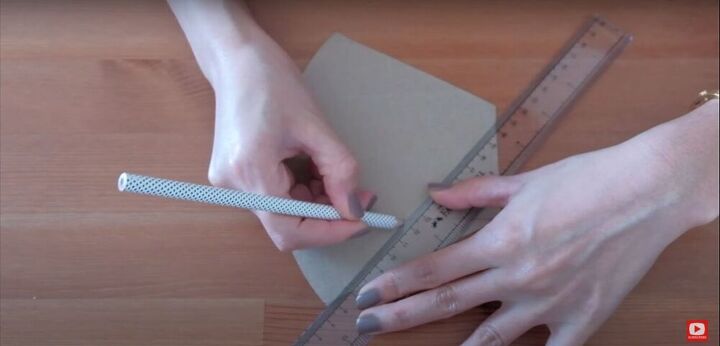
Tracing along the edge of the plate again, I made a curved line connecting the point I marked in the center of the curved edge and the point I marked on the first straight edge.
Now my pattern looked like this.
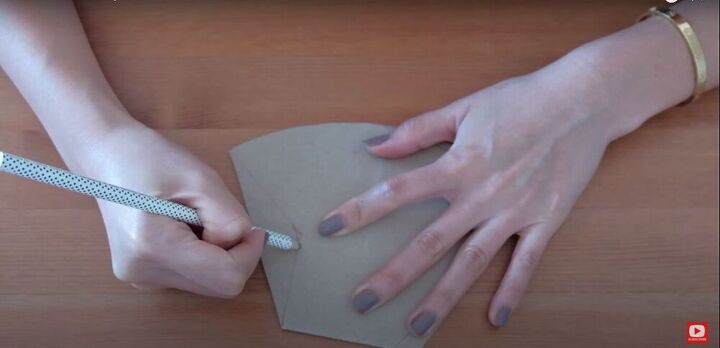
Finally, I used my pencil to draw a curved line in the angle I drew along the second straight edge.
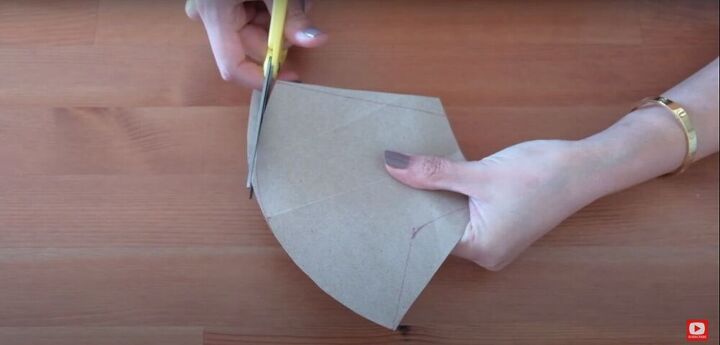
Cut everything out
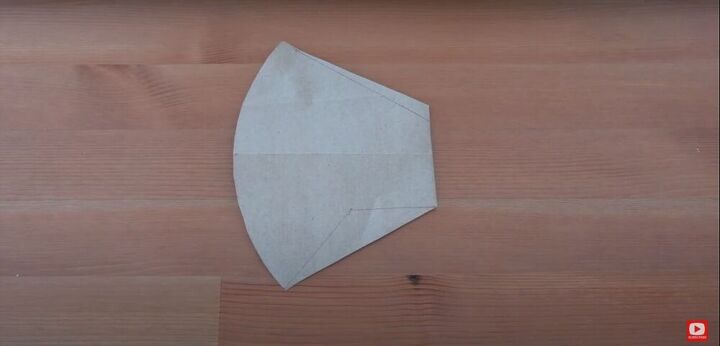
I trimmed the pattern along the lines I created.
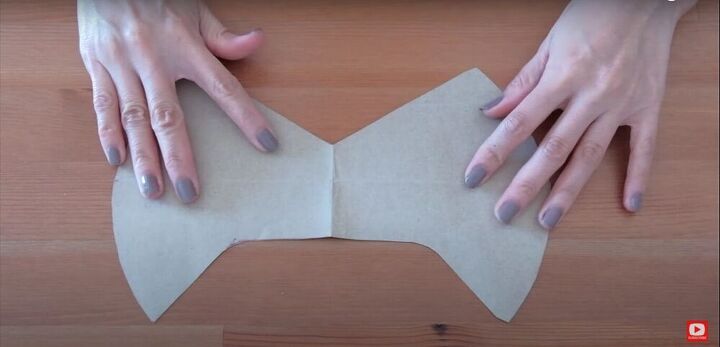
Laid flat, this is what the completed pattern looked like.
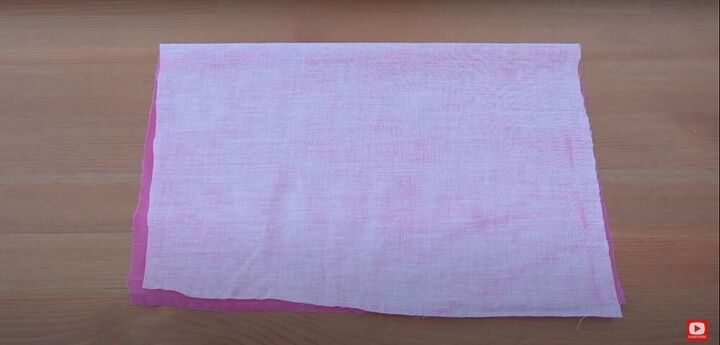
Fold the fabric
I took my piece of fabric and folded it in half, right sides facing.
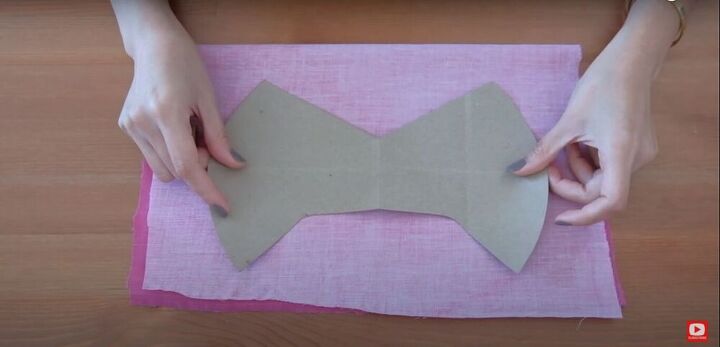
Trace around the pattern and cut it out
I laid my pattern on top of the fabric and traced around it onto the fabric. Then I cut the shape out of the fabric, creating two identical pieces.
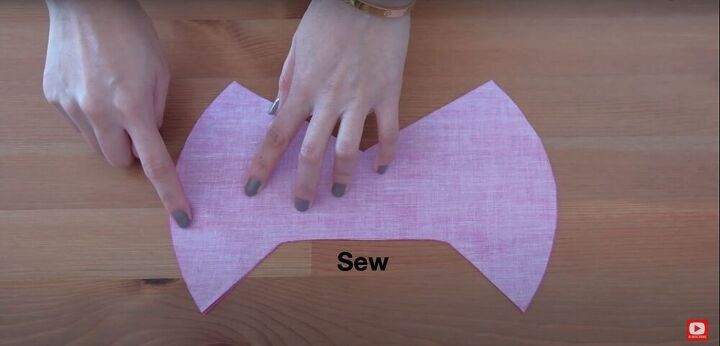
Sew the sides
With my two pieces of fabric still laying right sides facing, one on top of the other, I sewed a seam along each curved side.
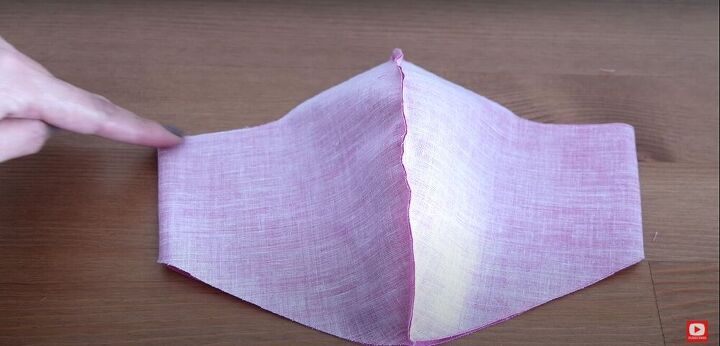
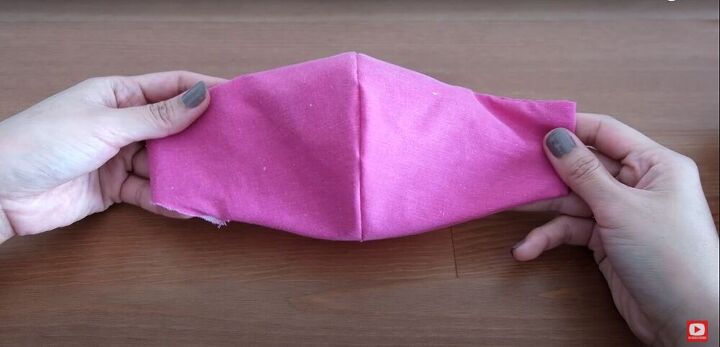
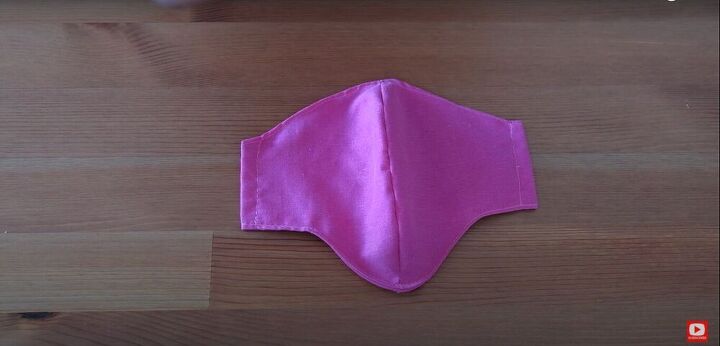
Fold the fabric
At this point, I refolded the fabric so the seams I just sewed were in the center of the fabric. This will be the final shape of the mask. I sewed the raw edges along the top and bottom of the mask, leaving a gap of about two inches along one seam.
Turn the mask right side out
Once the seams were sewed, I pushed the fabric through the gap I had left, turning the fabric right side out.
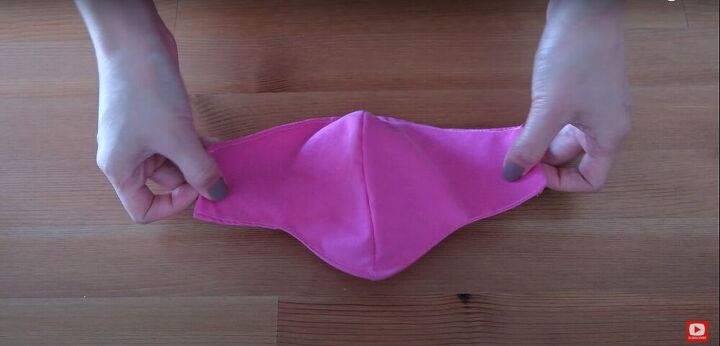
Topstitch across the top and bottom edges
I ran the top and bottom edges of the mask through my sewing machine, using a top stitch to help the mask hold its shape and to close up the gap.
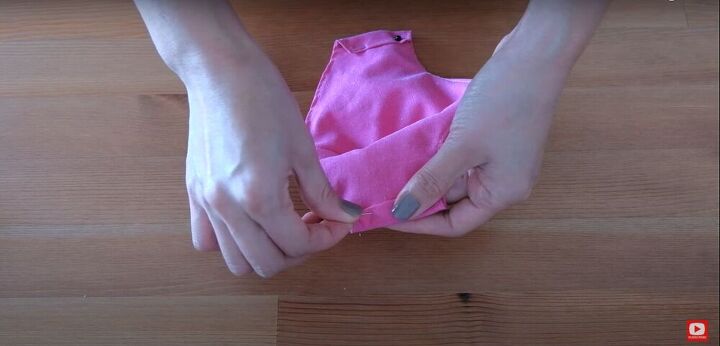
Pin and sew the sides
I folded the side edges of the mask inwards, making sure to leave enough space to run the elastic through.
I pinned each side in place and sewed them down.
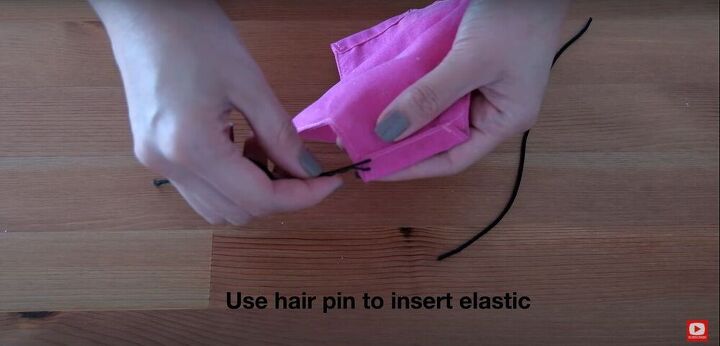
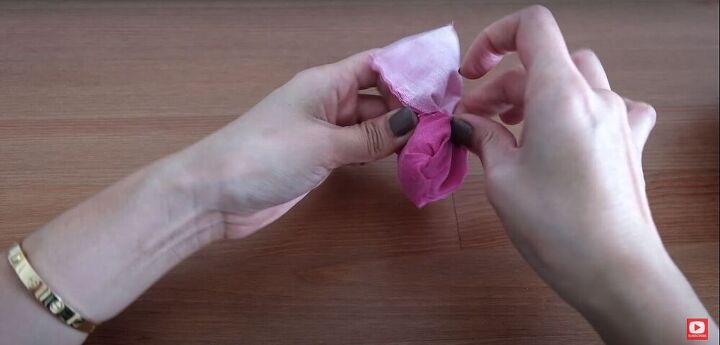
Insert the elastic
I attached a length of elastic to a bobby pin, and inserted the pin into the tunnel I created on each side of the mask, and pulled the elastic through.
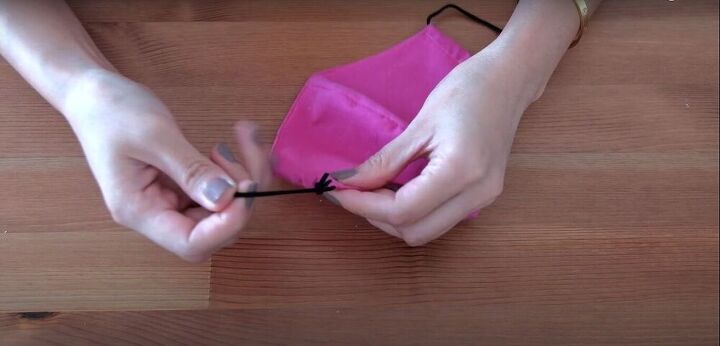
Then I double knotted the elastic and arranged it so the knot was hidden inside the tunnel on the side of the mask.
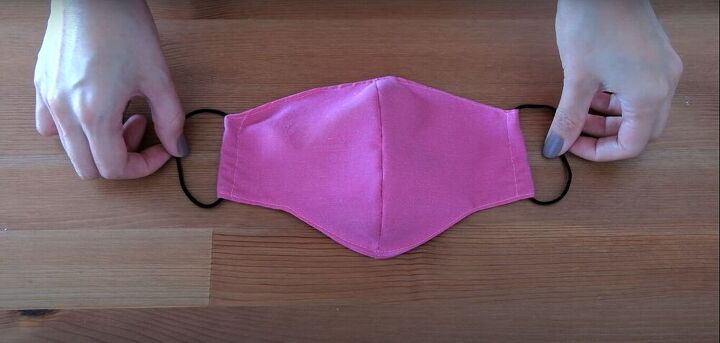
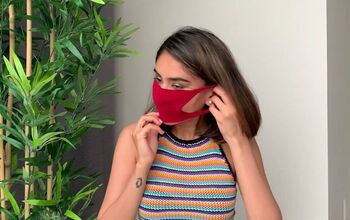
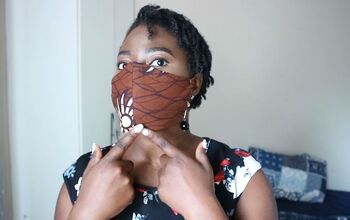
My mask was now complete.
Let me know what you think of this tutorial!
The author may collect a small share of sales from the links on this page.


Comments
Join the conversation
Using the shapes made in paper, I wonder if I could knit a face mask? (I would rather knit than sew.)
thank you very much for the video (I am a more graphic person and got lost in the written instructions).
the mask is lovely!