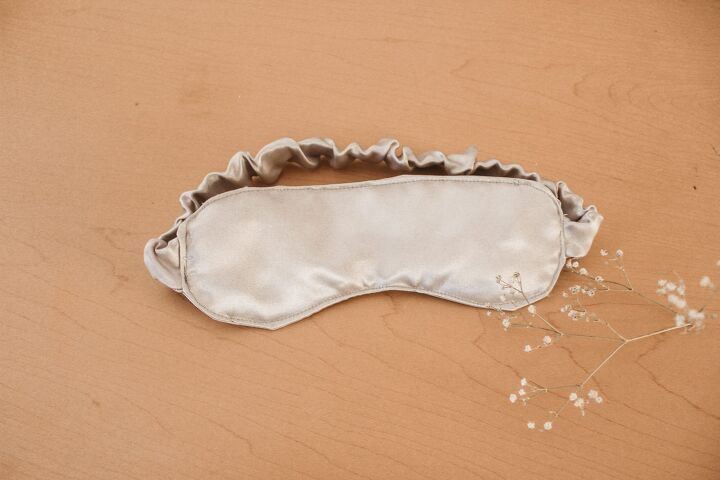
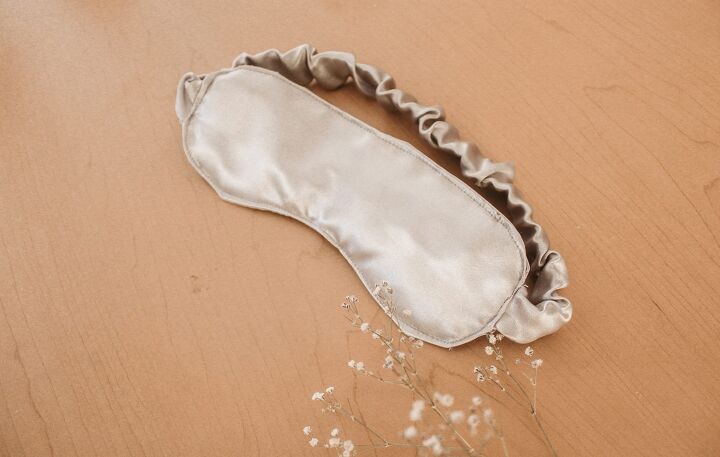
How To Make A Sleep Mask
Sleeping masks can make us sleep better and wake up with curly lashes, cool, right?
I had this satin fabric leftover that I didn’t know where to use or what to make with it. I thought it would be nice to make myself a sleeping mask to fall asleep faster as I suffer from insomnia at times. And what’s better than satin for the skin?
This tutorial is simple, as we included the pattern, so you just have to download it, print it in Letter size paper, cut it and you’re done! Get your free pattern here.
What do i need?
♡ The Sleep Mask Free Pattern
♡ At least 10 x 12 inches of fabric (I recommend satin, or silk fabric)
♡ 12.5 inches of elastic (33 cm) It should be thicker than 1 inch. (2.5 cm)
♡ Wadding or extra fabric leftovers for the filling.
♡ Sewing machine or needle
♡ Tape measure
Let’s begin!
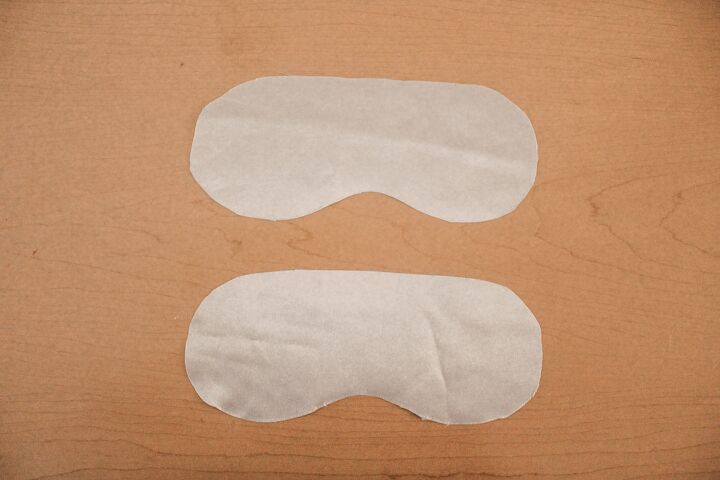
Step 1: Cut two pieces of fabric with your pattern shape.
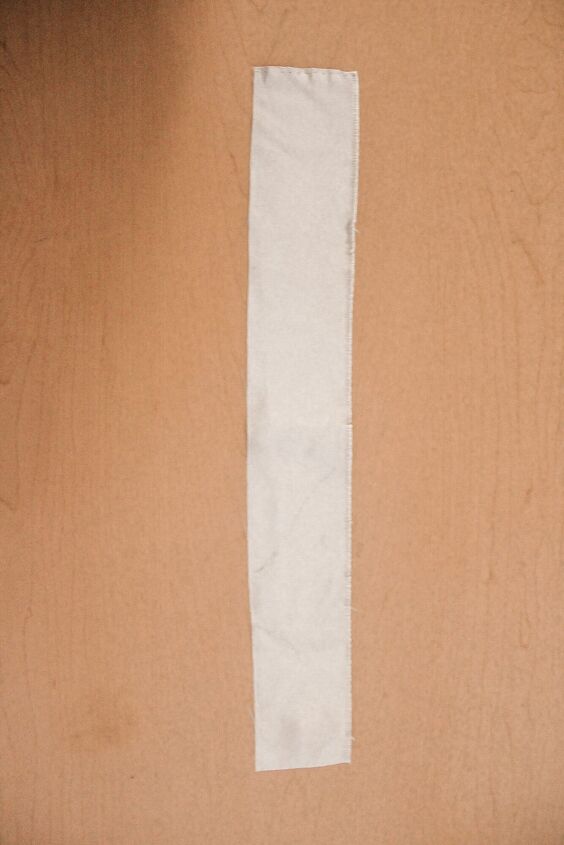
Step 2: Cut the strips.
Cut one strip of 19 x 2.5 inches (48.5 x 6 cm).
If you don’t have enough fabric, divide it in little strips and sew them together to make just one.
Step 3
Sew together the two pieces you cut in the shape of the pattern on the top. Both right sides of the fabric facing each other.
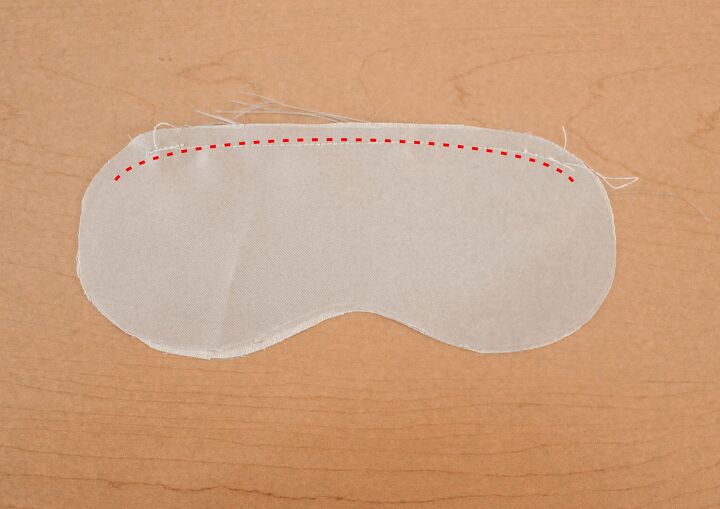
Now, sew the together on the bottom, leaving a space in the middle to join the strips.

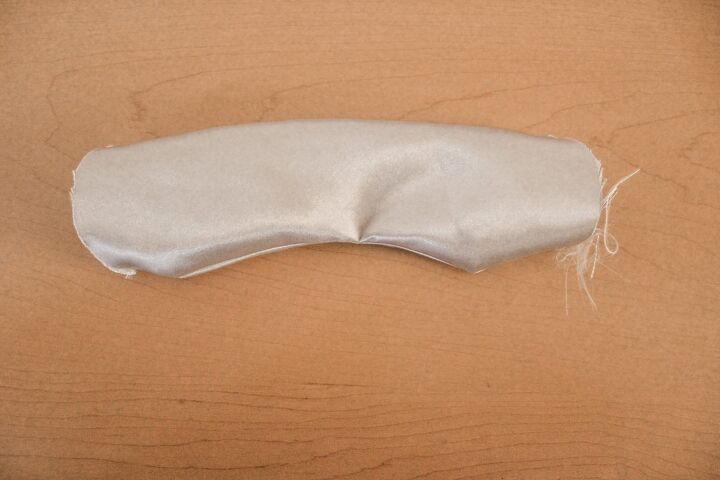
Turn it around, and it should look something like this:
Not pretty yet, but that’s fine.
Step 4: the filling
Take your filling and cut another piece with your pattern.
If you are using fabric scraps for the filling, sew them together, like this:
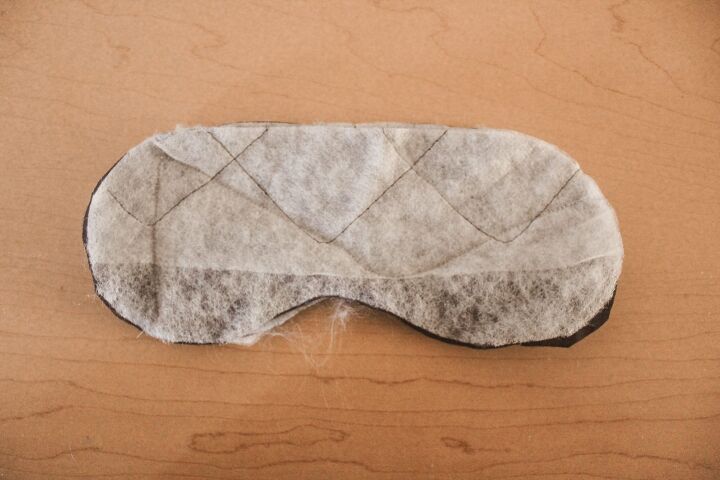
Once you have your filling piece with your pattern shape, cut it a little on the edges. Not too much, but we need it to fit inside the pieces we joined on last step.

Put the filling inside your sleep mask.
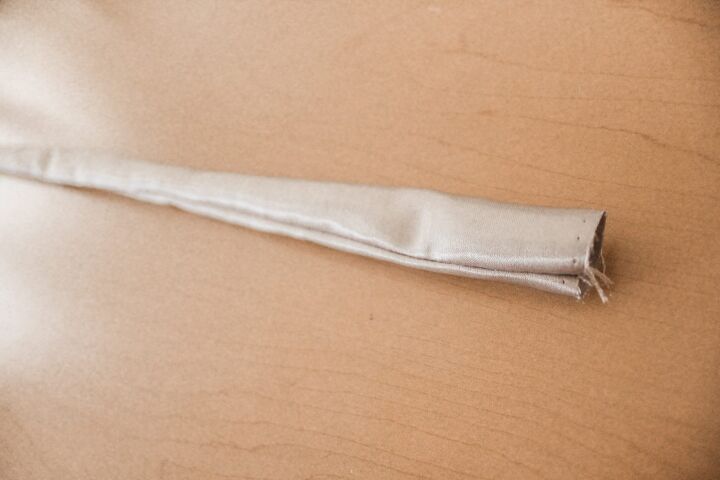
Step 5: Sew your strip
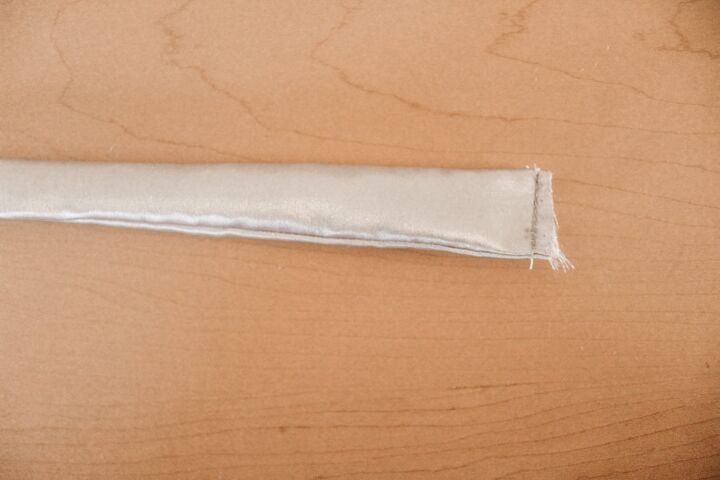
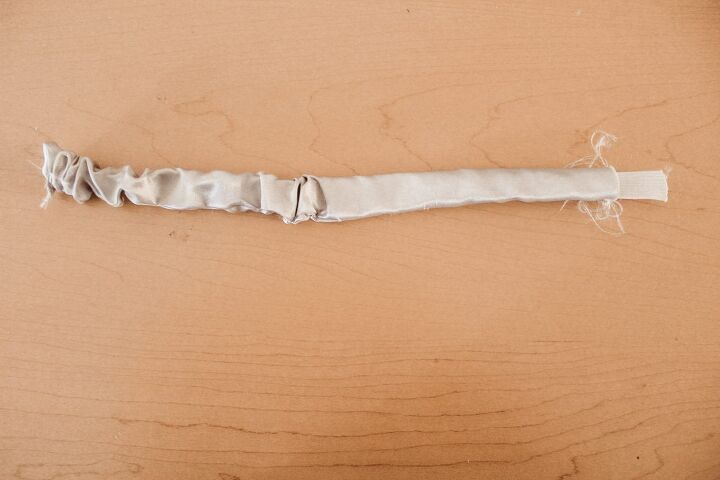
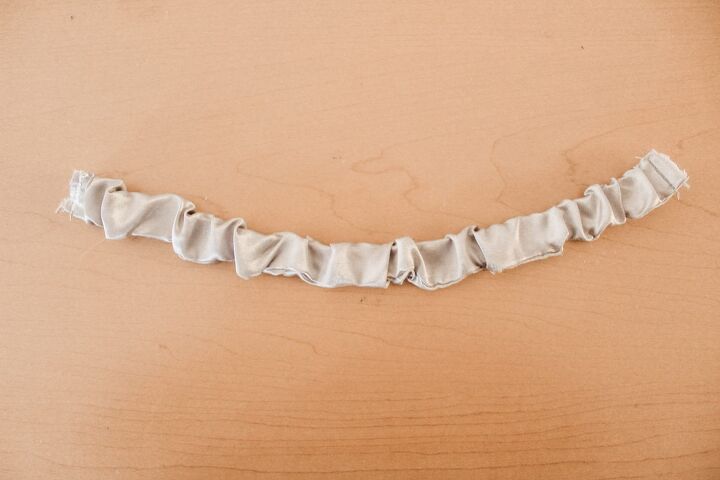
Take your fabric strip, fold in half (right side of the fabric facing each other) and sew the edges together. Leave your ends open so you can put the elastic on the inside.
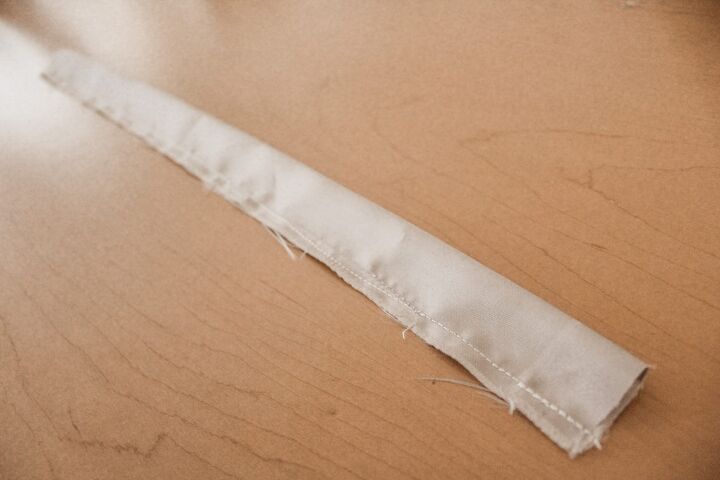
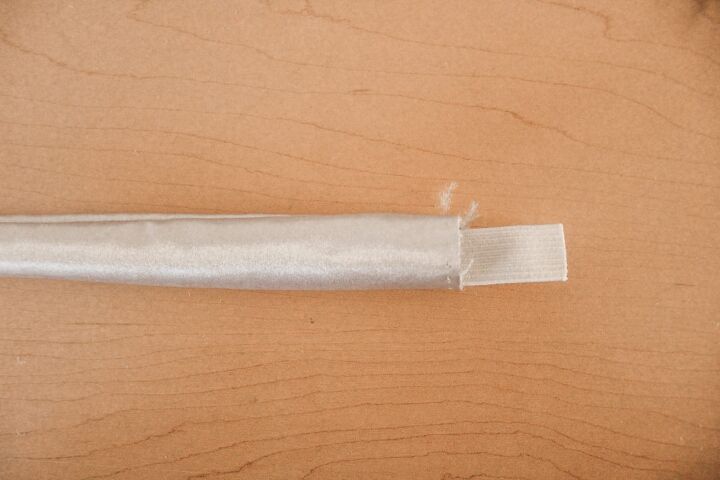
Turn it around and then insert your elastic. Sew the elastic on one edge and then pull it and sew it on the other one. You can use a security pin to make this part easier.
Step 6: Bring the pieces together
Take your strips and insert one edge to the holes of the sleep mask.
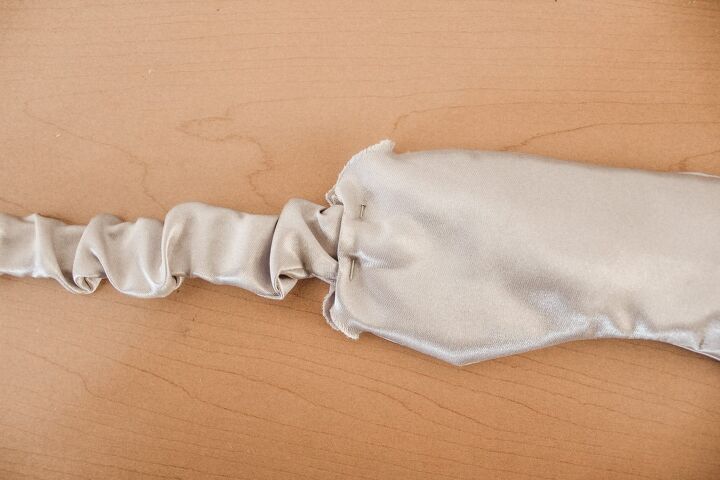
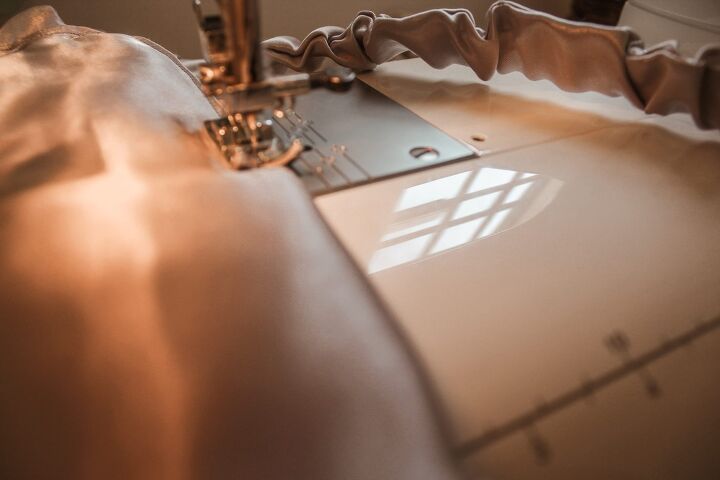
Sew close to the edges to join the strips with the sleep mask with the strip and continue stitching around your sleep mask’s contour. Sew the other side of the strip as well.
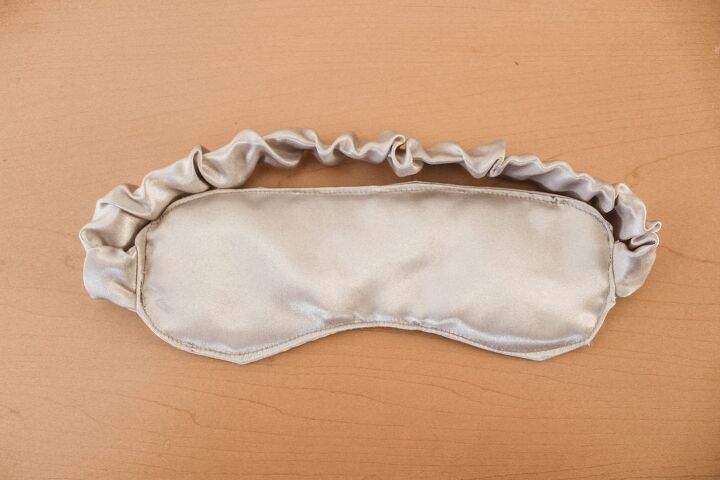
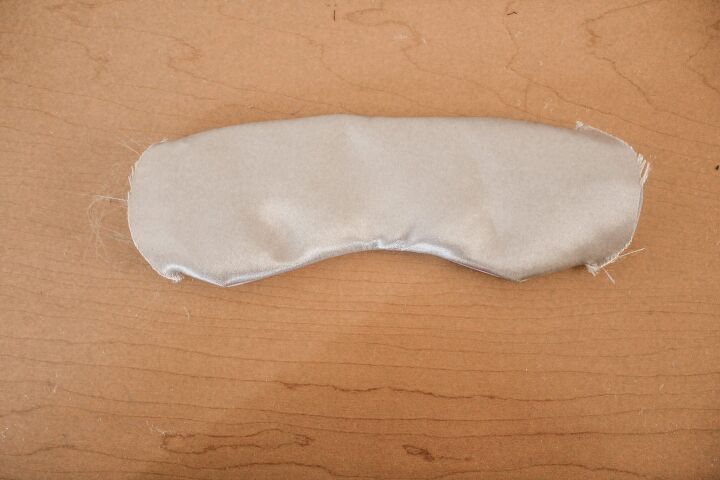
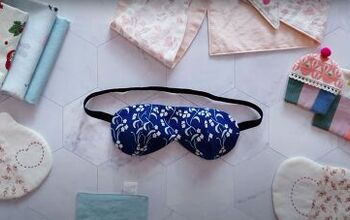
Finally, it will look something like this! And you’re done!
Enjoy your new mask and don’t forget to let us know if you made one♡

The author may collect a small share of sales from the links on this page.


Comments
Join the conversation
i've been planning to do this for a looooong time. I promise myself to get 'er done this week. Fingers crossed!