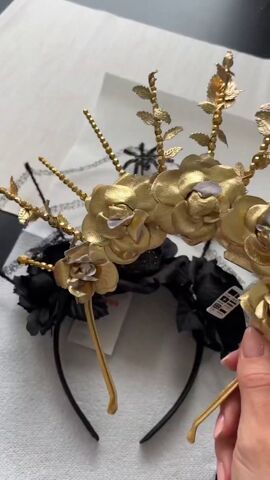
How to DIY a Cute and Easy Halloween Flower Headband

I’m going to show you how to quickly create this Halloween flower headband.
Tools and materials:
- Black spider headband
- Gold flower headband
- Pliers
- Glue gun
- Metallic powder
- Mixing liquid
- Paintbrush
To make this super easy, I’ve purchased two pre-made headbands from Claire’s.
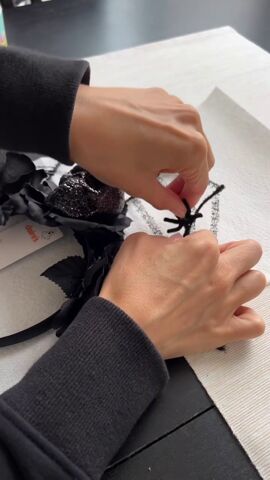
1. Remove the spiders
Take off the cheap tacky spiders from the black headband.
2. Remove the flowers
Take off the flowers from the gold headband.
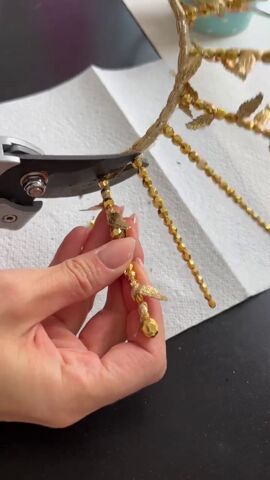
3. Remove the gold sticks
Use pliers to snip off the gold sticks.
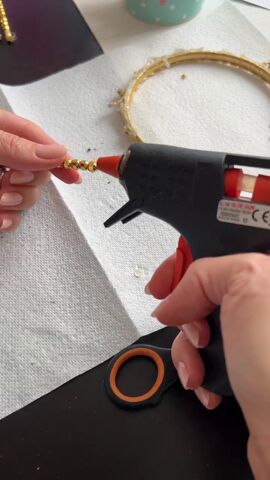
4. Secure the beads with glue
Replace any of the gold beads that come off and secure them in place with a glue gun.
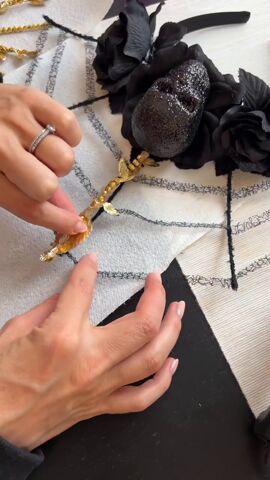
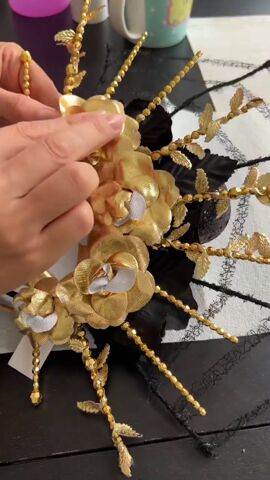
5. Glue the sticks to the web
Starting with the tallest ones, glue the sticks to the spider’s web.
Sticking them to the black wire means they’re not going to fall forward or backward.
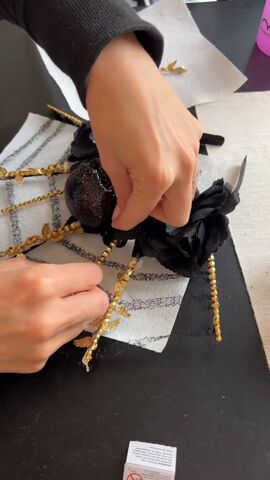
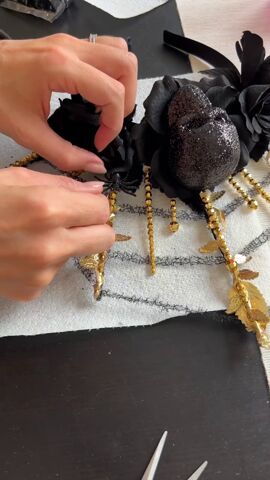
You can place the smaller ones between the roses.
6. Glue plastic spiders to the sticks
I picked up these cheap, plastic spiders that just look better than the felt versions we took off. Glue those to the sticks.
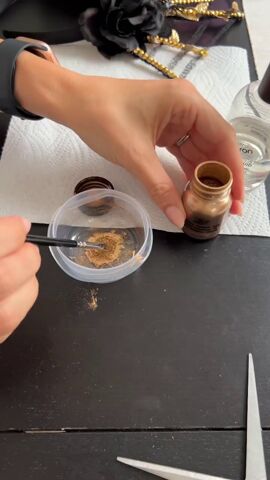
7. Mix together gold paint
To make this Halloween flower headband look extra special, mix the gold powder with mixing liquid.
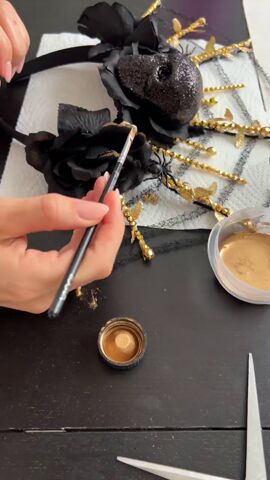
8. Paint the rose edges
Paint the edging of the roses with gold paint.
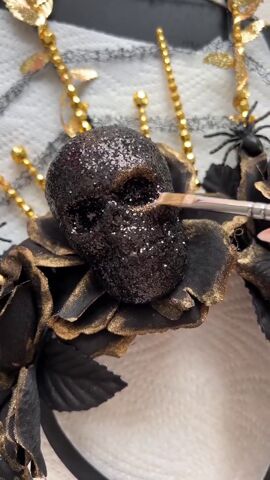
9. Paint the contours of the skull
Use what’s left on the bristles to create a dusting around the contours of the skull.
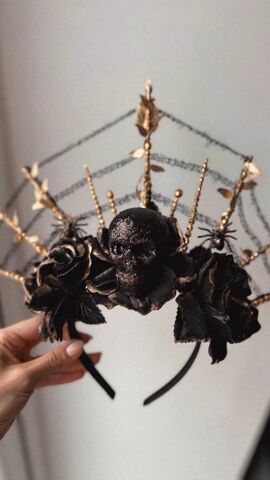
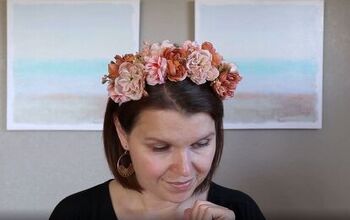
Halloween flower headband
That’s how you can transform two premade Halloween flower headbands into one much more impressive headpiece!
Let me know what you think about this fun DIY in the comments below.
Next, learn How to Do Fun DIY Cruella De Vil Makeup for Halloween.
The author may collect a small share of sales from the links on this page.


Comments
Join the conversation