DIY Bucket Hat

Bucket hats are a staple accessory to have in your summer wardrobe. Not only are they practical and will keep the sun out of your eyes, but they are fashionable too, and the simple design means that you can basically wear them with anything. Follow along while I show you how to make a bucket hat for yourself.
Tools and materials:
- Fabric (I’m using corduroy)
- Matching thread
- Fabric marker
- Pins
- Fabric scissors
- Pattern
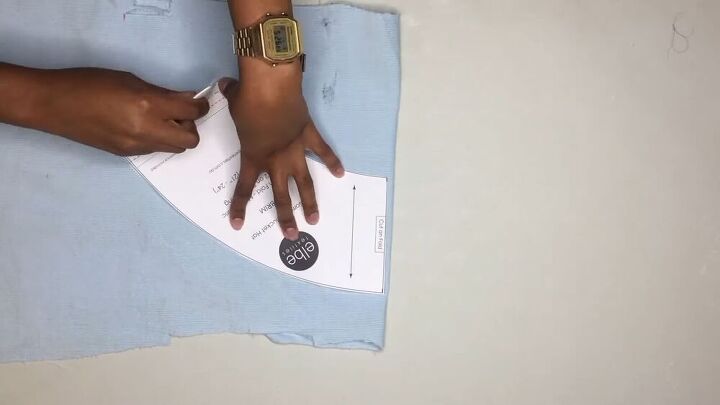
Trace the pieces
Begin by tracing all the pattern pieces on the fabric and remember to do the same for the lining.
Sew the brim and band pieces
Place the two brim pieces together, right sides touching, and then sew along the sides using a straight stitch, leaving a 1cm seam allowance, then just press those seams outwards. Then duplicate this step for the lining fabric too. Repeat this step for the band pattern pieces too. Next, place the brim in the main fabric against the brim in the lining, right sides together, and ensure that the seams match up. Pin in place and then sew together, removing the pins as you go.
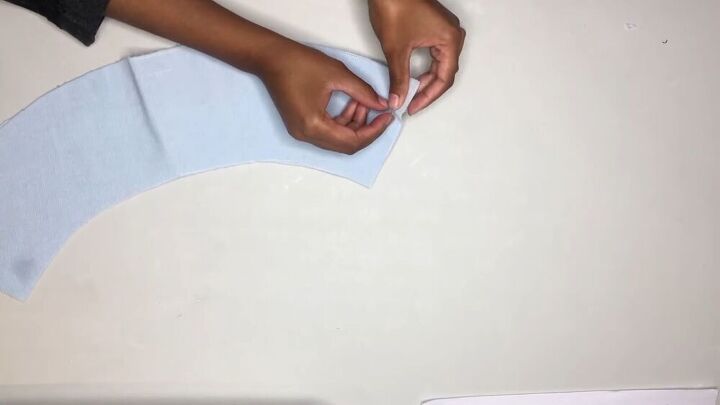
Trim notches
Once this is done, trim notches into the seam allowance to allow the brim to sit better once we turn the whole thing inside out.
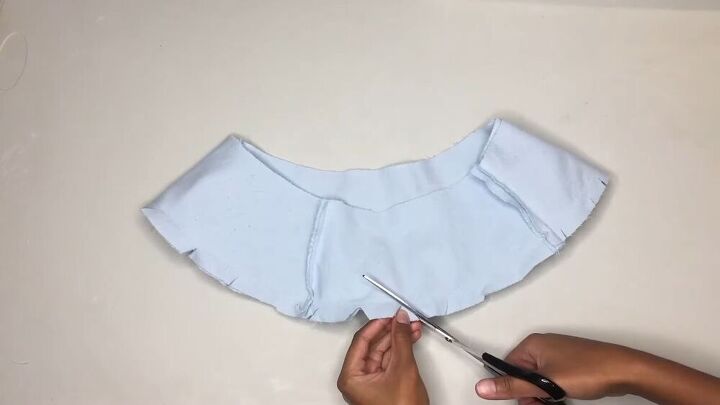
Sew the hem
Now you’re going to turn the brim out so that the right sides of the fabric are facing out and then press the hem of the brim so that it’s completely flat or as flat as it could possibly be, and then topstitch close around the edge of the hem.
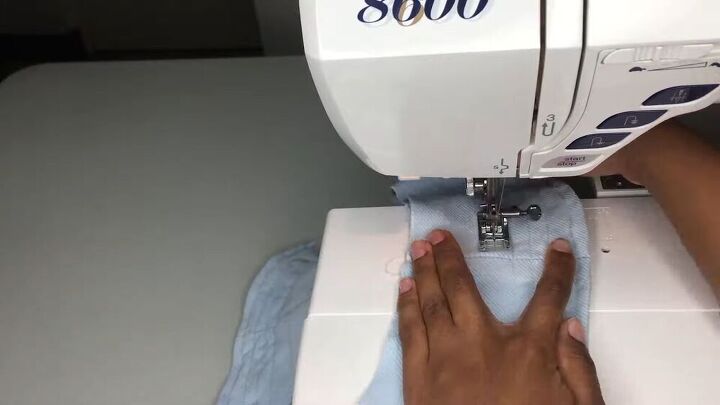
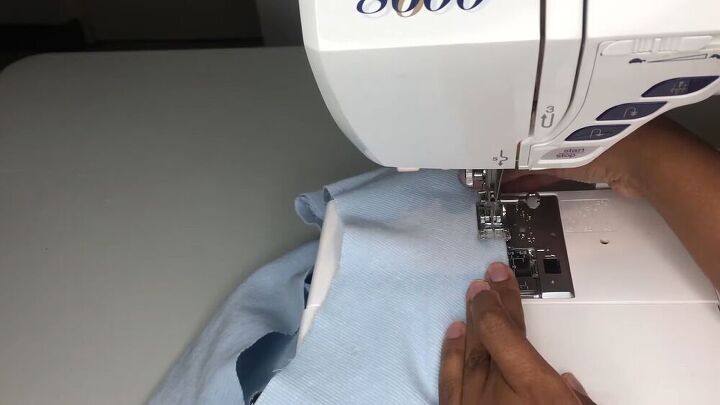
Add parallel rows
I’ve opted for straight stitching more parallel rows from the original line of stitching, about 1cm apart from each other. I did this just because I like the look better, but you don’t have to if you don’t want to; it’s up to you. Be patient because this will take a while, but it will be so worth it come the end.

Base the band pieces and trim notches
Now you’re going to base stitch 0.8cm from the top edge of the band pieces to use as a guide. Once done, trim notches into the seam allowance of the band to allow for a better fit to the top piece.
Attach the band to the top piece
Place the right side of the band against the right side of the top piece, and then pin this in place so that you’re matching the notches. Sew these pieces together using a 1cm seam allowance and then repeat this step for the lining band and top pieces. Trim into the seam allowance so that the top piece is notched to match the band, and then press the seam towards the band. Turn the fabric out the right way and then straight stitch down along the edge of the seam. Repeat this process for the lining of the cap too.
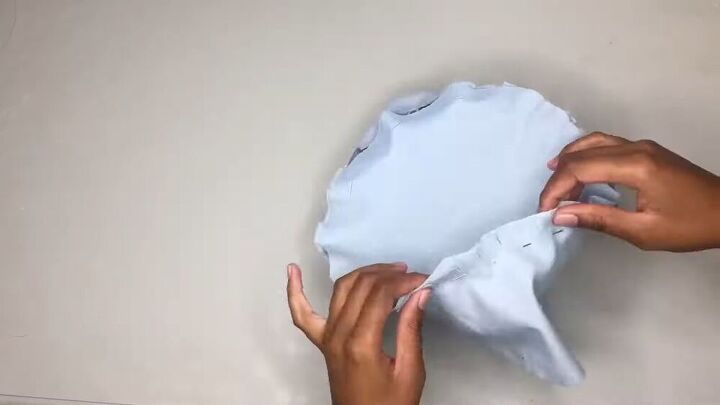
Attach to the brim
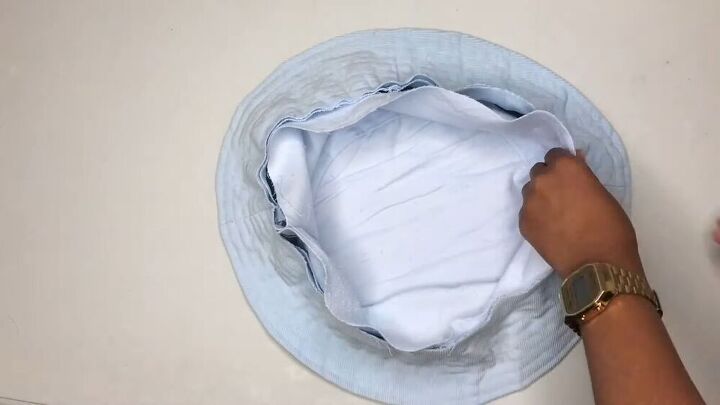
Now only in the main fabric, press the bottom edge up by 1cm. Place the right side of the lining top against the lining side of the brim, raw edges matching and seams and edges lined up. Then you’re going to pin this all in place. Sew together, using a straight stitch, the lining of the top, and the hat’s brim using a 1cm seam allowance. Place the main fabric’s top piece over the rest of the hat, ensuring all the seams are aligned. Straight stitch all the way around to secure all the pieces of the fabric together.

And the hat is complete! It looks simple yet fashionable at the same time, and I know that I will get a lot of wear out of it this summer. Have fun picking out the type and color of the material you want to use for this project. I personally went with light blue because this is a fairly neutral color that will go with everything. Enjoy making it - all of the effort put in is so worth it!
The author may collect a small share of sales from the links on this page.


Comments
Join the conversation