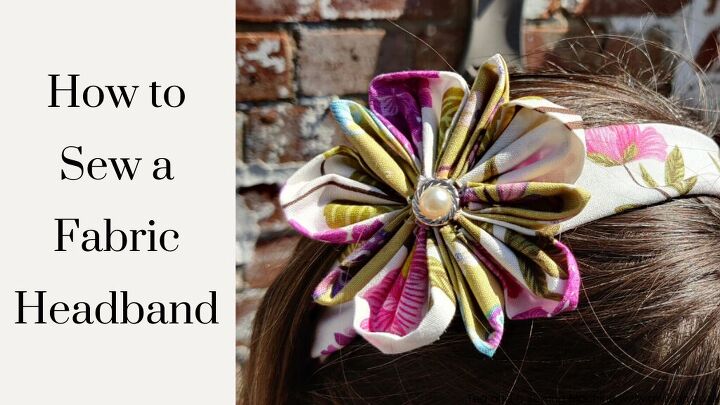
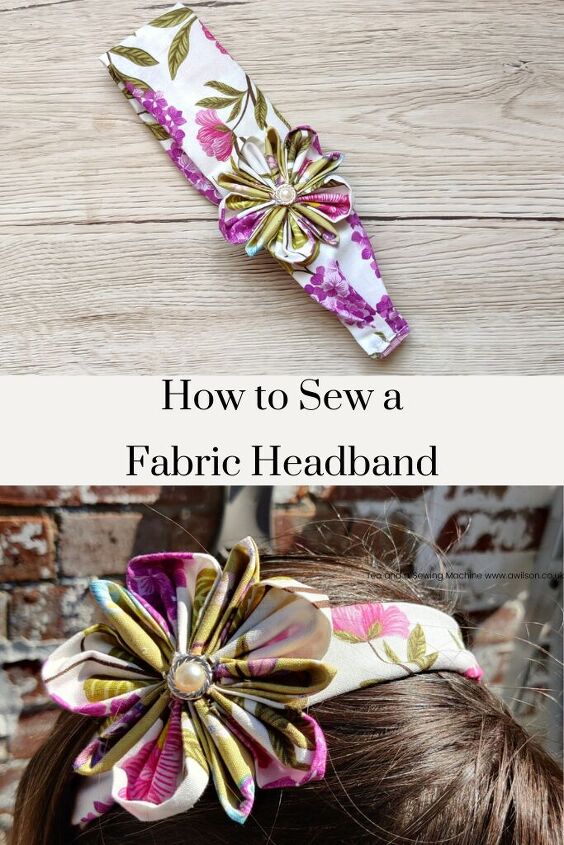
How to Sew a Fabric Headband
A few weeks ago I wrote a post about making fabric flowers with a Clover flower maker.
In the post I said that I was intending to use the flowers to make a cushion. I’d made 3 flowers at that point, and I was planning on making a standard sized cushion cover entirely out of flowers.
6 weeks on and the flower count still stands at 3!
It’s not that I didn’t enjoy making the flowers, or that it was difficult or complicated. But after I’d made 3, I just didn’t want to make any more! I get bored quite quickly if I’m making the same thing over and over again, and as the flowers are constructed a petal at a time, it is quite repetitive.
The other thing was that I was starting to think that maybe a cushion wasn’t going to be the best way to use the flowers I’d made. Cushions tend to get squished when people sit on the sofa, and I didn’t want to feel annoyed with my people for using the sofa for its intended purpose.
But the flowers I’ve made are pretty. I love the fabric and the pearly buttons. Leaving the flowers to collect dust on a bookcase is no better than them being squished under somebody’s bottom.
So I decided that my pretty flowers needed a new destiny, one where it wouldn’t matter that there were only three or where they would get squashed.
As you may have experienced yourself, inspiration can strike in the strangest of places. One such strange place for me was Caffe Nero in Coventry city centre last weekend, while my family and I were having a cake break in between watching 2 games of ice hockey.
At the next table was a lady who was enjoying a treat. She had one of those coffees with a lot of whipped cream on top, and a slice of cake. She must have decided it was a pink day when she woke up (I have those too!), as she was wearing a pink top, pink trainers and a lovely hairslide with pink flowers on it.
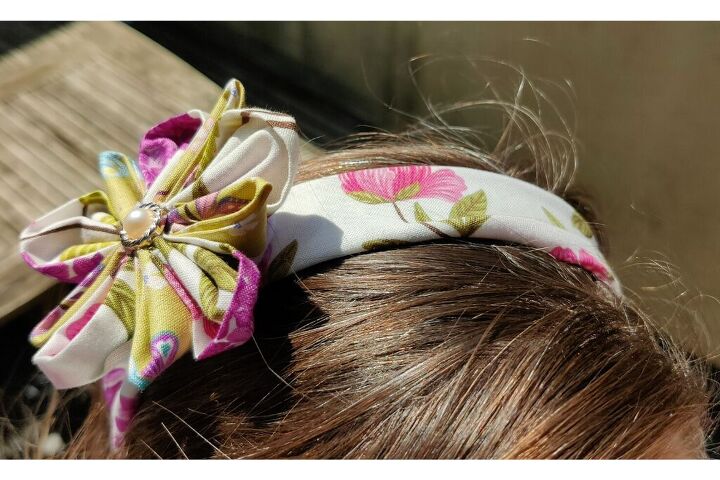
So as a homage to this lady in Caffe Nero in Coventry, wearing pink, eating cake, putting pretty things in her hair and living her best life, I’ve turned the one of the flowers into a pretty fabric headband.
Instructions For Sewing A Fabric Headband
You Will Need
To sew a fabric headband, you will need:
Fabric flowers. The tutorial for using the flower making gadget things is here. If you don’t have a gadget, there are instructions here for making felt flowers without one. The instructions are in what I’m guessing is Portuguese, but the pictures are clear enough on their own. You could even buy silk and sew or glue them on if you didn’t want to make them.
Fabric. A fat quarter will be enough for the headband and the flower. I’ve used cotton, but you could try something heavier like needlecord if you are planning to wear your fabric headband with a wintery outfit.
Elastic. The flat kind is best. You only need a bit, so see what you have. You might have something left over that you can use.
Cutting Out
Cut a rectangle of fabric 14 cm x 50 cm. This was the right size for my head, but I have a little head! You might want to check with your own head before cutting anything. The idea is that the elastic isn’t visible.
Cut a piece of elastic 10 cm long. Again, this was the correct size for my head. I would recommend pinning the elastic to the fabric and trying it on before cutting it.
Sewing the Headband
With the right sides together, fold the fabric in half lengthways. Sew along the long edge to form a tube.
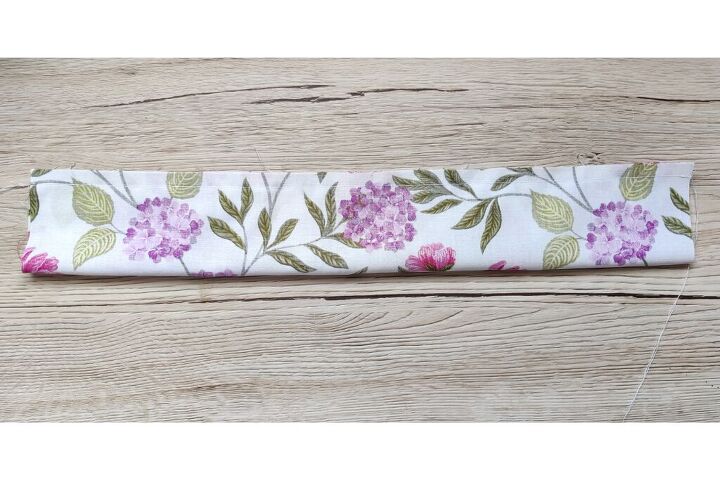
Press the seam open and turn the headband the right way out.
Find one of the open ends. Fold the raw edge inwards about 1 cm. Press the fold.
From the seam, measure 1.5 cm on either side and mark with a pin. Do the same with the other end.
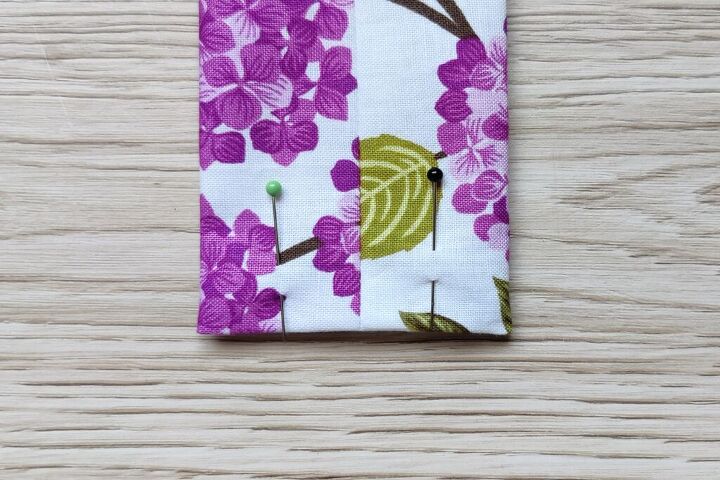
Pleat the excess fabric so that the width of the headband at the opening is 3 cm.

Tuck one end of the elastic inside the opening and sew. I would backstitch over it as well.
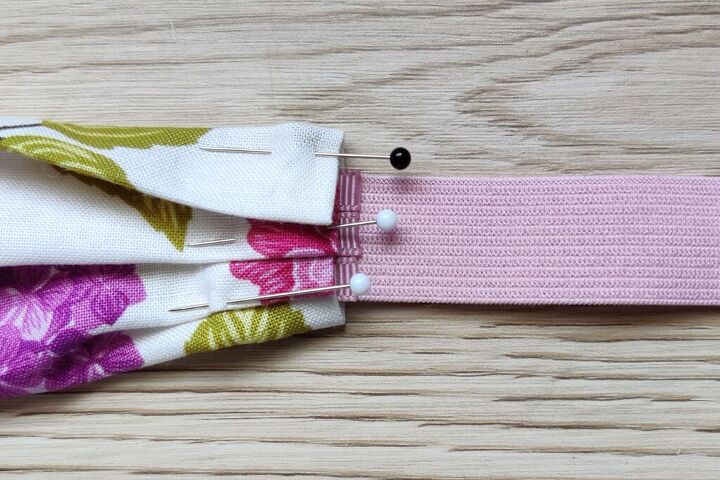
Do the same with the other end of the headband.
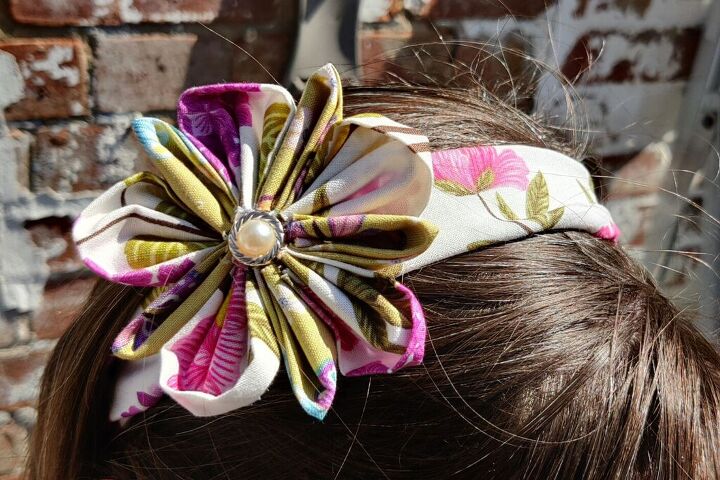
Attaching the Flower
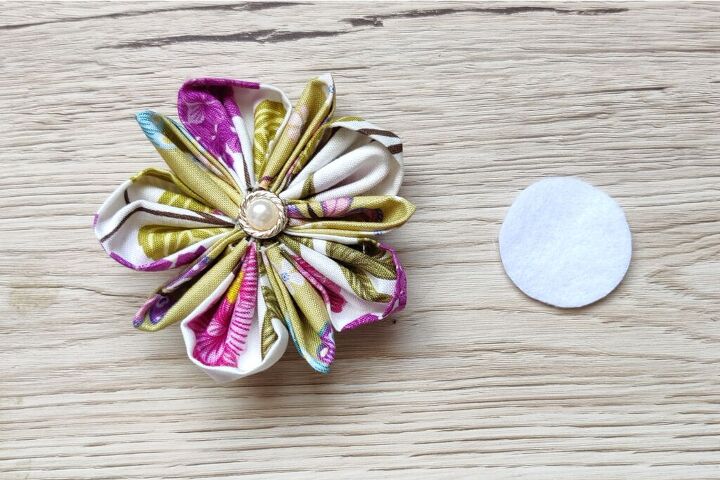
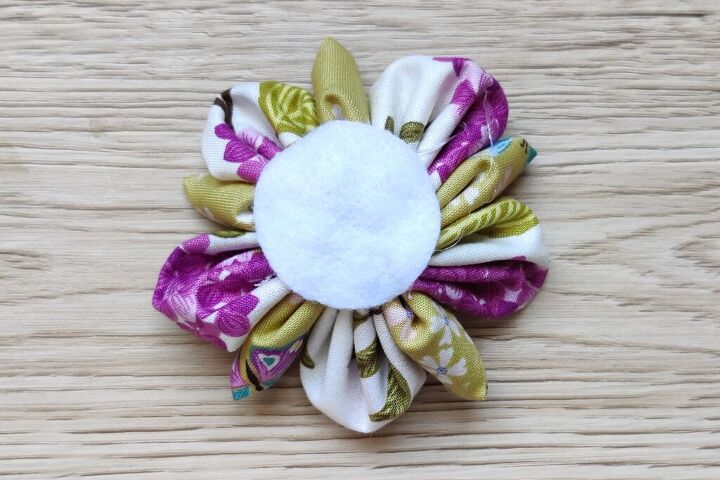
To make it easier to sew the flower to the headband, I glued a circle of felt to the back of the flower. To get the felt the right size, I drew round a tealight.
Pop the headband on and decide where you would like the flower.
Sew or glue the flower to the headband.
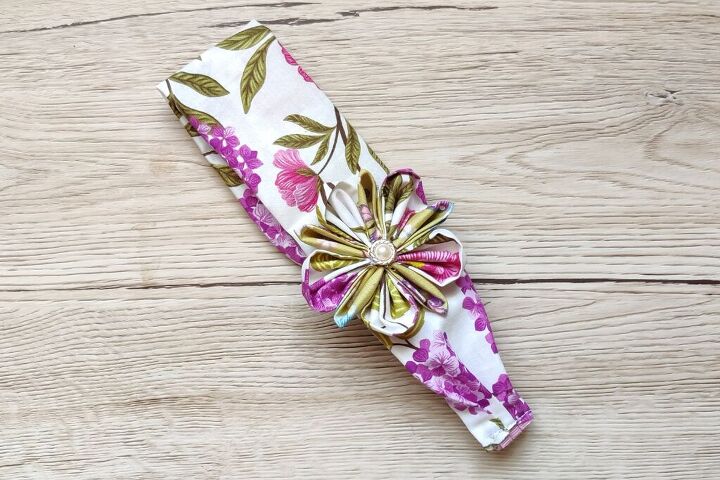
When I tried the finished headband out, I found it to be a little bit wide. It’s nice to have options though, so I tucked the edges underneath to make it narrower. I might feel differently another day!
Other Ideas For Using the Flowers
- Sew or glue one to a hair elastic.
- Sew a few stitches at the back of a flower and slip a hairgrip through.
- Attach a flower to a length of fabric that you could tie around your hair.
- Glue a flower or three to a comb and tuck the comb in above a ponytail or under a bun.
The author may collect a small share of sales from the links on this page.


Comments
Join the conversation