How to Sew a Beanie 2 Ways: Using Fleece Fabric or an Old Sweater

The best way to keep warm is to keep your head covered. So, in this tutorial, I'll show you how to sew a beanie from scratch to keep you warm this winter.
Fleece keeps you warm and cozy on chilly days and nights whether you’re out and about or in your house. These make perfect gifts for a special someone or even for yourself.
Here, I’ll show you how to make your own beanie from fleece and as a bonus, from an old sweater. Let’s get started on how to sew a beanie!
Tools and materials:
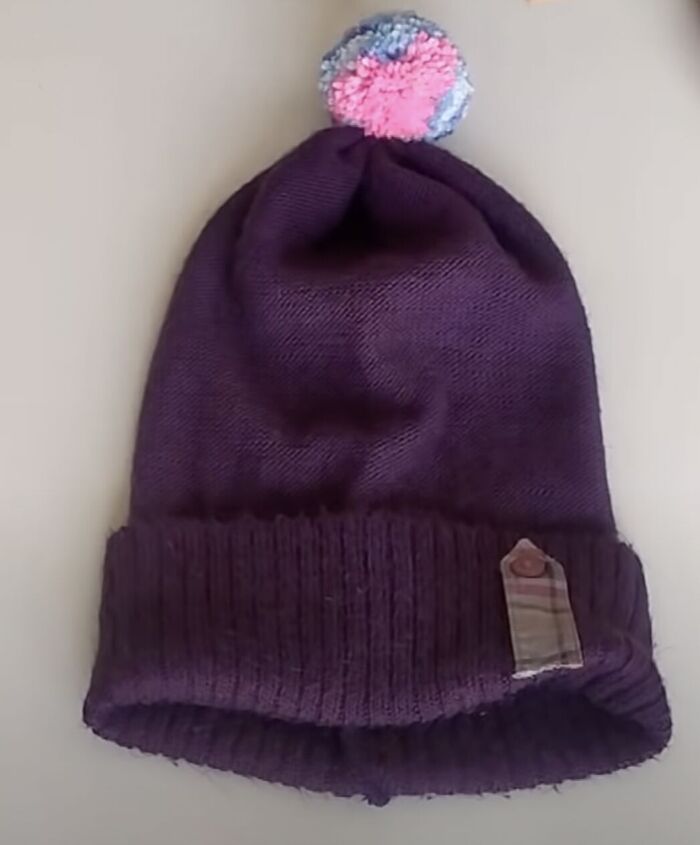
Fleece beanie
- Fleece fabric
- Scissors
- Sewing machine
- Pins
Sweater beanie
- Old sweater
- Scissors
- Sewing machine
- Needle and thread
- Wool
- Cardboard
You can repurpose any fleece garment you already have or buy a small piece of fleece to make the beanie. Fleece is super easy to work with and doesn’t fray so you don’t need to hem it.
Fleece has one side that is stretchier than the other, so check the stretchiness before cutting and sewing. Your fleece may have a wrong side. If it does, make sure to pin and sew your pieces right sides together.
DIY fleece beanie
1. Make the pattern
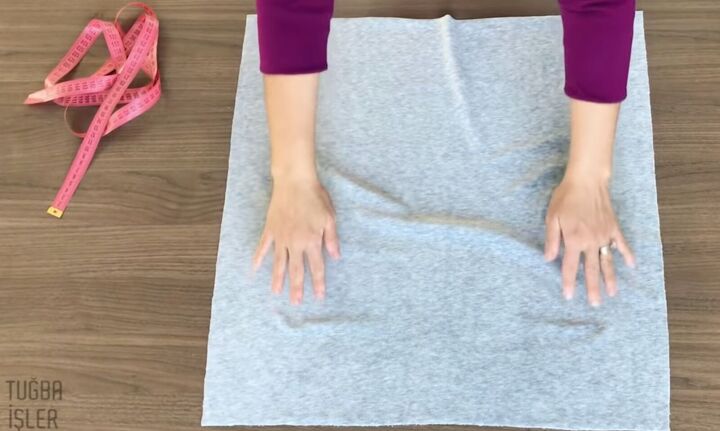
Check your fleece's stretchiness. Cut the fabric to measure 22 X 22 inches.
Fold the piece so the right sides are together.
2. Sew the beanie
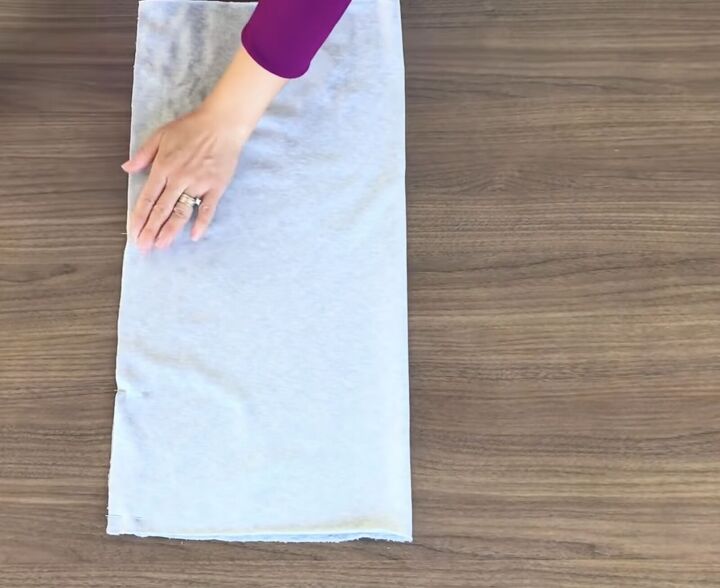
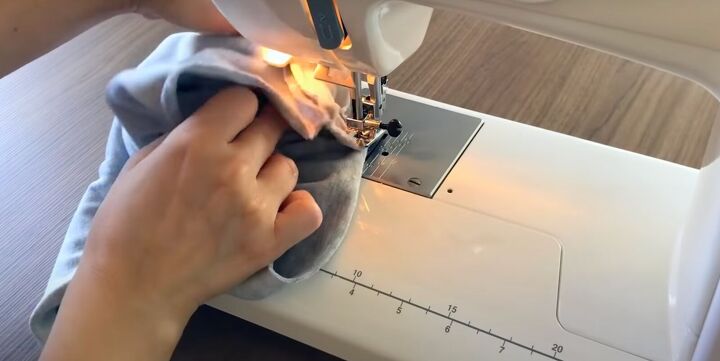
Pin along the long open side. Sew with a straight stitch, leaving about 2 inches unsewn just a bit above the center.
Once it’s sewn, lay it flat. Lift up the right side and match the inner corner to meet the outer left corner.
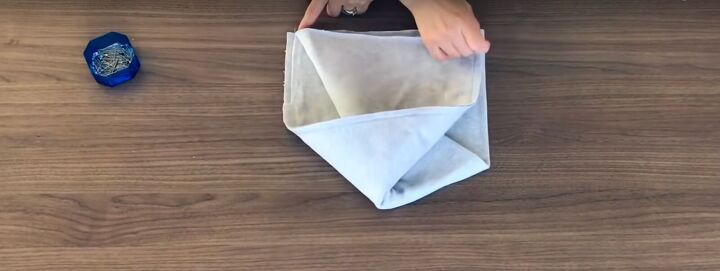
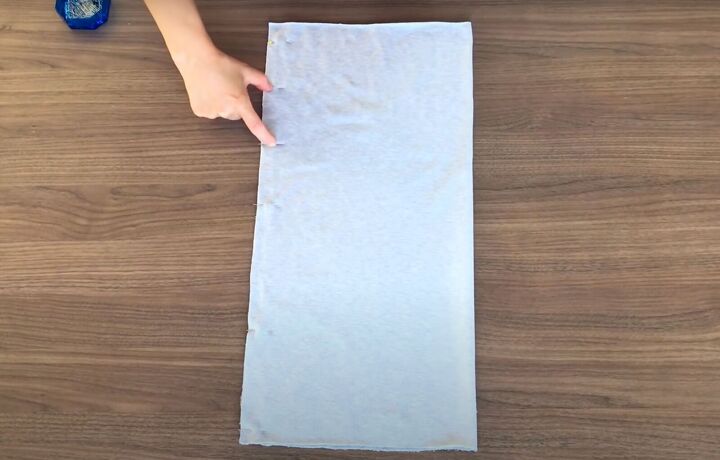
Then lift the lower left corner and match it to the upper right corner.
Pin the flat bottom with the top and bottom layers. Sew with a straight stitch. Just before you reach the end, stop sewing.
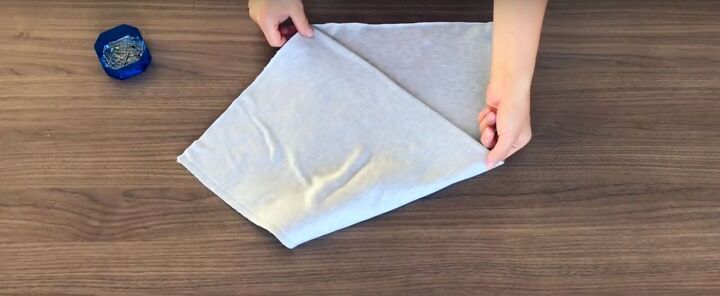
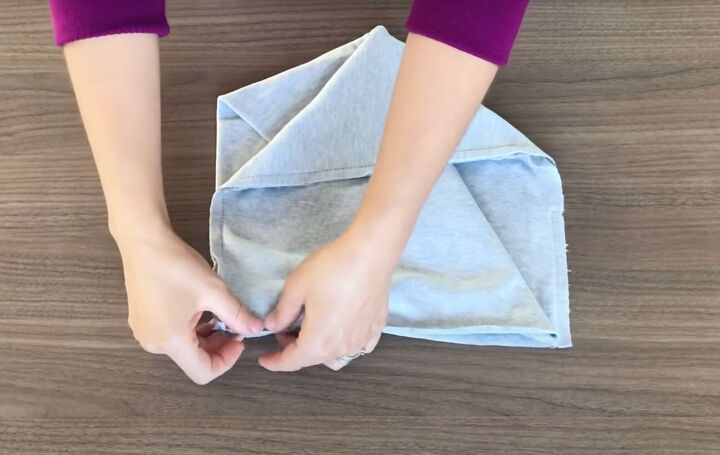
Tuck your hand in and open the folds from the inside and continue sewing all around, pulling out the folds.
When you’re done sewing, find the unsewn hole and flip the beanie inside out.

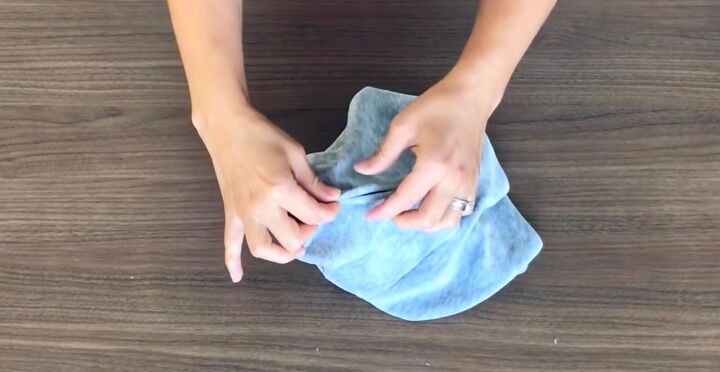
Blind stitch the opening closed. Tuck the beanie fabric inside. You’re done!
DIY sweater beanie
Here’s a great way to repurpose an old sweater. Make sure it has nice ribbing at the bottom.
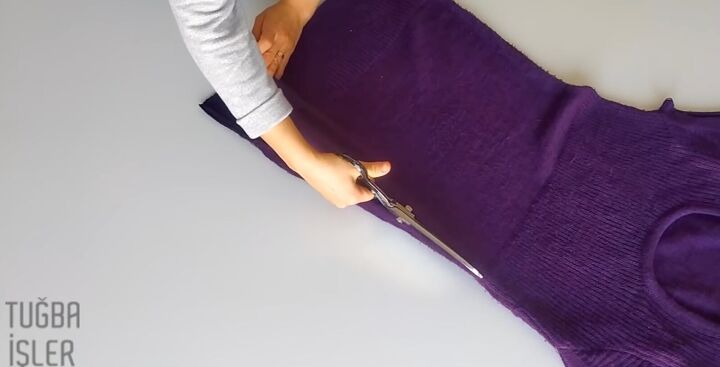
1. Cut the pattern
Cut from the waist downward on one side.
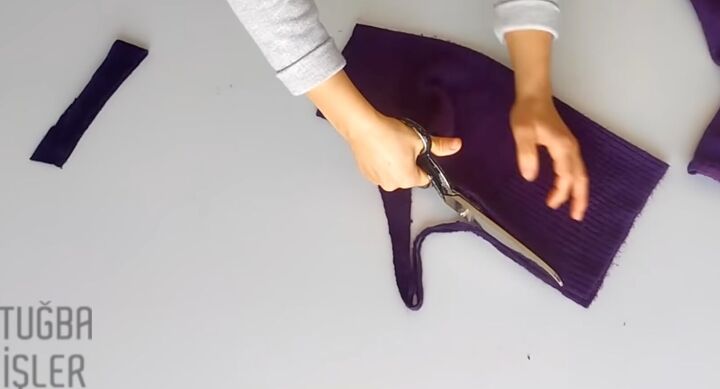
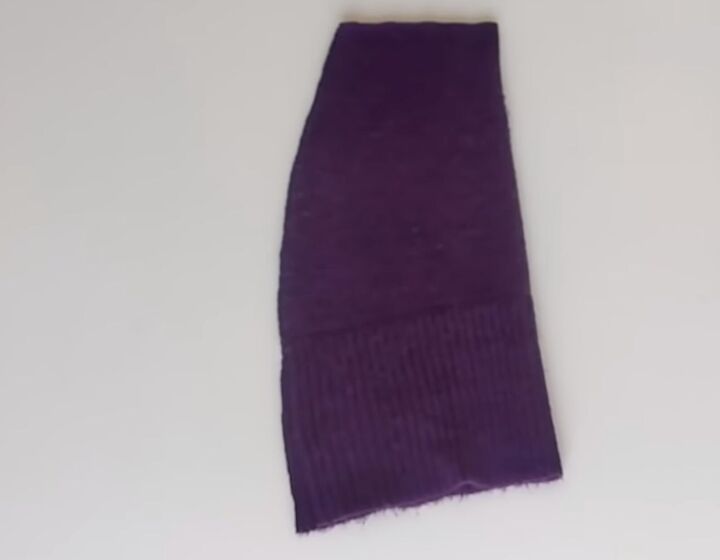
Trim to a rounded at the top bell shape.
2. Sew the beanie
Fold the sweater piece over, right sides together. Pin the open side seam.
Sew with a straight stitch, making sure to backstitch at the beginning and the end of the seam.
Flip the beanie “loop” or “tube” inside out.
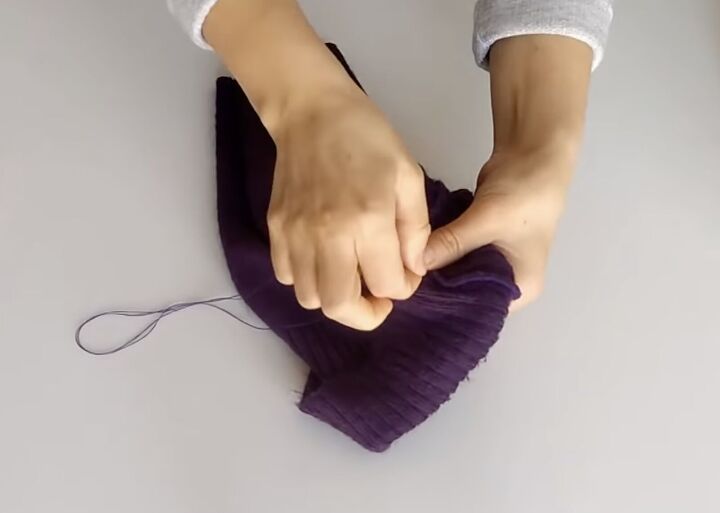
Determine the best length for the fold. Hand-sew the fold in place right along the seam.
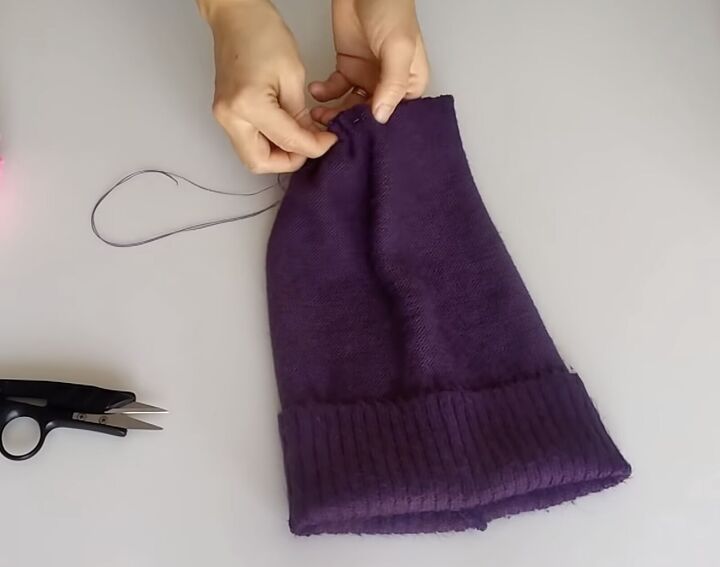
Hand-sew a gathering stitch at the top, pulling in the thread and knotting it tightly.
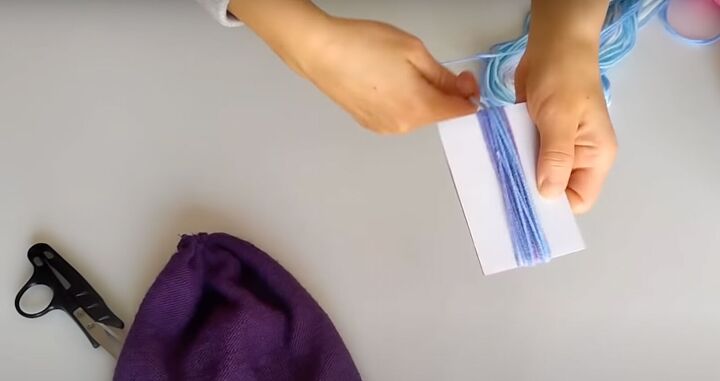
3. Make the pompom
Use a piece of cardboard the size of a credit card. Begin wrapping the wool around it tightly until it is nice and fluffy.
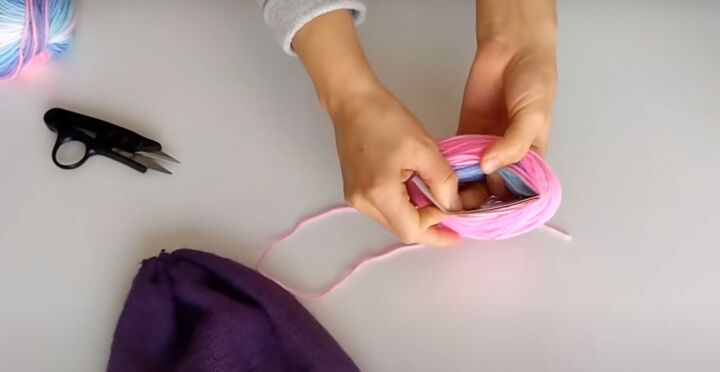
Stick your fingers in to separate the wool from the cardboard and while holding it, remove the cardboard.
Wrap the wool around the center, nice and tight, and tie a knot. You’ll have a sort of figure 8.
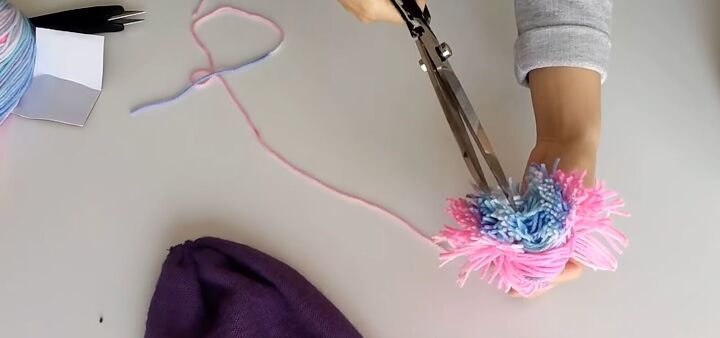
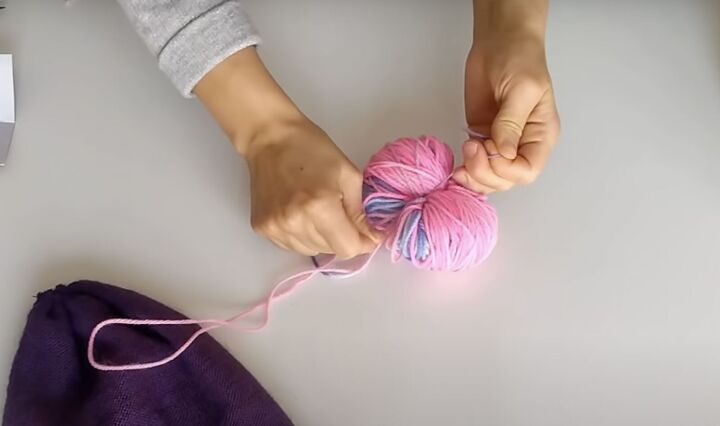
Cut the rounded ends straight across on both sides.
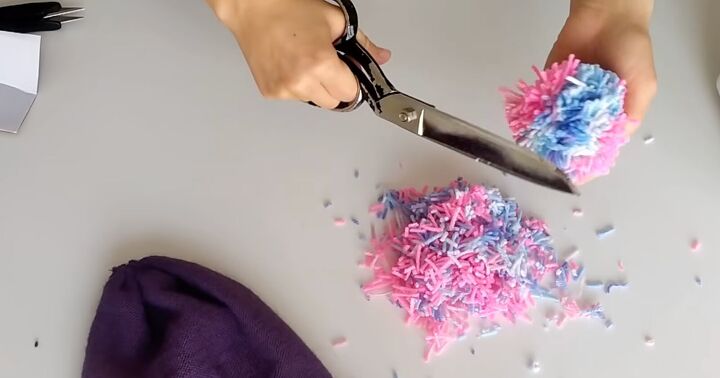
Trim the pompom to your desired shape.
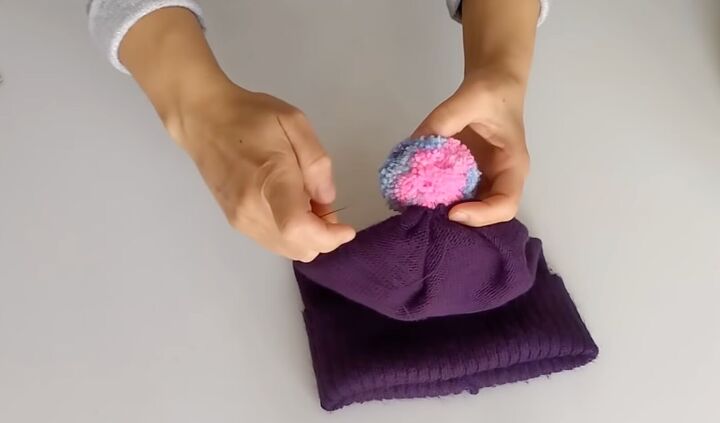
4. Attach the pompom
Push the sewing needle through the pompom and sew directly to the top of the hat.
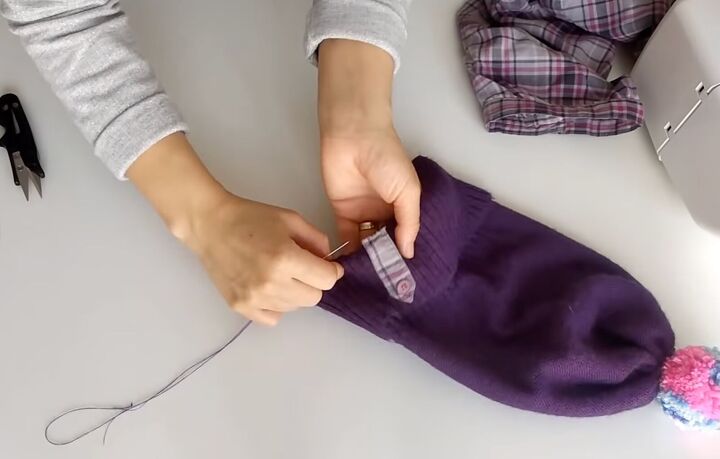
Optional: If you want to cover the seam from the wrong side fold of the hat, you can use a sleeve tab from an old cotton shirt in a complementary or contrasting color.
How to sew a beanie tutorial
I hope this tutorial helped you learn how to make your own beanie! Please let me know in the comments what you think and which one you made.
To see more of my DIY sewing tutorials, follow me on TikTok @tugbaisler.
The author may collect a small share of sales from the links on this page.


Comments
Join the conversation
Love the flannel beanie. Wish there was a video; i'm not sure about the instructions. But I will try it! it's really cute......