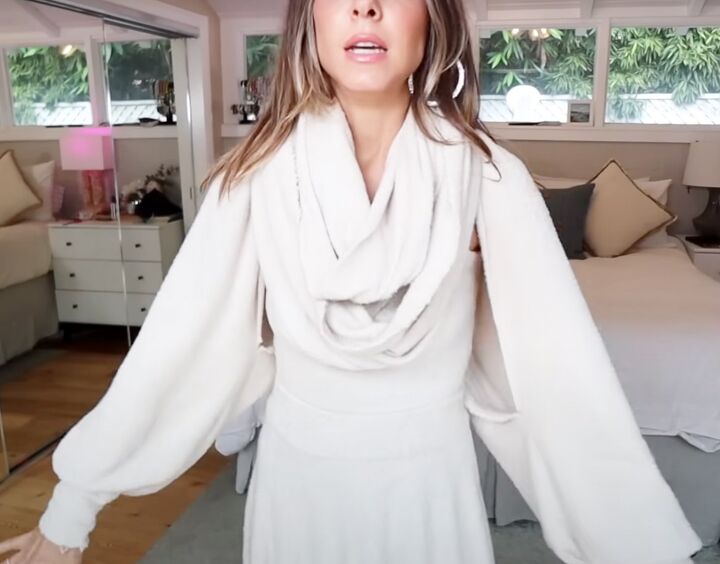
How to DIY a Cute and Easy Sleeved Scarf

I was inspired to make this sleeved scarf by a knitted scarf top my mother knitted.
You can easily customize the fabric and size to your own taste and shape.
Plus, I’m giving you the instructions to make a simple top to wear under the scarf from the extra fabric.
Tools and materials:
- 3 yards of knit fabric
- Measuring tape
- Scissors
- Pins
- Sewing machine
Sleeved scarf
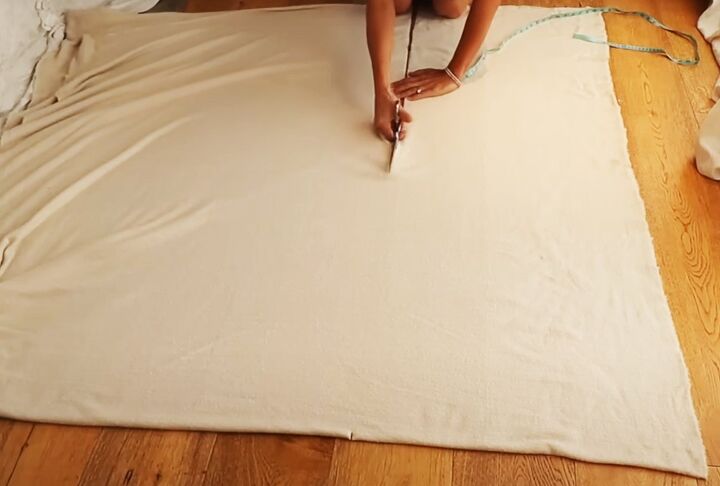
1. Cut the fabric
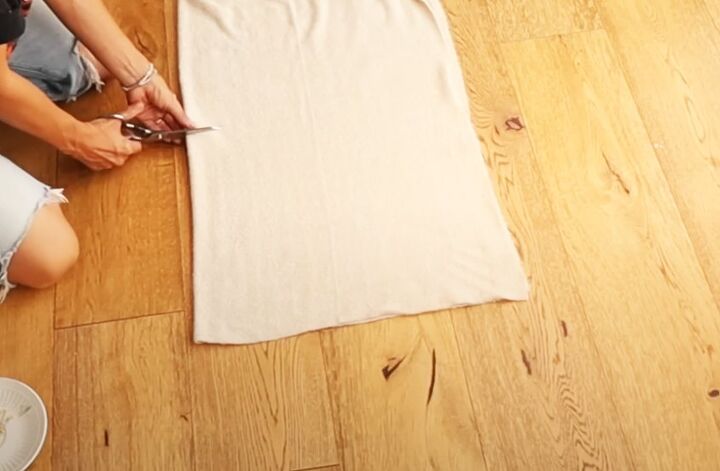
Fold your fabric in half widthways.
Measure and mark 22 inches along the folded edge and the open opposite edge. You can make your scarf anything between 20 inches and 25 inches wide, depending on your height.
Cut between the two marks.
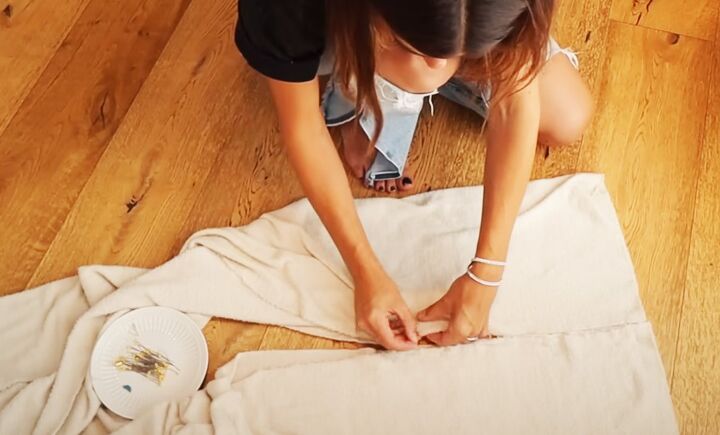
2. Make the sleeves and cuffs
Measure from your wrist to where you want the scarf to close. I wouldn’t recommend going much higher than the crook of your elbow.
I chose a length of 12 inches for my sleeves.
Fold each end of your fabric in half lengthways with the right sides facing. Pin the long edges together to your desired sleeve length.
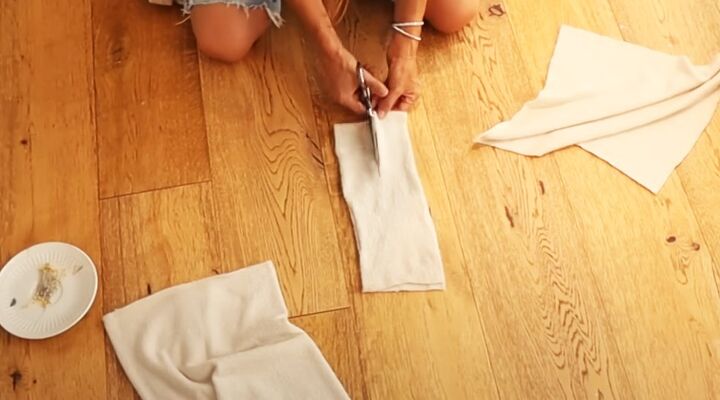
Cut two 4 inch wide strips of fabric from the surplus, enough to wrap around your wrist plus a seam allowance.
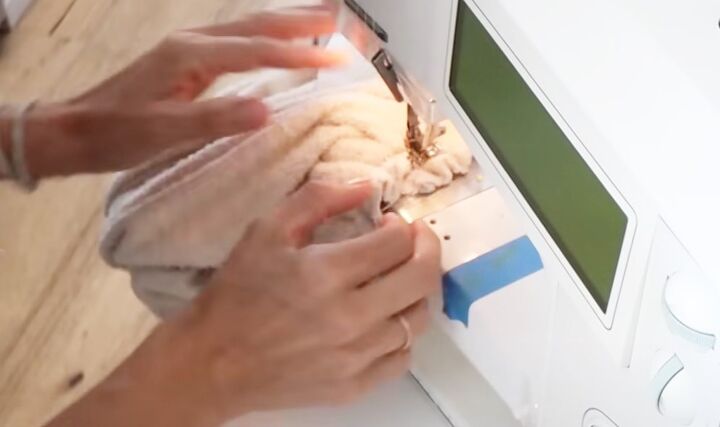
Sew the sleeve and cuff seams.
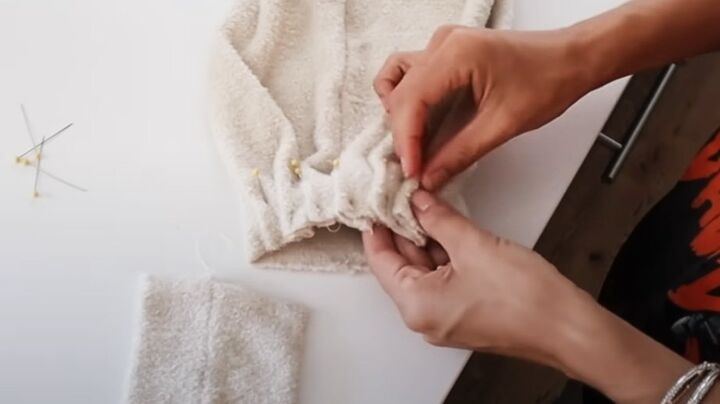
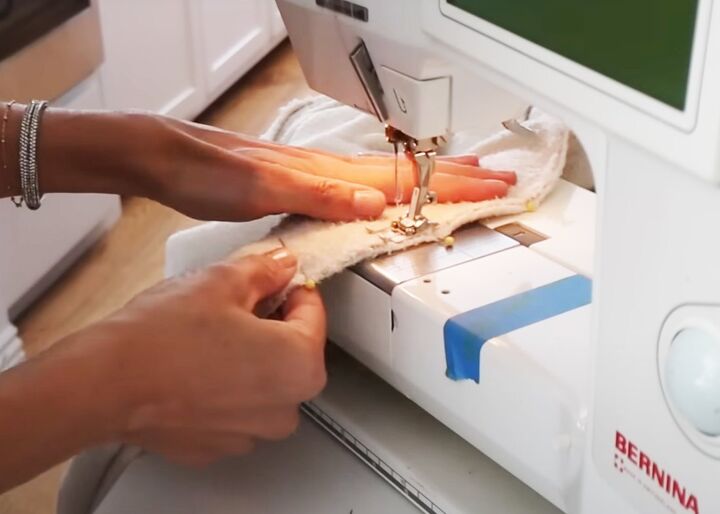
3. Attach the cuffs
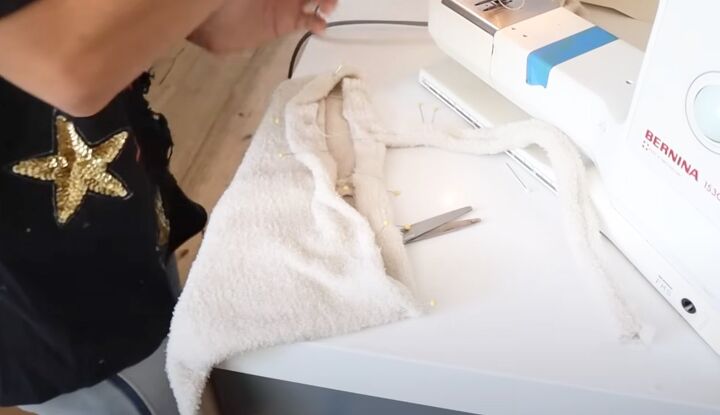
Gather the end of the sleeves to fit the cuffs. You can use a row of long gathering stitches, or do as I did and make pintucks or pleats.
Sew the gathers or pleats into position from the right side before attaching the cuff.
Flip the cuff wrong side out. Slide it over the sleeve so the right sides are facing.

Pin and sew them together, matching the two seams. It may be easier to do this by hand.
If you use your machine, I’d suggest sewing the cuff in short sections.
Scarf top
1. Cut out the top
Cut a piece of fabric from the surplus, 12 - 14 inches deep and long enough to wrap around your body, plus a seam allowance.
Cut two double width straps.
2. Assemble the top
Pin and sew the back seam, with the right sides together.
Sew the long edges of the straps together with the right sides facing.
Use a safety pin to turn them right side out.
Fold down the upper edge of the top by about 1 inch all the way around.
Pin the straps to the inside back of the top, with the strap seam on the inside.
Sew around the upper edge, stitching the straps into position.
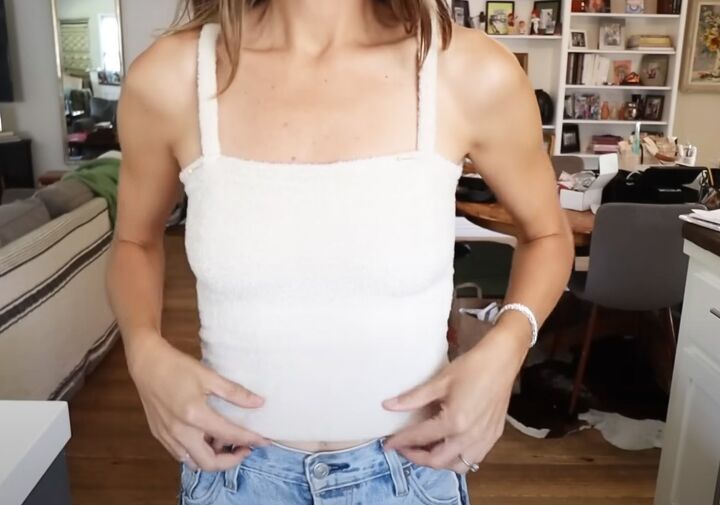
Try the top on and pin the straps to the front, then sew them in place following the same stitching line.
How to wear
Put your arm in one sleeve and decide how you’re going to wrap it before putting on the other sleeve.
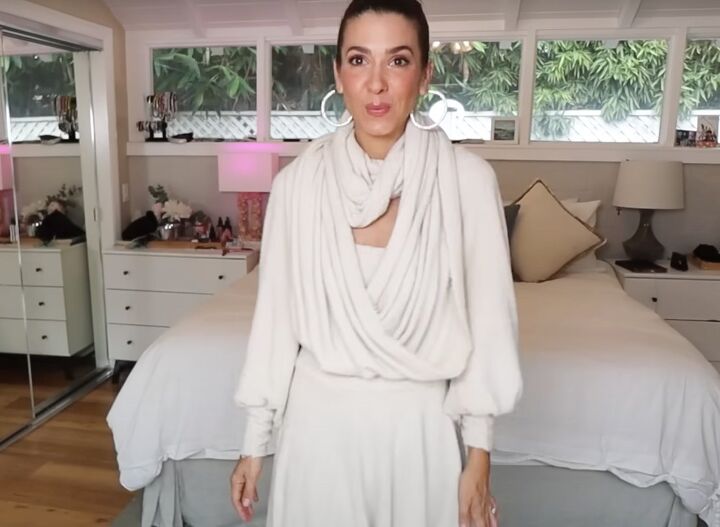
It’s long enough to wrap around yourself twice. You can make the first wrap tighter than the second, or wrap them both evenly.
You can even wrap it three times to make a thick turtleneck.
Use the weight of the wrap to hold the shoulders in place.
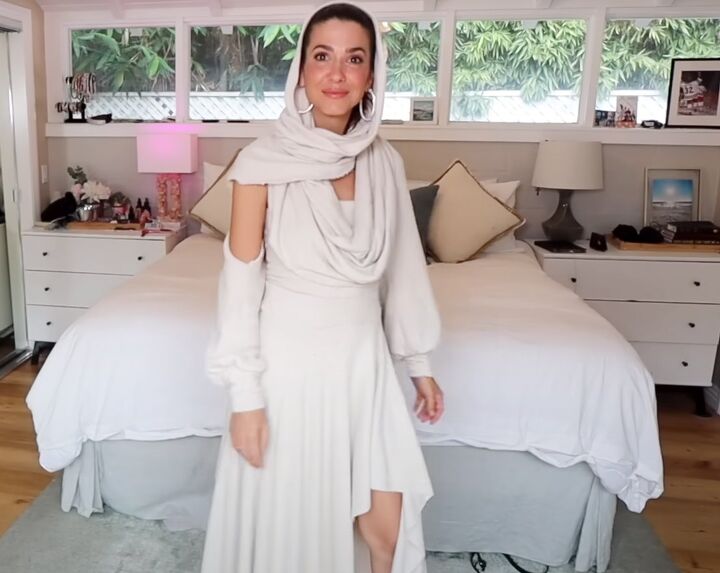
I turned it into a hooded top too that has a definite Dune feel to it.

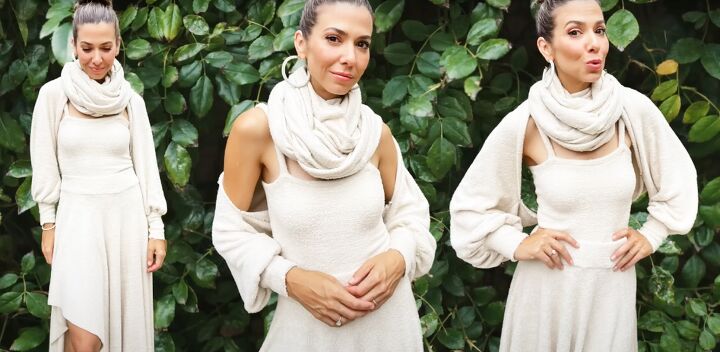
This sweater scarf with sleeves pattern is so easy to make and you can wear it in many ways.
Without the top, it’s a sexy evening look. With the top or t-shirt underneath, it looks great with jeans.
I even made a matching skirt from the leftover fabric!
Sleeved scarf
I’m obsessed with this DIY scarf top, I keep finding new ways to wear it. I’d love to know what you think of it. Will you make one?
Next, Save Thousands of Dollars With This Easy Boot Cover Pattern Tutorial.
The author may collect a small share of sales from the links on this page.


Comments
Join the conversation