How to DIY Your Own Cute Acorn Beret

I haven’t been feeling very well recently so I thought I’d cheer myself up with this quick, fun project.
I had the idea to make an acorn beret with a stem in the center and an oak leaf trim, and it quickly became an obsession. I used some scrap fabric I already had in my stash.
My first attempt wasn’t all I’d hoped but I was able to salvage it. So let’s see how to sew a beret!
Tools and materials:
- Brown wool fabric
- Dark green linen
- Fabric marker
- Tracing paper
- Scissors or cutting wheel
- Plates or bowls for templates
- Pins
- Sewing machine with embroidery capability
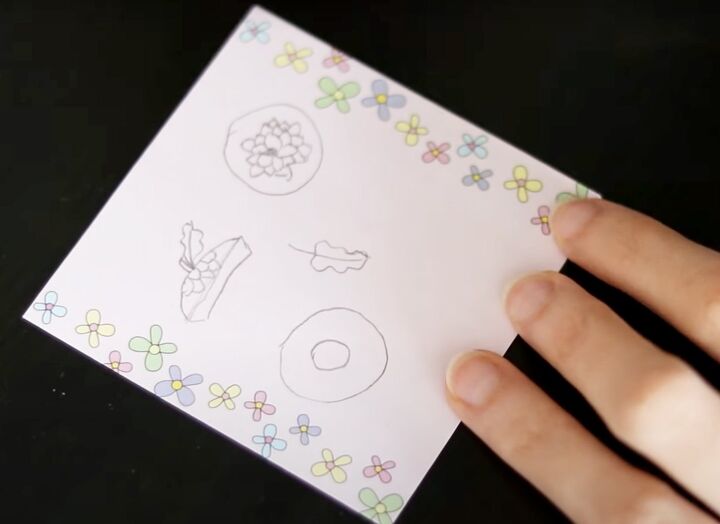
1. Initial design
I drew the elements of the hat and planned the fabrics I would use.
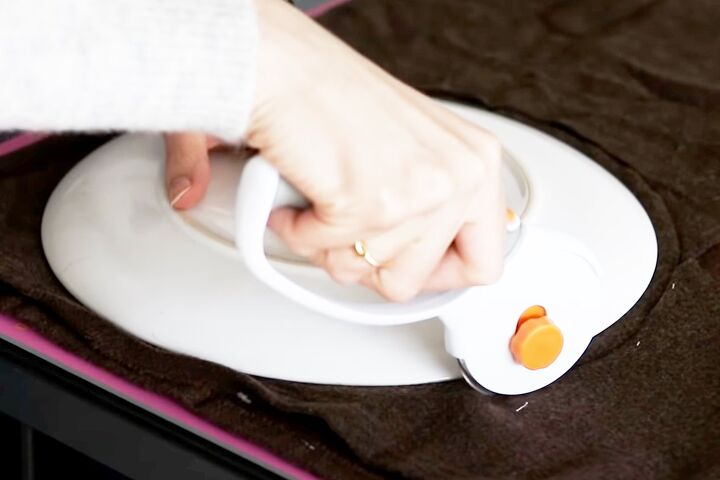
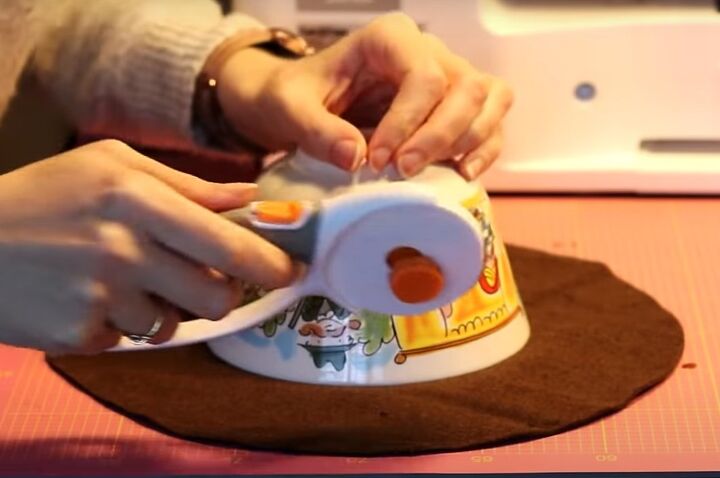
2. Cut out the beret
I cut two circles from my fabric using a large plate as a template. One circle remained intact, as the crown of the beret.
I cut a smaller circle from the center of the second piece.
This inner circle was supposed to fit my head and be the rim of the beret, but I made it too large the first time.
3. Embroidery
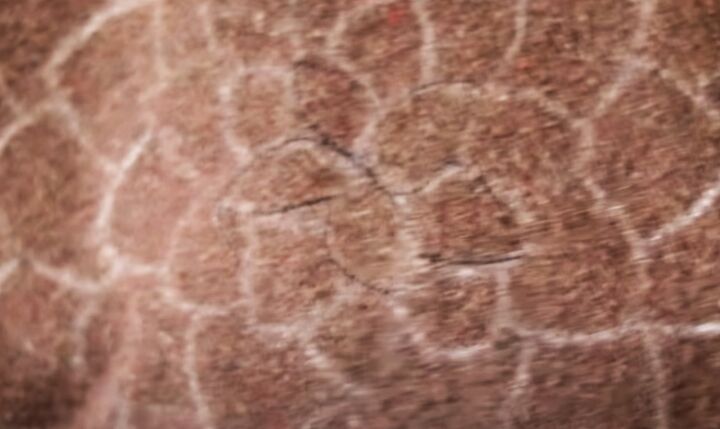
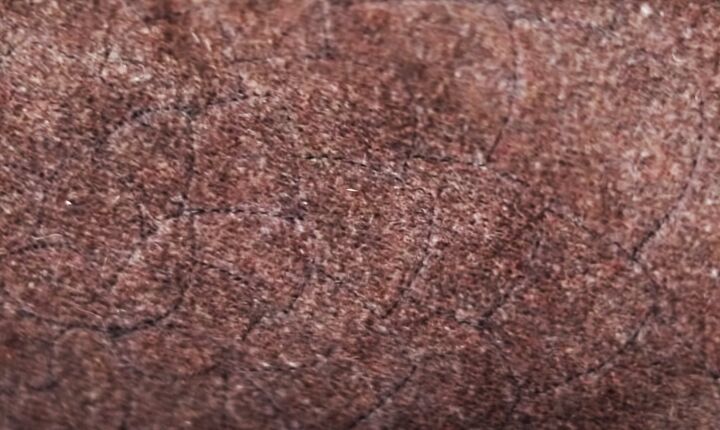
I wanted a subtle embroidery all over the crown and rim of the beret, to represent an acorn shape.
I drew out the design I wanted with a fabric marker and did a test piece of embroidery in the center.
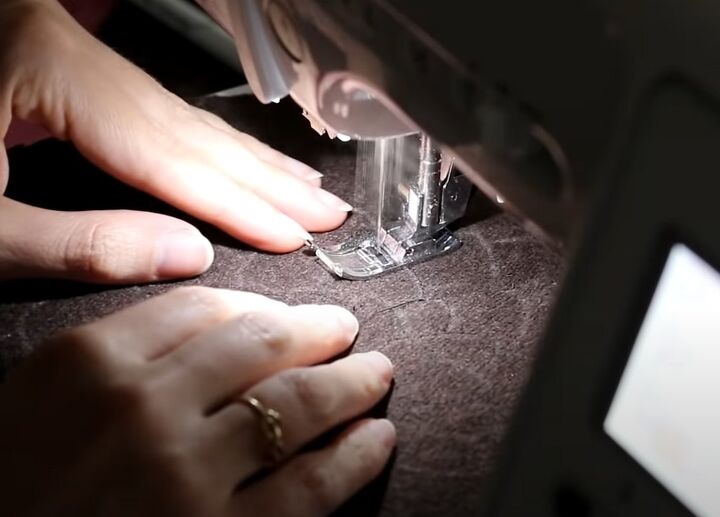
I completed the embroidery using the freestyle embroidery setting on my machine and a thread a few shades darker than my fabric.
Having a machine with an automatic thread cutter definitely helped to speed things up.
4. Assemble the beret
I zigzag stitched the inner edge of the rim so it wouldn’t stretch too much.
I pinned the outer edges of the two circles together with the right sides facing.
I sewed them in place and pressed the seam.
Then I tried the hat on and was very disappointed.
The inner circle was far too big - I should have used a smaller plate or bowl.
But even worse, the embroidery that I’d spent almost all day on was almost invisible!
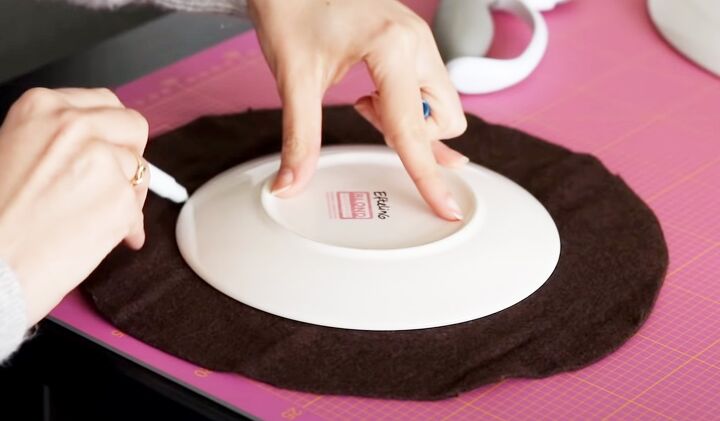
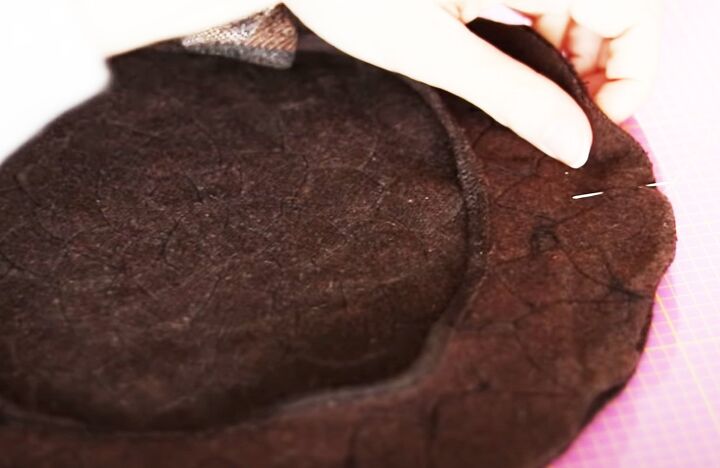
5. Correct the design
I cut another circle for the rim and made the inner circle much smaller, using a small bowl instead of a plate.
I’d suggest you measure the circumference of your head and find the right sized template the first time.

When I took the beret apart, I noticed that the embroidery was much darker and clearer on the inside and showed up against the fabric far more than on the outside.
Not only had I used a darker bobbin thread, the stitching hadn’t sunk into the fabric as much as it had on the original right side.
I added the embroidery to the “wrong” side of the new rim and re-assembled the beret with the new right sides facing.
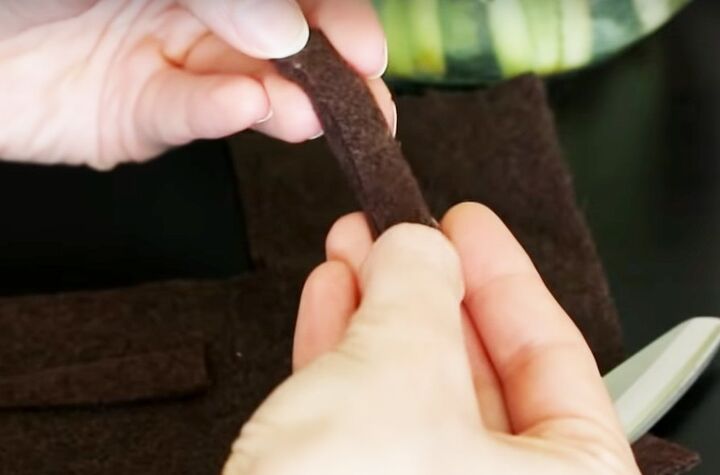
6. Make the stem
I made a small tube of fabric about 2 inches long and hand-sewed it together for the stem.

I hand-stitched one end to the center of the beret.
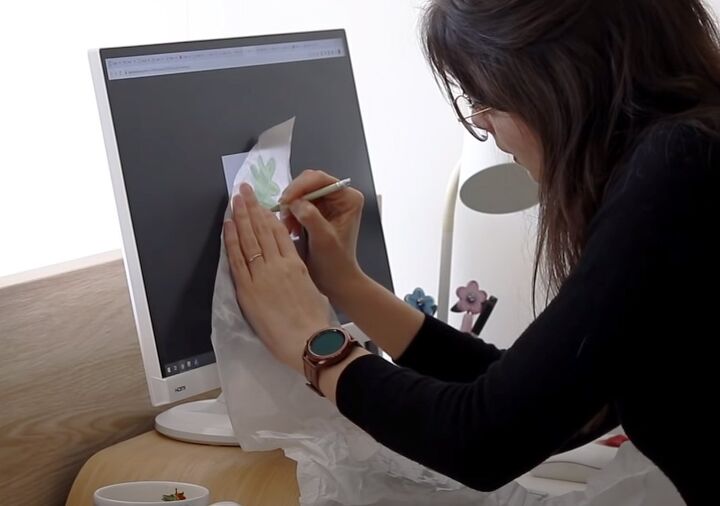
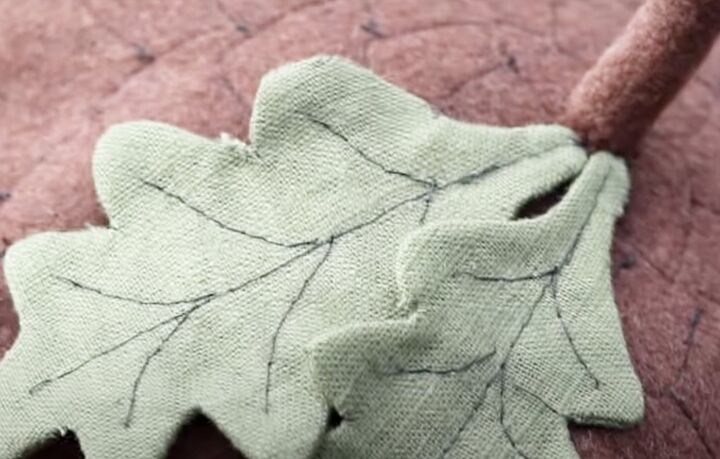
7. Oak leaves
I found an oak leaf design online and traced it directly from the screen.
You can of course buy or make your own design and print it out.
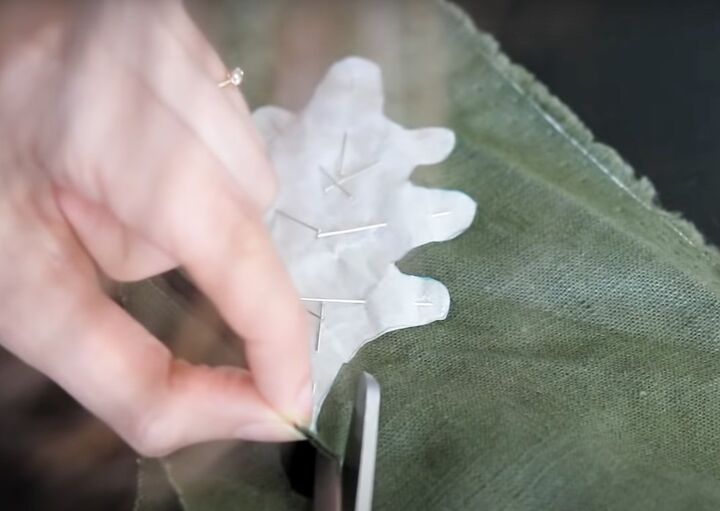
I pinned my tracing to my dark green linen fabric and cut two of them.
I sewed them together with the right sides facing and turned them inside out.
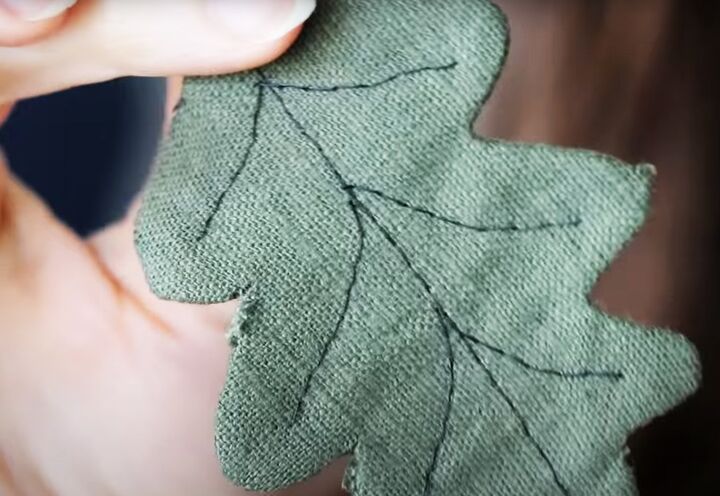
I added some freehand embroidery in dark green thread.
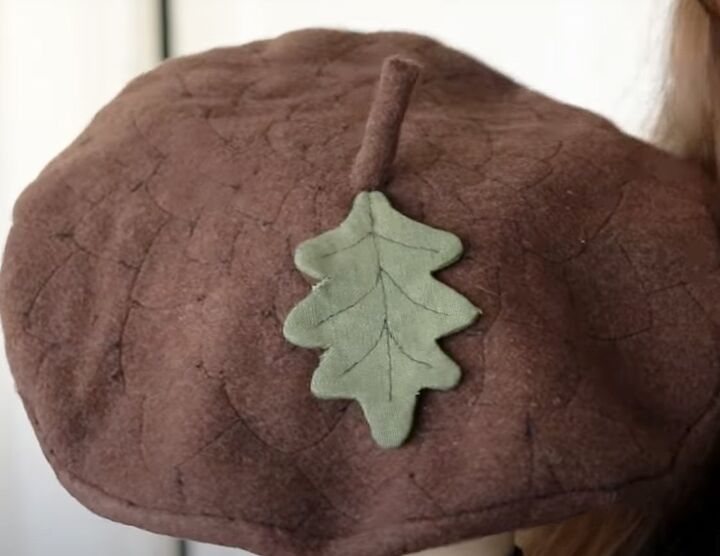
I sewed one end of the leaf to the beret and it looked so adorable I decided to add a second, slightly smaller one.
I also stitched down the free end of each leaf to hold them in place.
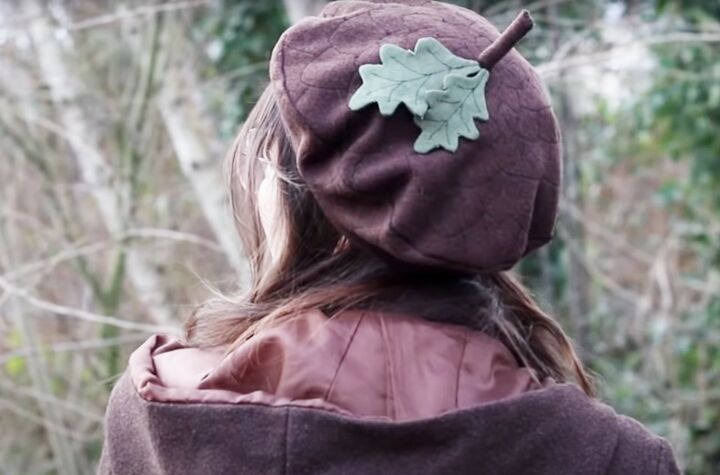
DIY acorn beret
After a slightly rocky start, I’m really delighted with the way my acorn beret turned out. The embroidery is subtle, but it’s visible. You could of course do it in a contrast color thread if you wanted a more obvious effect.
The leaves would also look great made in felt or with padding added between the layers.
There are several ways you can adapt this design and make it unique.
I do hope you try some of them and I’d love to know if you like this fun DIY beret as much as I do.
Next, Follow This Simple Sewing Pattern to Create Cute Vintage Jeans.
The author may collect a small share of sales from the links on this page.


Comments
Join the conversation
Great hat for the season. if the hat was too large, on the inside you can zig-zag some elastic to tighten the size to be adjustable. I'll try make a beret with fleece for the winter.