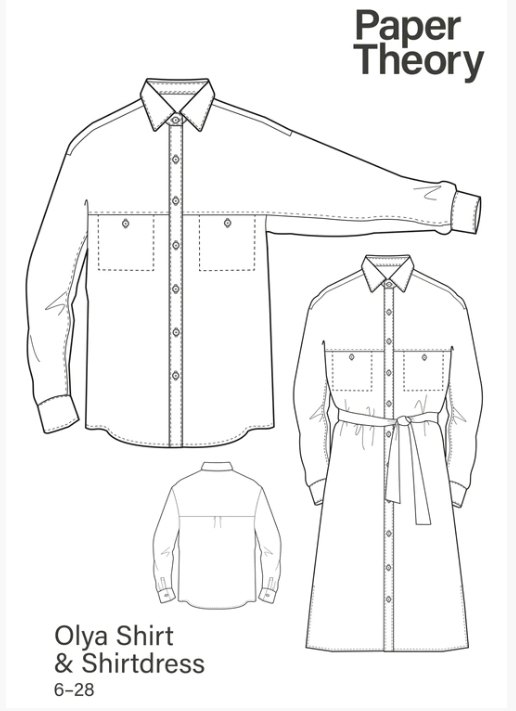
How to Sew a Super Comfortable and Stylish Shirt

Today, I'm inviting you to sew the Olya button up shirt sewing pattern from Paper Theory with me.
It has some styling points that give it a unique twist on the standard Oxford shirt, with a front yoke that extends down the sleeves, sleeve plackets and a two-piece collar
Tools and materials:
- Olya shirt pattern
- Light to medium-weight non-stretch fabric
- Paper for printing
- Buttons
- Scissors
- Pins
- Tailor’s chalk
- Sewing machine
- Stitch in the ditch presser foot (optional)
- Buttonhole foot (optional)
- Serger (optional)
This is a fun but challenging project, suitable for intermediate to advanced sewists.
I made mine from a thrifted linen curtain, so the options are really endless for this. Follow along and see how to sew a shirt.
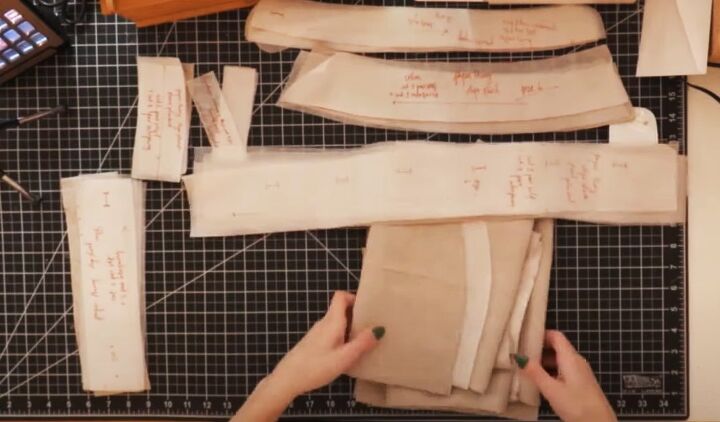
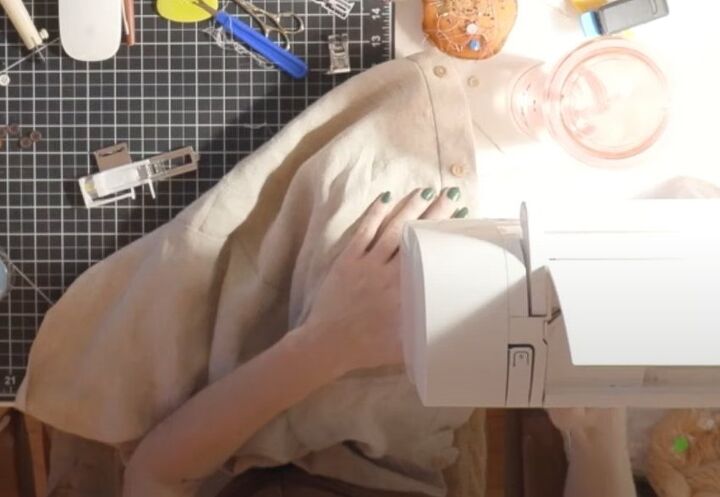
1. Cut out pattern pieces
Cut out all the pattern pieces and transfer any markings and notches onto the fabric.
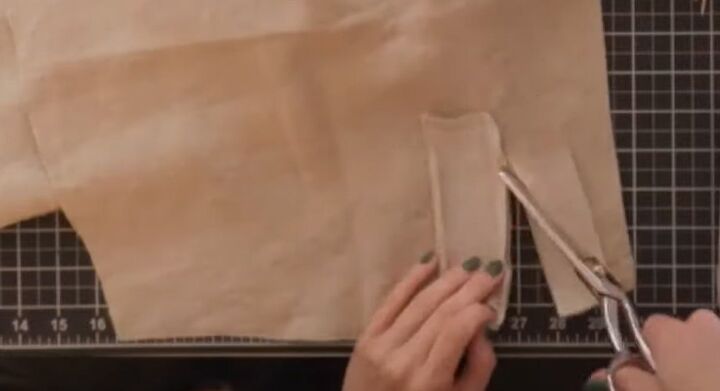
2. Sleeve placket
This is my first time constructing a sleeve placket so I followed the pattern instructions carefully.
Sew the two facings in place, then cut up the center to fold them out.
This creates a nice edge and allows for the overlapping of the sleeve above the cuff.
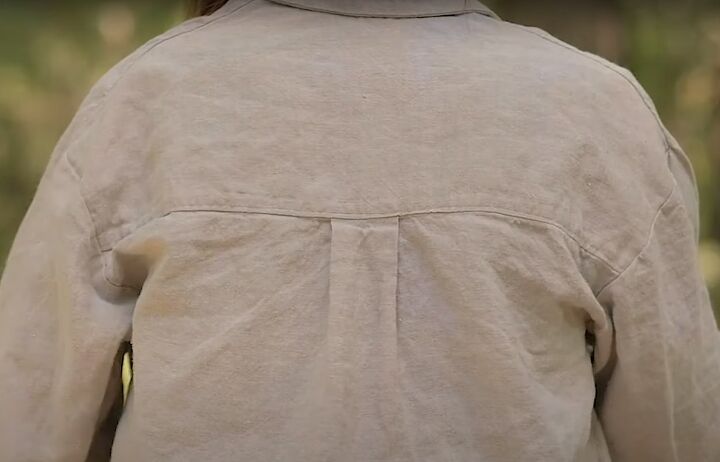
3. Construct back yoke
The front and back yokes are what make this shirt really special. Make the back yoke with the box pleat first.
Attach the back yoke section to the bottom bodice and finish the raw edges.
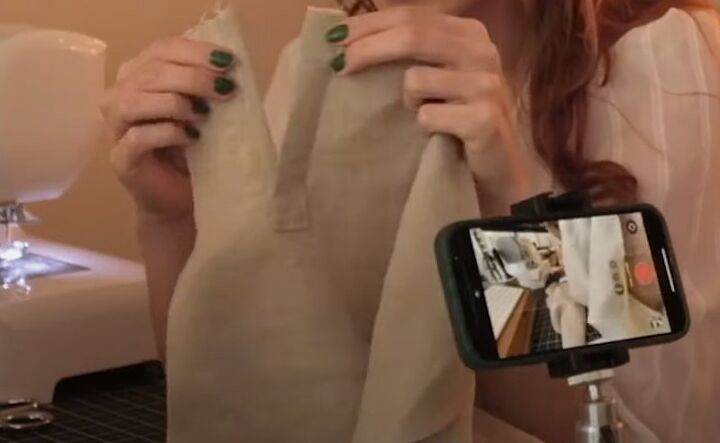
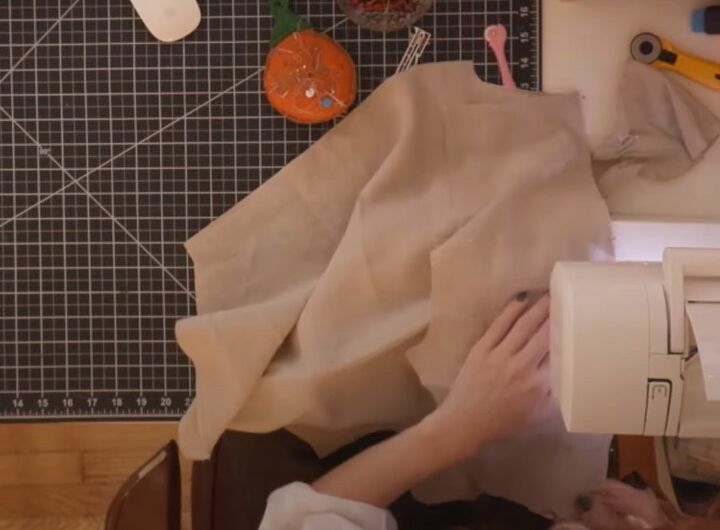
4. Front yoke and sleeves
The front yoke and sleeve are cut as one piece. Join the back yoke to the front yoke at the shoulders.
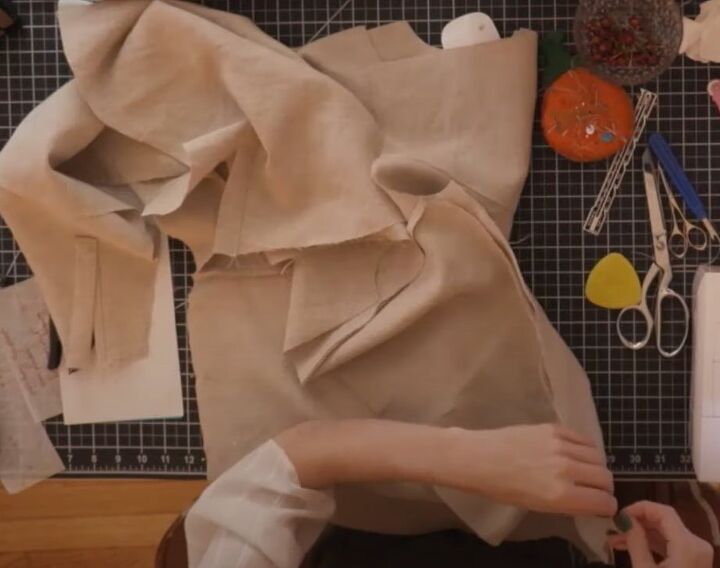
Attach the upper bodice pieces to the sleeves. This requires that you snip and turn at a right angle, which is a new technique to me.
It took some getting used-to, but provided a really clean finish and I'm very happy with the result. There is no front armhole but there is a back armhole, so follow the pattern instructions closely here.
Line up the sleeve seam from the armpit to the wrist and sew it closed.
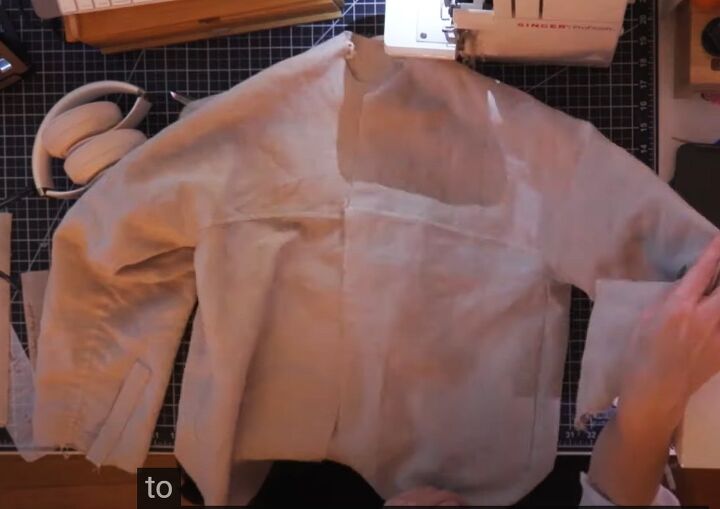
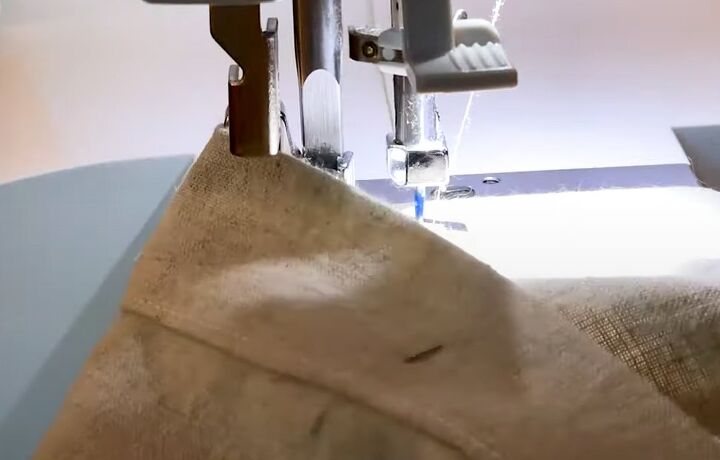
5. Top stitch
Top stitch the upper sleeve seam, starting at the center front and working towards the cuff on each side.
As the sleeve is already sewn, this takes some maneuvering. Take your time to make sure you're not catching anything else in your stitching.
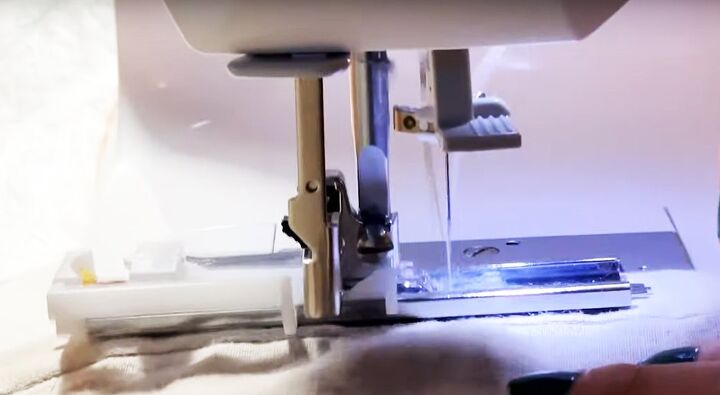
6. Attach button placket
Sew the button placket on to both sides using a stitch in the ditch presser foot if you have one, to make it easier.
7. Collar
Construct the collar, which has a traditional collar stand.
Attach the collar stand to the neck edge then turn the collar stand down and sew it to the shirt.
This process is also a bit finicky, so take it slow and you'll be fine. Using the stitch in the ditch foot also helps a lot.
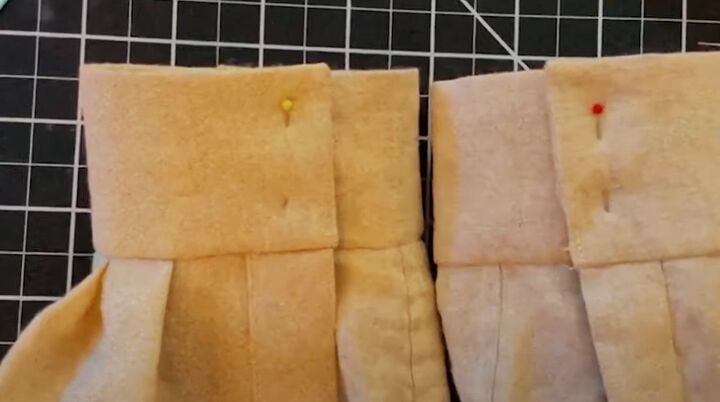
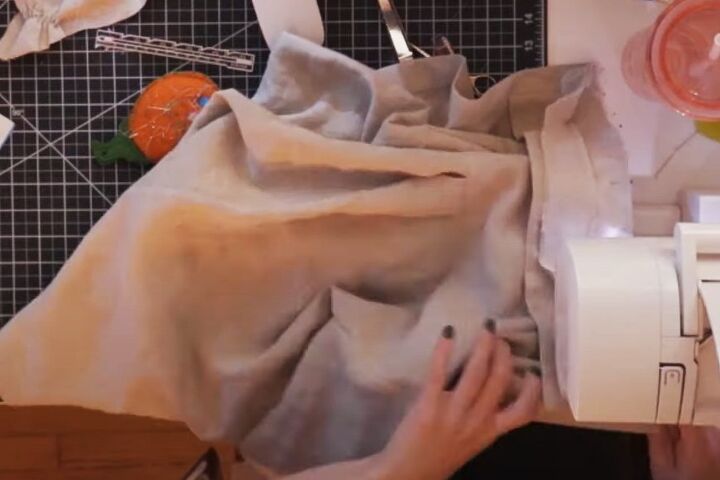
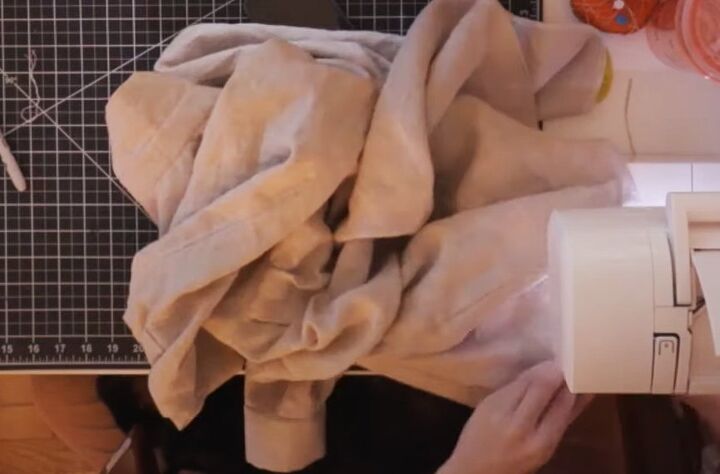
8. Cuffs
Sew the sleeve cuffs with right sides together and trim the corners before turning them right side out.
Attach them to the sleeves, making sure the cuff is evenly distributed around the end of the sleeve before sewing.
I messed up the first time I did this and had to unpick all the stitching and redo it.
9. Hem
Turn up a double narrow hem along the lower edge of the shirt and sew it in place.
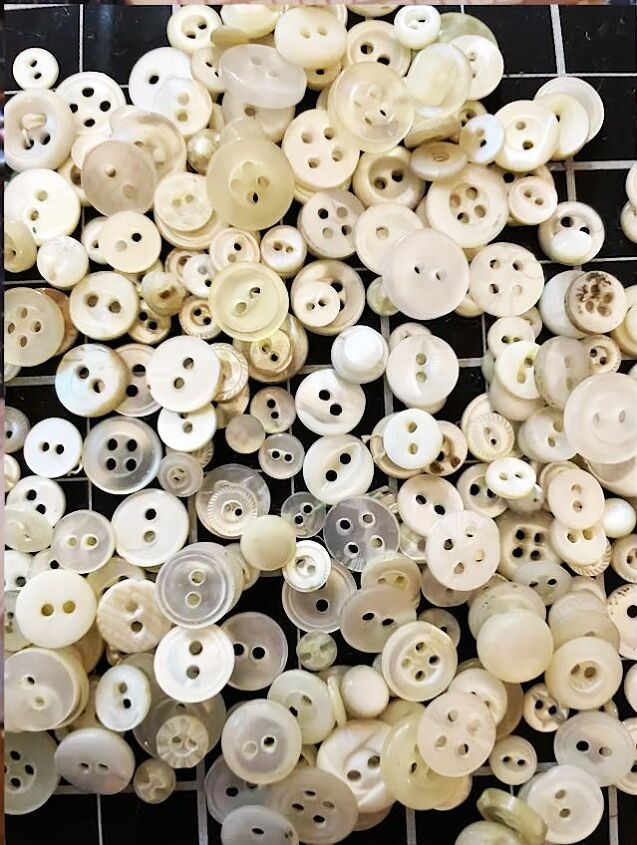
10. Buttons
I used this opportunity to go through my vintage button collection and organize it. Great timing, right?
Eventually I decided on a graduated color scheme and picked out a set of buttons to use.
I created the buttonholes first as usual, using the markings on the pattern.
Then I lined up the button placket and marked a dot through the hole of each buttonhole for the buttons and used my buttonhole foot to sew them in place.
Sew buttons on the sleeve cuffs in the same way.

How to sew a shirt
The PDF pattern includes a shirt version for fans of button-through shirt dresses.
I'd never constructed a shirt in this way before. I have lots of DIY shirt ideas to make from this pattern now, including flannel and possibly silk.
I think it would also look amazing in a soft denim or cotton chambray or even a fine corduroy.
If you plan on making this shirt, please comment below and let me know what fabric you'll be using.
The author may collect a small share of sales from the links on this page.


Comments
Join the conversation