How to Make a Reversible Bucket Hat

This is a fun simple project. I used the pattern from Orange Bettie.
http://orangebettie.com/2021/05/31/summer-bucket-hat-tutorial-and-free-sewing-pattern/
You can follow this link to print her pattern.
I plan to do a video, too; so I will update this tutorial with that info as soon as I get that complete.

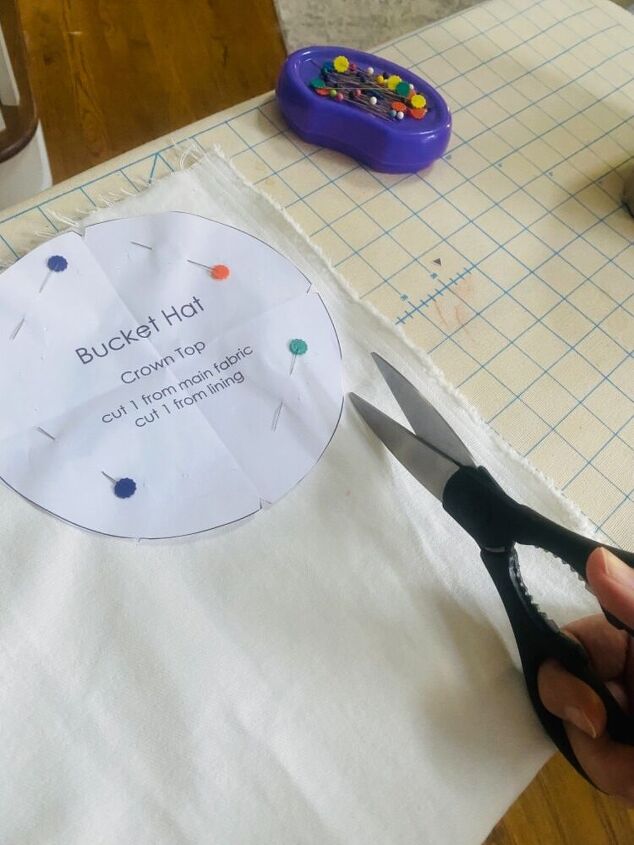
After you print your pattern, cut out the pieces. You will need pins, scissors, iron, fabric, interfacing, and a sewing machine, also. You can have two different fabrics or the same for both the lining and outside of the hat.
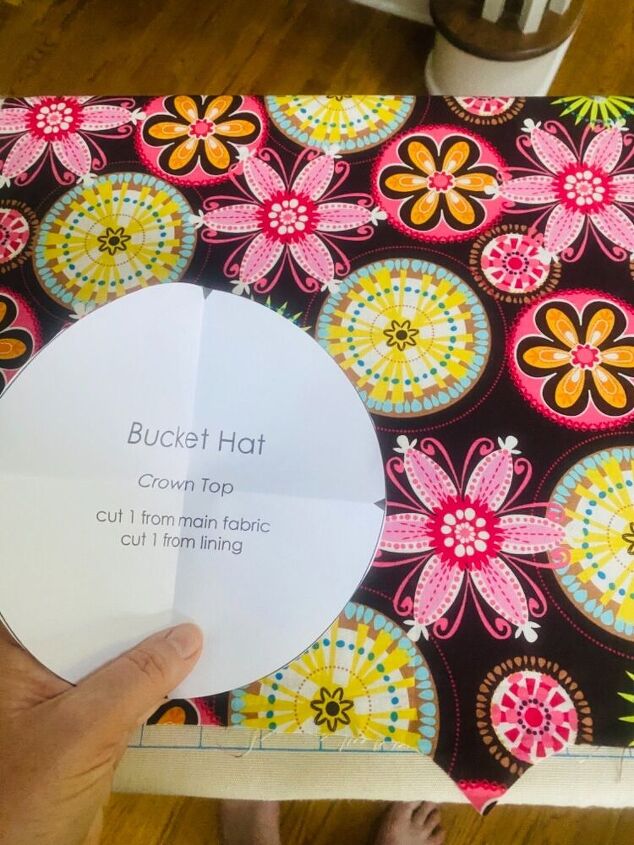
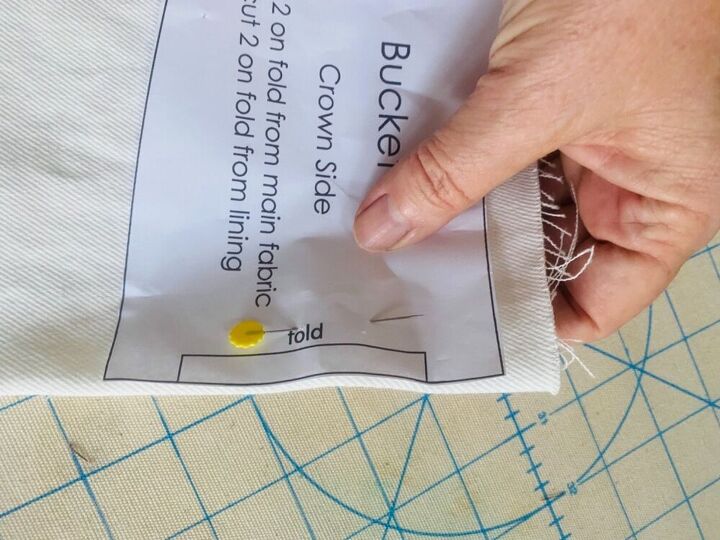
So for the top, I was smart and knew the pattern would be important and so I made sure a large flower was the center focal point. You will notice later I forgot to look at the pattern when I attached the crown side pieces to the crown top.
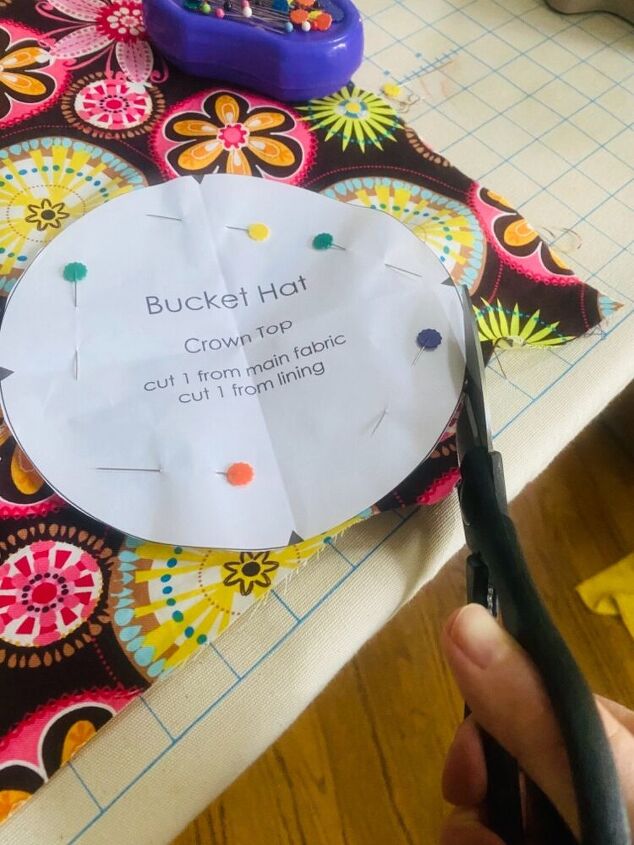
I pinned it in place and cut it out. You will cut one from main fabric and one from lining.
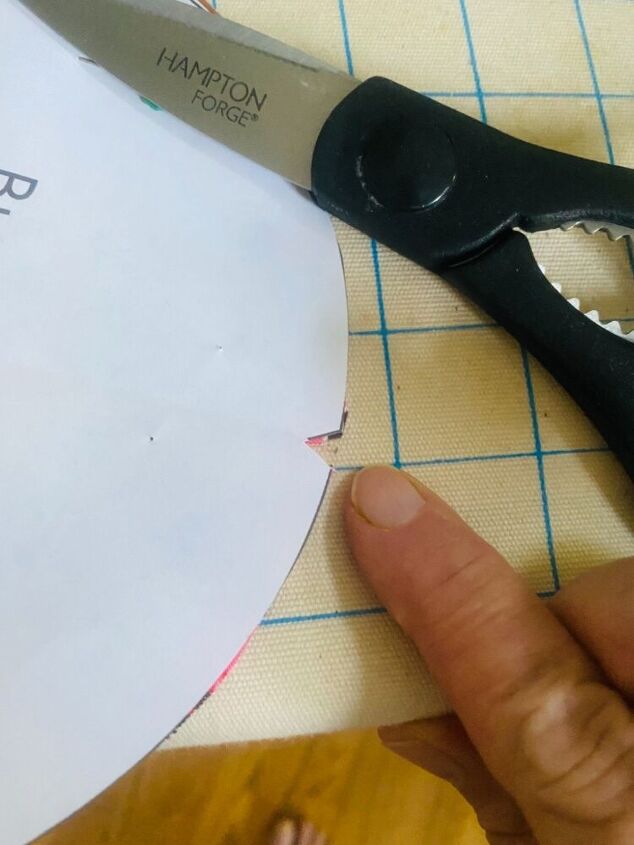
Cut the small triangle darts out. This will help you line up the top correctly later on.
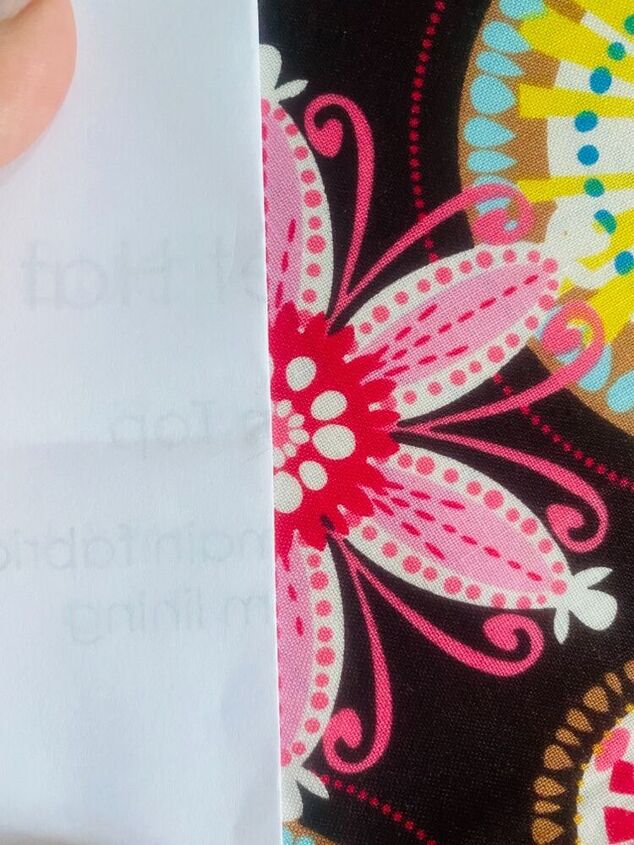
Here is my outer fabric choice.
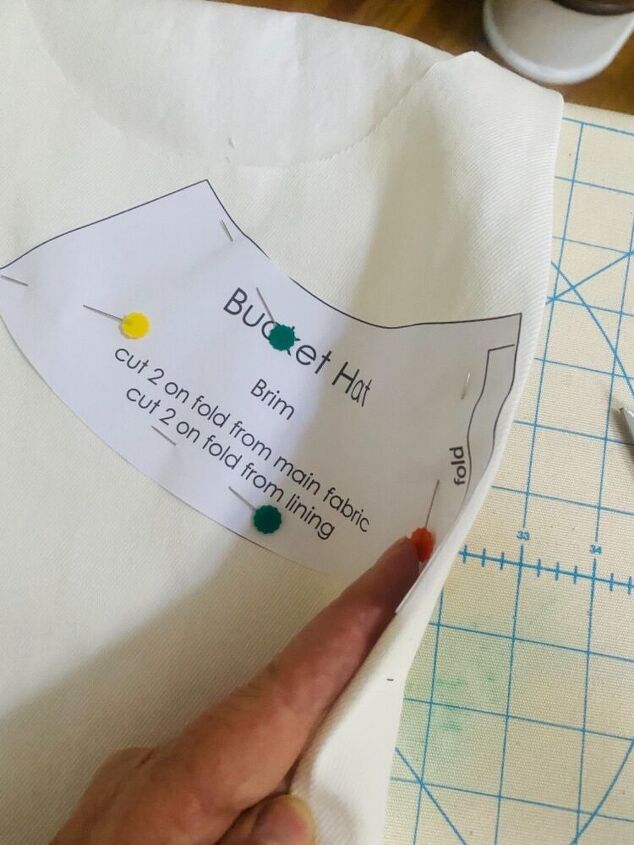
Now, the brim you will cut two pieces out on the fold. So, two pieces of lining fabric and two pieces of the outer fabric. This is one fabric…
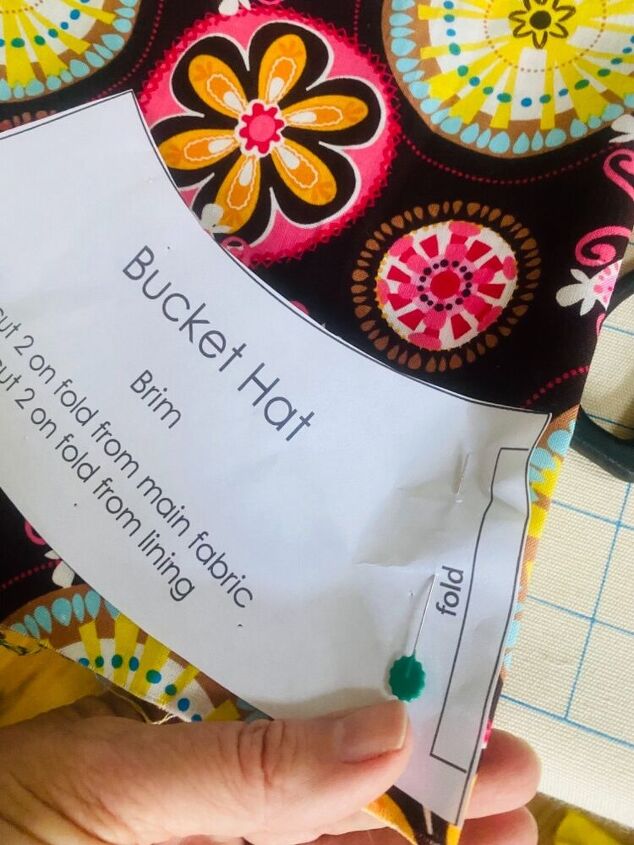
And the other…
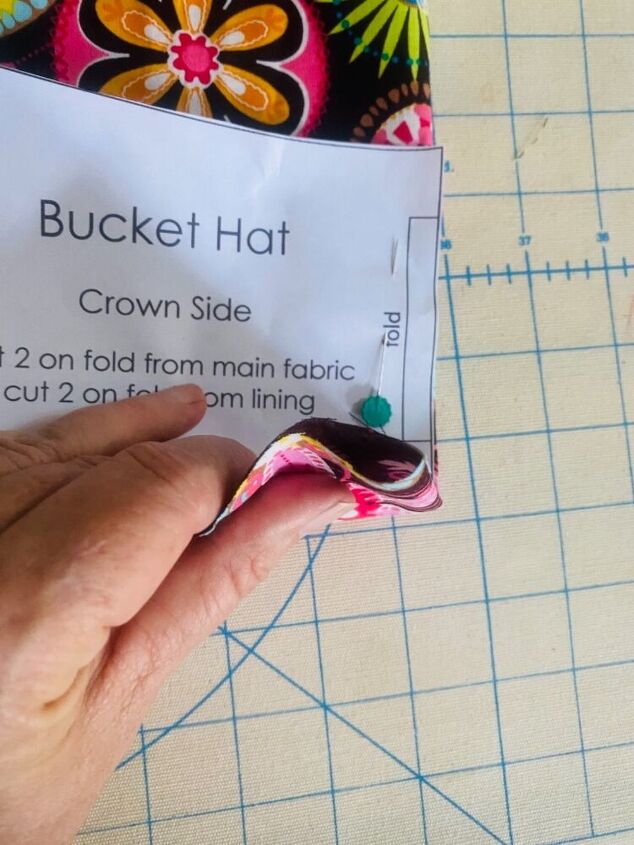
Same with the crown side pattern. On the fold… two of outer fabric and two of the lining fabric.
Cut, cut, cut…
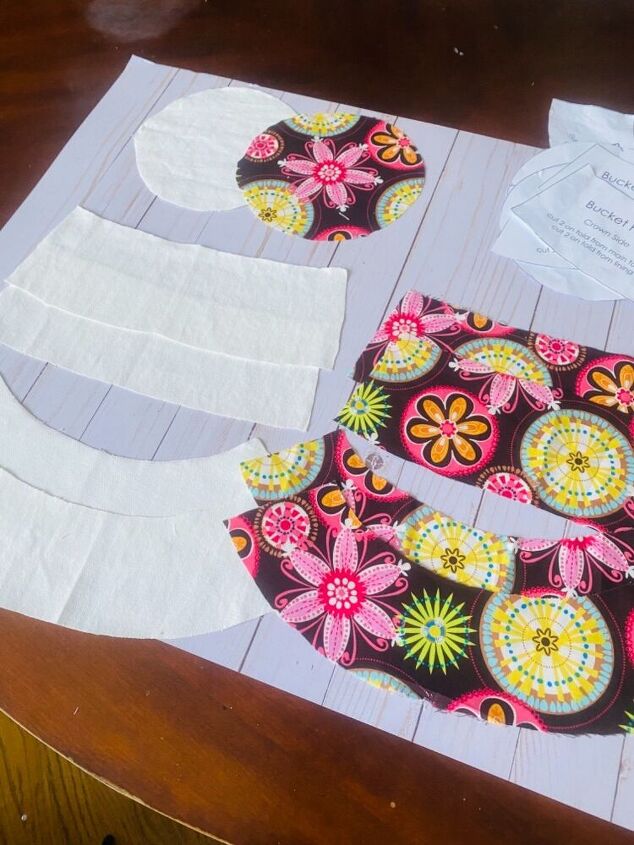
And then you will have theses pieces cut out.
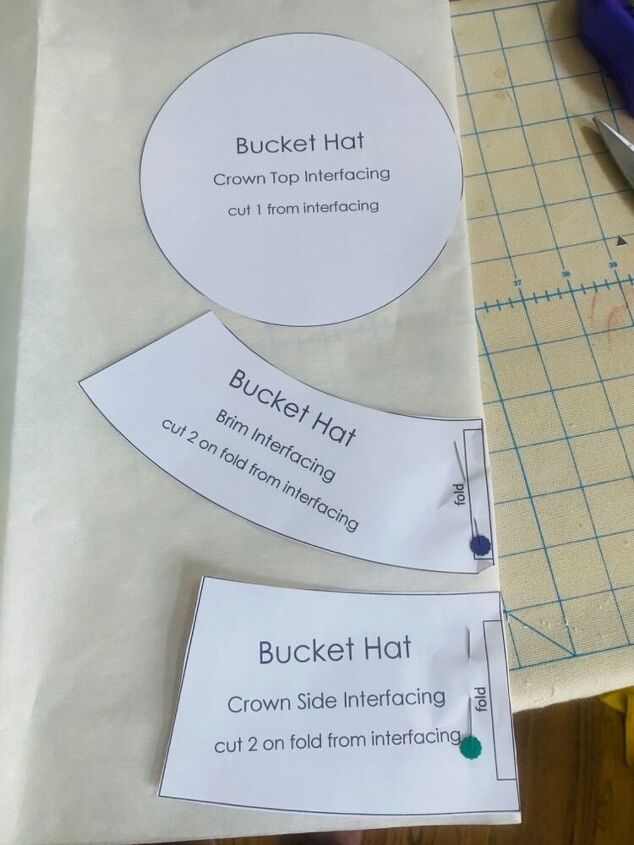
Now, I cut out my interface pieces.
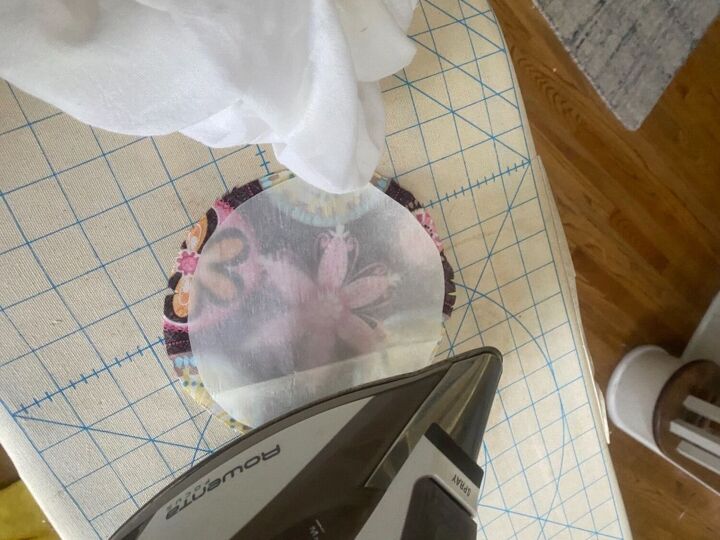
I followed the directions, using a damp towel to attach it to my fabric.
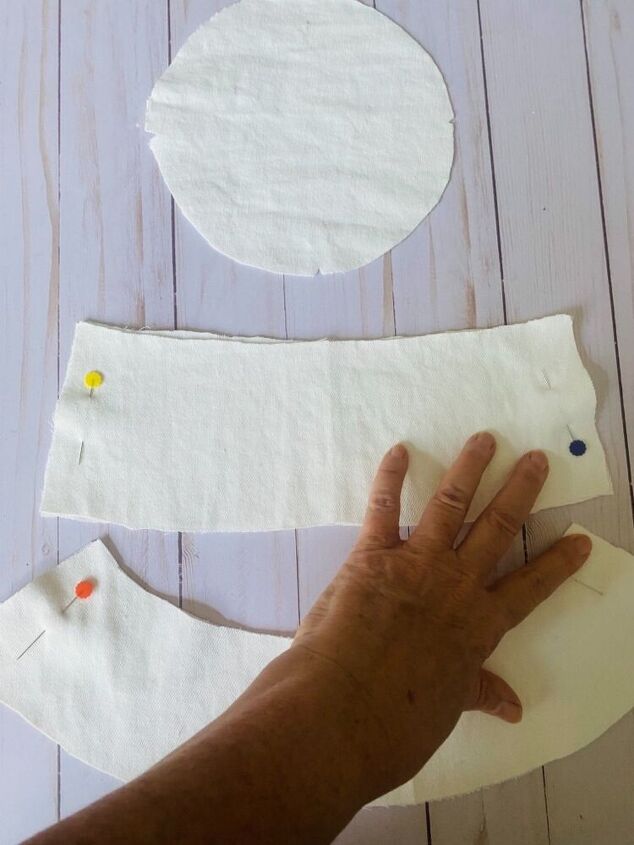
Now, you take your two brim pieces and crown side pieces and pin each side. Right sides together.
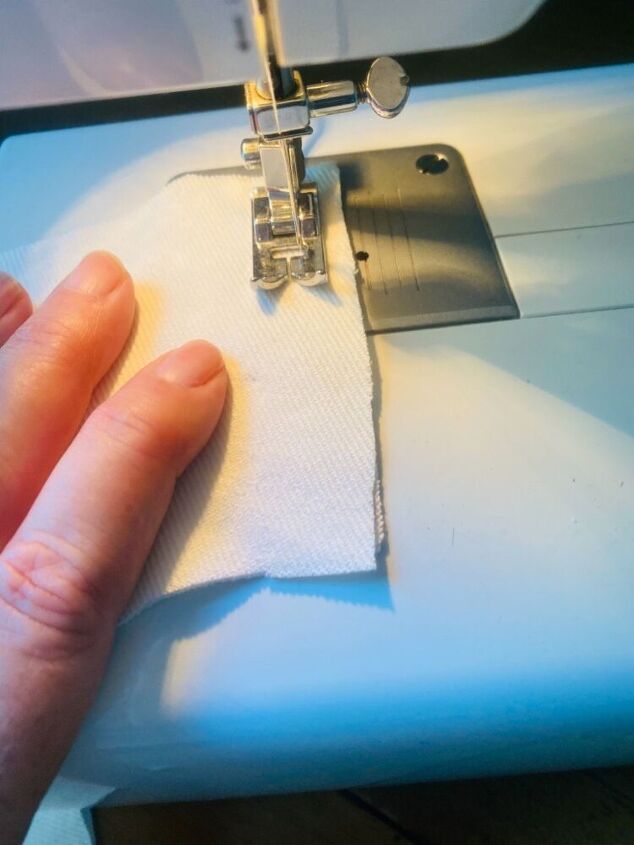
Now, sew each side.
Pin the brim and crown side together and sew.
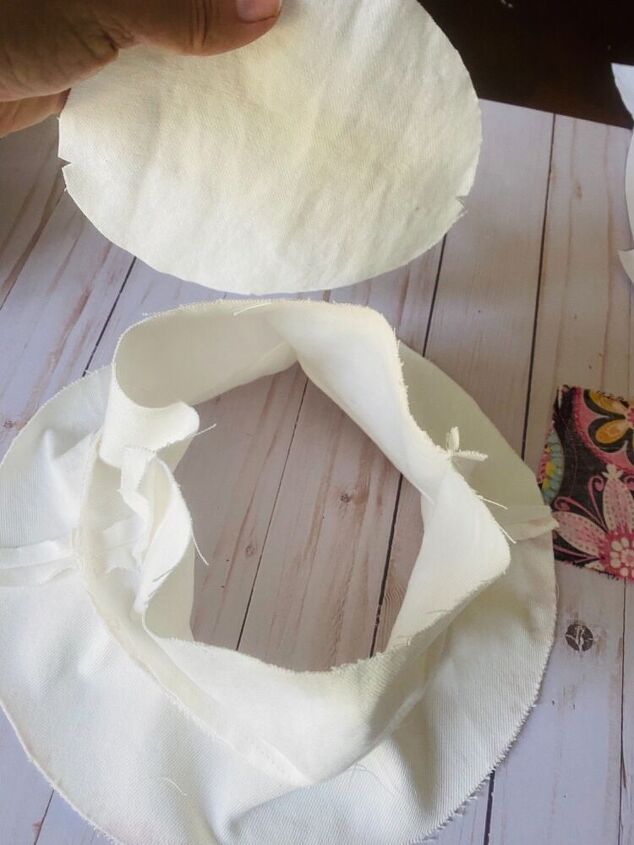
Attach the crown top.
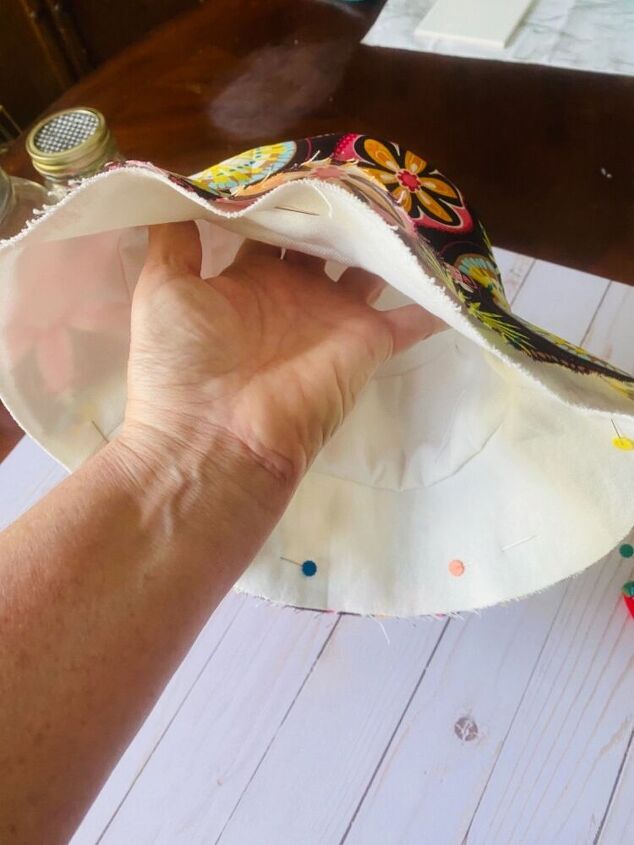
Follow the same steps to put your lining together.
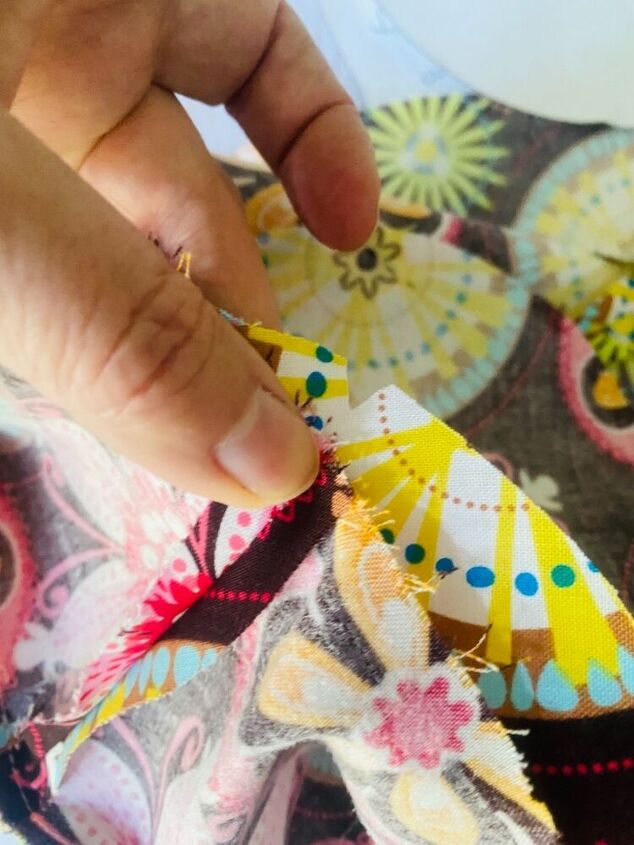
When you are adding the top crown, line the darts and two seams up to help position it correctly.
Pin and sew.
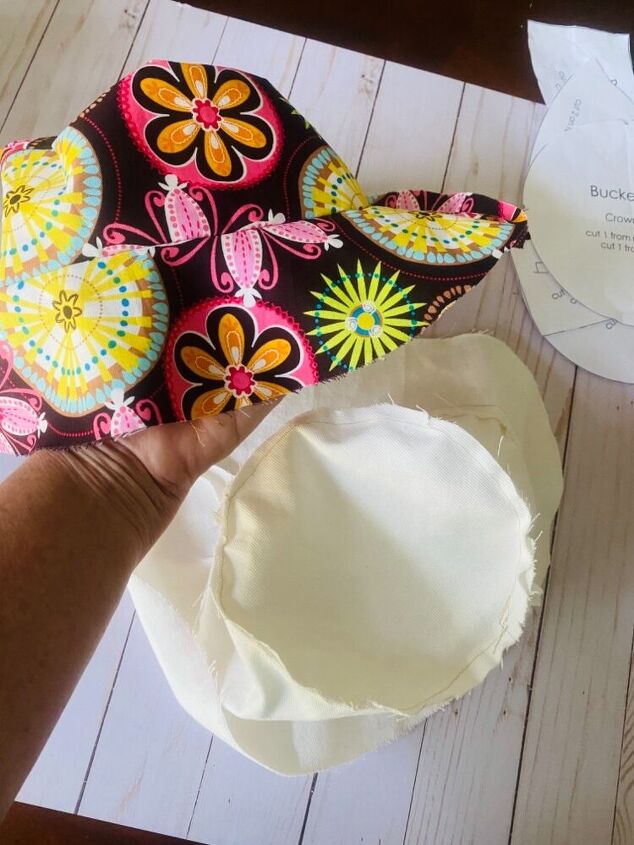
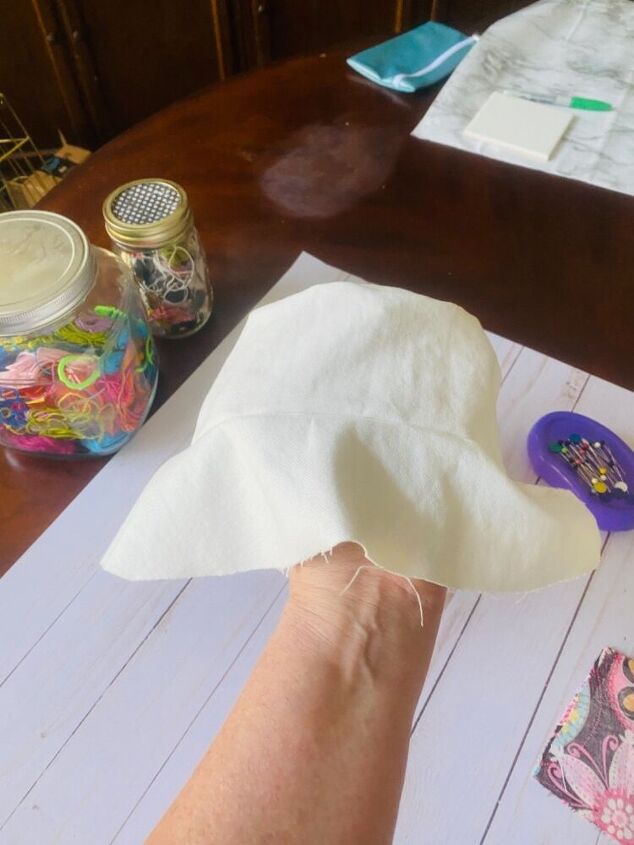
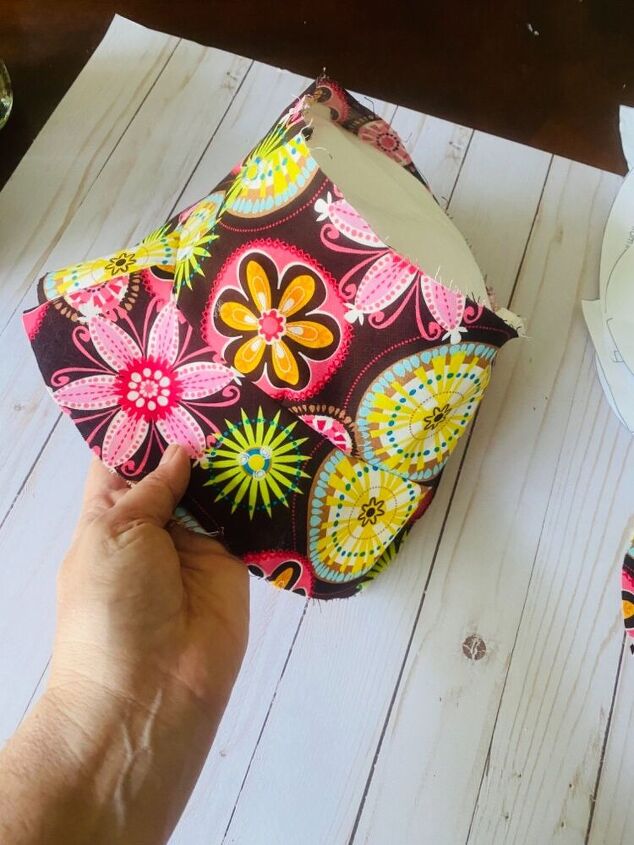
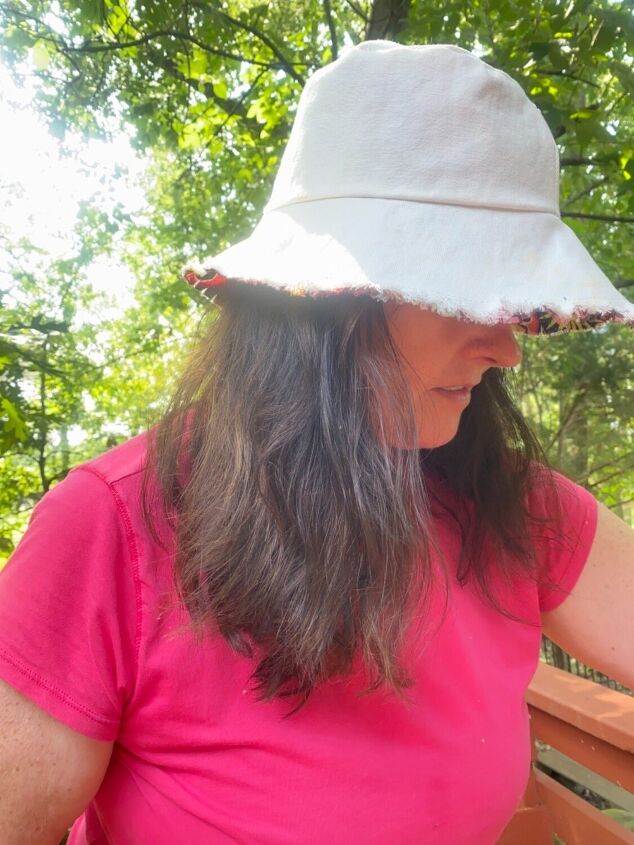
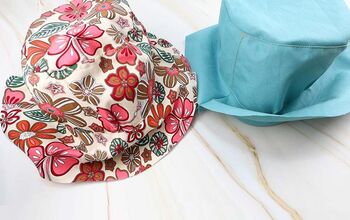
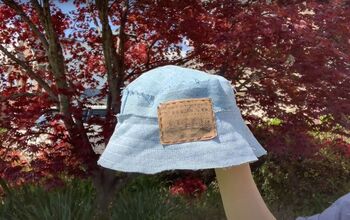
Now you have two hats. I wanted my edge to have frayed edges. For that reason I attached these with wrong sides together. That is different than most bucket hats.
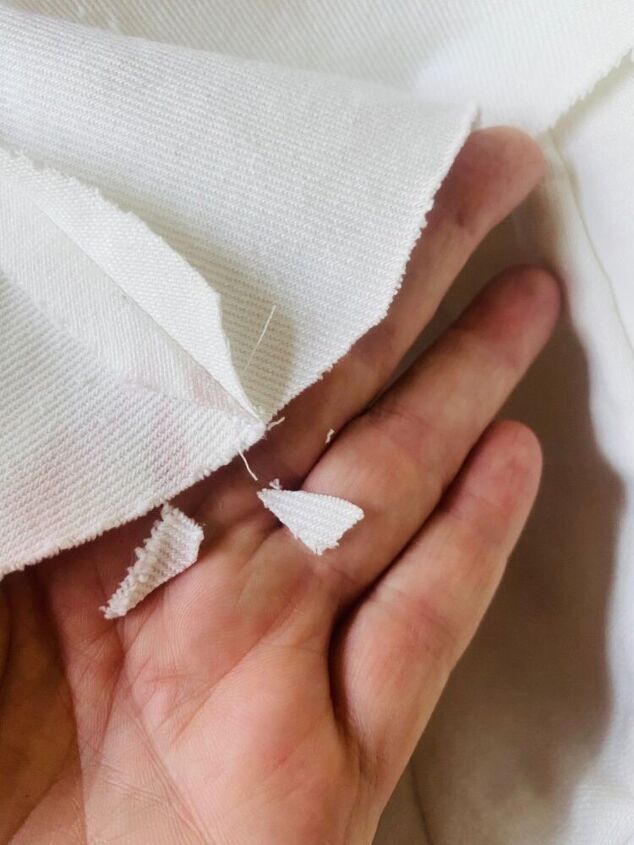
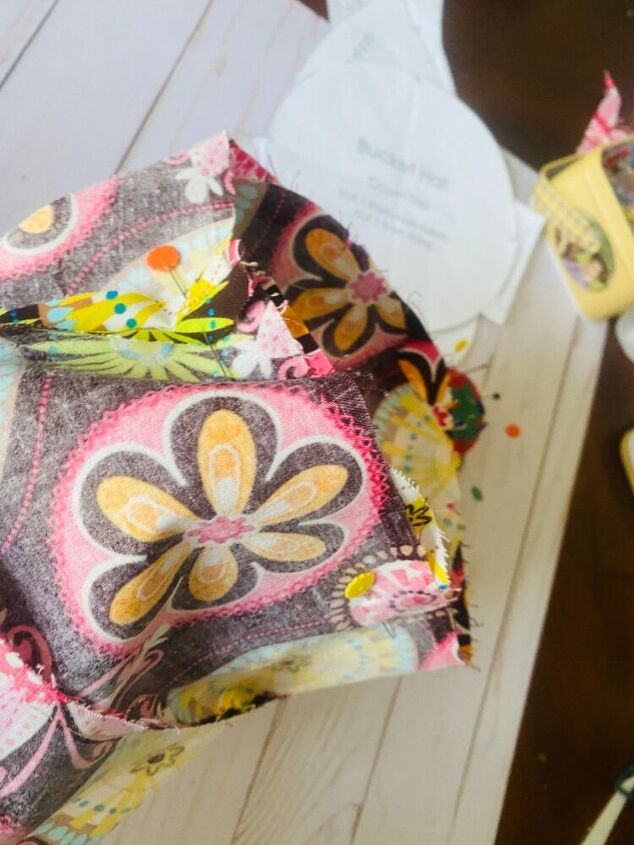
I trimmed the seams back.
I placed them wrong sides together and pinned. Then I sewed all the way around leaving a fair amount on the border to be frayed.
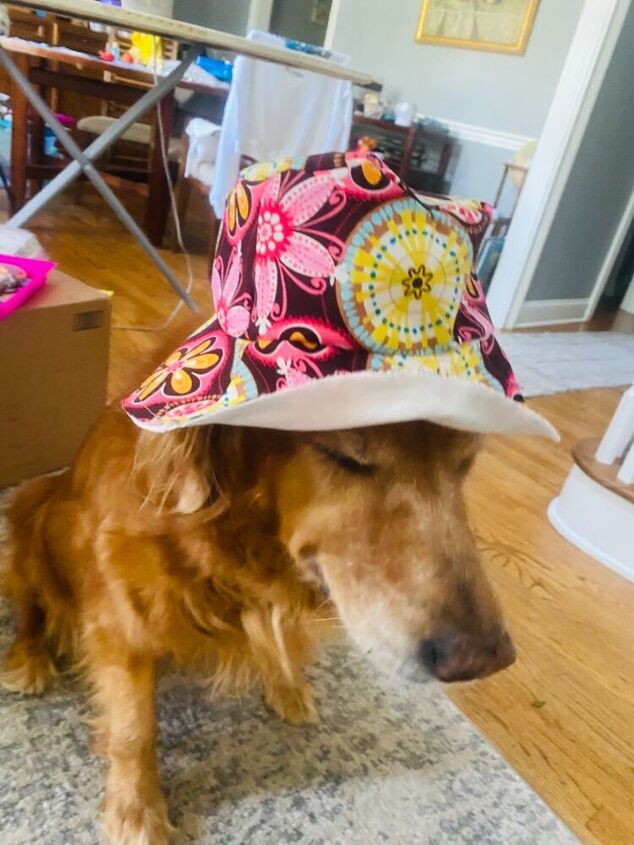
My model was difficult…
I love it!
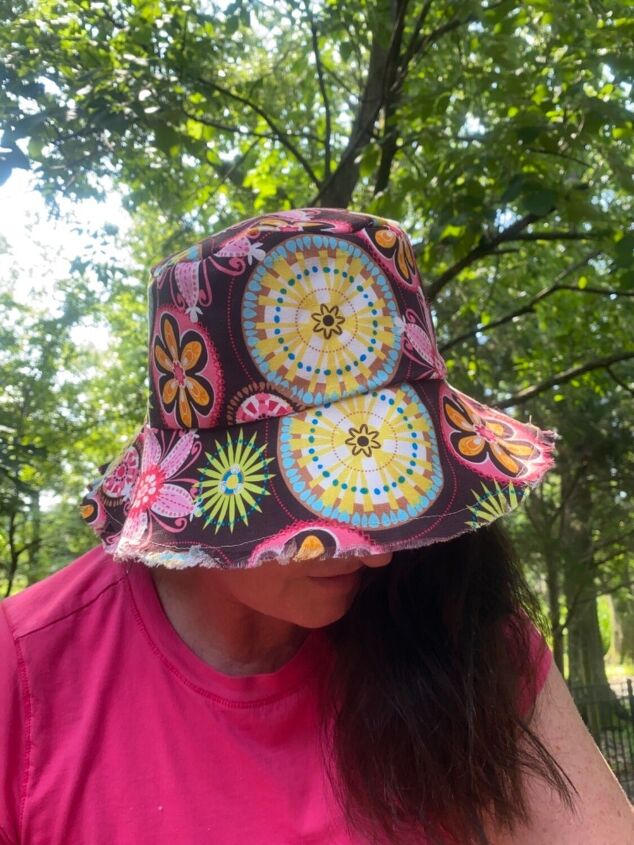
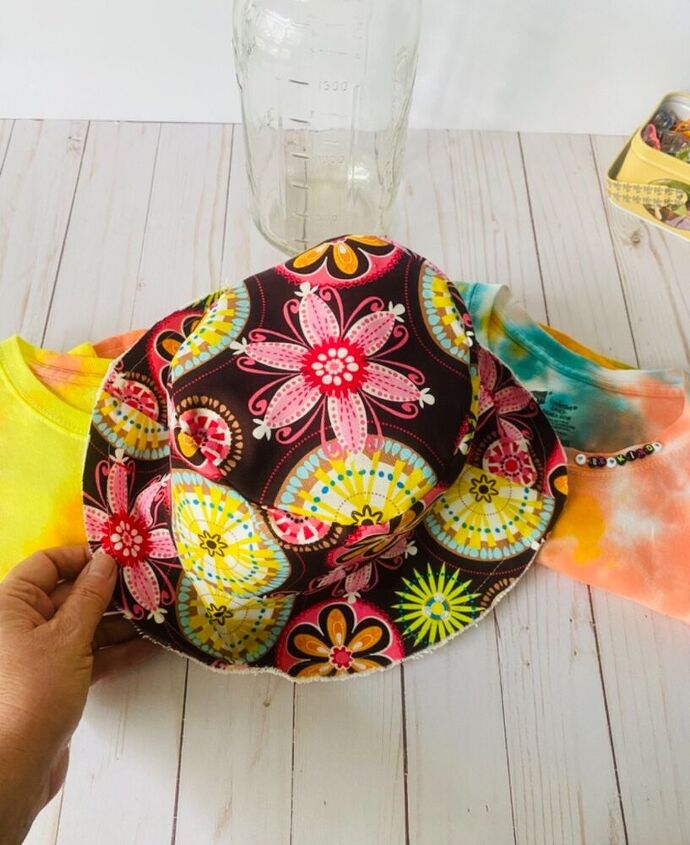
Here’s an example of how I didn’t pay attention to my patterns. I wish I had placed these two pieces differently. But all in all I very happy with how it turned out.
The author may collect a small share of sales from the links on this page.


Comments
Join the conversation
great hat and super instructions! Thank you!! Keep making these !
I like the frayed edges.