Your Coat Into Something Unique With This DIY Coat Tutorial

Have an old, unused coat lying around? Or better yet, have a boring coat that you’d like to transform into something funky? Well, this tutorial is just for you! Make a DIY coat and add an extra edge of snazzy to your wardrobe. Making a DIY coat like mine is super fun and the process itself is super easy. We will be adding rings and eyelets- it’s a design you don't see every day. Now that’s what I call unique! All you need are a couple of things such as eyelets and a hammer. Ready?
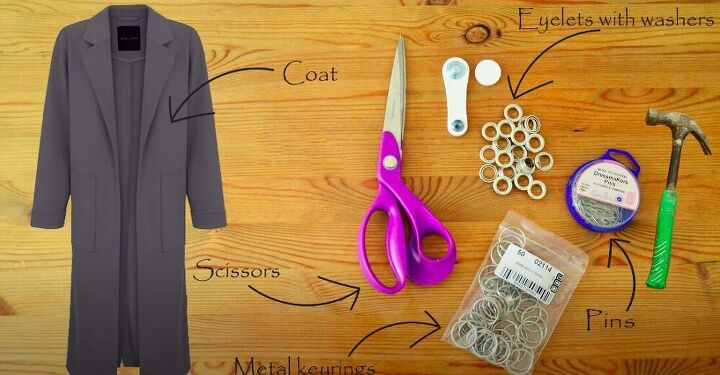
Tools and materials:
- Coat of choice
- Scissors
- Pins
- Eyelets with an applicator
- Hammer
- Keyrings
- Chalk
- Screwdriver
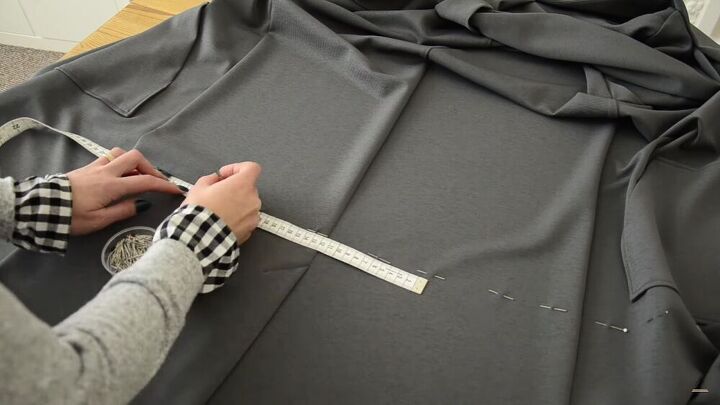
Measure!
Take your coat and lay it out on the table. Decide on a length to cut. Mark the line with pins. Make sure it’s straight; so be sure to use your measuring tape.
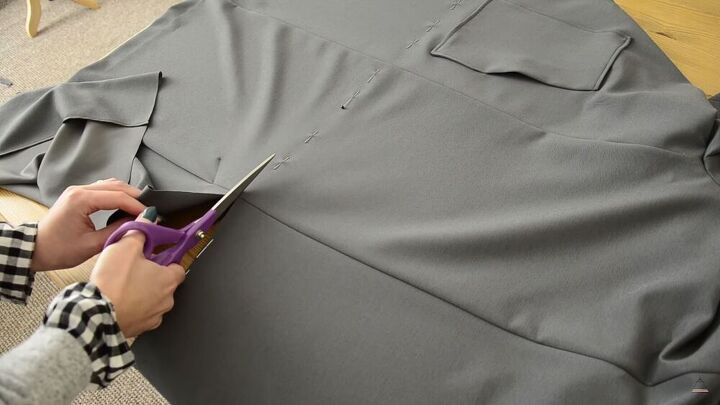
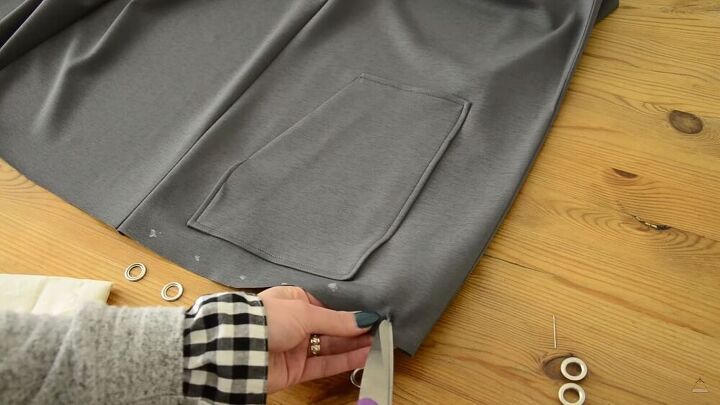
Cut your coat
Consider the location of your pockets, if applicable. Don’t cut through them or any other seams. Once you're done, cut along the line you just marked and cut out the entire length.
TIP-
If the fabric of your coat begins to fray while cutting, then sew the seams. I didn’t have to because my coat didn’t fray but this is what I’d do if it did. Every fabric is different!
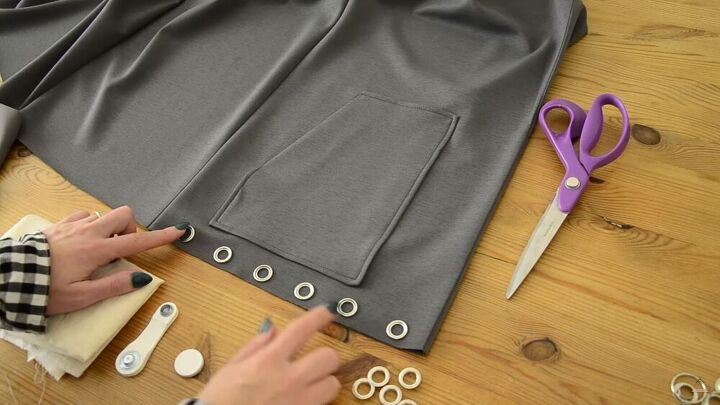
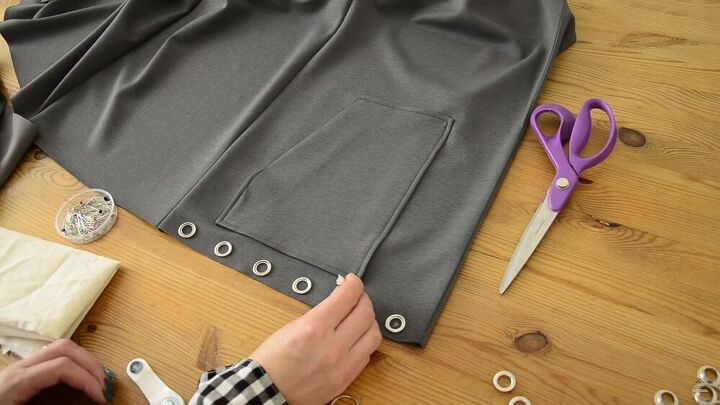
Add your eyelets
After your coat is cut, lay out the top part and place your eyelets, accordingly; just above where you cut the coat. I used 6 eyelets per section of the coat, giving me a total of 46 eyelets on the entire area. Your coat may need more, or less. You will need to decide how many eyelets each section will need, keeping close attention that they are evenly laid out.
Mark the center
Once your eyelets are placed, mark the center of each eyelet on your fabric with chalk.
Cut holes
With sharp scissors, cut holes in the marked places.
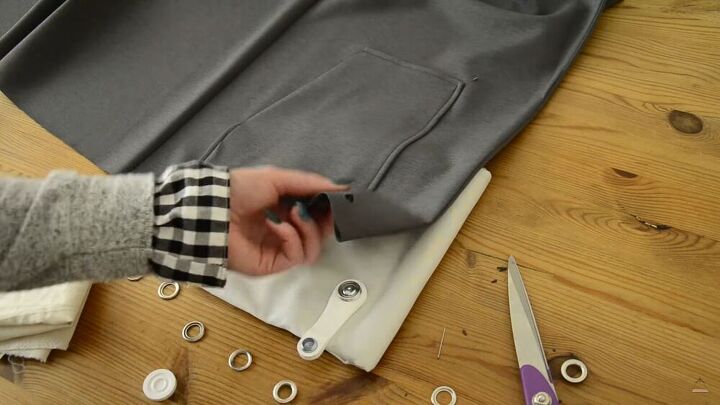
Install eyelets
Now, this is the super interesting part! It's time to add your eyelets. This is literally the longest step in terms of time because there’s a good amount to do, but it is fun! Take your eyelet applicator and place the bottom eyelet on it. Put your eyelet applicator underneath your coat.

Next, place the top part of the eyelet on top of your coat, so that the center of the hole is in the middle of the eyelet itself.
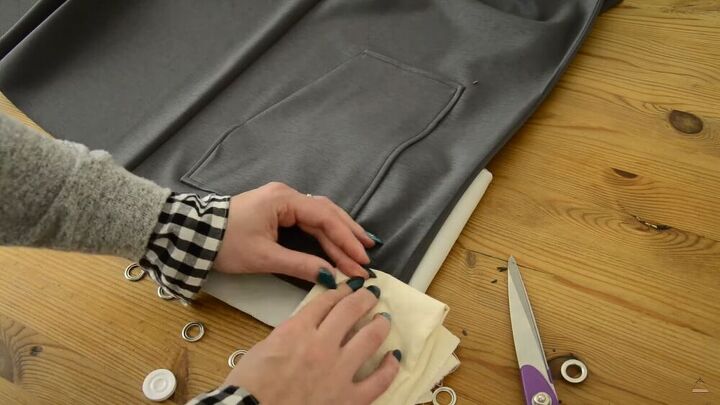
Place a thick cloth or fabric over the eyelet and lightly hammer it down, in place.

You should have both the bottom and top eyelet placed into the coat’s fabric. Repeat the step throughout the length of the top part of the coat and the bottom coat. Happy hammering!
TIP-
When making holes for the bottom part of the coat, lay it down under the top part and make sure the hole’s location coincides with the top coat’s holes.
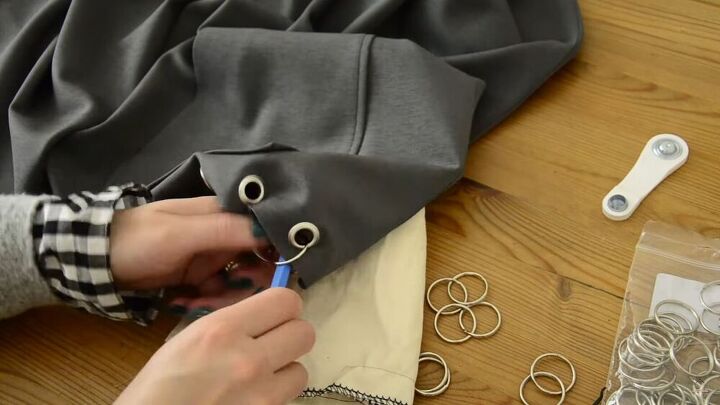
Add your keyrings
Now that you’re done placing the eyelets, it’s time to put the coat together using keyrings. Join your keyrings into pairs and insert them into each side of the eyelet, meaning, one keyring should be inserted on the top eyelet and the bottom keyring inserted through the eyelet placed at the bottom of your coat. Here, I used a screwdriver tool to help me open the keyring’s gap so that I could insert it into the eyelet. Like this, no fingernails get damaged.
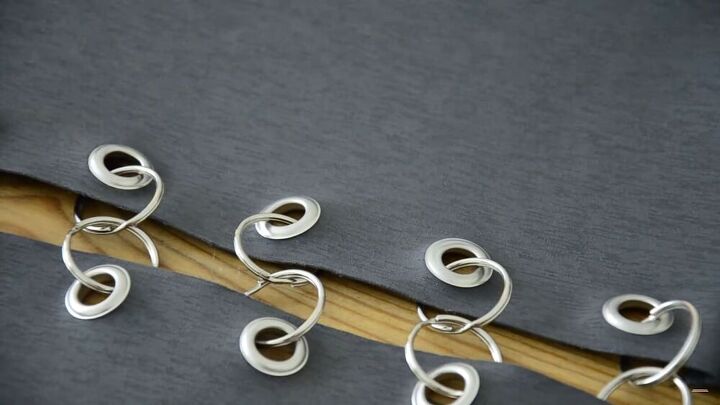
This is what it should look like.

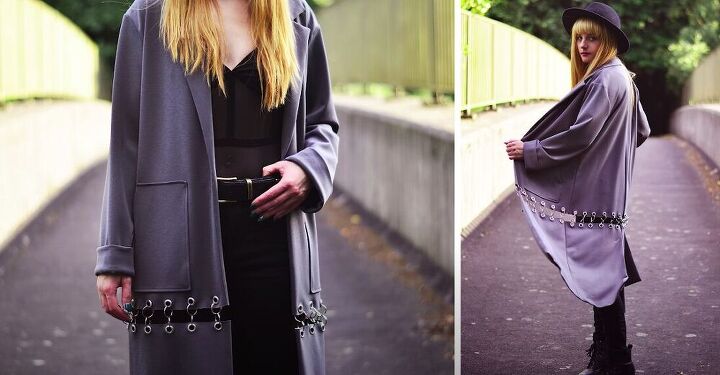
This is your result, isn’t it unique? Would you look at that, I love the detail! This is definitely not a design you’d find in the store and as you can see, it’s pretty easy to make. This upcycled DIY coat looks like it was bought from a major fashion brand, it’s so stylish! The metal eyelet and keyrings give it a hardcore vibe. I hope you enjoyed this tutorial!
The author may collect a small share of sales from the links on this page.


Comments
Join the conversation
Love this look! I would also do the sleeves at the 3/4 point. This is a very cool way of adding some punk/retro style, which I adore! I have a velvet two tone long open coat that this would be a fab idea...hmmmmm another project for me!
So cool, funky and easy! I love it!! Now I need a long jacket.....