Easy Tutorial for a Cozy Half Zip Sherpa Pullover

Today, I'm going to be showing you guys how I made this really warm and fuzzy half zip sherpa pullover.
This is a fun and simple do it yourself project and is much cheaper than buying something like this ready to wear from the store. Let's get started!
Tools and materials:
- Sherpa wool fabric
- Zipper
- Scissors
- Measuring tape
- Pins/clips
- Sewing Machine
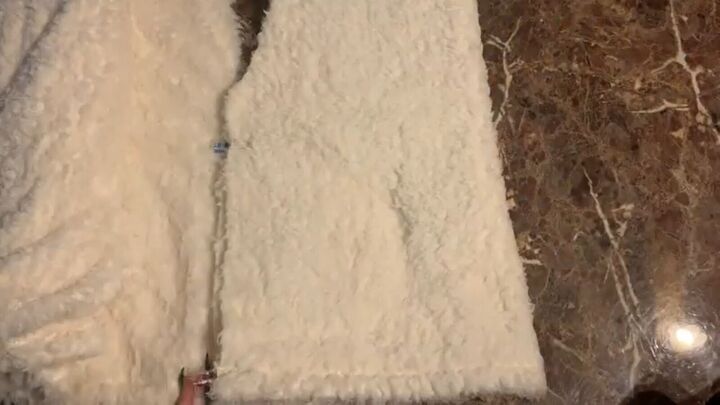
1. Use an old sweater as the template
Take an already nice fitting sweater and use that as a template to cut your fabric. Don’t forget to leave some seam allowance.
Fold the body in half to make sure that both sides were cut equally.
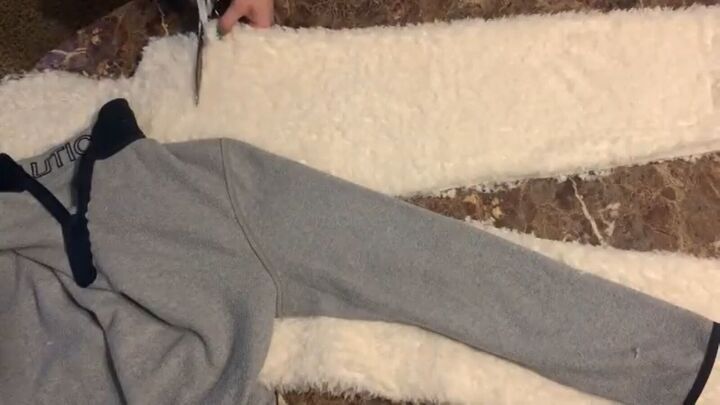
2. Cut the sherpa wool fabric
Fold the fabric and use the sweater as a template to cut out the sleeve.
Once the first sleeve is cut, you can use that one to cut out the second sleeve so that they are matching.
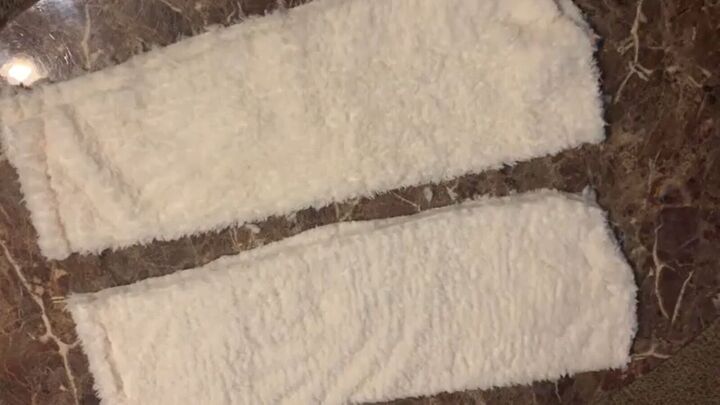
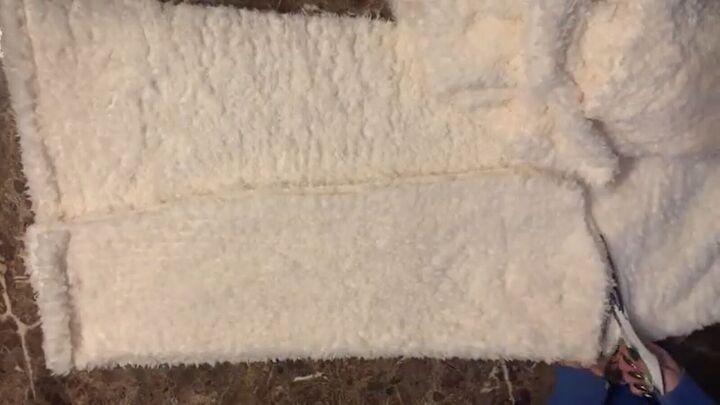
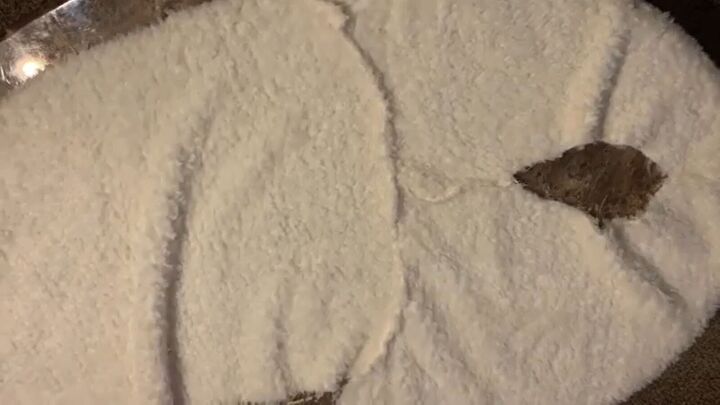
This is what the sleeves should look like.
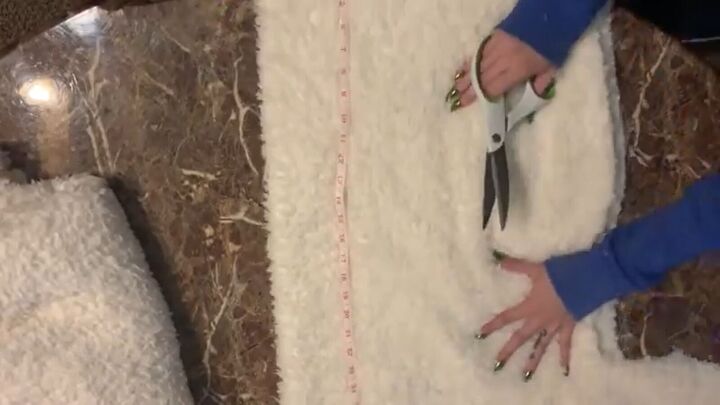
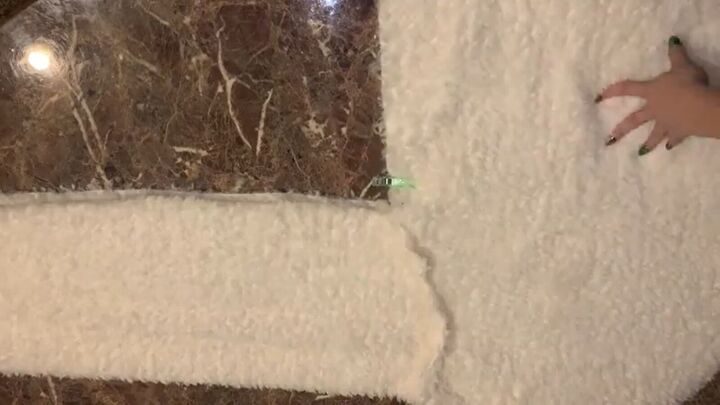
3. Measure the length
Measure the length you want for the neck piece using the sweater as a template again.
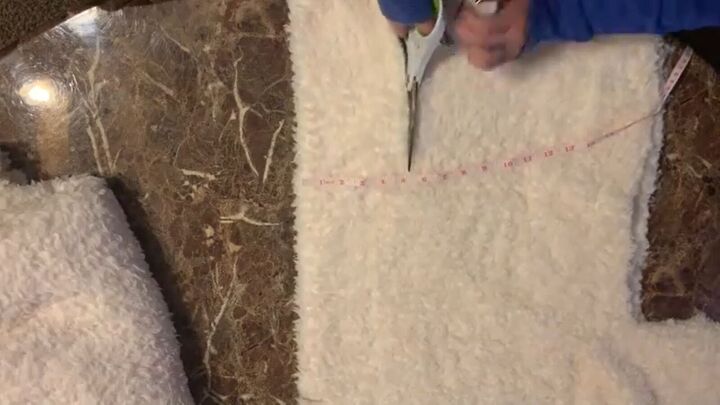
Cut on a folded edge at about a five inch width, moving the tape measure as you go so that it wouldn't be crooked.
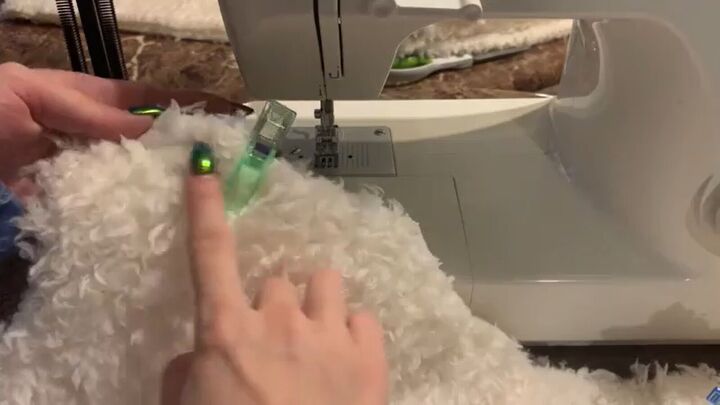
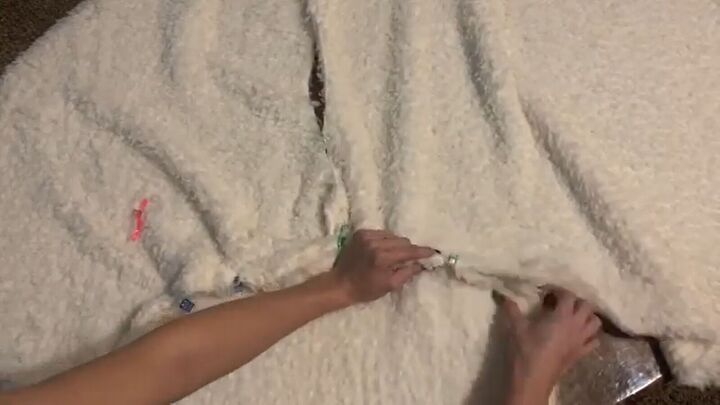
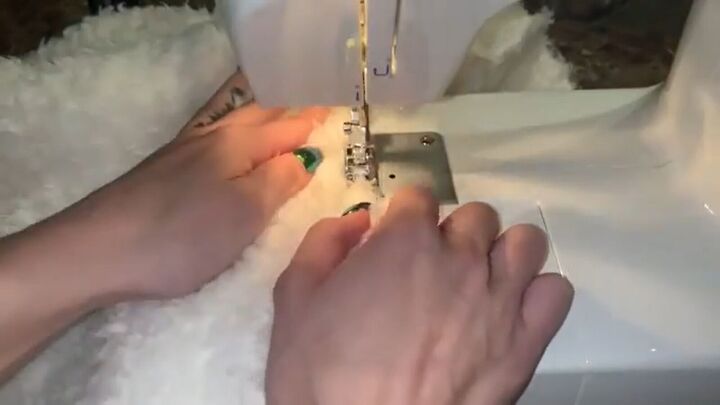
4. Sew the pieces together
Now that all the pieces are cut, start by sewing the shoulder pieces of the body together.
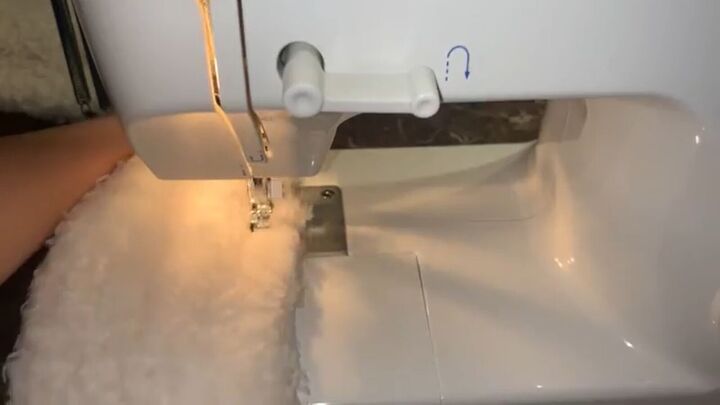
Start with a straight stitch and then a zigzag stitch along the edges to lock in the fuzzies, and then do that to both sides.
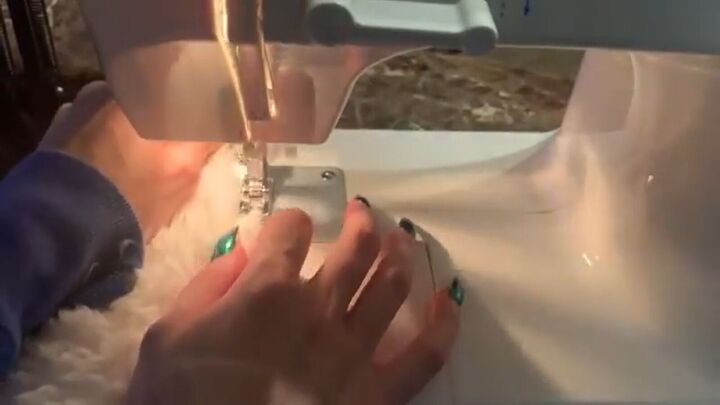
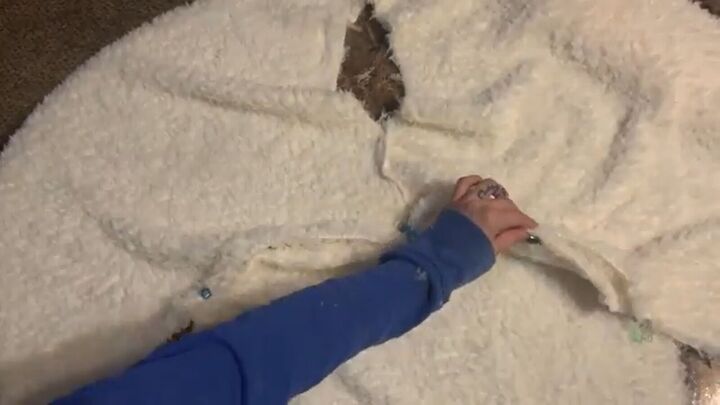
Open the body piece and the sleeves on the wrong side. Line them up with clips and sew them with a straight stitch, and then with a zigzag stitch.
This is what it should look like with the first sleeve attached.
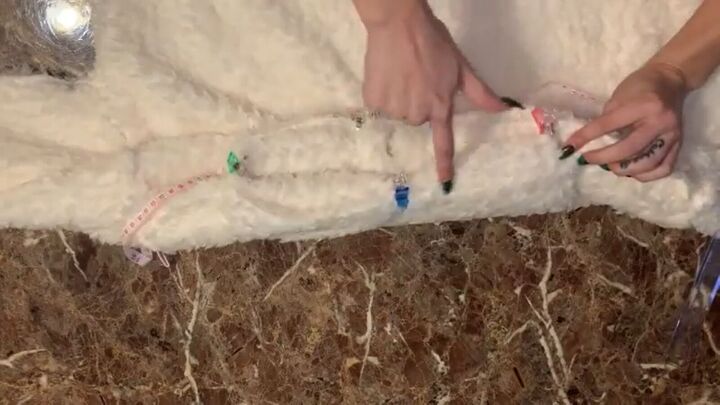
Do the same thing for the other sleeve. Line it up, clip it up, and sew it along the clips.
Once the sleeves are attached, line up the underneath of the sleeve, the armpit, and down the side of the body.
Clip them up and do the same thing with the other sleeve. Attach them with a straight stitch, and then again with the zigzag stitch.
Now, it's time for the neck piece. Sew a straight stitch along the whole thing and then flip it inside out so that there are no raw edges.
Attach it to the inside of the neck with the sweater on the wrong side of the fabric. Clip it down and sew it all the way around.
5. Adding the zipper
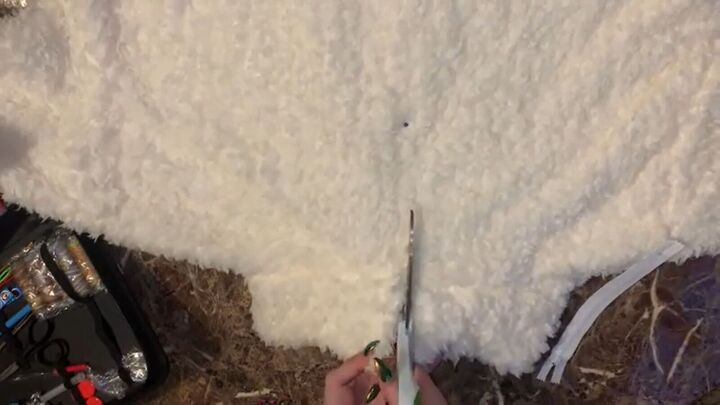
With the sweater flipped on the right facing side, line up the zipper as straight as you can, and use a pin to mark its place. Then just cut straight down.

Line the zipper the wrong way on the right side of the fabric. Pin it down really well and sew a straight stitch down.
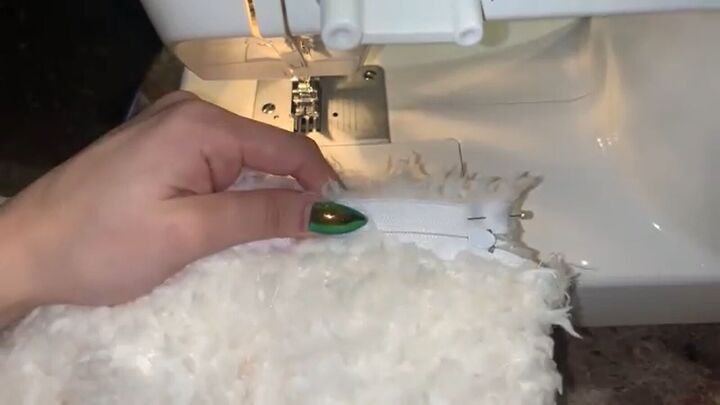
Flip it over and secure it with a top stitch.

Next, flip the sweater inside out and pin the zipper and sweater right sides facing together.
Sew that with a straight stitch and then finish it off again with a top stitch.

Half zip sherpa pullover
We are all finished with our oversized, half zip up sherpa sweater. It was so easy to make, and I just love the finished product!
It looks great and is so cozy and warm. If you like this tutorial, leave me a comment below.
The author may collect a small share of sales from the links on this page.


Comments
Join the conversation