How to DIY a Super Cute Short and Blazer Set

Hey guys! I’m going to show you how to make an adorable short and blazer set from an oversized thrift store blazer. If you have an old blazer at home you can use that.
Repurposing old clothes is a great way to save money and reduce waste. It’s also a fantastic way to make sure your style is one of a kind.
Tools and materials:
- Oversized blazer
- Scissors
- Measuring tape
- Pins
- Sewing machine
- Sewing chalk
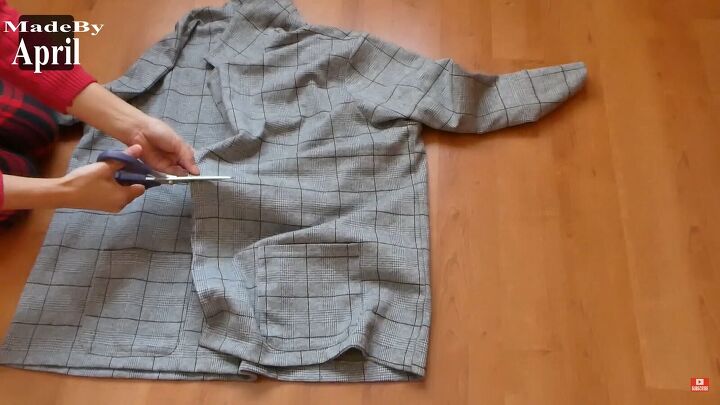
1. Cut the length of the blazer
We’re going to create a more fitted look, so decide how long you will want your new blazer to be and cut leaving a 2 centimeter (.8 inch) seam allowance.
Put the bottom piece aside for later because you’re going to use that for the shorts.
2. Fold in half
Take your blazer and fold it in half with the back sides together. Make sure you line up the collar and all the seams evenly in half.
3. Trace and cut
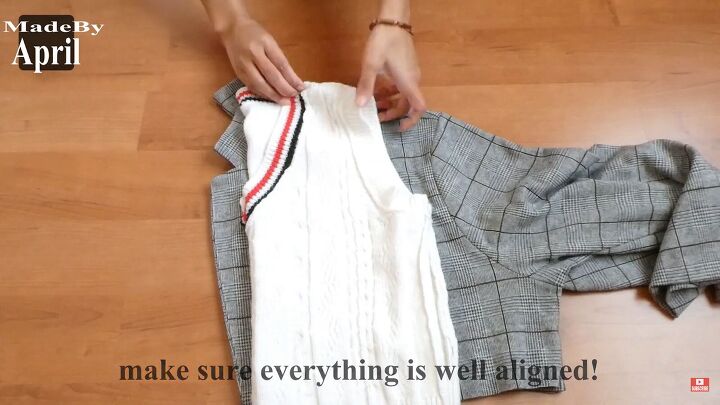
Use a sleeveless top to measure and create the fitted blazer. Fold the top in half and line it up carefully on the blazer. Trace the sleeveless top onto the blazer and cut.
Turn the body of the blazer inside out and sew the sides right side facing in.
4. Create sleeves
To create the sleeves, take a top with sleeves and place them on the sleeves of the blazer. Trace the sleeves onto the blazer sleeves and cut. Cut off the excess seam at the top of the sleeves.
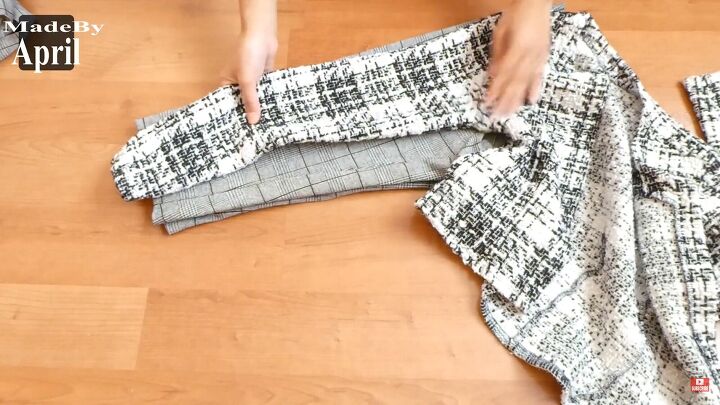
Take one sleeve and sew the length of the sleeve together with right sides facing in. Do the same to the other sleeve.
Now sew the sleeves to the blazer with right sides facing in.
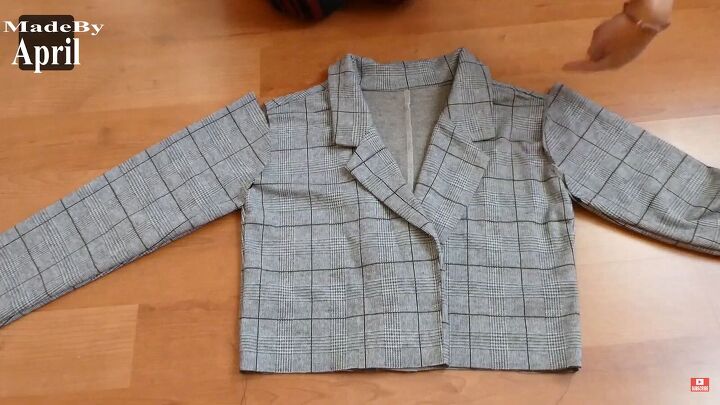
5. Finishing touches for the blazer
Fold and sew the bottom of the blazer to create a nice clean hem. Now your blazer is done. You can add buttons if you want.
6. Cutting pattern pieces for shorts
To create the shorts, go back to the bottom half of the blazer. If it has pockets, remove them. Then take the fabric and fold it in half with the right side facing out.
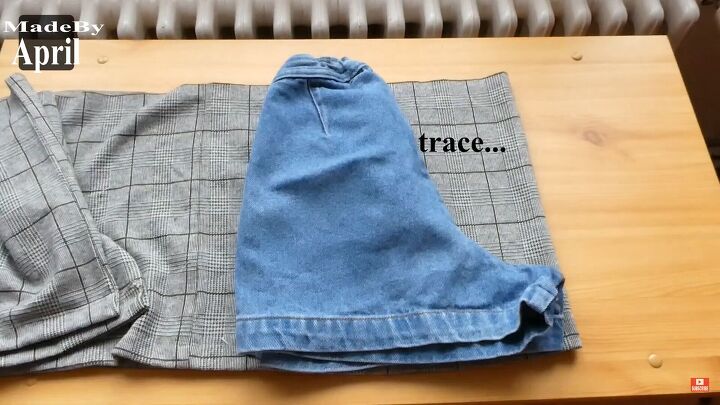
Take your favorite pair of shorts and fold them in half facing the front halves in. Make sure all the seam lines up from the crotch to the waist.
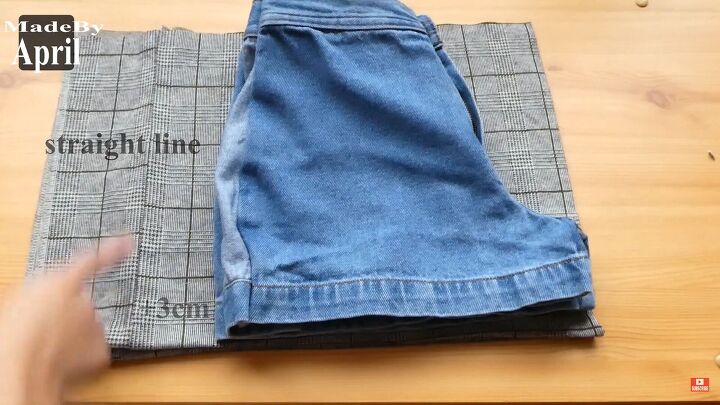
Trace along the side with the crotch curve. On the opposite side, measure out 3 centimeters from the bottom corner of the shorts and cut a straight line. This will be the back side of your shorts.
For the front section of the shorts take the remaining fabric and fold it in half right sides facing out.
Then take your favorite pair of shorts again and this time fold the back halves facing each other. Trace along the side with the curve for the crotch.
On the opposite side, measure 3 centimeters out from the bottom edge of the shorts and measure a straight line and cut out the pattern.
7. Sewing shorts
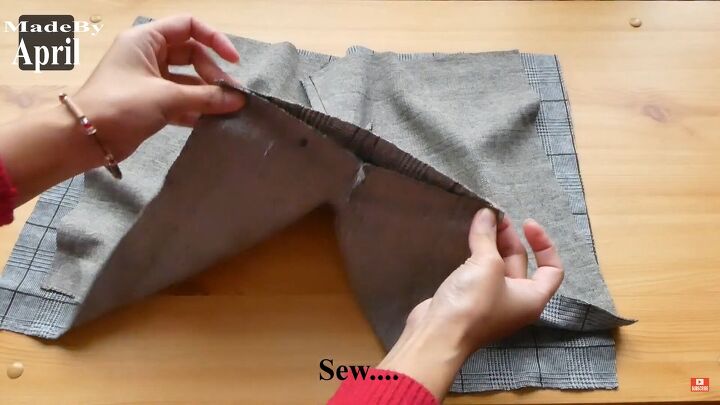
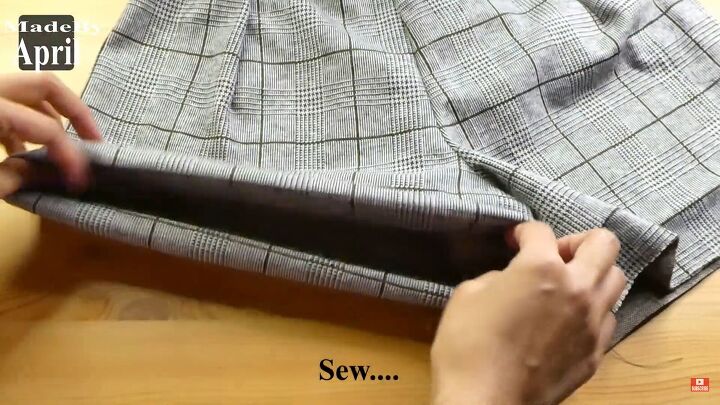
Take the pieces you cut for the front of the shorts and sew along the curved edge right sides facing in.
Do the same for the back pieces. Then place the front and back pieces with the right sides facing each other and sew the crotch line together.
Add darts to the front side. Fold one half of the front side inward. Measure 12 centimeters (4.8 inches) down and along the waist of the shorts measure 2.5 centimeters (1 inch) in.
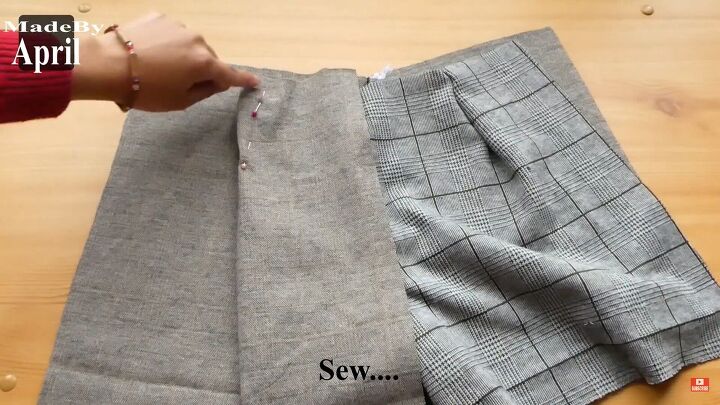
Create a diagonal line connecting those two points. Do the same on the other side and then sew. Now take the shorts and place the right side facing in and sew the outer sides.

8. Creating the waistband
To create the waistband use the measurements of the existing waist line.
For the back piece, add 7 centimeters (2.8 inches) to the length of the waist in the back. Make the front band half the size of the entire waist measurement.
Sew the edges together. Then sew the waistband to the waist of the shorts with the right sides facing each other.
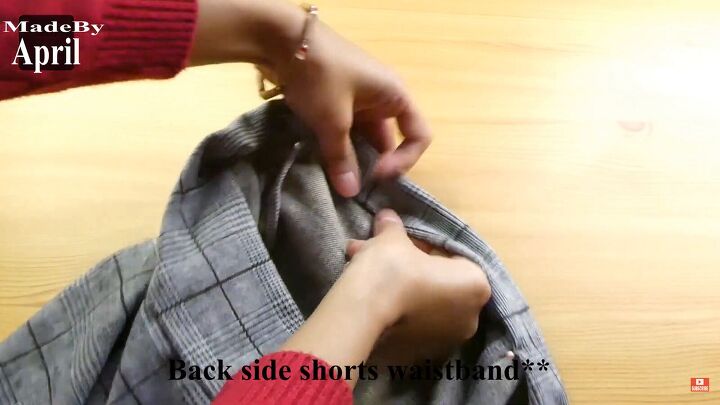
Fold in the back side of the waistband down twice, pin and sew, leaving the front of the waist open.
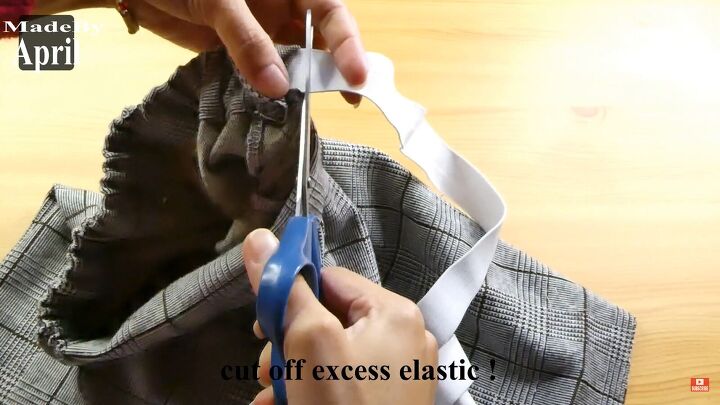
Take a strip of elastic and use a safety pin to thread the elastic through the back of the waist.
Then sew along the side seams to keep the elastic in place. Cut the excess elastic. Then finish sewing the front of the waistband.
9. Finishing touches
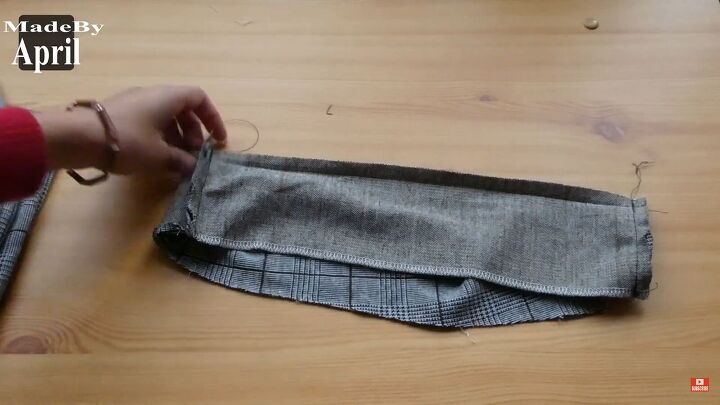
For the final step, hem and sew the bottom of the shorts and you’re done.

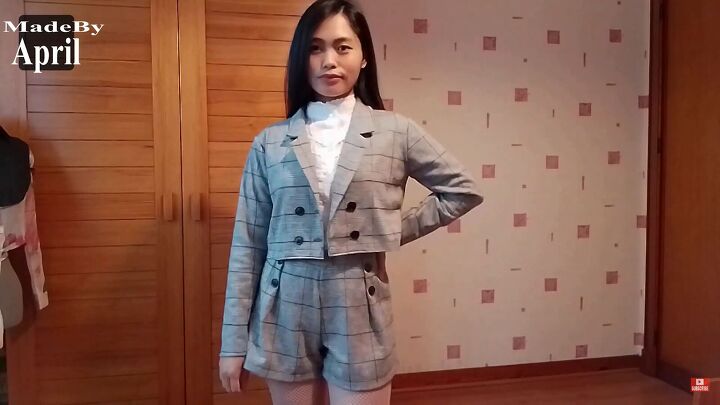
DIY short and blazer set
This is such a classy look with the blazer, and pairing it with shorts gives it a young and modern feel.
How did yours come out? Tell me in the comments.
Why not check out my post on How to DIY a Preppy Tote Bag?
The author may collect a small share of sales from the links on this page.


Comments
Join the conversation