Cross Your Braids in the Front for This Headband Look

In this tutorial, I’m going to show you how to cross your braids in the front to create a natural headband look.
All you need is a comb and some hair ties. Let’s jump on in!
Tools and materials
- Comb
- Hair ties
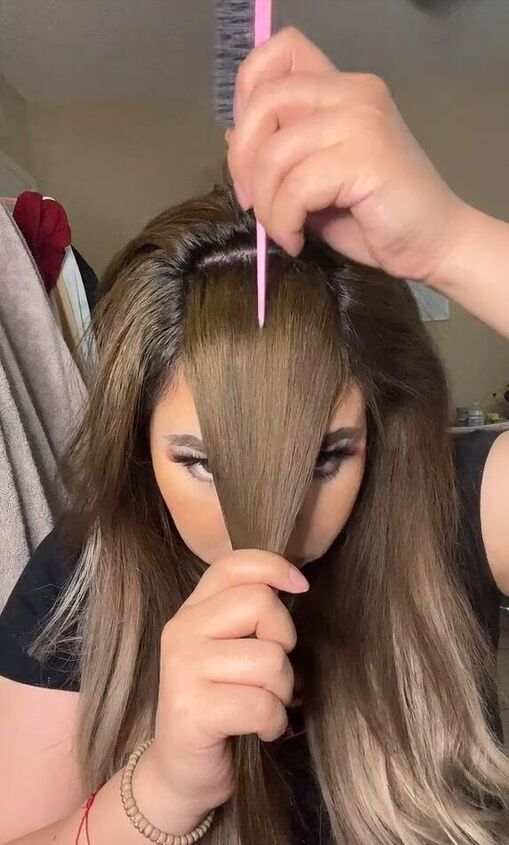
1. Section off hair
First, section off the front part of your hair and then divide that section into two equal parts. Tie up the rest of your hair.
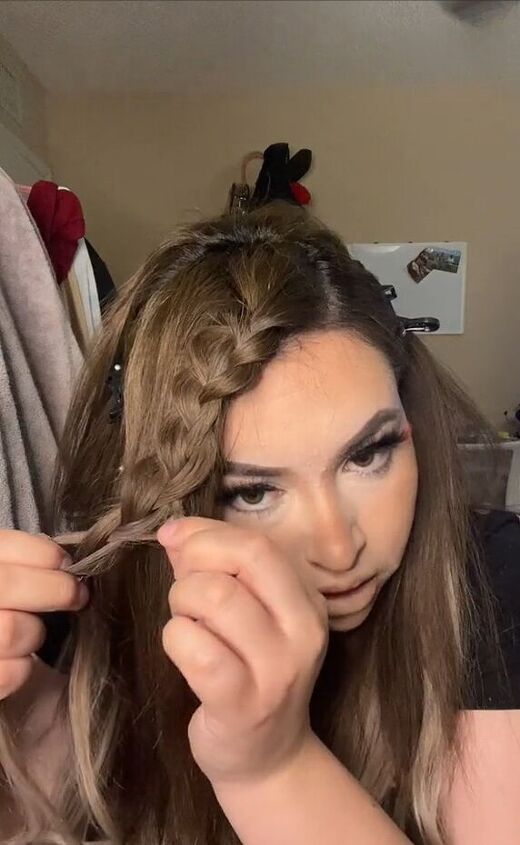
2. Make first braid
Now take one of the front sections of hair and clip the other one up.
Braid the section, but you want to do it diagonally so that it falls down the opposite side of your face.
Then gently pull on the braid to make it more voluminous. Tie the braid with a hair tie when you reach the bottom.
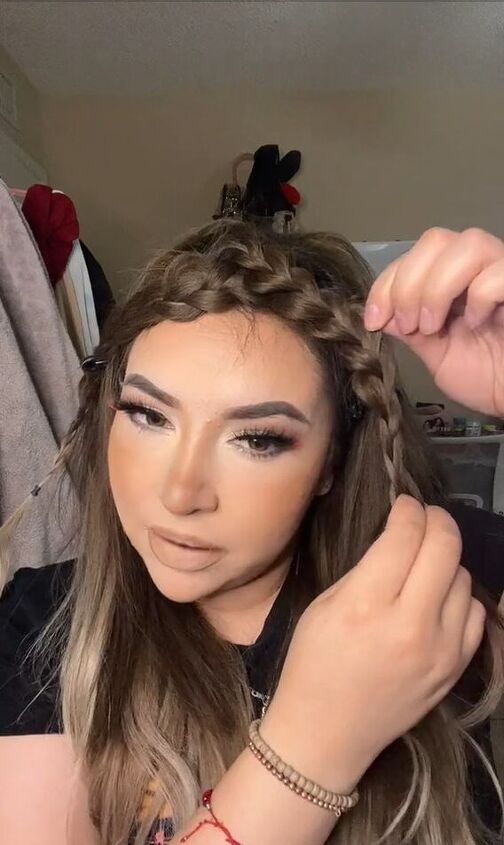
3. Repeat
So the same to the other front section of hair, braiding it so that it falls down the opposite side of your face.
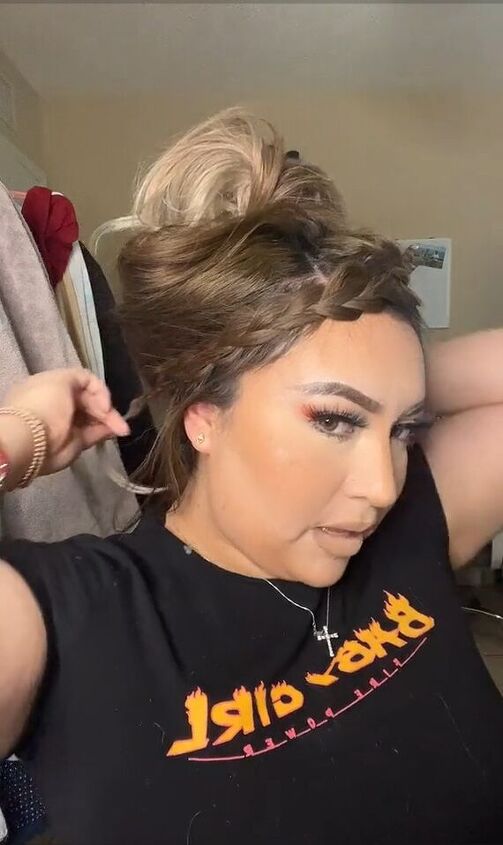
4. Tie braids behind head
Bring each braid to the back of your head and tie them together.
Then let the rest of your hair down, which will conceal the ends of the braids.
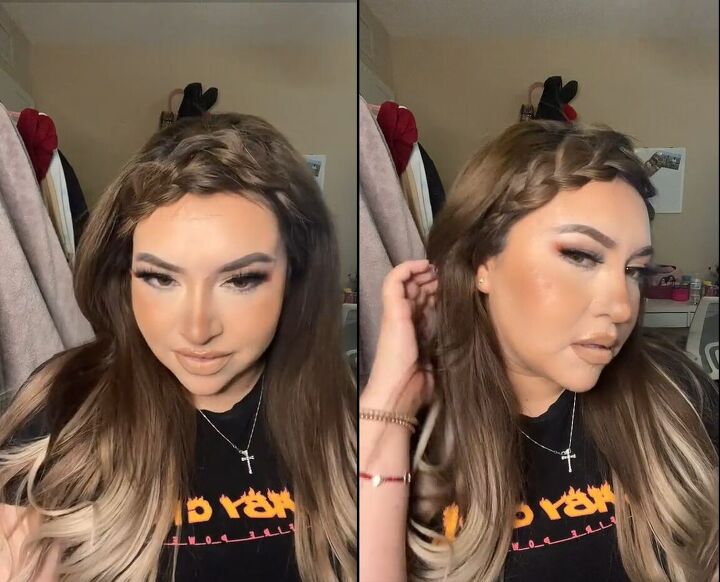
Braided headband hairstyle
Here is the finished look. The two braids crossed over one another look like a natural hairband using my own hair.
When you want to wear your hair down, this adds a really nice touch to spruce up your look.
For another cute hairstyle, check out this Cute Bun Tutorial for the Gym.
Follow me on Instagram: @iamlauravaldez
Follow me on TikTok: @iamlauravaldez
The author may collect a small share of sales from the links on this page.


Comments
Join the conversation