DIY Cookie Monster Costume for Halloween

Hi guys, I am back again making another Halloween costume. This one is a DIY Cookie Monster costume because, let’s be honest, we all love cookies and Cookie Monster is my spirit animal.
Like all the other costumes I make, this one would be a great group costume; each person could go as a different character from Sesame Street using the same method as below to add their character’s face to a t-shirt.
Anyway, without further ado let's get onto the easy DIY Cookie Monster costume.
Tools and materials:
- Plain blue t-shirt
- Black adhesive felt
- White adhesive felt
- Scissors
- Shoebox
- Blue paint
- Feather boa
- Hot glue
- Letter stickers
- Blue cord (optional)
- Headband
Create the Cookie Monster shirt
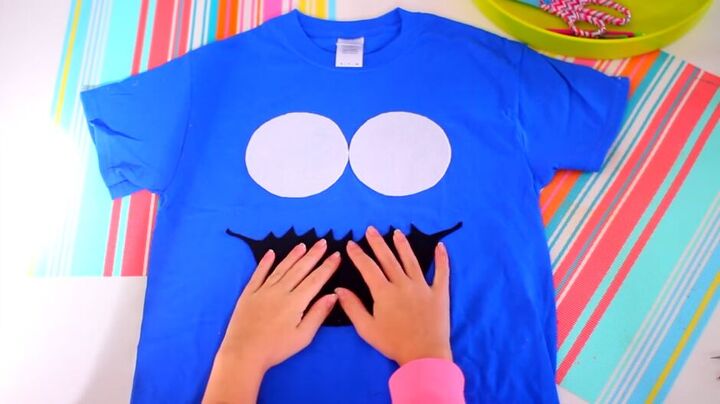
First, we're making the shirt for this costume which is basically just a Cookie Monster face on a T-shirt. You will need a plain blue T-shirt and a few sheets of black and white adhesive felt.
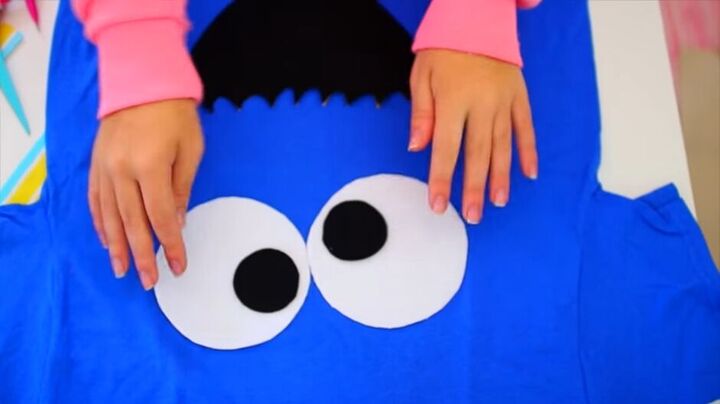
1. Begin with the eyes
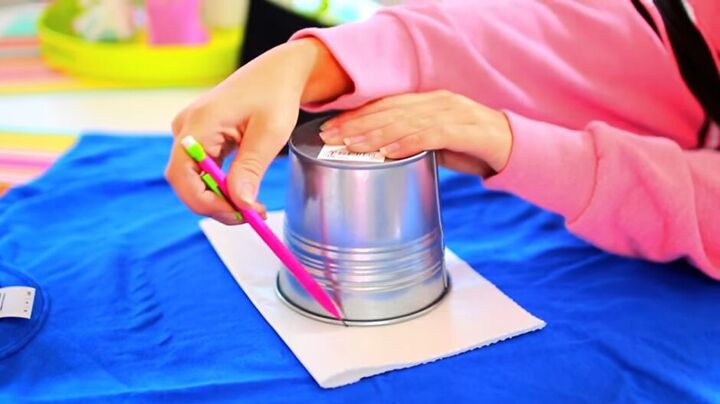
Start off by tracing 2 circular shapes on your white piece of felt. I like to fold the felt in half and place a circular object on top of it that is the same size I would like the eyes to be. Then just trace around it.
Cut them out with scissors.
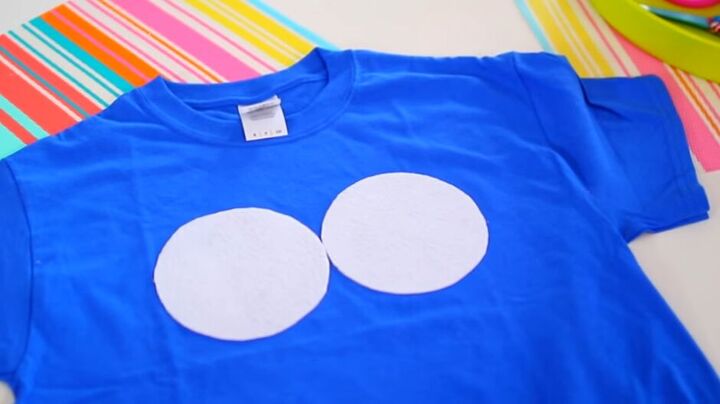
Then place them on the shirt making sure they are touching each other.
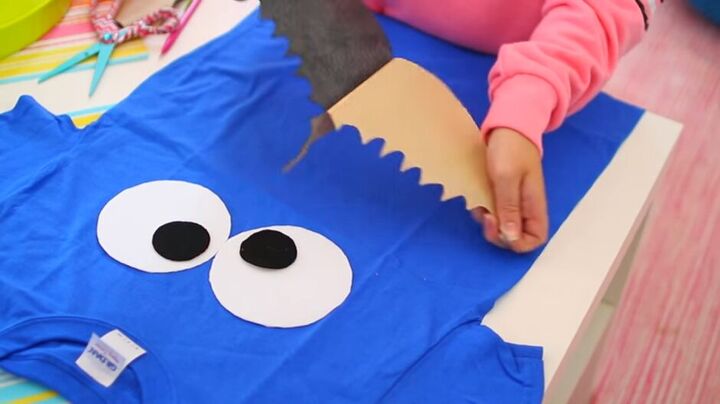
2. Create a mouth
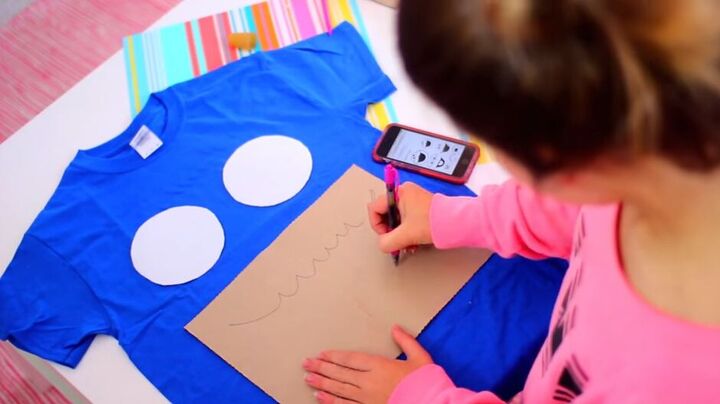
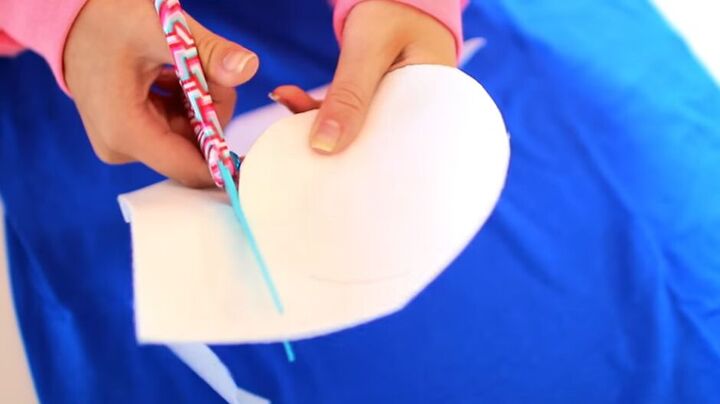
Next up we have the mouth. I found a picture online and copied it onto the back of my black felt.
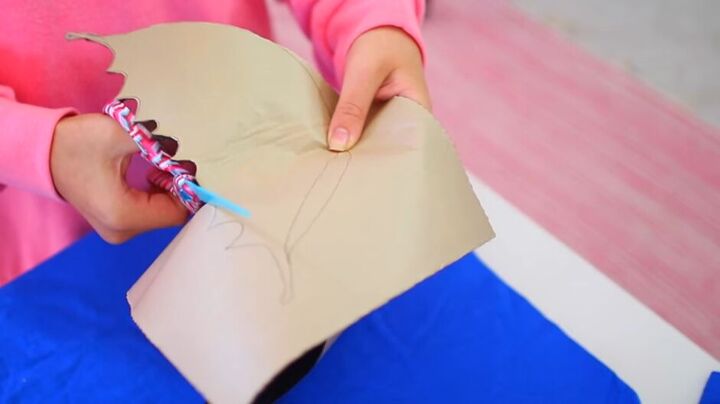
Then I cut it out with scissors.
Then, placed it on the shirt where the mouth would be.
3. End with the pupils
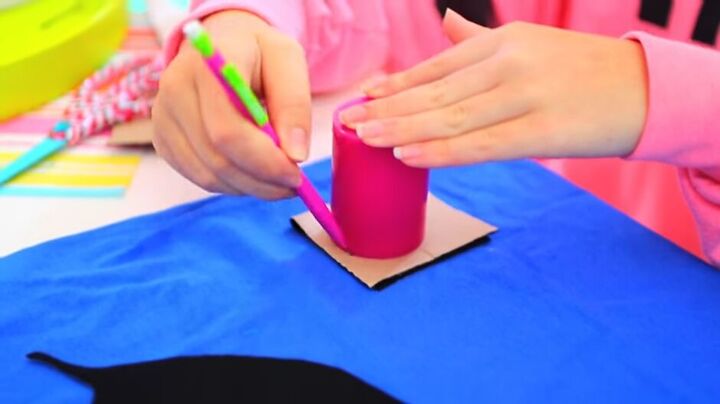
Fold a piece of black felt and place a small round object on top. Trace around it to make your pupils.
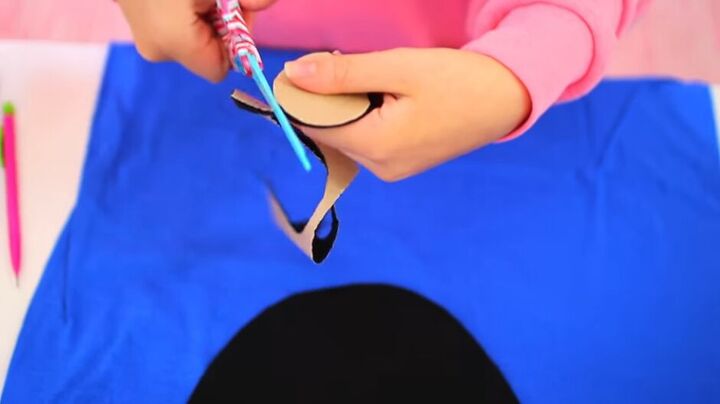
Once again cut those out.
Place them randomly on the white circles facing inward to capture his cross-eyed look.
4. Stick all the pieces onto the shirt
Once you are happy with the placement of all the pieces, remove the back of the adhesive felt and stick them onto the shirt. The great thing about adhesive felt is it is not permanent so you can always remove it and use the shirt again.
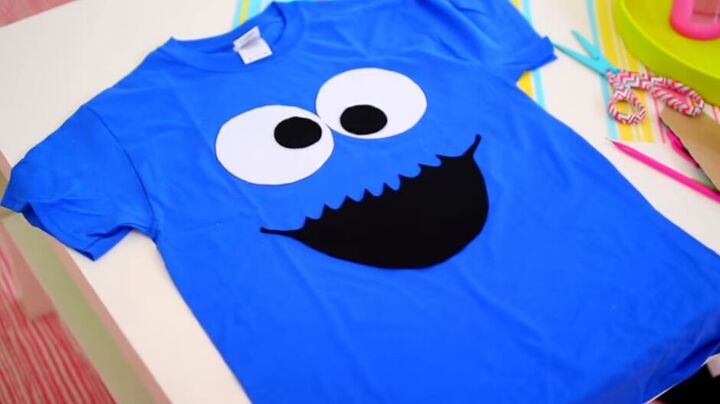
That is the finished t-shirt for the DIY Cookie Monster costume, isn’t he the sweetest?
Fashion the accessories
Let's move onto the accessories!
Cookie box
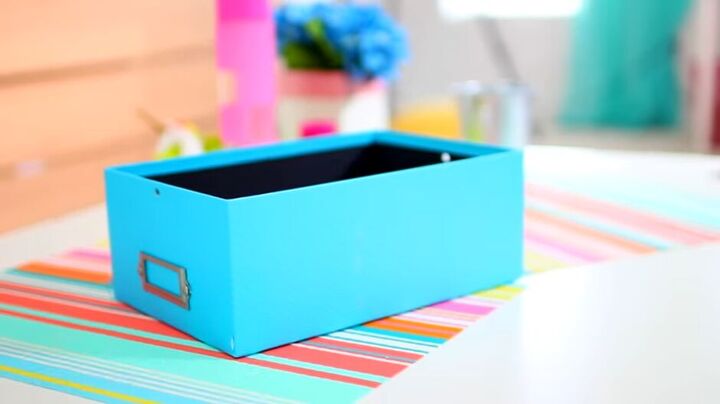
1. Paint a shoebox blue
The first step is to paint a shoebox blue. You can skip this step if you manage to find a box that is already blue.
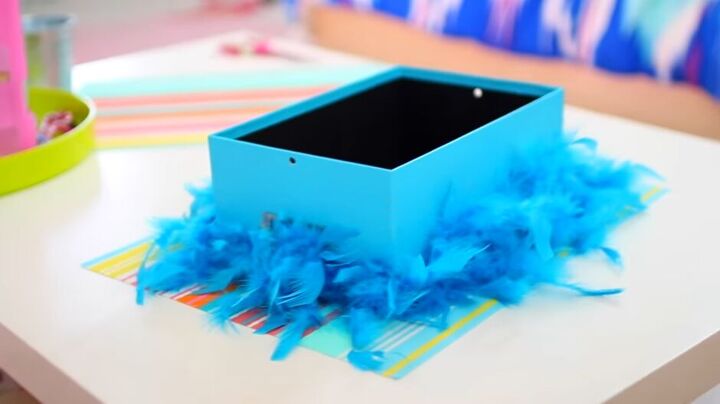
2. Attach the feather boa
Next, you want to take your blue feather boa and hot glue it to the bottom sides of the box.
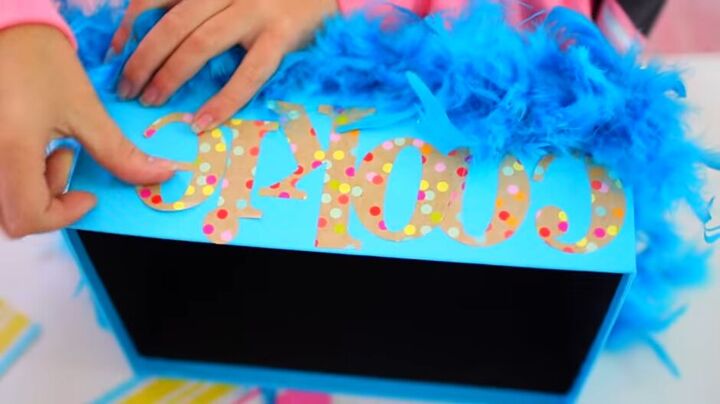
3. Stick on letters
After that, take some fun letter stickers that spell out “cookies” and stick them to the front of the box right above the feather lining.
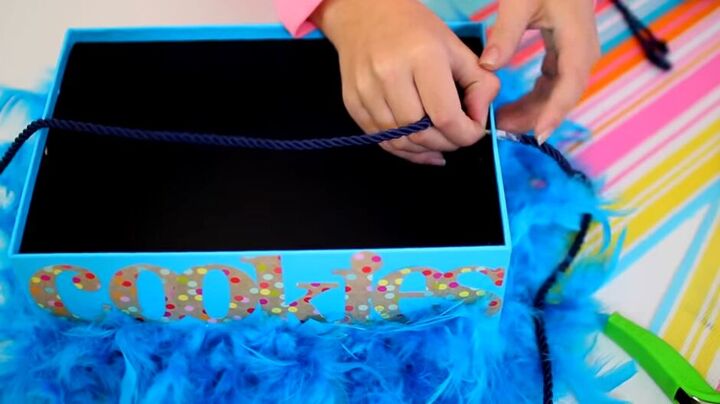
4. Add cord (optional)
As an optional extra, you can punch holes on either side of the box and thread through some blue cord, tying the ends on the inside of the box. This allows you to wear the box around your neck like a candy vendor.
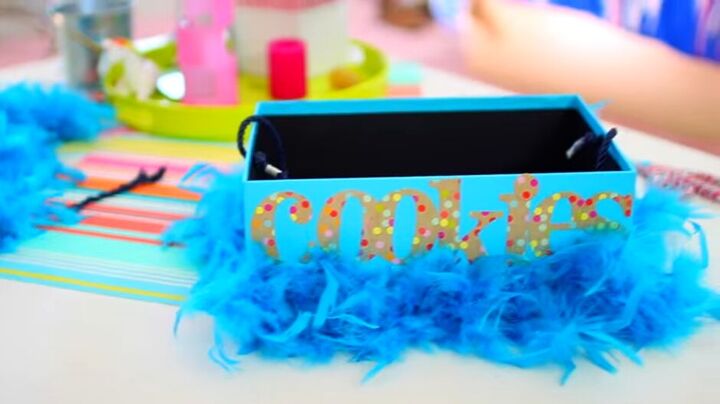
Here is the final box, it came out so cute and was so simple to make. Onto the last accessory — the headband
Cookie Monster headband
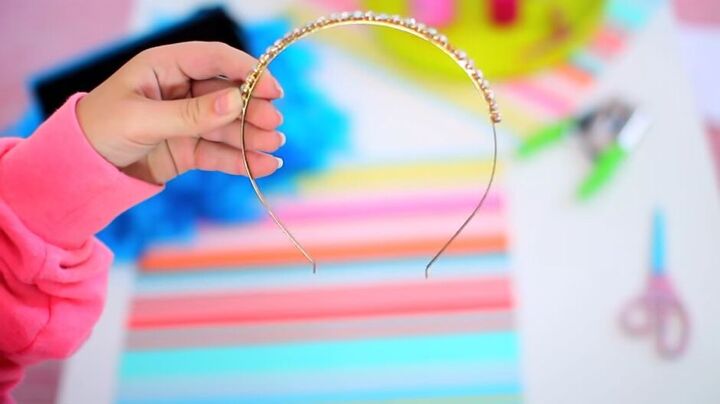
1. Take a headband
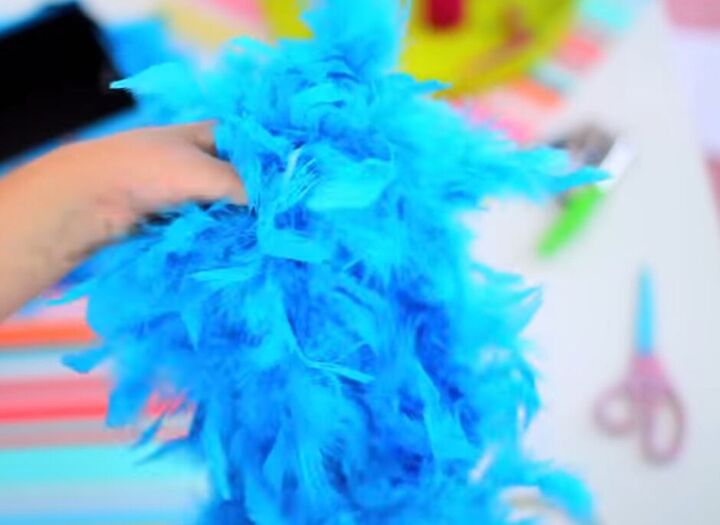
2. And feather boa
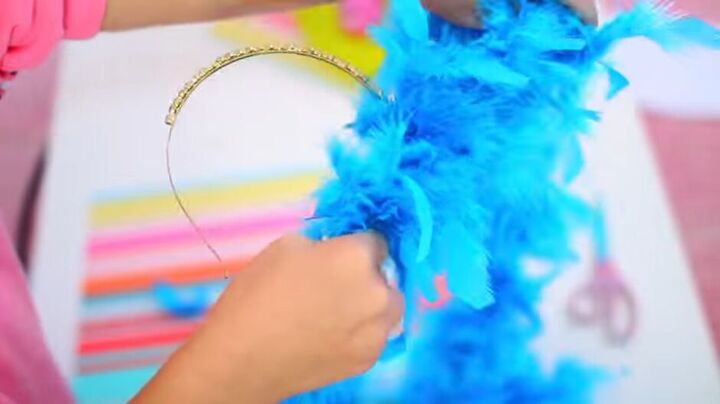
3. Wrap the headband
Wrap the feather boa around the headband. It is not necessary to secure it as it secures itself quite well, but if you want to be safe you can add some hot glue here and there.
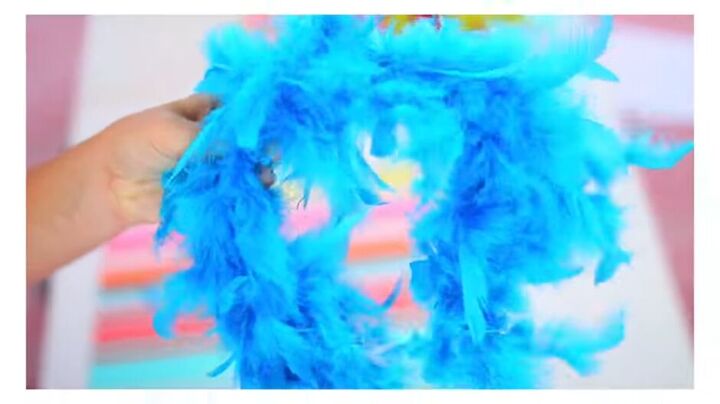
You will end up with something that looks like this, all fluffy and flowy and perfect for our Cookie Monster Halloween costume.
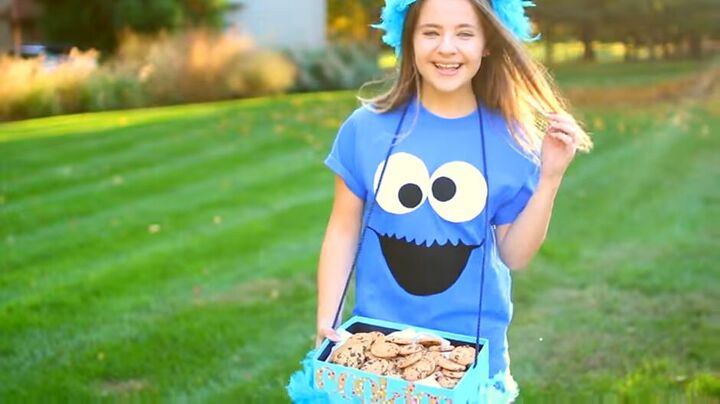
Here is the final DIY Cookie Monster costume. I wore everything I made with some blue leggings and Uggs. I absolutely adore how it came out. I would love to know what you guys think in the comments. Have a great Halloween.
The author may collect a small share of sales from the links on this page.


Comments
Join the conversation