How to Easily Do a DIY Curly Haircut With Layers in 8 Simple Steps

Today, I'll show you how to do a DIY curly haircut. I am not a hair professional, but this technique always works for me and leaves me with a result that I’m happy with.
I like my curly hair to have lots of layers, but I also like it to look very cohesive between the layers and the length. I know I need a haircut when the ends start looking really stringy, my curls are stretched out, and I see more frizz.
Tools and materials:
- Hair cutting scissors
- Hairbrush
- Hair ties
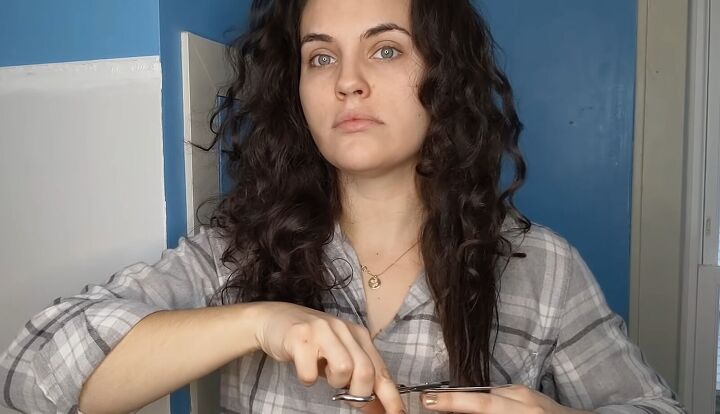
1. Cut hait
I part my hair in the middle, then I take the length and pull it straight, pretty loosely, but making sure I have all of my ends between my fingers, and then I cut however much length I want to take off. Then I go ahead and do the same on the other side.
I have tried brushing my hair out before I cut it and keeping it curly, and honestly, I think it turns out better when I leave it curly.
After I've cut both sides, I'm just going to fluff it to make sure no curls were missed. Then I part it the way that I wear it every day.
2. Adjust
It looks like the one side is a little bit longer, which is no problem. I'm just going to go cut a little bit more off of that side. The good thing about curly hair is that it's really hard to mess it up.
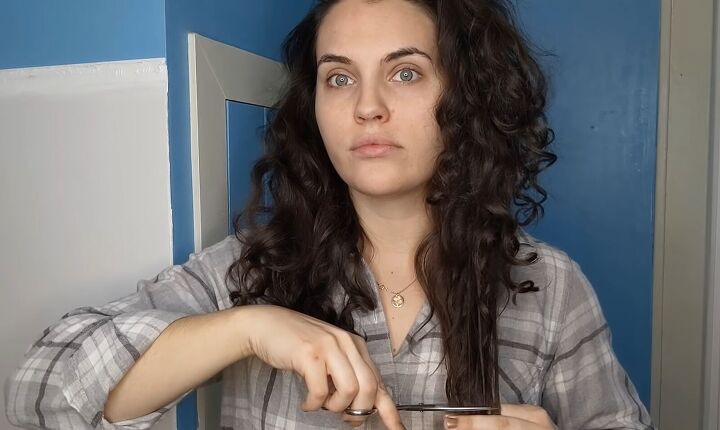
3. Create a soft finish
Now I'm just going to kind of pull at it and make sure I didn't miss any random little curls.
Then I'm going to pull the length straighter again and cut into the hair. This gives the hair less of a blunt finish and more soft of a finish.
After that, I’m done with the length.
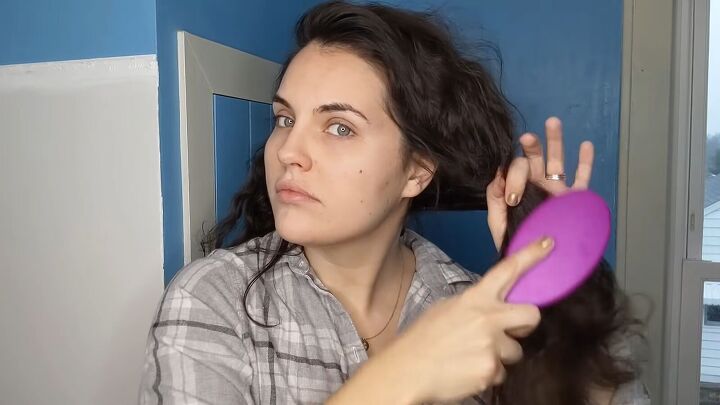
4. Brush hair
Next, I'm going to brush all of my hair on one side. I'm using a brush with very flexible bristles, so it's not going to cause breakage or pull on my hair like a normal hairbrush.
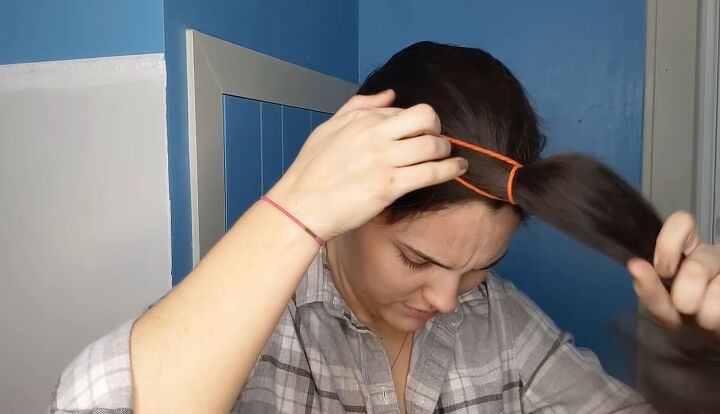
5. Tie hair at the front
Once my curls are brushed out, I’m going to take some hair ties, flip my head over and brush my hair forward towards my forehead.
Then, I'm going to take one of the hair ties and make a ponytail right at the front of my forehead. This is called a unicorn cut because I look like a unicorn.
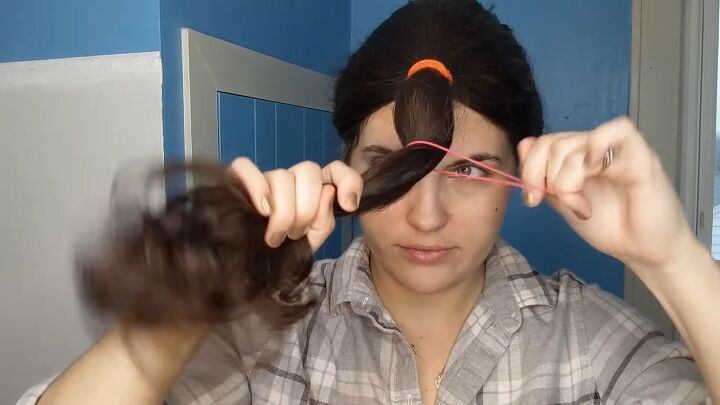
After I put the first hair tie in, I will pull my hair straight and put in another ponytail a few inches further down. Make sure it's all nice and straight and smooth. Then I'm going to put in one more to make sure it's all pulled as straight as possible.
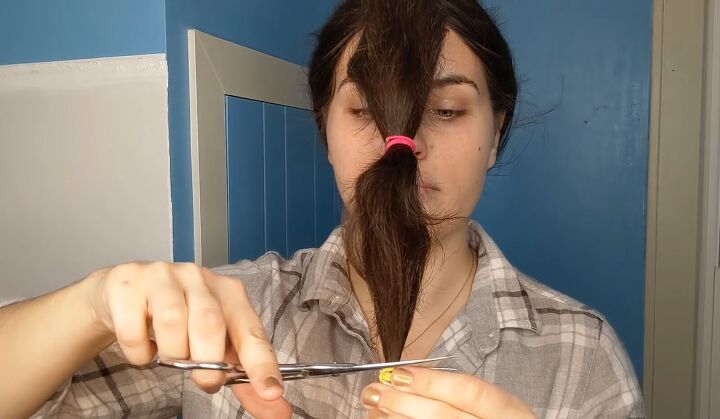
6. Cut the layers
What I like to do is cut above that little ponytail because it's going to create less of a mess all over your floor, but you can also cut below; it just depends on what you prefer.
After that, I'm going to do the same exact thing that I did to the length of my hair; I'm going to make sure there aren't any random little hairs that I missed.
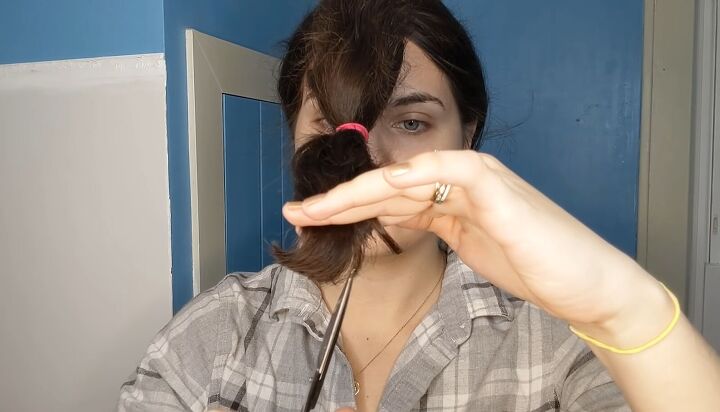
7. Give it a soft finish
Last, I'm going to cut into it to give it a nice soft finish instead of a harsh line.
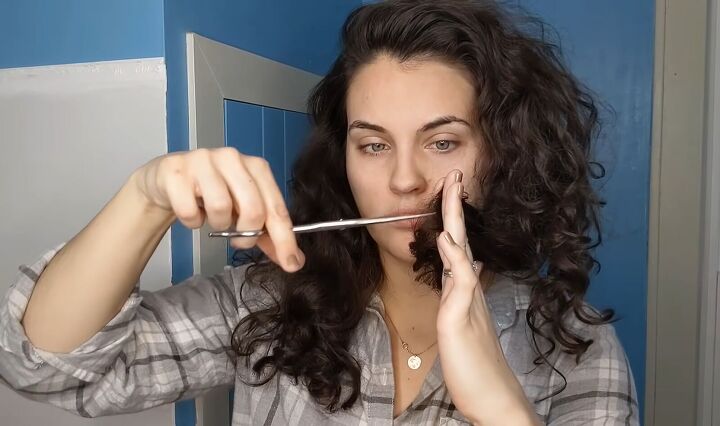
8. Trim bangs
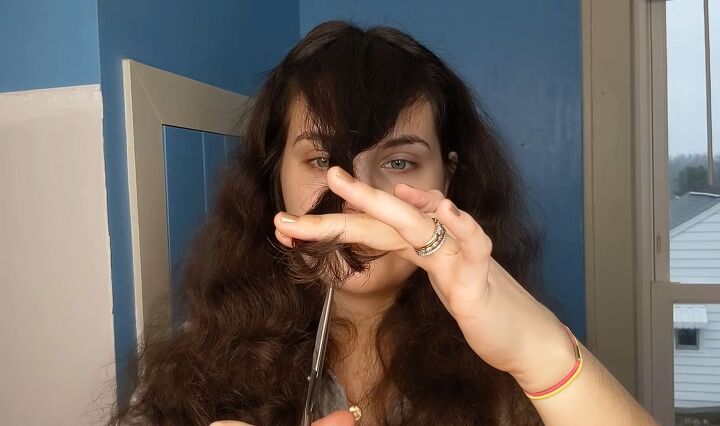
To finish, I’m going to brush my hair out again and part it in the middle. Then I'm going to kind of create a little triangle in the front, pull it all forward to the center by my nose, and then I'm going to twist it.
This is going to give the bangs more of a natural look than a very blunt, straight-across look.
I’m just going to trim my bangs a little bit to give my ends a little freshening up, but a lot of the time I will cut them right around my chin because I'm trying out longer bangs.
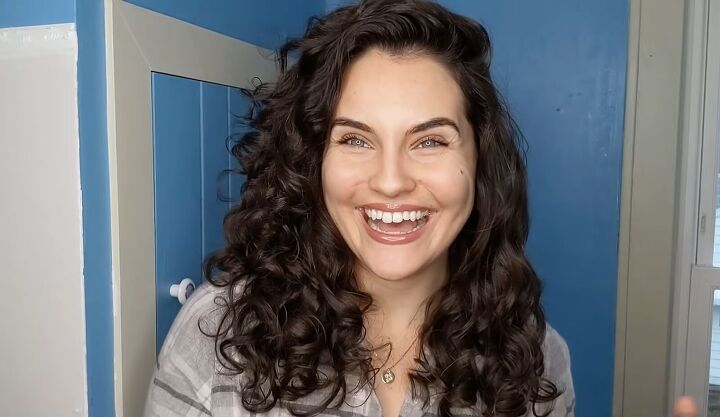
DIY curly haircut
After a wash, you can see my curls have all bounced back. My layers and my length just kind of blend together; there's no separation, and my ends don't look thinner.
As I said, I am not a hair professional, but I am very happy with the cut I have achieved. For a different style, you can see my previous tutorial on how to do a wolf cut on curly hair.
Remember, when cutting your hair, it does not have to be perfect as you’re going along; it's very easy to go back and trim more off or fix it if you need to if you don't like how it's looking.
Products used
The author may collect a small share of sales from the links on this page.


Comments
Join the conversation