How to Make a Gorgeous Midi Bodycon Dress

Today, I’m going to show you how to make a bodycon dress. I want to create this dress to take away with me on vacation, and I’ve got the most gorgeous tie-dye, velvet fabric to make it with.
So, without further ado, let’s transform this fabric into a long-sleeve midi bodycon dress.
Tools and materials:
- Fabric
- Old bodycon dress
- Fabric marker
- Scissors
- Sewing machine
I will be drafting this midi dress pattern myself, but I’ll be using a bodycon dress that I already own as a reference.
It's pretty much exactly the same style. All it needs is some adjusting on the neckline and then the cut-out in the middle. It should be a pretty simple.
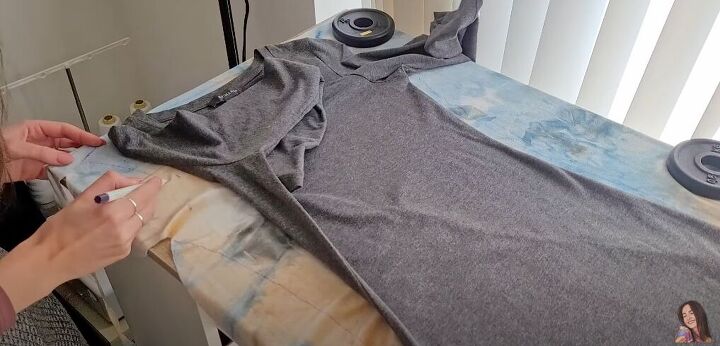
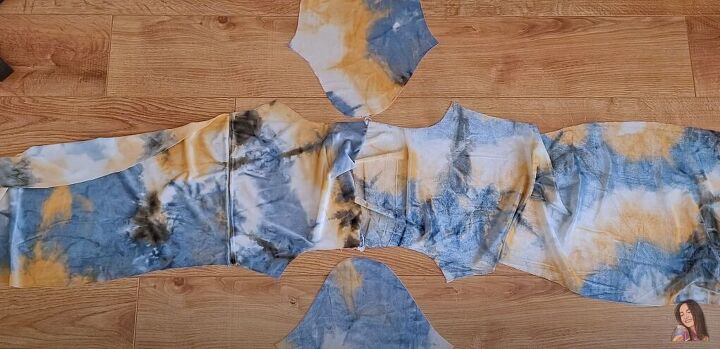
1. Tracing the outline of the dress
Firstly, I’m tracing, around a bodycon dress that I already own, onto the tie-dye velvet fabric. However, I’m ignoring the neckline so that I can adjust it later on.
I'm going to slit the front panel in two parts so that I can accommodate the cut-out later on.
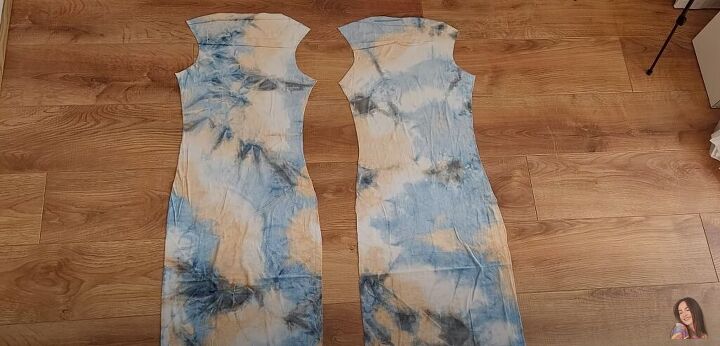
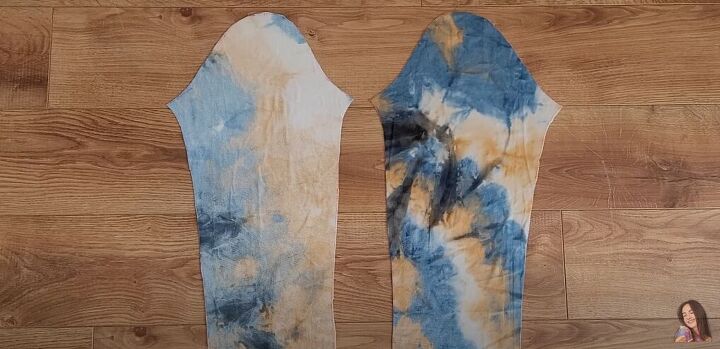
2. Cut-out midi dress pattern pieces
Then, I go ahead and cut out all the midi dress pattern pieces.
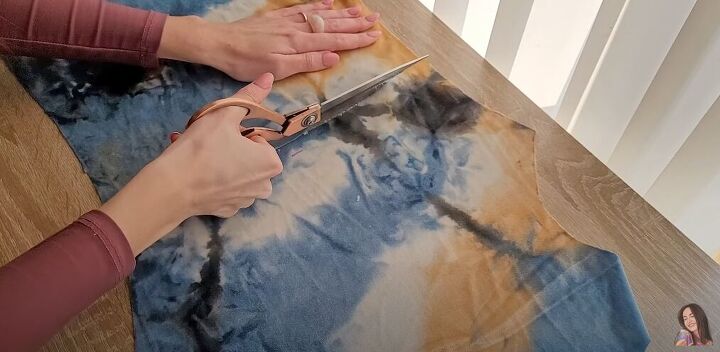
3. Creating the cut-out
Then, I cut through the belly area because that's where we're creating the cut-out.
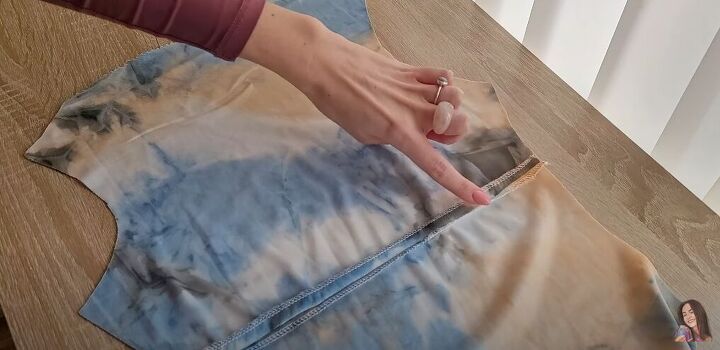
I overlocked the cut-out area. Then, I attached the two pieces back together, but only ever so slightly along the side.
Next, I'm going to hem the cut-out with a twin needle.

This is the front panel now. It looks nice and neat.
4. Assemble the dress
Now, I'm going to assemble the dress, meaning I’m going to attach the back and front panel along the shoulder seams.
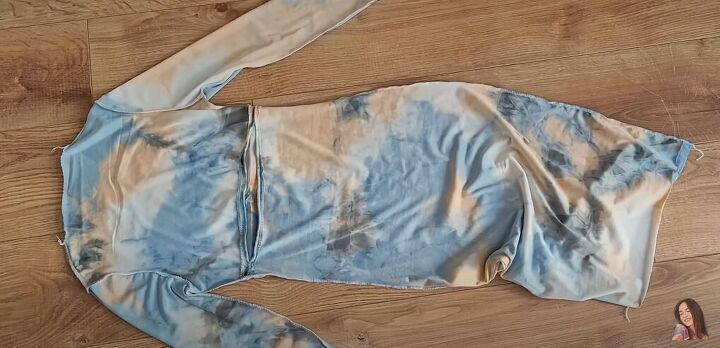
I will also attach the sleeves to the armholes and then I’ll close off the sides on the sleeves and down the entire side of the dress.

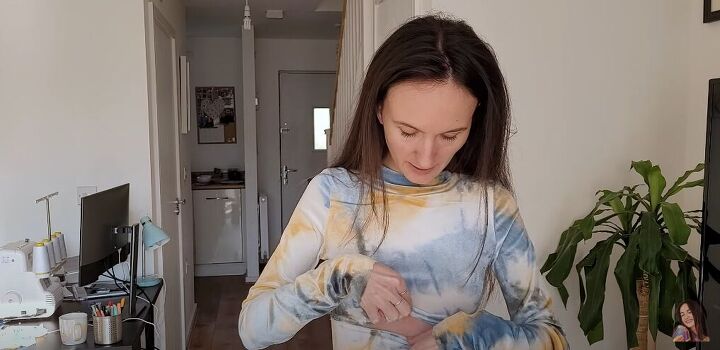
5. Try the dress on
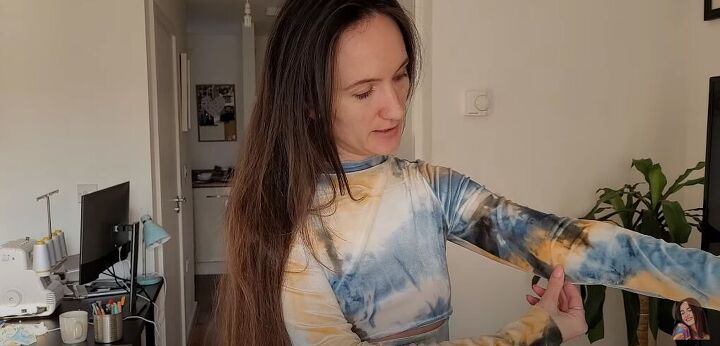
Then, I check to try it on to see if the midi dress fits.
6. Making adjustments
This is what the dress is looking like so far!
I am loving it, but it needs a couple of adjustments. The sleeves are a little too loose so I'm just going to take them in a couple of centimeters at the top, skip the elbow, and continue down the sleeve here.
I'm also going to hem the sleeves and the bottom and I'm going to adjust the neckline. I’m going to leave it quite high. Then, I’ll hem that as well. All of this will be done with the overlock and the twin needle.
Then, all that's left to do after that is to rouge the cut-out part.
Unfortunately, I created the cut-out a bit too high. It would be better if it was slightly lower, just because this is a bit risque for my taste.
So, I'm going to make the cut-out a little smaller than originally intended. I will attach some elastic so that it’s ruched up.

How to make a bodycon dress
Then, after a few more small adjustments, the DIY long-sleeve midi bodycon dress is complete!
I’m in love with how it looks and can’t wait to wear it on vacation. If you recreate this dress, let me know in the comments down below.
If you enjoyed this tutorial, check out my post on How to Make a Sleeveless Jacket that's Perfect for Fall.
The author may collect a small share of sales from the links on this page.


Comments
Join the conversation