3 Natural Hairstyles With Gel That Prove Gel Placement is Everything

This tutorial is all about natural hairstyles with gel. I’ve been doing wash-n-go’s for basically forever, and I never really could figure out exactly why the style of my hair would come out differently each time.
Sometimes my hair ended up big with lots of lift and volume, and sometimes it ended up falling straight down with tighter curls.
Trying to get the shape that I wanted was so frustrating because even if I used the same products, my hair always looked drastically different. Then, I had a game-changing discovery: how and where I apply gel, or another heavy sealant like a curl cream, was vital to achieving different shapes in my hair.
So, in this tutorial, I’m going to show you how to do natural hairstyles with gel to achieve the look and shape you want.
Tools and materials:
- Styling gel
- Leave-in conditioner
- Hair oil (optional)
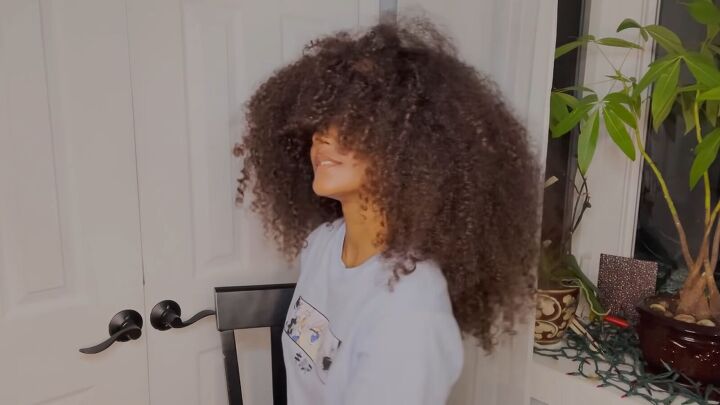
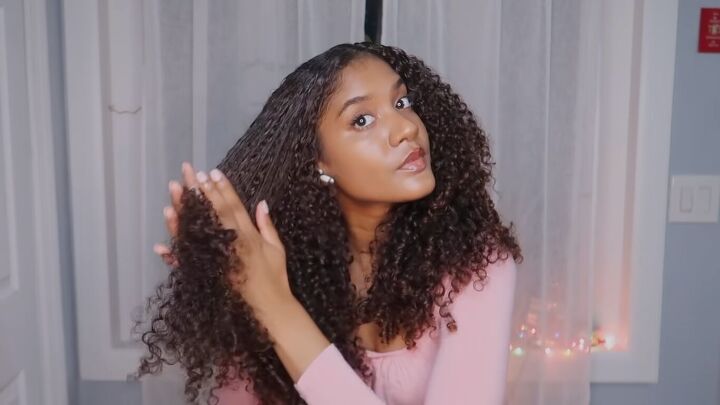
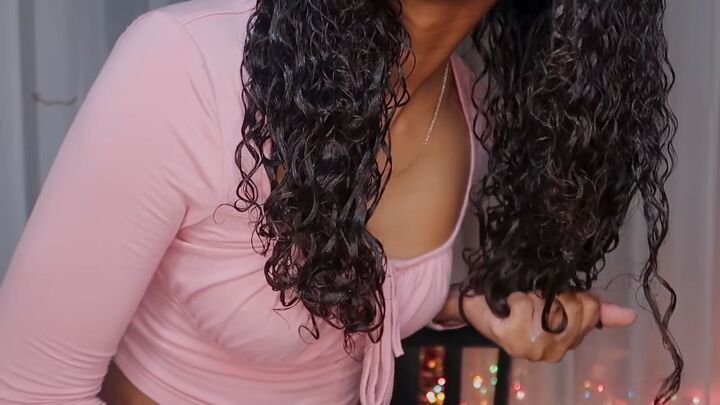
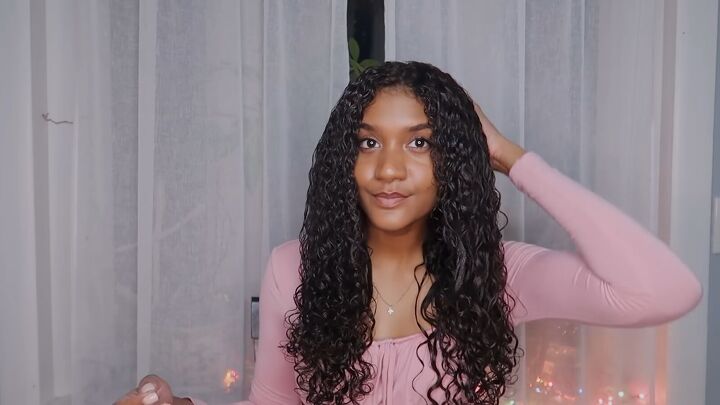
For reference, here’s what my hair looks like with zero product right after I wash and dry it.
It’s voluminous, layered, but it can get really frizzy and knotted. Before choosing a natural hair routine, I recommend doing a wash-n-go without any products to understand your hair so you can better pinpoint what it actually needs.
You can read my previous tutorial on my wash and go routine for my type 3 natural hair here.
For these styles, I’m using a light leave-in conditioner for extra moisture, and the gel I’m using is the ECO Styler Krystal gel, but any gel you have will work fine. Let’s get into the gel styles.
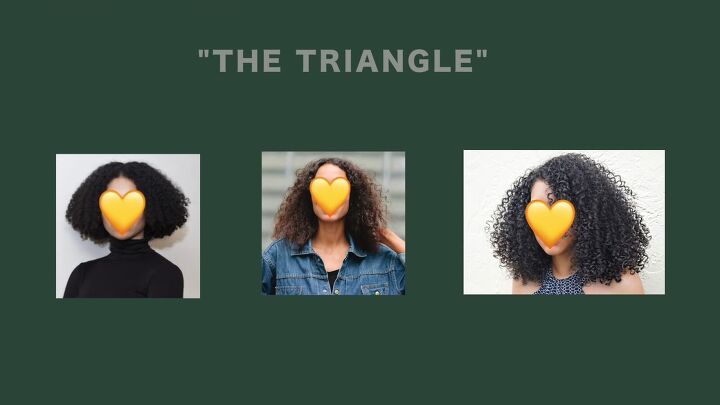
Gel placement style 1: “The Triangle”
Use the Triangle gel placement style if you want a lot less volume at the roots of your hair, but a lot more towards the bottom. This creates a really pretty “triangle” shape with your hair.
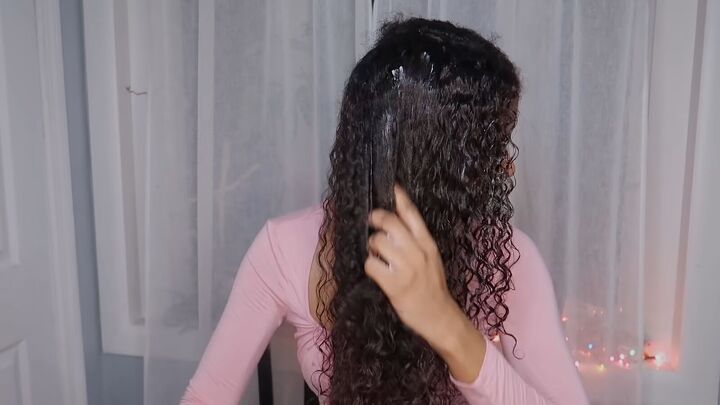
To get this look, part your hair into small sections and apply a leave-in cream conditioner throughout each section evenly. Focus on your ends and make sure they’re moisturized before you apply the gel.
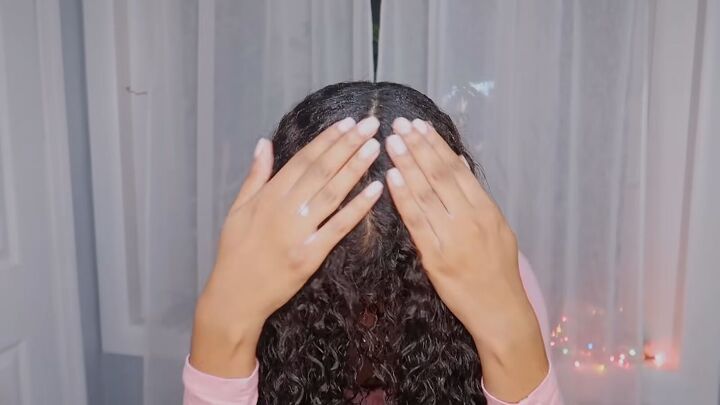
Take a quarter-sized amount of gel and apply directly to the crown of the head. I like to go down about eyebrow length, but I never go past that point.
I apply evenly on the back, the sides, and underneath, smoothing down my hair with the gel. Make sure you get underneath, by your edges.
It should look like you wore a hat, then took it off - that's what you want!
Once the hair is dry, break the gel cast using hair oil. Work it into your roots and on your ends.
Here’s the final look:
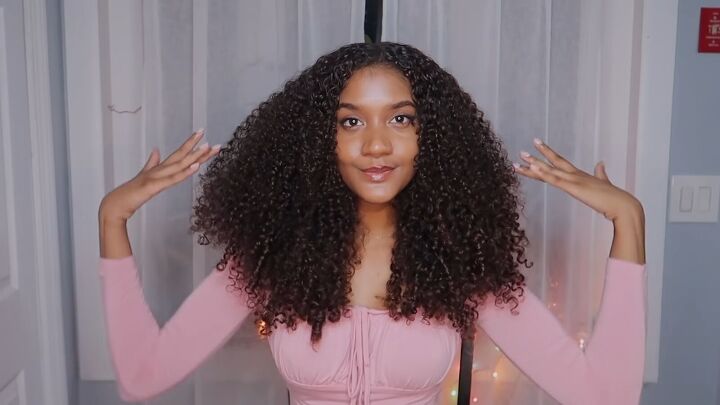
This look frames the face really nicely and works great if you love to tuck your hair behind your ears for a softer, sweeter look. I like to pair it with hairpins, barrettes, and other cute accessories.
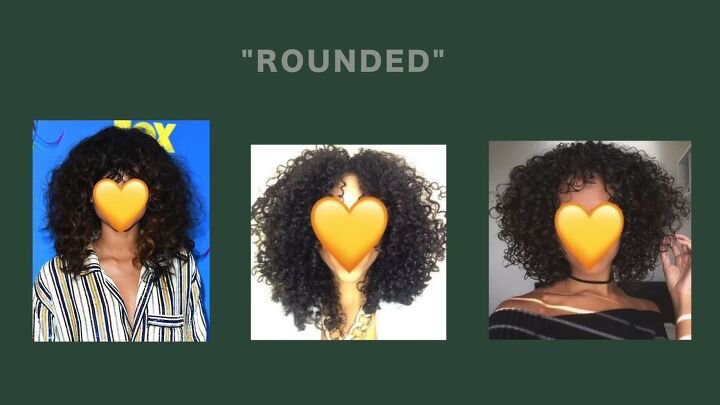
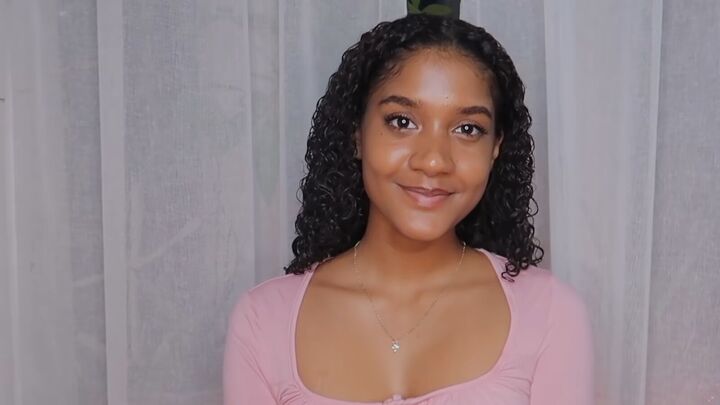
Gel placement style 2: “Rounded”
The “rounded” hair shape is more harmonious than the previous look. The top matches the bottom of your hair, and the widest point is in the middle, creating a more circular, balanced look.
This is my go-to shape for my wash-n-go’s, so I’ll show you how you can achieve this natural hairstyle with gel.
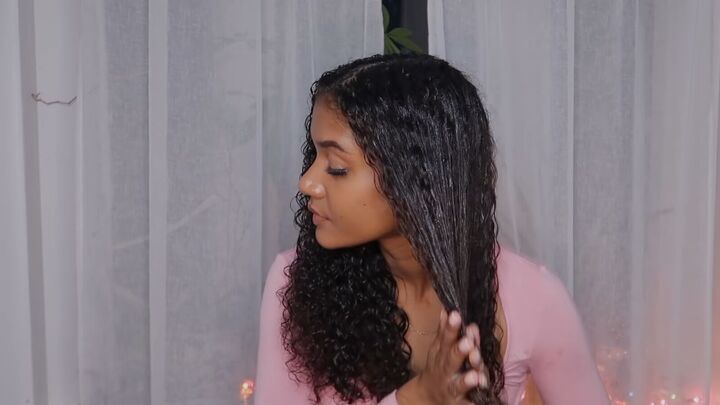
Once again, apply your leave-in conditioner throughout all sections. Take a quarter-sized amount of gel again, but this time focus it on the ends of your hair.
You should start a little lower than the middle of your hair and drag it down and then scrunch. It’s okay if it looks scraggly
Repeat this process with the bang area of your hair. Don’t skip this step, because you really want your hair to look even and cohesive. It’ll look stringy once you’ve applied the gel, but that’s okay.
Once your hair dries, use that same hair oil trick to break the cast at the ends.
Here’s the final look:
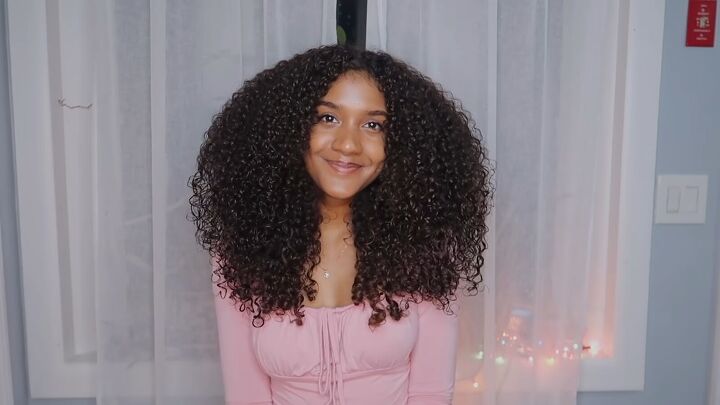
This style is super pretty, super rounded, and it’s my favorite way to style my hair after I wash it.
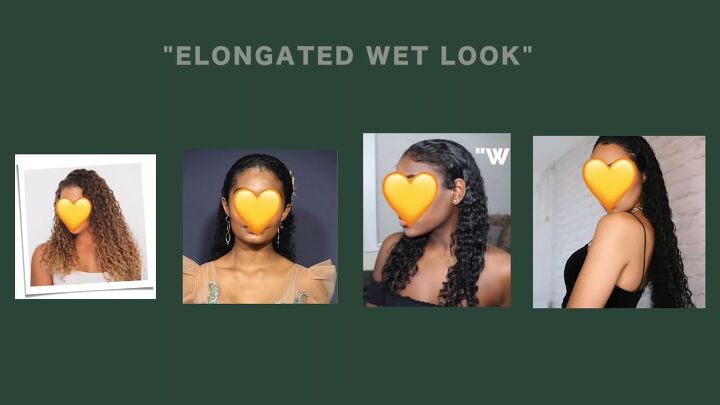
Gel placement style 3: “Elongated wet look”
The final look is this feminine, sexy, elongated wet look. The hair is completely weighed down and flat against your scalp, preserving the way your hair looks when it’s completely wet.
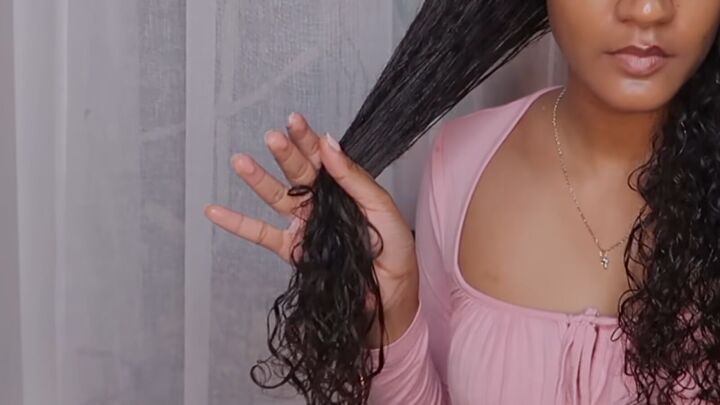
To get this look, start by splitting your hair down the middle. Instead of working with your hair as a whole, you want to work in sections. So grab a section and apply your leave-in conditioner very generously.
Immediately after application, grab a generous amount of gel and apply that too.
Don’t forget to get your roots as this is vital to weighing your hair down and eliminating any natural volume. Apply the gel throughout your hair.
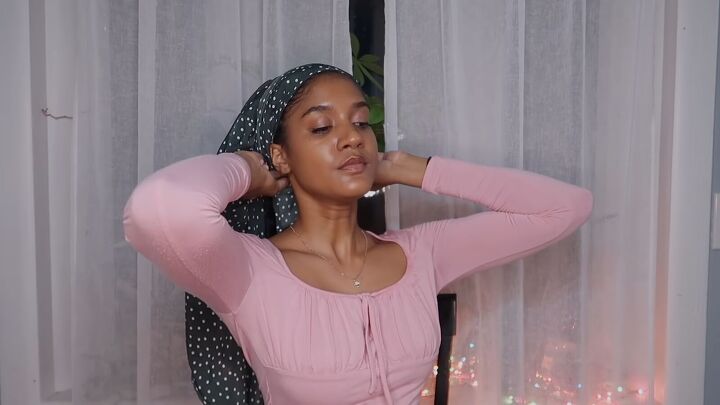
Once you’re down, use a hair scarf and tie it around your head and let it sit until it’s done drying.
Here’s the final look:
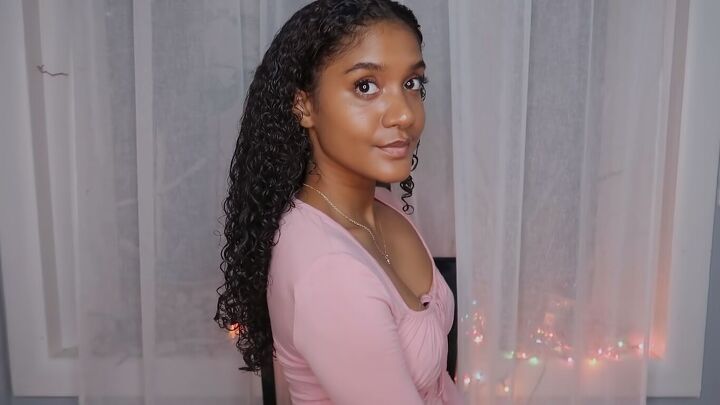
This look is so good for bringing attention to your facial features and gives your hair some length if you struggle with shrinkage. Everyone should try this look at least once.
Natural hairstyles with gel tutorial
So that’s how to use gel for curly hair to get the shape you want. If you don’t like any of the styles here, I recommend playing around with gel until you can find the look you want!
Hair gel is an incredibly adaptable and irreplaceable product that I think every naturally curly person should keep on hand!
Let me know which look is your favorite and how it turned out for you if you decide to try it!
The author may collect a small share of sales from the links on this page.


Comments
Join the conversation