Macrame Yoga Sling
Macrame yoga slings are super cute, but here’s what no one tells you about them. Rope is HEAVY. Here’s what I learned from my first attempt at making a yoga mat bag with macrame rope. The sling was heavy and not as pliable as I had hoped. Sliding my mat into the bag took some finesse. So I went back to the drawing board, and this time I used t-shirt yarn. And this one rocks!
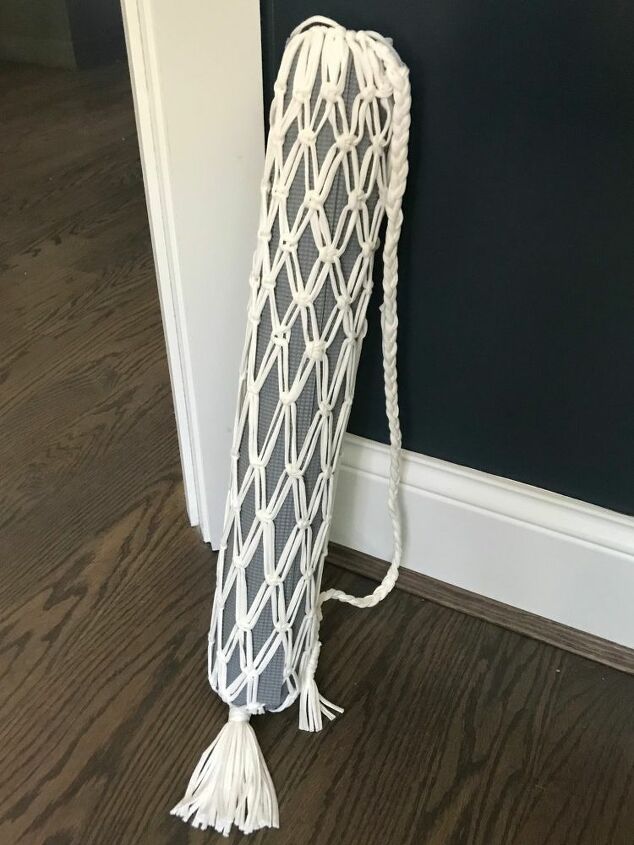
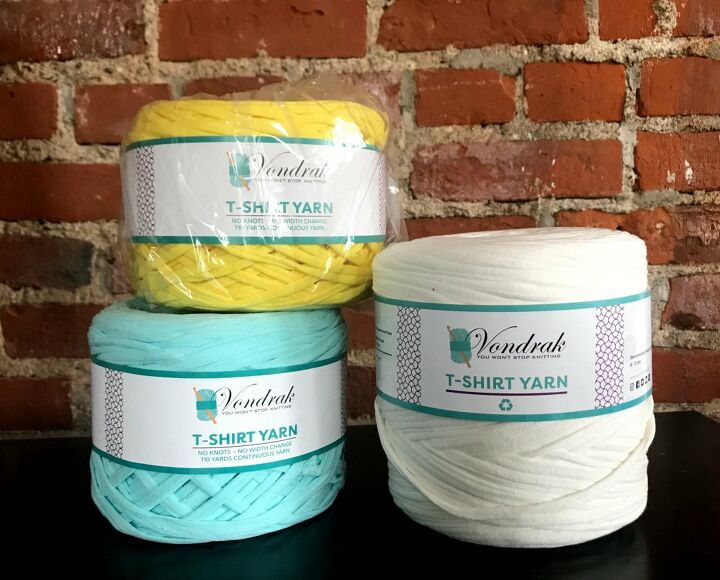
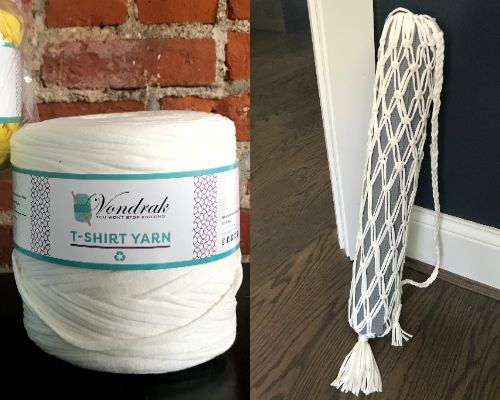
Shall I count the reasons why I love t-shirt yarn? This yarn is lightweight, so it is great for a tote or yoga sling. It comes in lots of amazing colors. It doesn’t fray, so you don’t need to tape the ends while weaving. And (drum roll) it’s much cheaper than rope! Approximately 210 feet of cotton rope is needed to macrame a yoga sling, which costs about $30. The same amount of t-shirt yard costs less than $10. Yeah, I know.
If a yoga sling is on your project list, t-shirt yarn is a must. It has a bit of stretch to it, so it can easily be pulled open to insert your mat then cinched tightly for carrying. Order some now. Then come back here for the following tutorial.
step 1
Cut 20 pieces of rope, each measuring 150″.
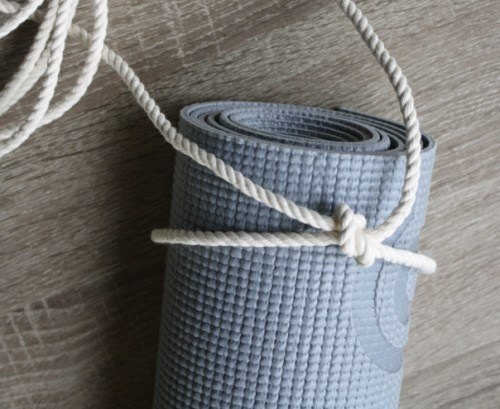
step 2
First, tie one of the pieces around the top of a rolled yoga mat or rolled towel. I actually used a striped towel and found that the stripes helped me keep my rows of knots even. This piece of rope is the top of the bag that will be tied and untied as you place your mat in and out. Keep the loose strands from this piece separate from the weaving process.
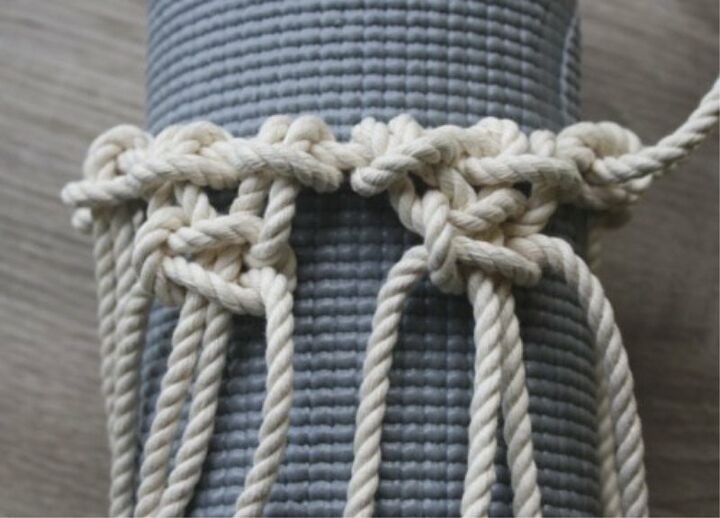
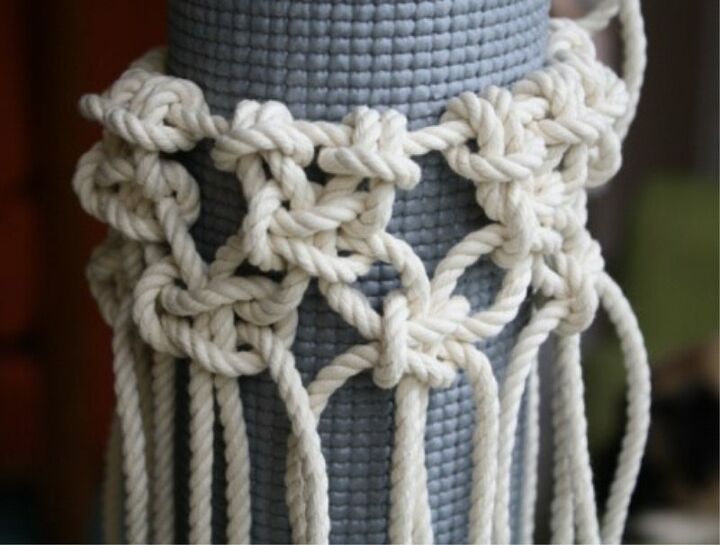
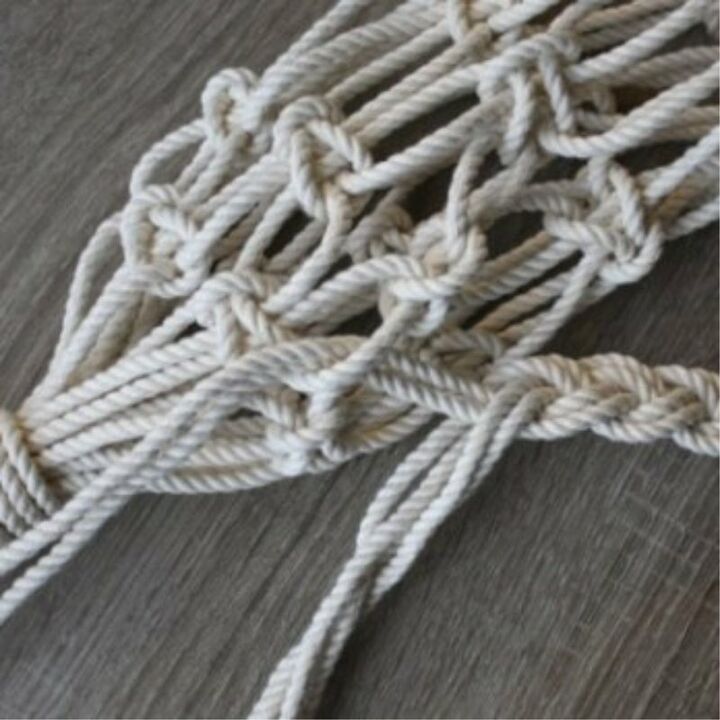
Next tie 16 pieces of rope onto this first piece, using the Lark’s Head Knot. Space them evenly apart.
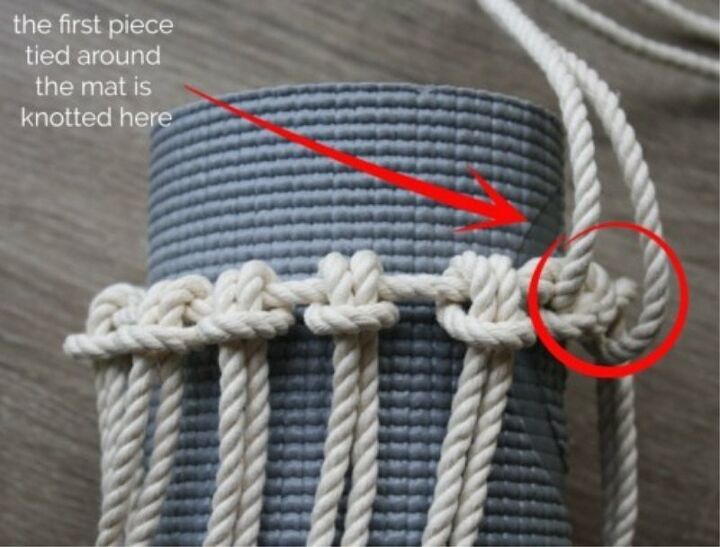
Now you are ready to begin making Square Knots. Tie a row of 8 Square Knots. Next, make a second row of Alternating Square Knots. Continue making rows of knots in this fashion until you reach the bottom of the yoga mat.
To form the bottom of the bag, make a Wrapped Knot. (The photos used in this tutorial are from my previous project, but they illustrate the process well. The only difference is you are now working with t-shirt yarn instead of rope.)

To form the strap, tie 3 rope pieces, using the Lark’s Head Knot, onto the bag about 2-3 inches below the place where the top cord ties.
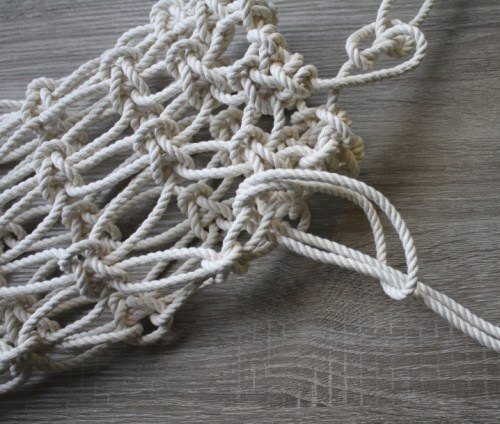
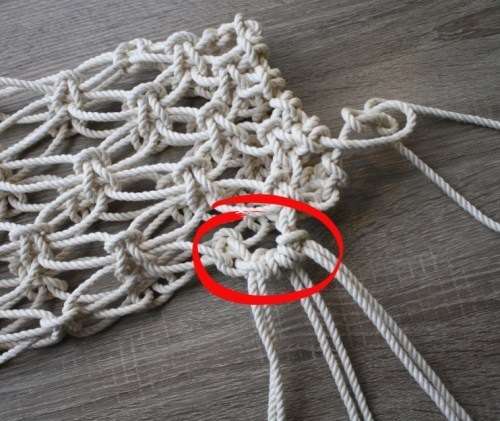
Next, begin braiding the six strands, as shown below. Near the bottom of the bag (on the same side that the strap was tied), bring 2 pieces of cord through part of the bag, then continue braiding. This is how the bottom of the strap is attached to the bag.
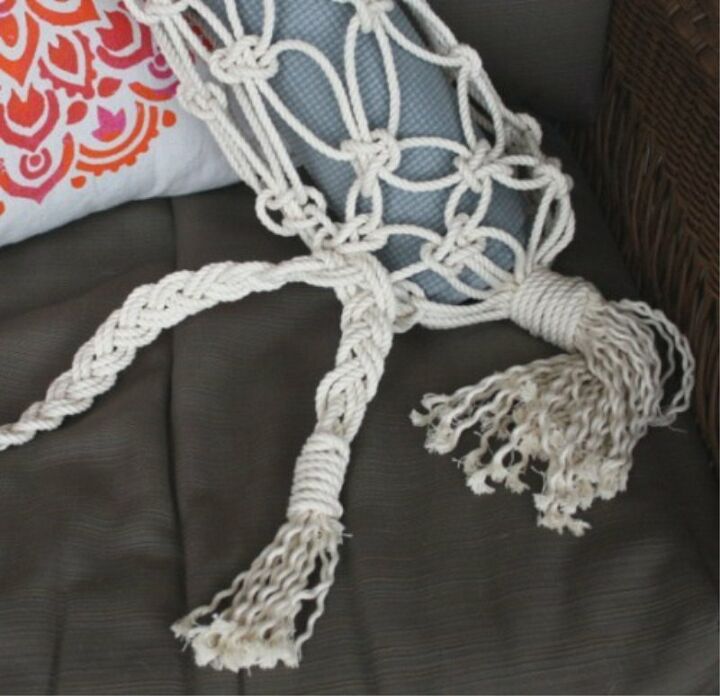
A few inches down, create another Wrapped Knot to finish the end of the strap. Trim the ends of the bag bottom and the strap bottom.
The author may collect a small share of sales from the links on this page.


Comments
Join the conversation
I love this! Good idea!
This is a wonderful project thank you for sharing :)