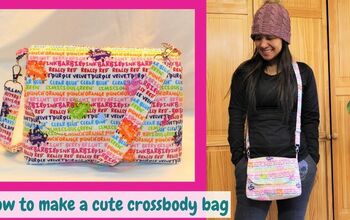
How to DIY a Handy Mini Crossbody Bag

This cute mini crossbody bag is the perfect size for a cell phone bag but it can hold quite a bit more too.
I used a small piece of fabric for a contrast inner pocket, but you could make it all in one color. It's straightforward to sew and would make a great gift too.
Tools and materials:
- Firm cotton/linen fabric
- Bias binding
- Spring snap
- Poly webbing
- Scissors
- Pins
- Tape measure
- Pencil
- Snap pliers (optional)
- Sewing machine
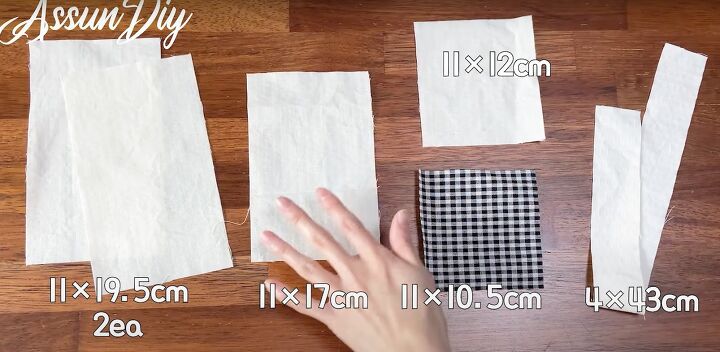
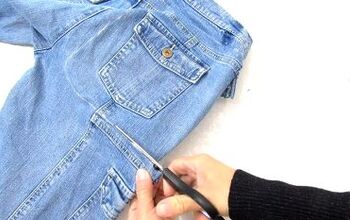
1. Cut fabric pieces
Start by cutting:
- Two pieces of fabric 4.3 inches (11 cm) by 7.75 inches (19 cm)
- One piece 4.3 inches (11 cm) by 6.75 inches (17 cm),
- One piece 4.3 inches (11 cm) by 4.75 inches (12 cm)
- A strip 17 inches (43 cm) long and 1.5 inches (4cm) wide for the welt
Also cut a piece for the inner pocket from contrast fabric or the main fabric, 4.3 inches (11 cm) by 4.2 inches (11.5 cm).
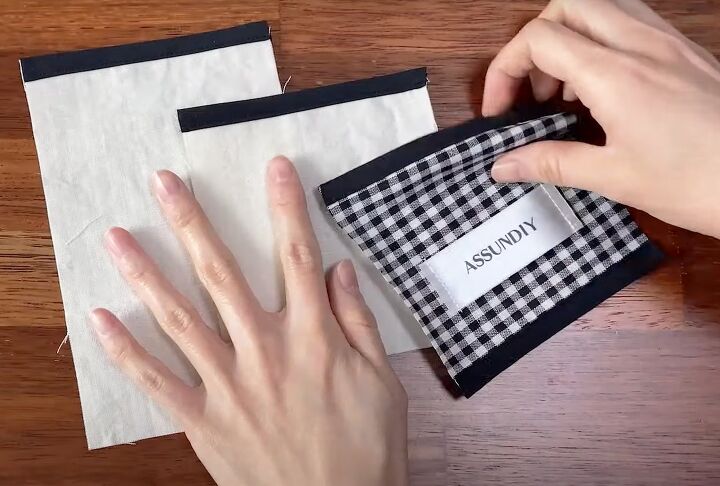
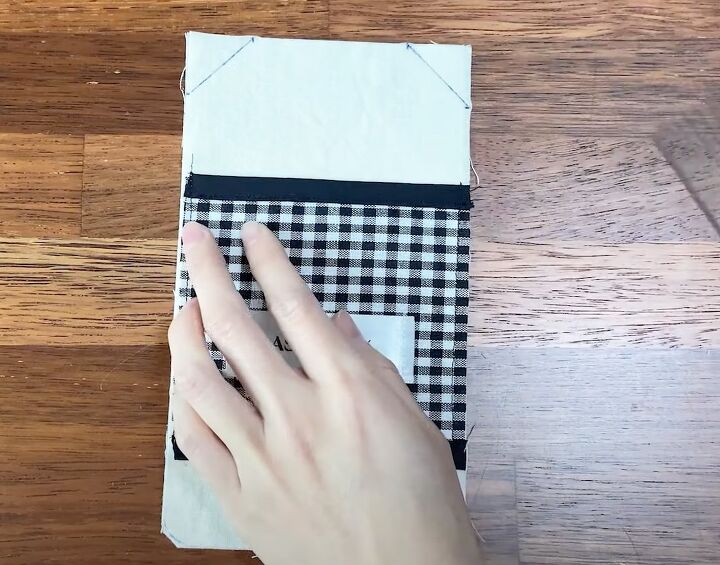
2. Top edges
Pin and sew bias binding over the shorter edge of the two smaller pieces of the main bag and the top and bottom edges of the inner pocket piece.
3. Sew inner pocket
Pin the pocket piece about 1/3 down from the top of one of the main bag pieces, and sew along the side and bottom edges.
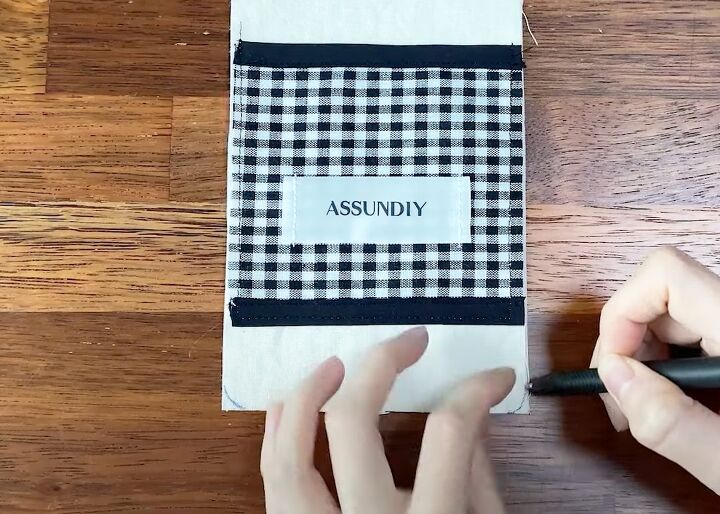
4. Lower and upper corners
Round off the lower corners of all the bag pieces.
Measure 1 inch (2.5 cm) in and down from the top corners of the two main bag pieces.
Draw a diagonal line between the marks on each side and cut away the excess fabric.
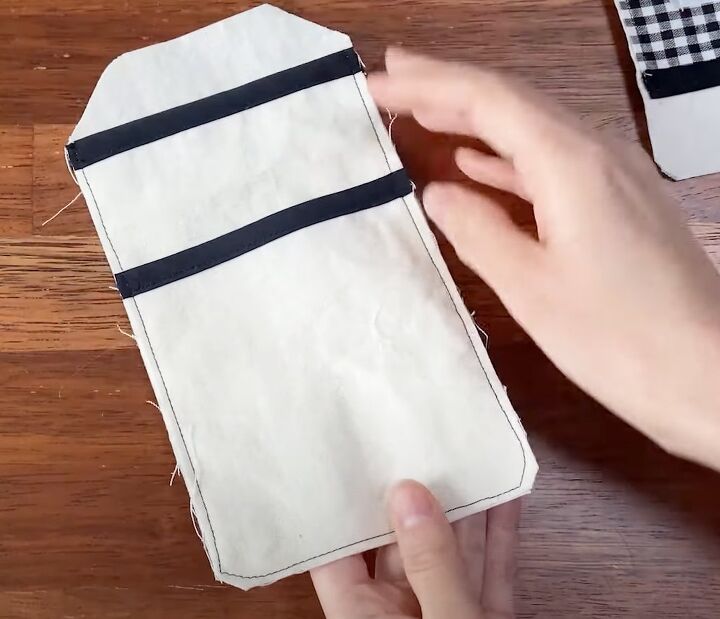
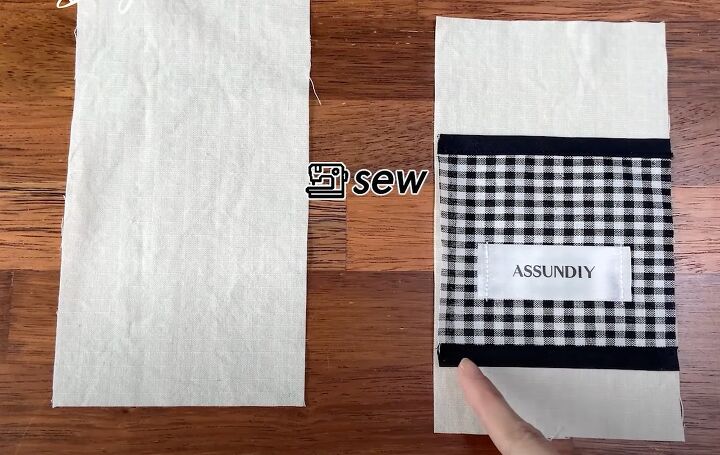
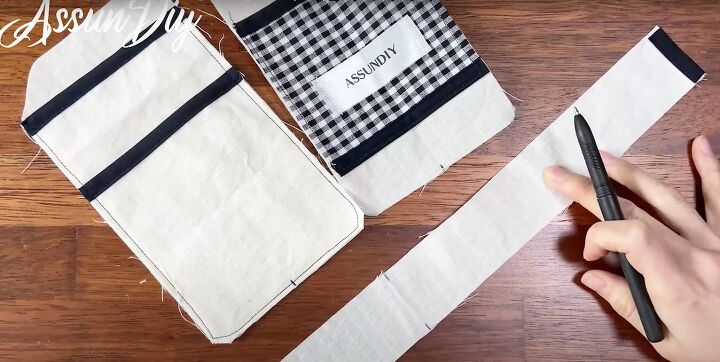
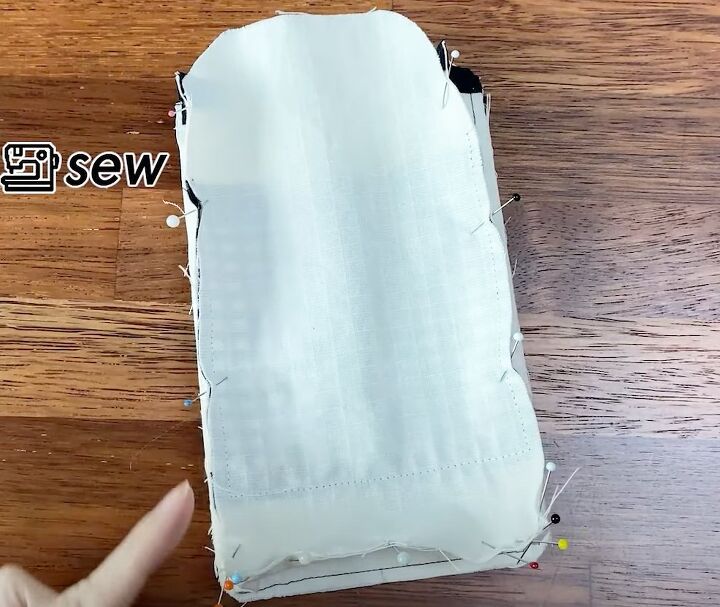
5. Construct the outer pockets
Lay out the fabric pieces right sides up, with the large plain piece on the bottom and the two smaller ones on top of it, matching all the lower edges.
Sew around the side and bottom edges.
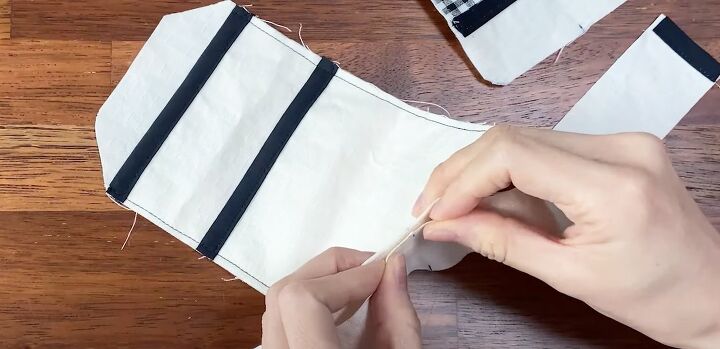
6. Prepare the welt
Sew bias binding over the two short edges of the welt.
Mark the center of the long edges of the welt and the center lower edge of the bag pieces.
7. Attach the welt
Pin the center of the welt to the lower edge of the outer bag and continue along the lower and side edge on one side.
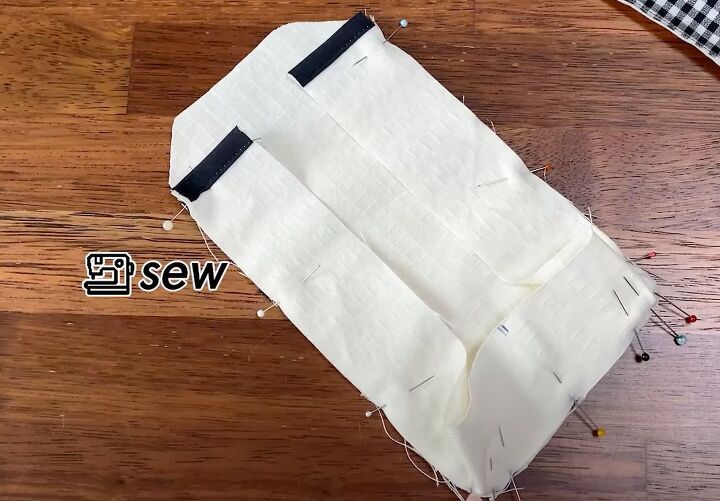
Pin the second side to match and sew in place.
Pin the inner pocket piece, right side down, to the free edge of the welt in the same way, and sew.
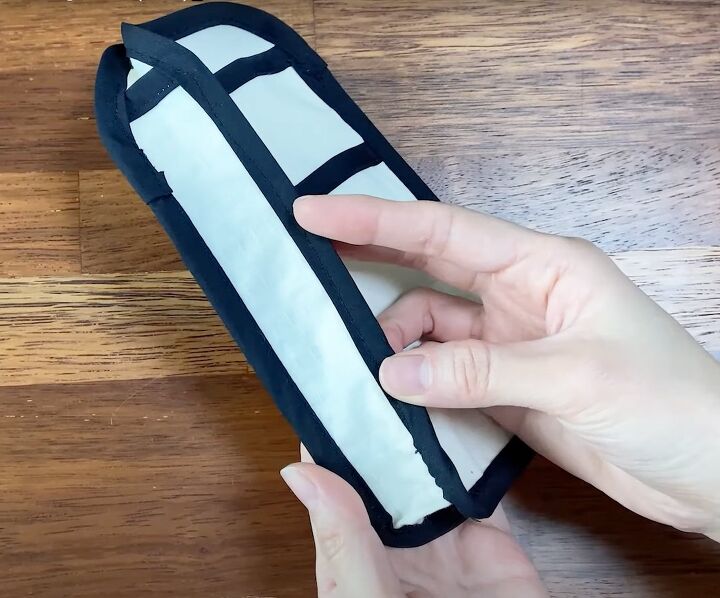
8. Bias binding
Enclose all the raw edges of the mini crossbody purse with bias binding.
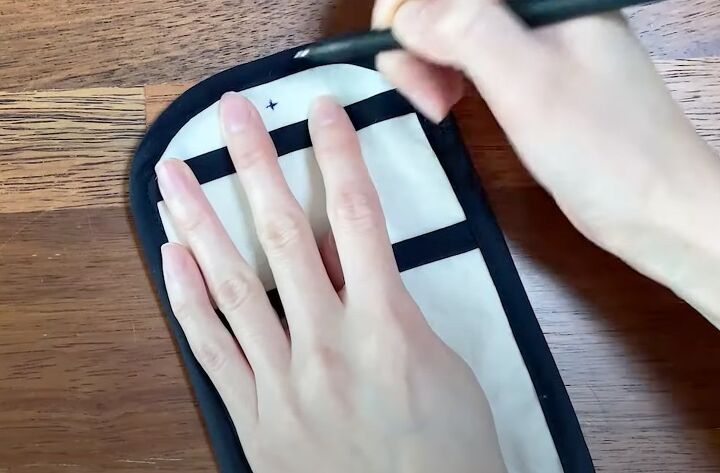
9. Attach spring snaps
Mark the position of the spring snaps on the top flaps of the bag.
Make a hole through both flaps at the center of the mark.
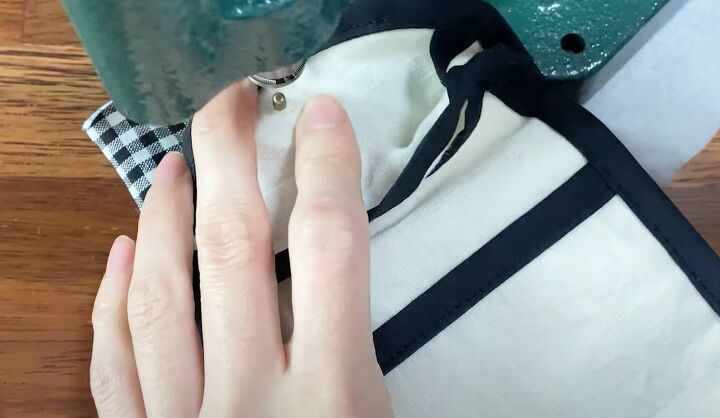
Attach the snaps, using snap pliers if you have them.
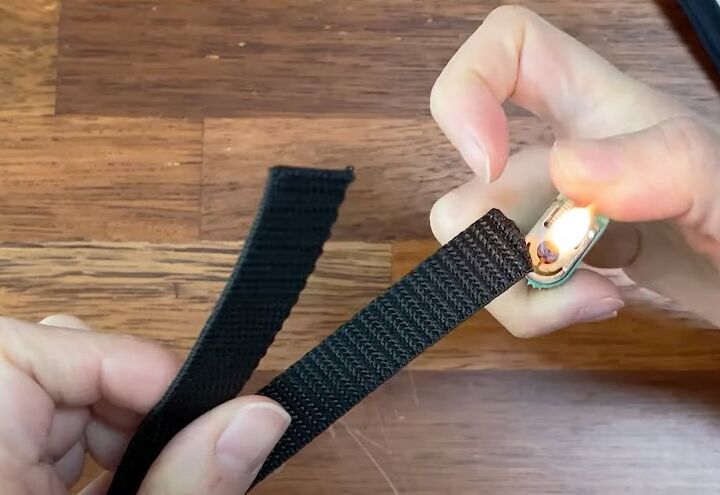
10. Attach the strap
Cut the poly webbing to the length you want and heat seal the raw ends.
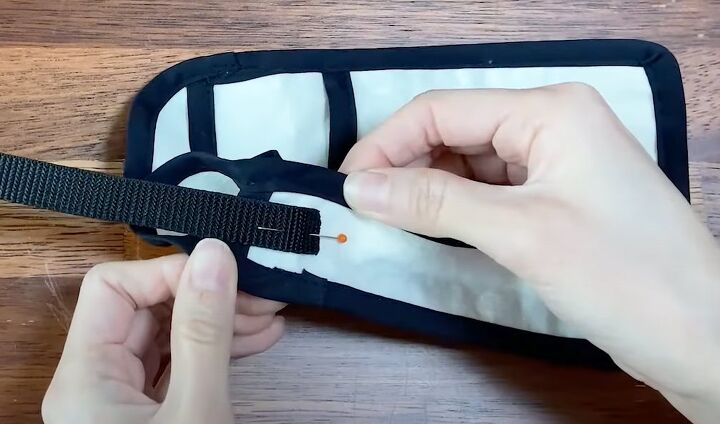
Pin the strap to the outer side of the welt, about 1 inch (2.5 cm) from the top on each side.
Stitch firmly in place around four sides, and optionally across the diagonals as well.
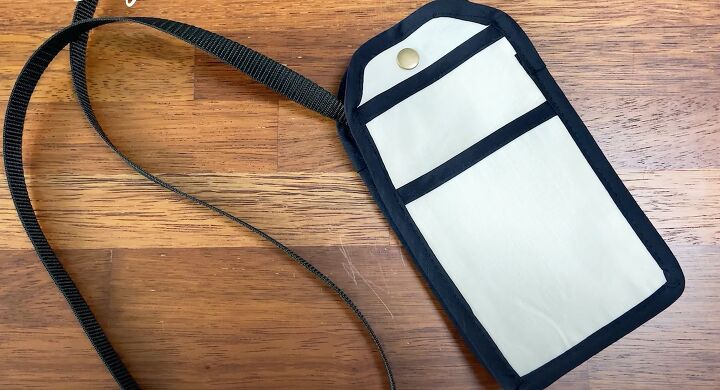
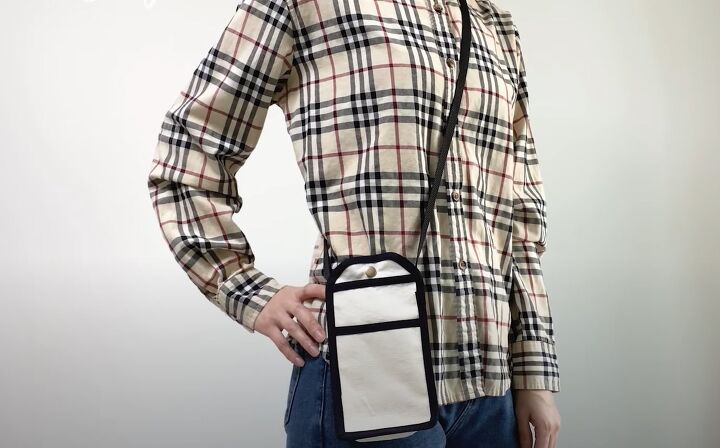
Mini crossbody bag
And that's it! This super cute cell phone crossbody bag is done.
It's one of the most useful items I've made. It takes my cell phone securely in the inner pocket plus I can fit my sunglasses, keys, make-up and a small wallet in it as well.
Do let me know in the comments how helpful you found this and if you make the bag.
The author may collect a small share of sales from the links on this page.


Comments
Join the conversation