How to Create a Sexy Dutch Side Braid

Today, I’m going to give you some actually helpful tips on how to do a chunky Dutch side braid on yourself. Let's get started!
Tools and materials:
- Comb
- Micro-crimper (optional)
- Hairspray
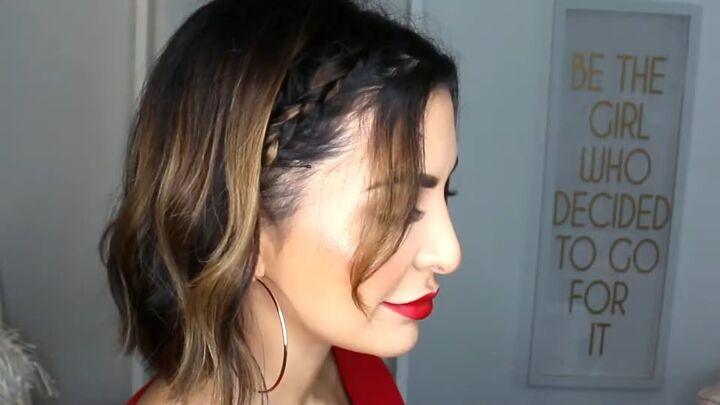
If you’ve tried to do a Dutch braid before and you always end up looking like this, there are a few things that you can fix to create a much sexier braid.
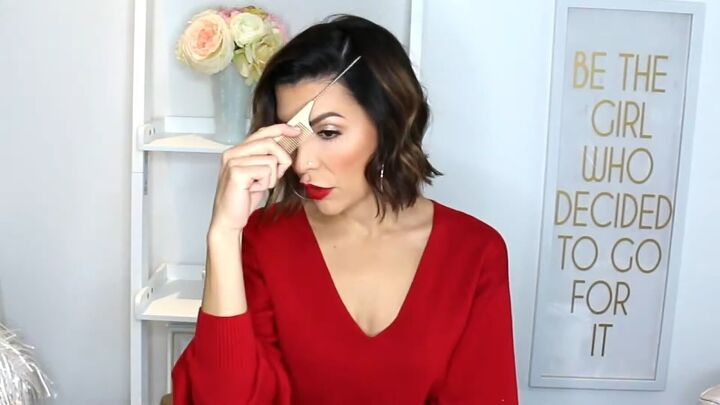
Tip 1: Part deeper than you normally would
In the Dutch braid above, while it’s still done properly, there’s not enough hair in the braid to make it big.
You need to find a way to get as much hair into the braid as you can and fan it out to make it look big.
When you part your hair way past your natural part, you’re going to a bunch more volume and fullness, giving the illusion that the braid is chunkier and thicker.
Tip 2: Make sure you’re Dutch braiding, not French braiding
This is a problem that I see all the time, and there is a difference between the two braids.
A French braid sits under the Dutch and a Dutch braid sits over the hair. If you want the fanned-out, heart effect, you want a Dutch braid, not a French braid.
The difference between a Dutch braid vs a French braid is whether you take the side hairs and you braid them over the middle or under the middle.
Dutch braiding with your fringe left out
This method of Dutch-braiding will keep some of that softness around the face.
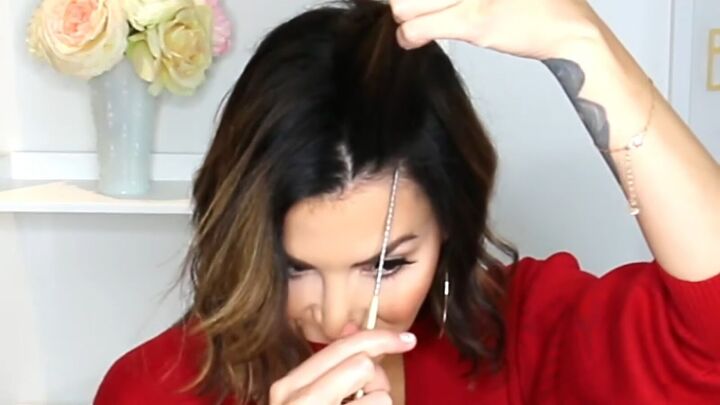
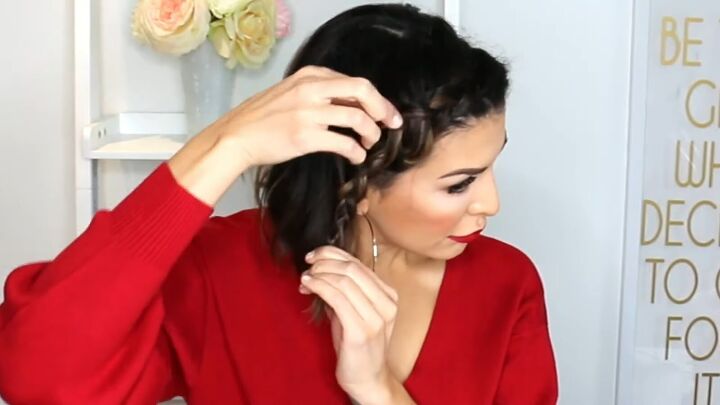
1. Section
Slice the first section through the top, so it’s one inch from the part. Divide the section into three parts for braiding.
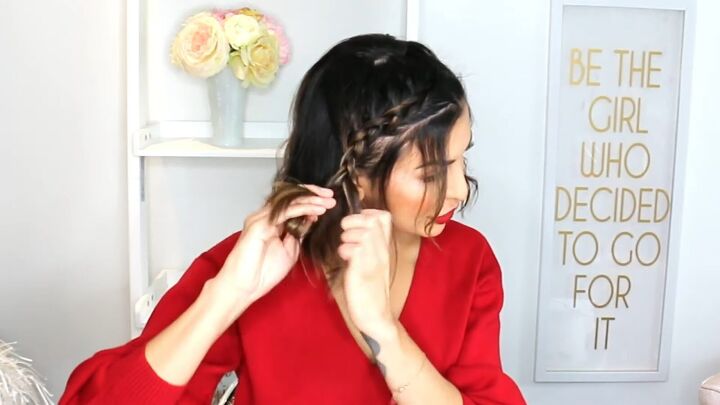
2. Dutch braid by adding hair and braiding down
Take the side section and pull it under the middle. Then, take the other side and also go under the middle.
After this first braid, continue this pattern but add hair to each side section you’re going to cross before you cross it under the middle.

Since you want to leave some of the fringe out, don’t add hair directly from the front to the side sections.
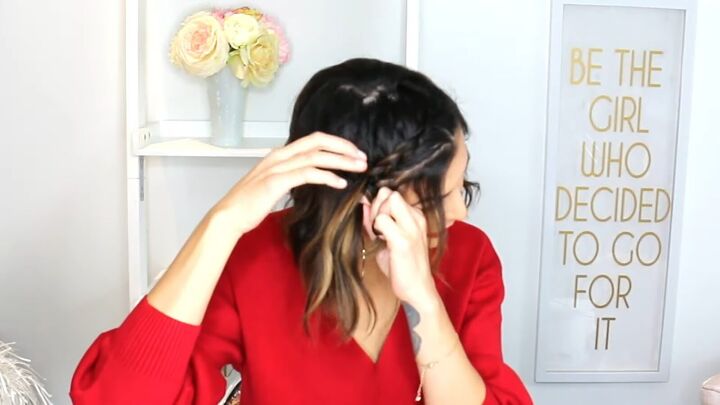
When adding hair to the back side section, add hair from far back in your head. This will make it chunkier.
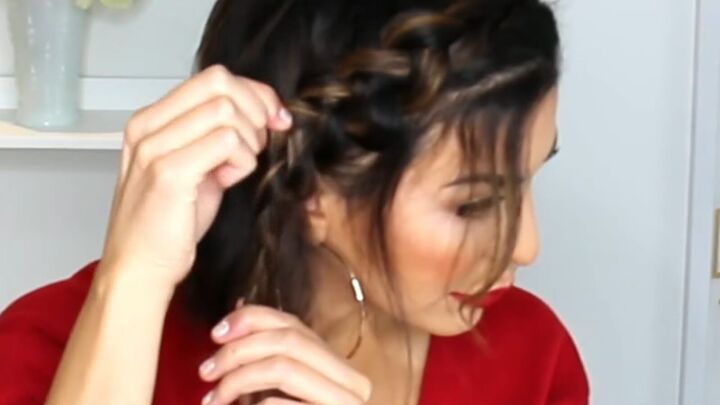
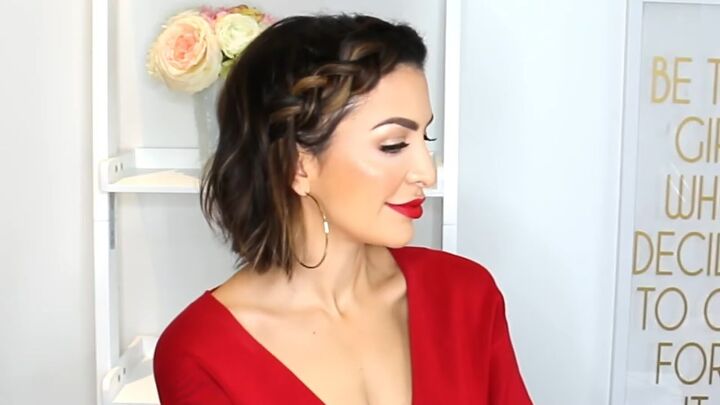
Tip 3: Fan and expand the braid
This is what takes the Dutch side braid to the next level.
Start the braid tight so you get a nice, clean, and controlled braid but when you’re done braiding, go back and pull it out to make it really wide.

At the very end, slide it under the hair and secure it with a bobby pin.

Just like that, you have a really beautiful, chunky Dutch braid with the fringe left out for softness at the front in just five minutes.
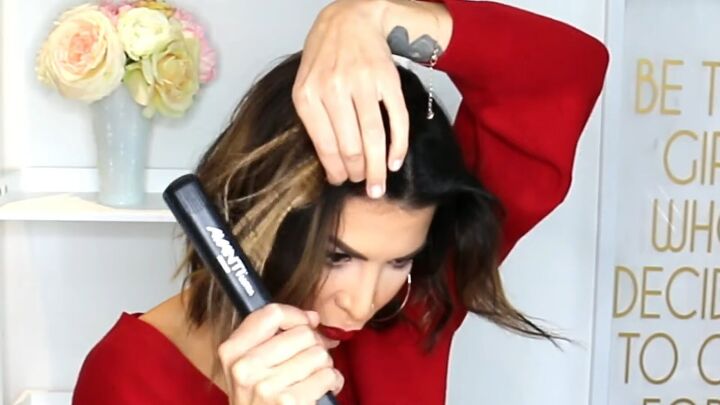
Tip 4: Crimp your hair before braiding for max fullness
If you don’t want the softness around your face, you can braid the entire section.
Before you braid, you can use a micro crimper on the sections to make your hair look super full and super fast. It gives your hair a lot more volume and grit.
Now you can go back and dutch-braid the hair, not leaving anything out in the front and you get another nice, neat Dutch braid.
Use hairspray to tame any flyaways and you’re done!
Here’s the finished second-style Dutch braid.
Cute side Dutch braid
Let me know which of these cute Dutch braid hairstyles you like best in the comments below.
Check out my post on 5 Easy Healthy Hair Hacks.
The author may collect a small share of sales from the links on this page.


Comments
Join the conversation