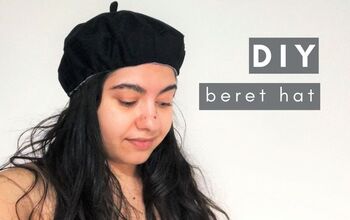
How to Sew a Beret: Easy DIY Beret Tutorial

Today, I have a quick tutorial for you on how to sew a beret.
This is perfect for a beginner because it includes step-by-step instructions. I also included a free beret sewing pattern - so let’s get started!
Tools and materials:
- Woolen fabric
- Measuring tape
- Fabric marker
- Scissors
- Pins
- Sewing machine
- Iron
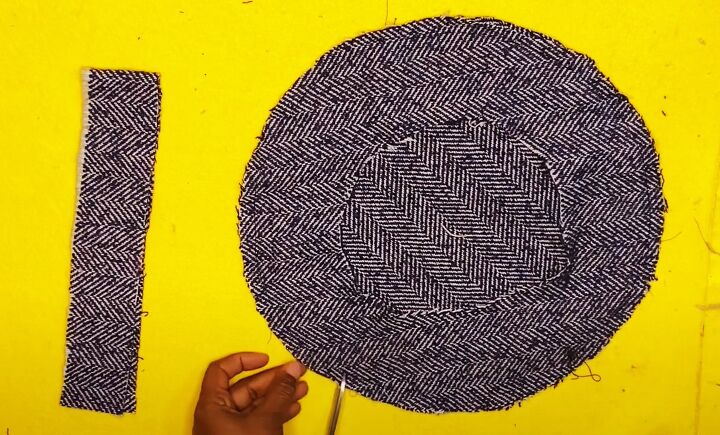
1. Cut out the circles
We’re going to be cutting out two circles from our fabric.
There are two ways to make a circle. You can trace around a plate or lid of the right size on to paper and use that as a pattern.
Or you can do as I do here and draw a semicircle on to your folded fabric.
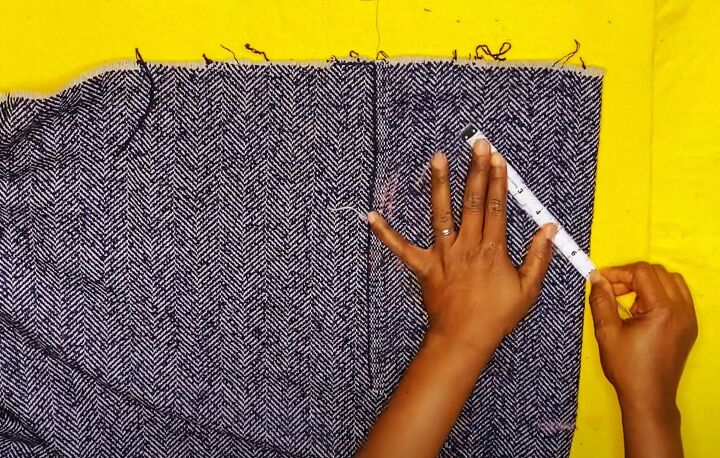
The diameter of the outer beret will be between 11 and 13 inches.
Measure half the diameter plus a little extra on to your doubled fabric from the folded edge.
Measure the full diameter from the raw edges at the top and find the midpoint.
Use your measuring tape or ruler and fabric marker to draw a semicircle with this radius from the midpoint.
Cut out the doubled half circle and use it as a template to cut a second circle.
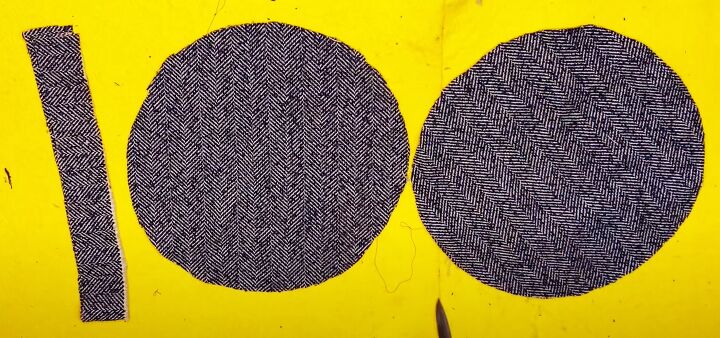
Measure your head circumference - mine is 21 inches.
Cut a strip to this length plus an allowance by 2 inches wide.
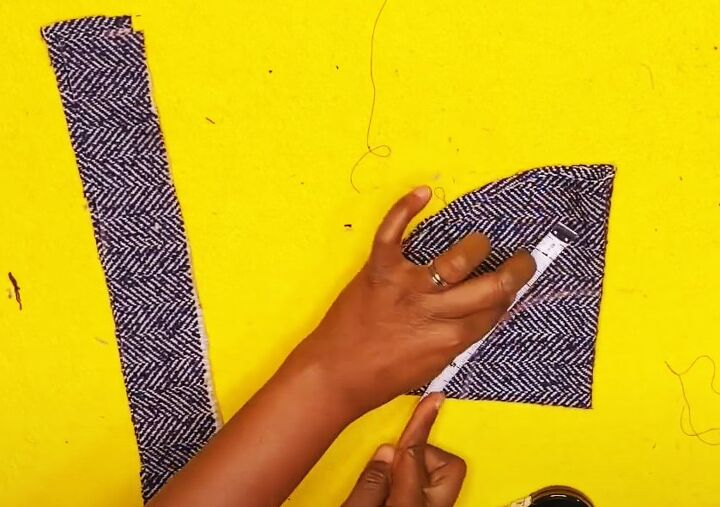
2. Cut the inner rim
Fold one of the circles into four.
Measure 2.75 or 3 inches from the pointed edge and draw a quarter circle.
The length of the curve multiplied by 4 should be slightly more than your head circumference.
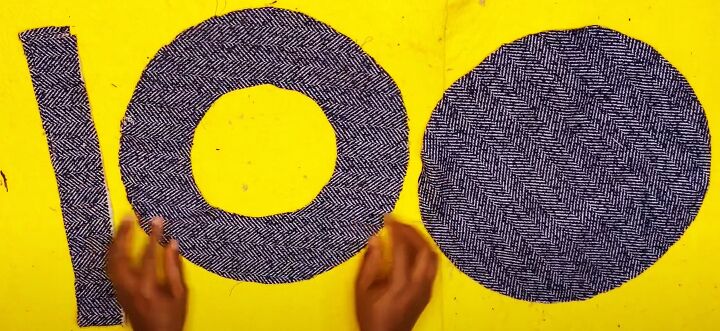
Cut out the quarter circle through all the layers and open out the rim of the beret.
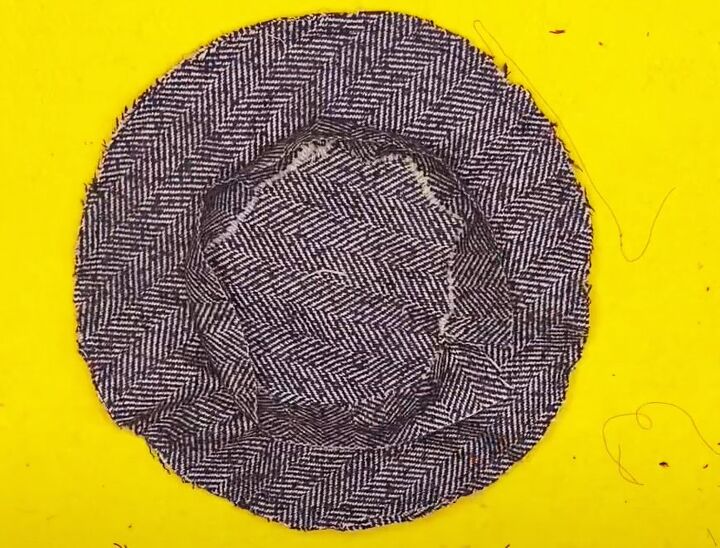
3. Assemble the beret
Pin the two circles together around the outside edge, with the right sides facing.
Sew, taking a half inch seam allowance.
Notch the curve within the seam allowance.
4. Add the binding
Pin and sew the strip to the wrong side of the inner circle, aligning the raw edges and taking a half inch seam allowance.
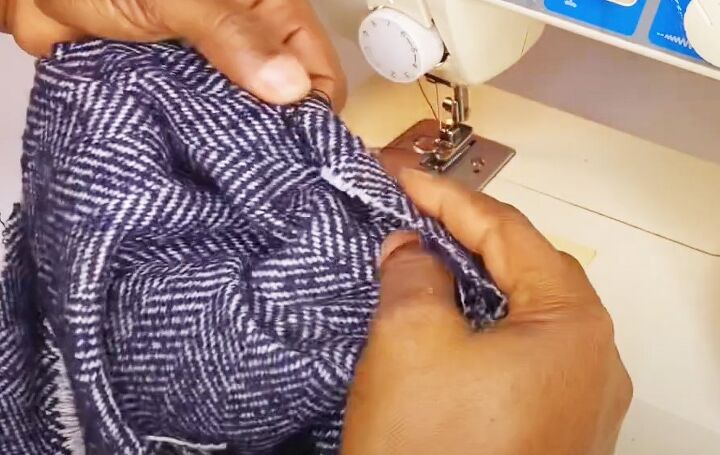
Turn the strip to the right side. Make a double fold hem at the raw edge.
Top stitch the strip in place from the right side.
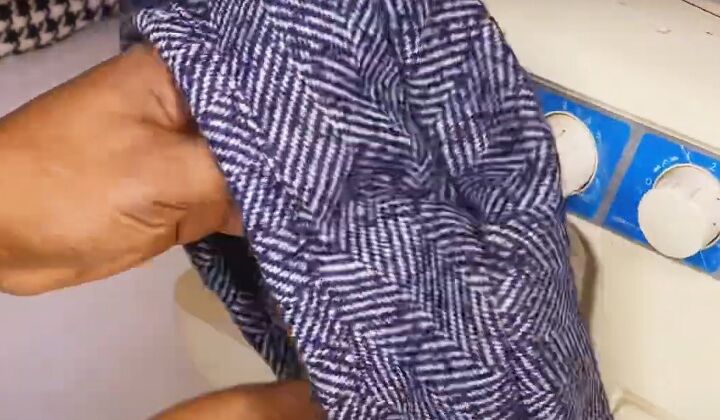
Press the seams well.
How to sew a beret: DIY beret
You can make this very simple, basic beret unique to you in several ways. For example, you can make the rim in a contrast color, or add a pompom or other decoration to the center of the hat.
I hope you have fun making your DIY beret and I’d love it if you let me know how you get on with it.
Next, check out my post on How to DIY a Cute Pastel Tie Dye Skirt.
The author may collect a small share of sales from the links on this page.


Comments
Join the conversation