How to Use U-Shaped Hairpins - 4 Cute Hairstyle Ideas

When it's hot outside, there's nothing you want to avoid more than long, heavy hair on your face and shoulders. In this tutorial, I'm going to show you how to use u-shaped hairpins, also know as French pins or hair forks.
I don't know where you guys live, but I live in Florida, and if you've ever been to Florida during the summertime, it is hot - and when I say hot, I mean hot! You do not want to have your hair down. Here are four ways to keep your hair up using large u-shaped hairpins
Tools and materials:
- Two French pins
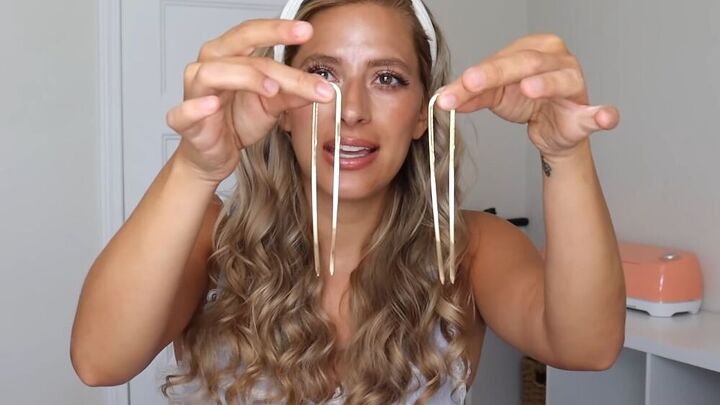
Here are the French pins. We're going to create some trendy hairstyles that will keep your hair off of your face and shoulders.

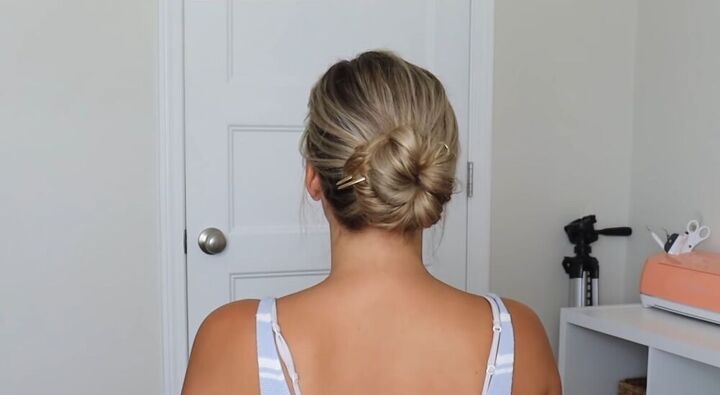
Hairstyle 1 - Twisted
1. Wrap and twist
Take your hair in the back and wrap it around your index finger and middle finger. Then, twist that section of hair and bring it upwards.
2. Tuck
Take the rest of your hair that is sticking out and just tuck it underneath that twist.
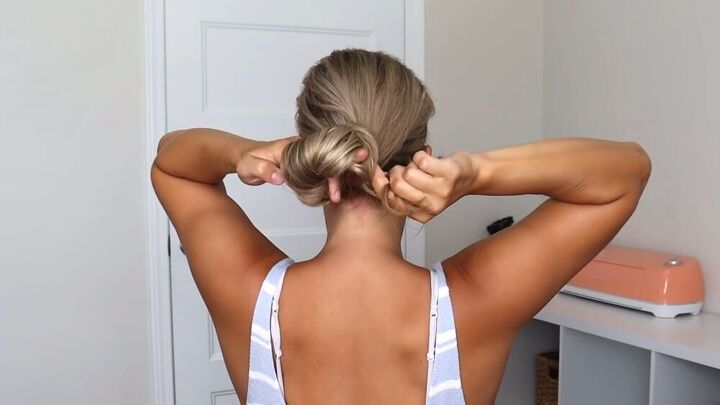
3. Pin
Now you're going to insert your pins. Make sure that the curved side of the pin is up and then place it to the right of your little twist. You want your pin to catch some hair, so you might need to wiggle it a bit. It should be super secure and feel like it’s not going to move.
Here is the look!
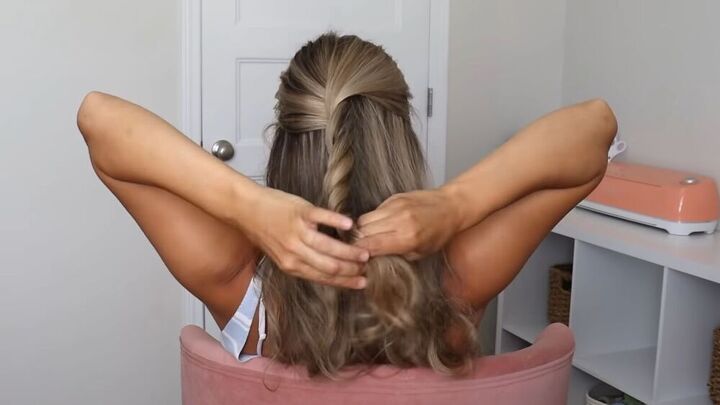
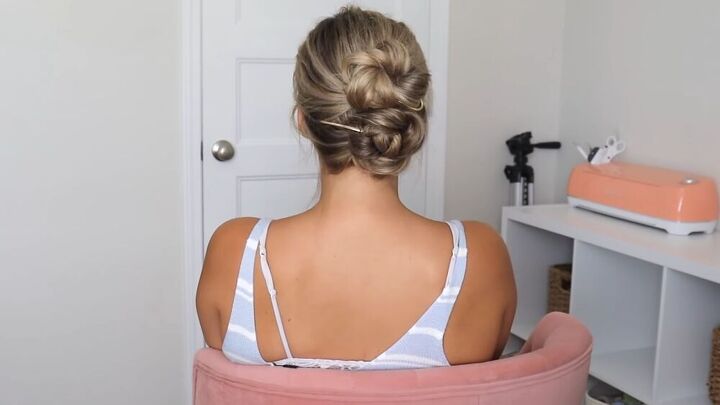
Hairstyle 2 - Tied
1. Twist and tie
Start by gathering your hair in the back and then twist it around itself. Create a little opening with your hand and pull the ends through that opening, basically just tying a knot with your hair. Pull your hair through and press the bun flat against your head.
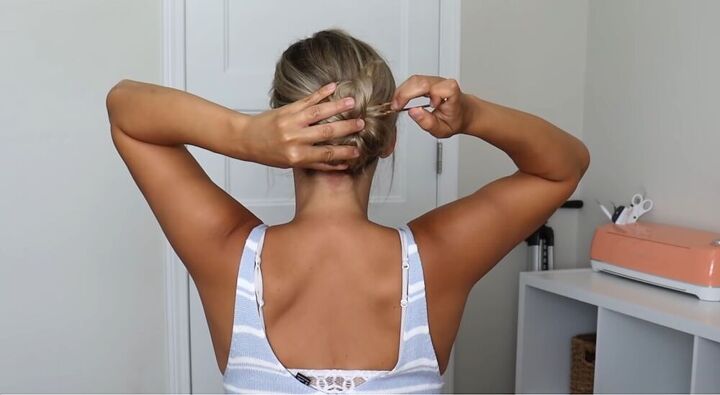
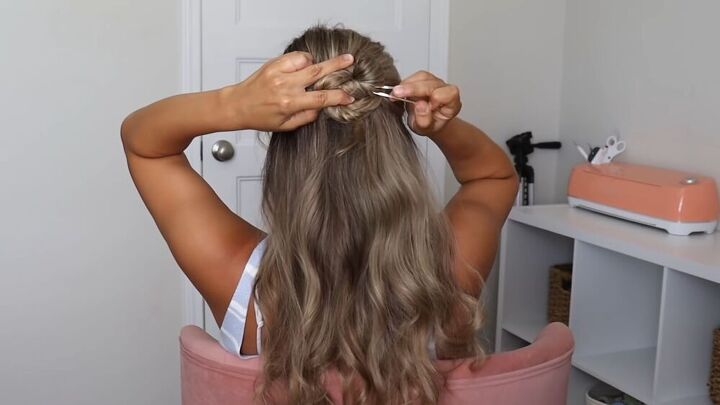
2. Pin
Next, insert your pin into the right of the bun, and you want it to catch hair, so you're going to wiggle it a little bit up and then push it through. If you still have hair sticking out and your bun doesn't feel secure, you can insert a second pin just under the first one.
To finish, you can pinch the hair around your head to give it some texture.
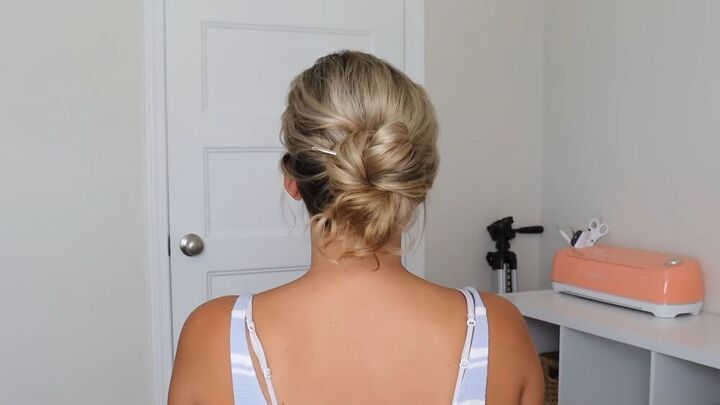
Doesn’t it look cute!
Hairstyle 3 - Basic bun
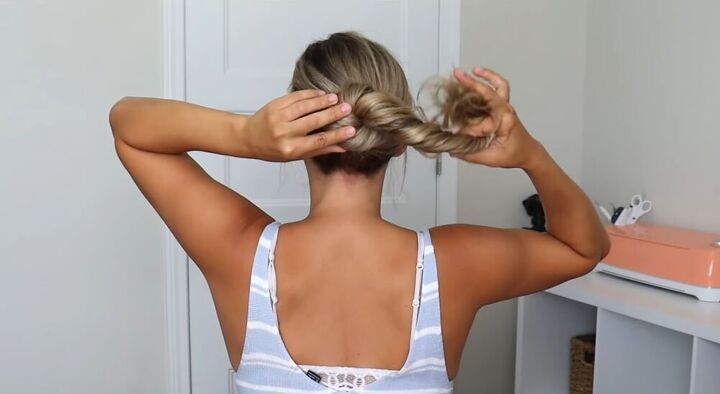
1. Twist and wrap
Here, you’re just going to do a basic bun. Twist your hair and then wrap that bun around itself, continuing to twist it as you are wrapping it. Then, tuck the ends underneath the bun, so the wrap part is hidden, and press it against your head to lay it flat.

2. Pin
Insert the pin and push it right through. If you have any ends sticking out, you can take them and wrap them around to hide them.
So chic!
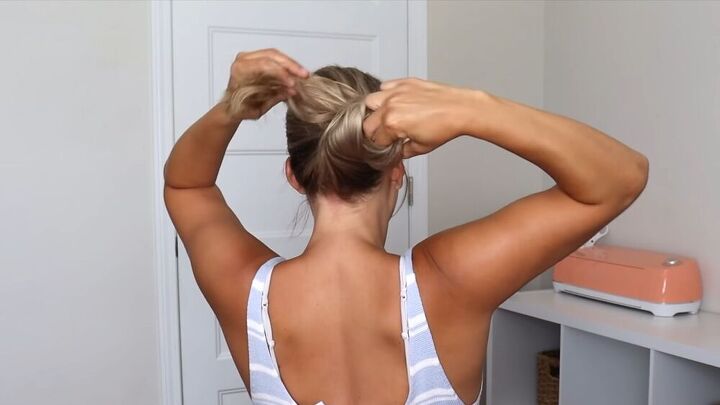
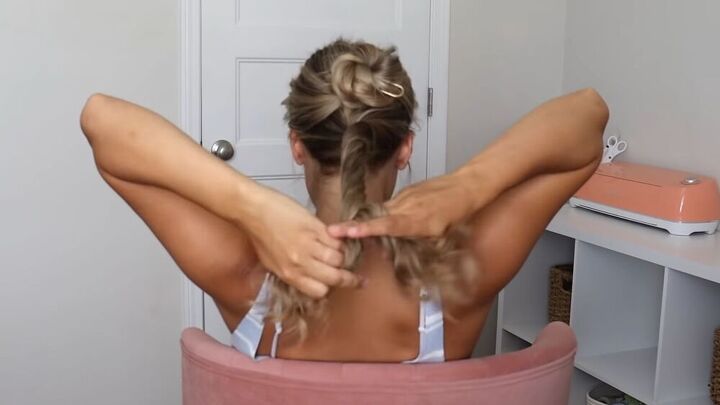
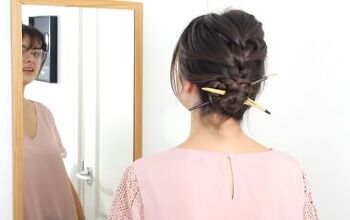
Hairstyle 4 - Double bun
1. Divide and twist
Take the top section of your hair and divide it into two. Then, twist those two sections around each other. Do that all the way down.
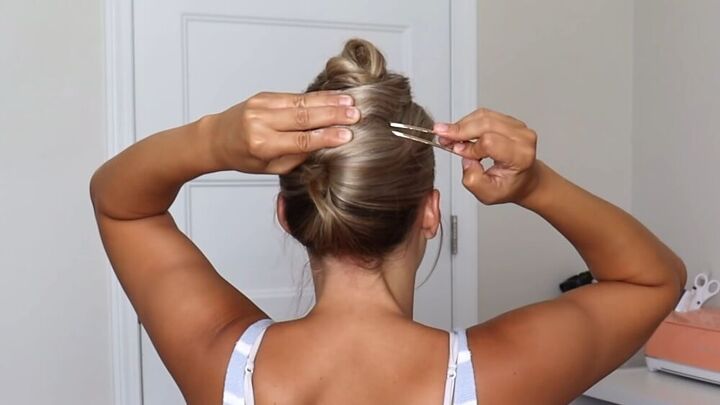
2. Pin into a bun
Next, you want to take that twist and wrap it around itself to create a little bun. Make sure your ends are tucked in, flatten it against your head, and then insert the pin.
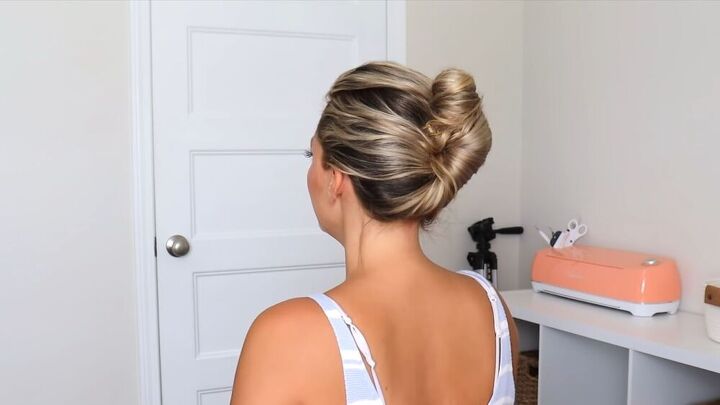
3. Repeat for the bottom section
Now, do the same thing with the bottom section: divide it into two and twist those two sections around each other, going all the way down. Wrap it around itself to create a bun, push it up against your head to flatten it, and insert your pin.
This is optional, but you can pinch and pull out the buns a little bit for a looser look.
How to use u-shaped hairpins tutorial
It is a bit of a learning curve using this tool, but it's super easy once you get the hang of it. I hope you enjoyed this tutorial on how to use a large u-shaped hairpin.
These four hairstyles are perfect for summer, they keep your hair off your shoulders and out of your face, and I really like them - I hope you do too! Which one will you be trying?
The author may collect a small share of sales from the links on this page.


Comments
Join the conversation
Wow, each of these styles are beautiful! ❤️ I can't wait to try them. I've never used these pins but I'm definitely willing to learn how to use them for those great results. Thanks so much for sharing. 🥰
I follow her on YouTube. I'm nearly 60 and my hair is waist length. I have learned so much about updos from her! Love her!