Save Your Favorite Jeans With This Easy Embroidery Hole Repair Hack

In this step-by-step tutorial, I’ll show you how to repair holes in jeans with embroidery. It’s a cute way to add your personal touch to your jeans while also fixing them. Let’s get started.
Tools and materials:
- Jeans to repair
- 1 small coin
- Tailor’s chalk pencil
- Small scrap fabric (just bigger than the hole)
- Embroidery thread
- Scissors
- Hand embroidery needle
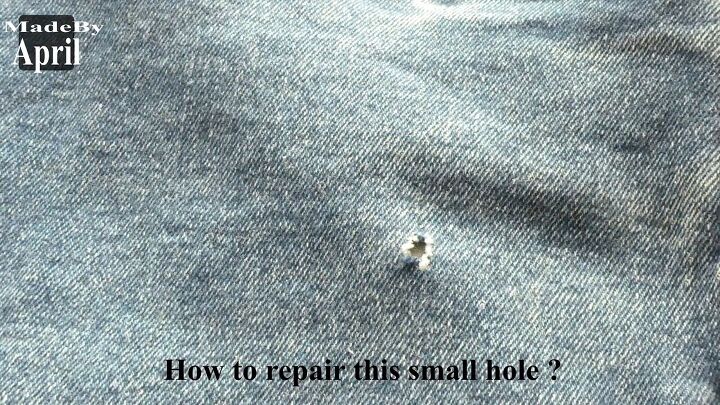
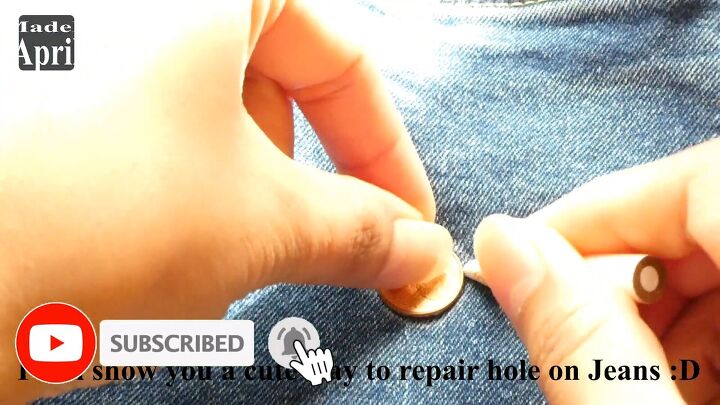
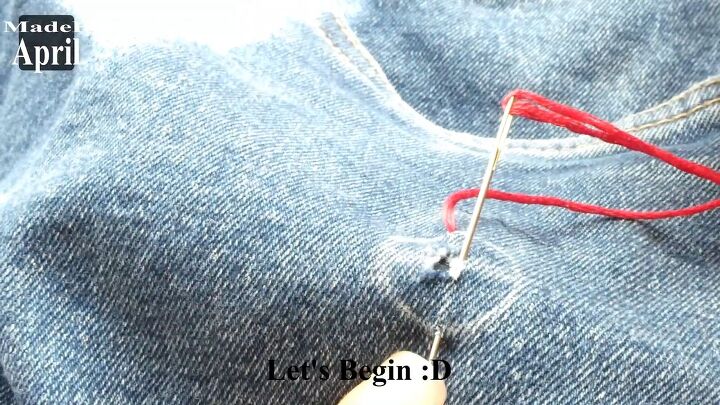
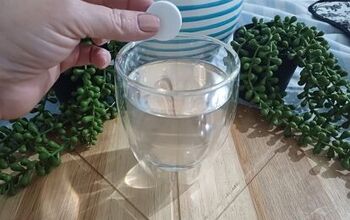
1. Draw a circle
Place a small coin over the hole and trace its circumference using a tailor's chalk pencil.
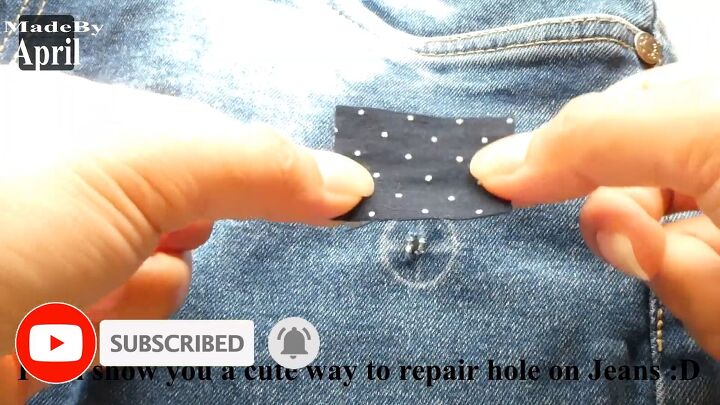
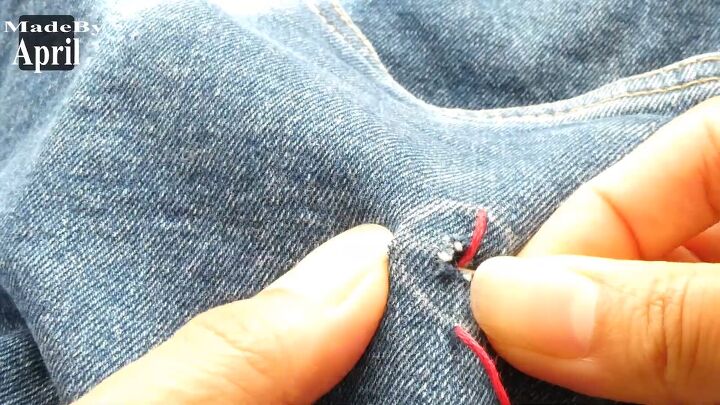
2. Make a fabric backing for the hole
Cut a small, rectangular piece of scrap fabric that’s a bit larger than the hole.
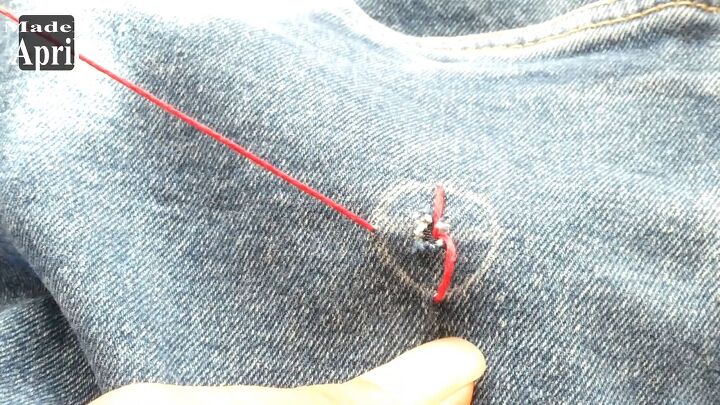
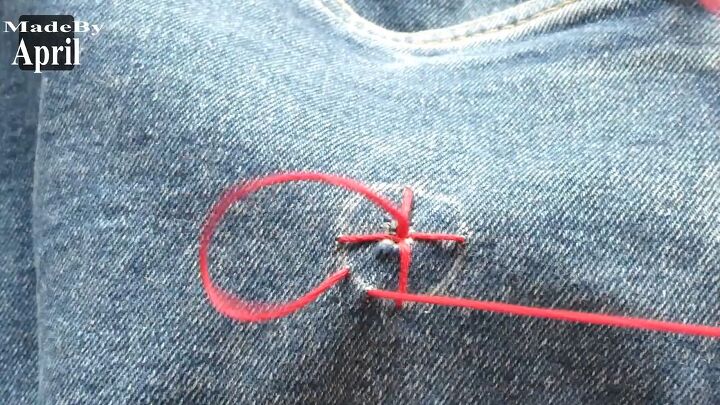
3. Begin by embroidering a cross
Place that piece of fabric inside the jeans, underneath the hole.
Thread your embroidery needle with embroidery thread and pierce through the jeans at the top of the circle from beneath, pulling the thread upward.
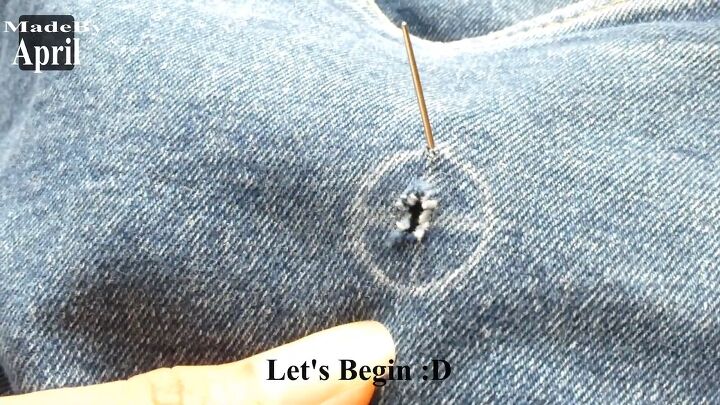
Then, pull the needle through the hole and out through the other end of the marked circle.
Next, make a stitch from the bottom of the circle to hole at the center, to form a longer line.
Here’s that line:
Now make the same two stitches in two parts to cross the line horizontally.
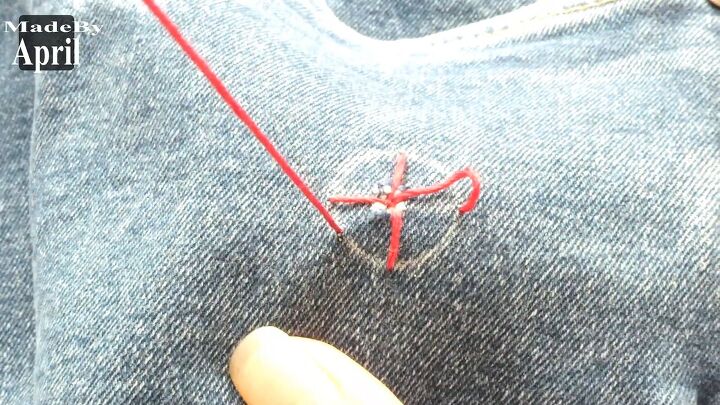
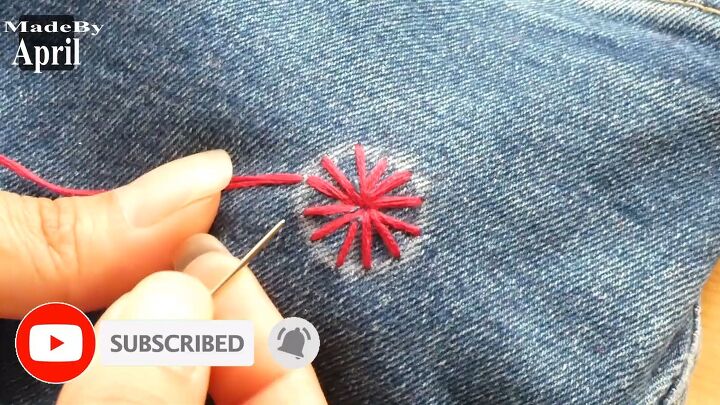
4. Fill in
Next, fill in all around with single stitches from the center of the cross to the edge of the circle.
Keep going until you get a snowflake shape like this:
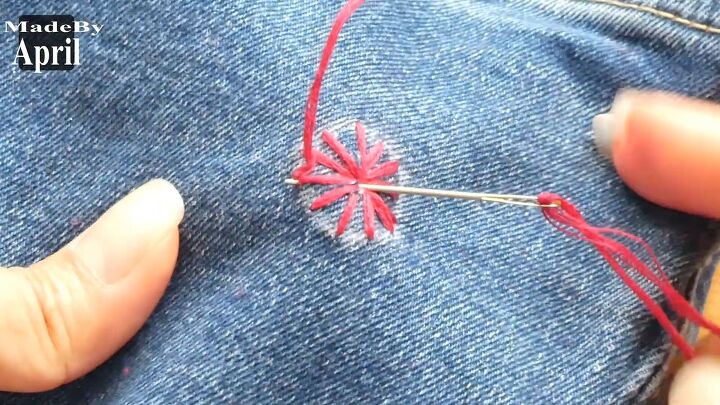
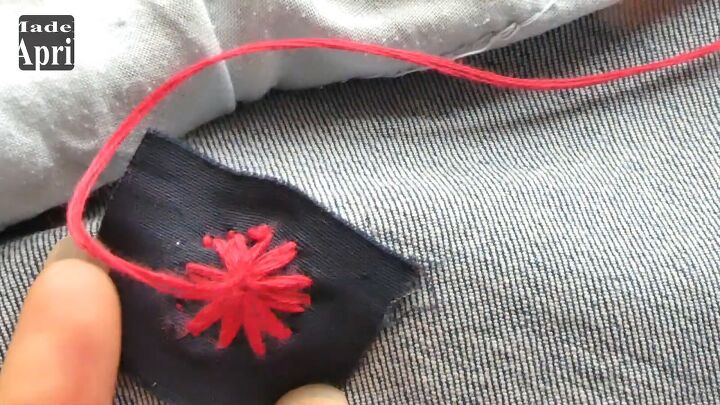
5. Embroider the edges to turn your snowflake into a flower
Pierce the circumference at one spoke of the snowflake, bringing the needle back through, to the next spoke up.
Then, twist the thread underneath the needle. ( See video 1:38 -1:45.)
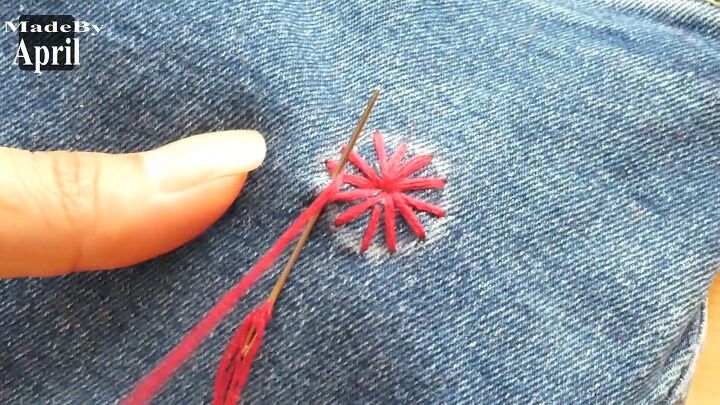
Pull the thread all the way through.
Then, take your needle back through the center of the snowflake and out through the outer edge of the spoke below.
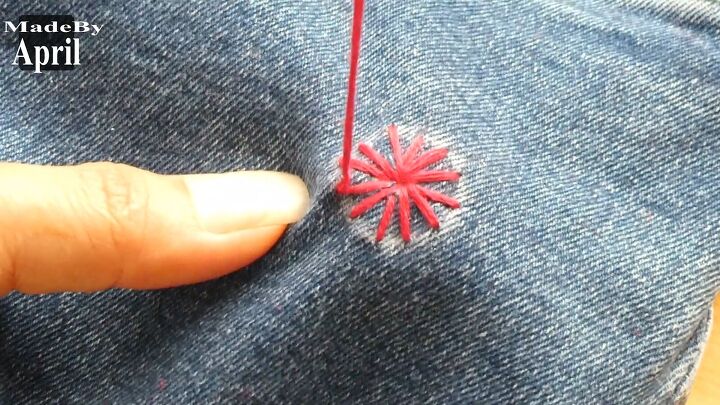
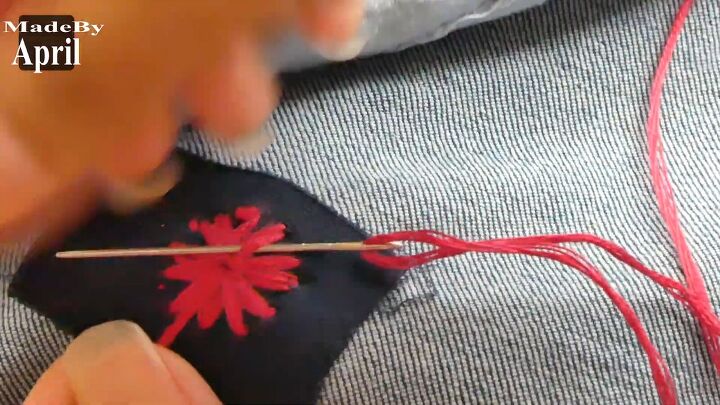
6. Repeat
Repeat the same process of step 5 for the next spokes below (pierce at the outer edge of the spoke.
Bring the needle through at the end of the adjacent spoke, twist the thread under the needle and pull.
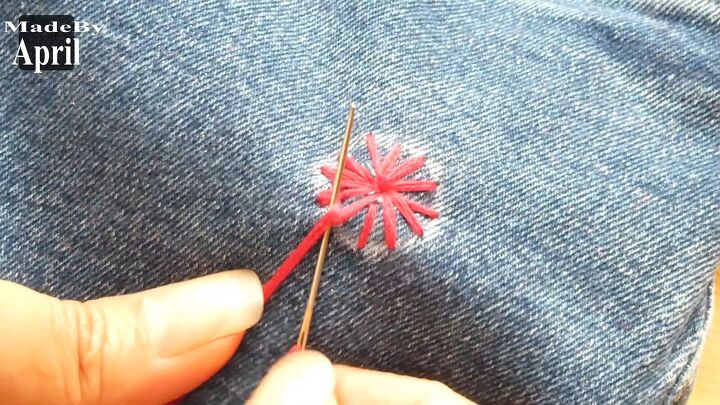
Keep going around your snowflake.
Do this until your snowflake becomes a flower.
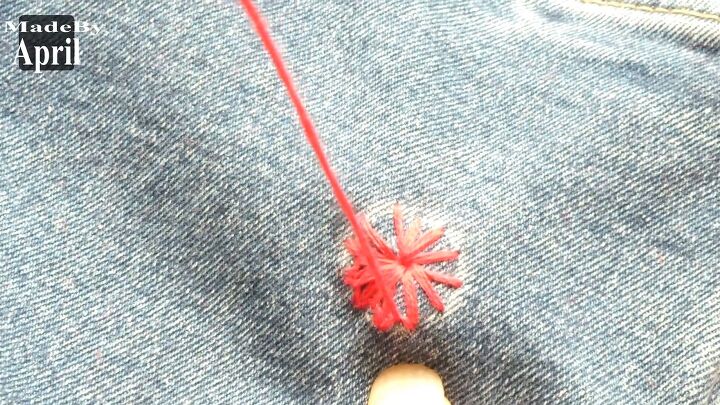
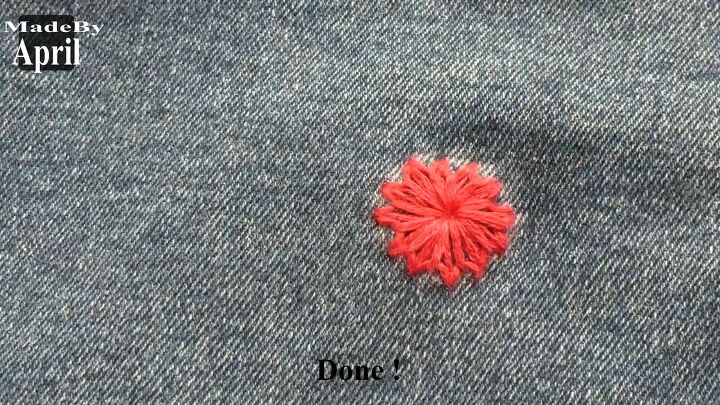
7. Knot to secure
Flip your jeans inside out with the needle on the underside.
Then, thread the needle under one of the spokes, pulling it through partially to leave a loop.
Pull the needle through the loop and pull all the way to make a knot. Repeat this knot about two more times on other spokes.

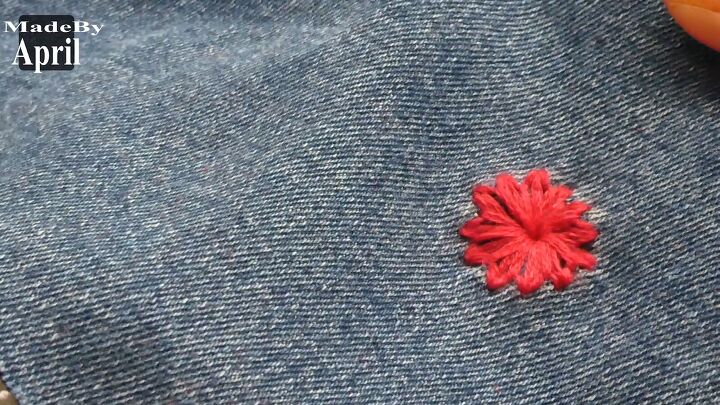
Finally, cut the excess thread and your jeans are finished!
Embroidery hole repair
This embroidery hole repair technique is an easy and fun alternative to using a patch or spending money to have your garment mended.
It’s relatively simple, and you don’t need many supplies. I hope this was helpful for you.
For another clever upcycling idea, check out my post on a quick and easy hack to shorten a t-shirt.
The author may collect a small share of sales from the links on this page.


Comments
Join the conversation