DIY Frayed Hem Jeans: How to Fray Jeans With Just Scissors & a Comb

Is your basic pair of jeans getting boring? Or maybe the pant length doesn’t really suit you? Need an easy revamp? Well lucky you, because today I am showing you the quickest and easiest DIY frayed hem jeans.
Frayed hem jeans are stylish, trendy, and super easy to DIY!
Tools and materials:
- Jeans
- Fabric scissors
- Comb
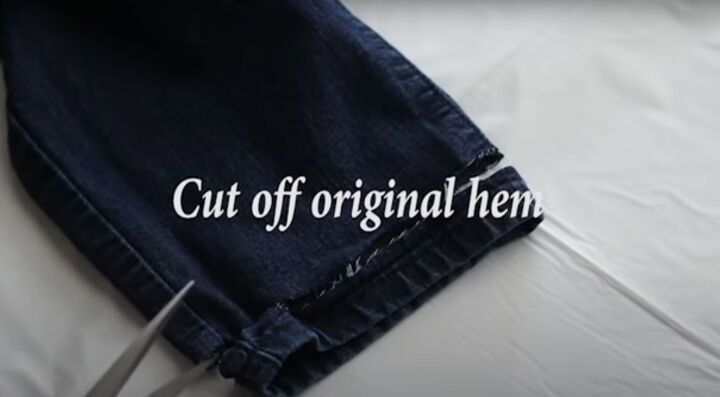
1. Cut off the original hem
Grab a pair of old jeans from your closet and cut off the original hem on each leg using a pair of fabric scissors.
You should cut directly above the hem stitching.
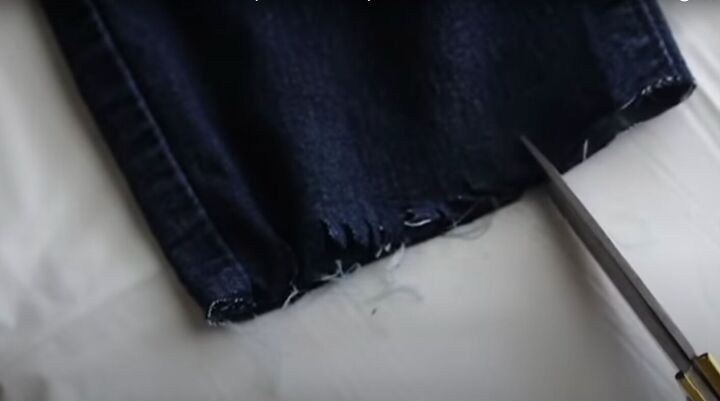
2. Cut strips in the fabric
Cut small vertical strips in the fabric along the entire bottom. This will create a fray-like pattern. Make sure to do this in the front and back of each pant leg.
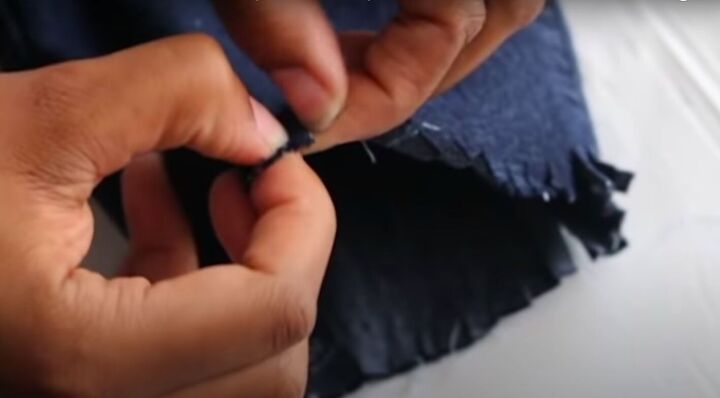
3. Create the frayed look
Use your fingers to gently pull apart each strip. This will separate the fibers in the fabric and cause each strip to fray.
Go over each strip a few times until every fiber is properly frayed. Repeat in the back of each pant leg as well.
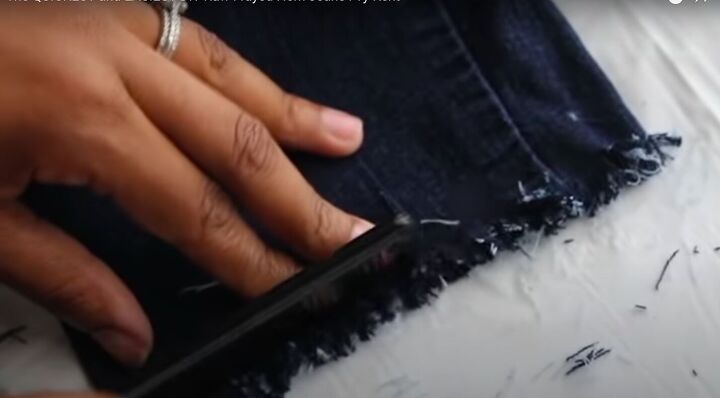
4. Loosen the frays
Use a comb to loosen the frays by brushing back and forth. This will create a more cohesive and fluffy look between all the frays.
Repeat in the back of each pant leg as well.
It will take a few minutes of combing to get the desired fluffy fray, but do not worry, it’s worth it!

DIY frayed hem jeans
Now rock your new style, you deserve it! This DIY frayed jeans tutorial is so quick and easy! It will completely upgrade your basic old jeans into stylish and trendy new ones within a matter of minutes.
You can do this tutorial as an activity with friends or just by yourself when you want a quick outfit upgrade.
Try this tutorial at home using some jeans and let me know what you think in the comments below!
The author may collect a small share of sales from the links on this page.


Comments
Join the conversation
Those are just adorable 🌸
Love your sandals too!