How to Make Cute DIY Shrink Plastic Keychains Out of Number 6 Plastic

In today’s tutorial, I want to show you how to make shrink plastic charms. These DIY shrink plastic keychains are so cute and look great hanging alongside your keys or hooked to your backpack or purse.
They’re super customizable and also great to give as gifts to family or friends. If you want to know how to make these fun plastic keychains, keep reading!
Tools and materials:
- Number 6 plastic
- Keyrings and chains
- Hole puncher
- Parchment paper
- Scissors
- Permanent marker
- Pliers
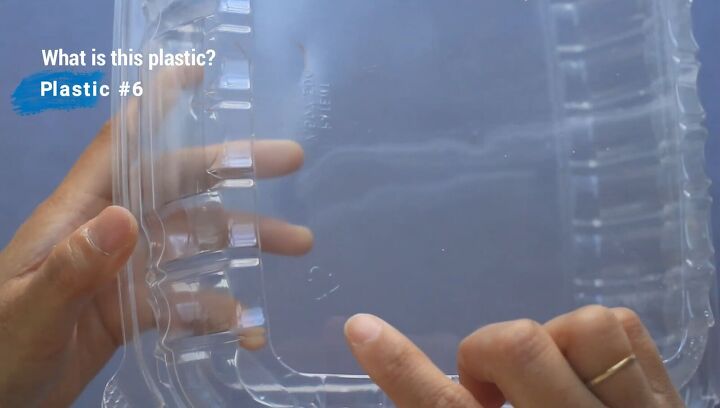
1. Grab your plastic
For this tutorial, you’re going to need number 6 plastic, so find something that’s labeled with a number 6. It’ll typically have a little recycle sign surrounding the number.
Number 6 plastic isn’t easily recyclable, so it’s the best kind to reuse for any plastic DIYs you may have.
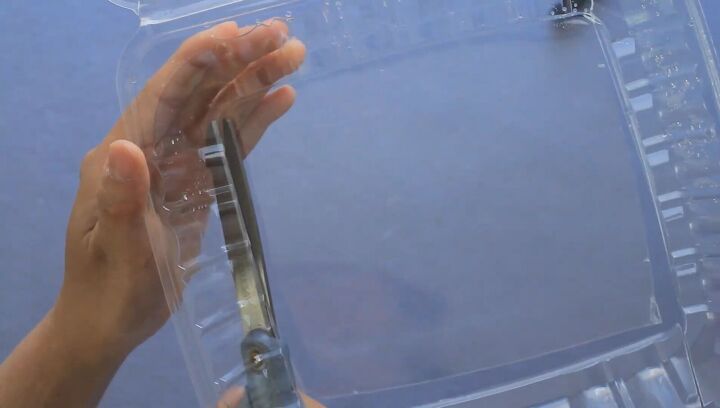
2. Cut the plastic
Cut out the piece of plastic for your keychains, removing any bumpy or textured parts that can’t be used.
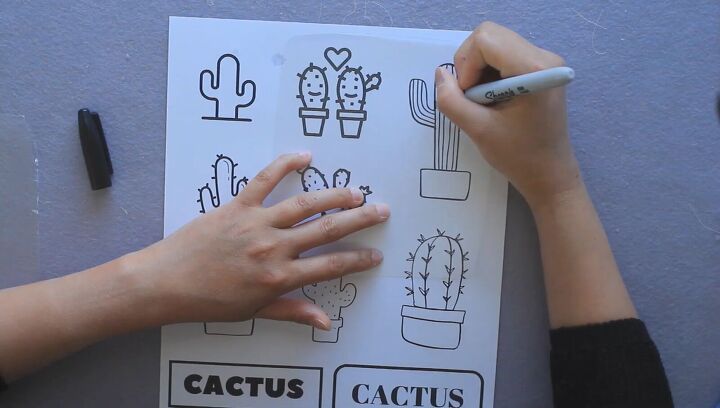
3. Print out your designs
Print out the designs for your keychains. Make sure you set the height and width to be several times bigger than you want the keychain to appear because, in a later step, the plastic is going to shrink.
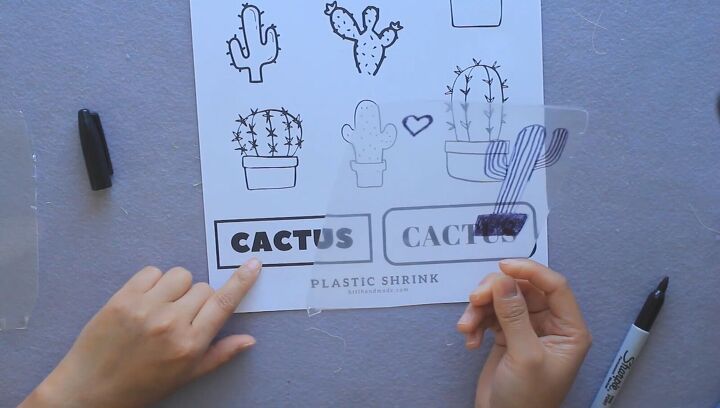
4. Draw your designs on the plastic
Overlay the piece of plastic over your printed designs and then, using a permanent marker, trace over the image to create the design for your keychains.
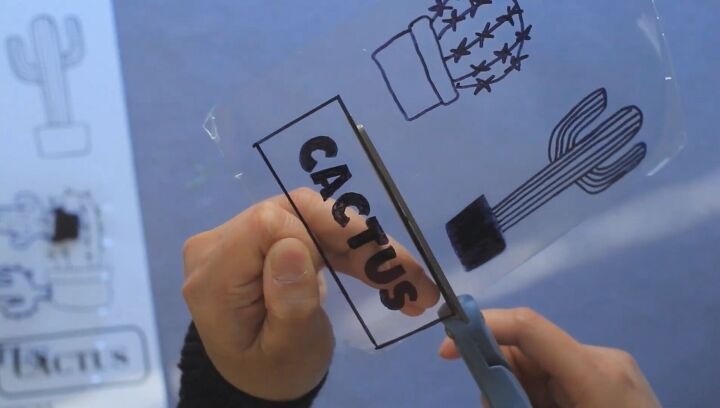
5. Cut out your designs
After you’ve finished tracing all of your designs on the plastic, carefully cut it out.
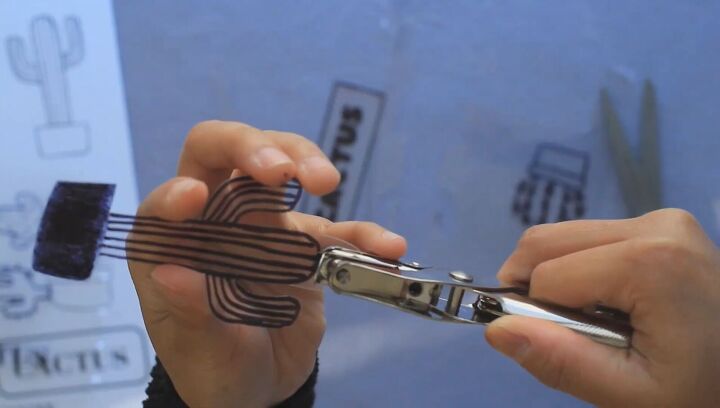
6. Punch a hole for the keyring
Make sure to leave a small space around the design and then punch a hole in the space. This is where we’re going to put the keyring.
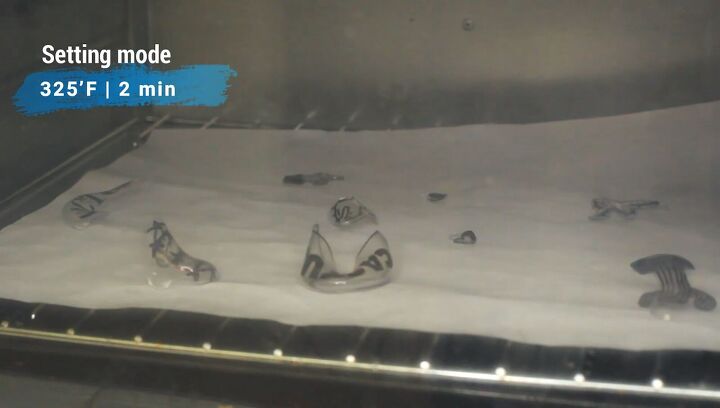
7. Shrink the plastic in the oven
Set your oven to 325°F and let it sit in the oven for two minutes on some parchment paper. The plastic will begin to shrivel up and shrink really small, but this is completely normal!
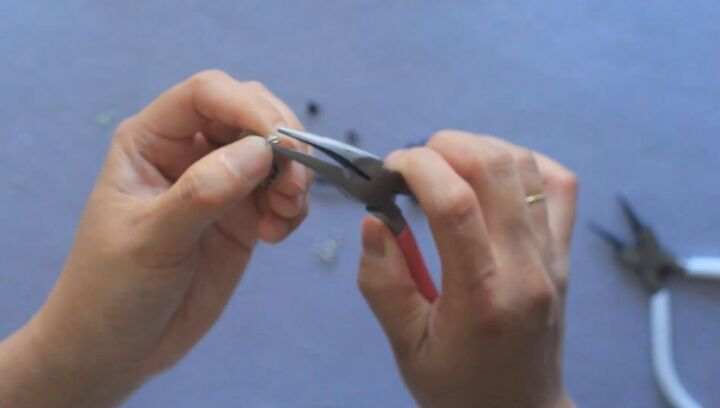
8. Add a keyring
When taken out, the keychain charms will be several times smaller and harder than they were previously. Now we can add the keyring to our charms. If needed, use pliers to close and tighten up the rings.
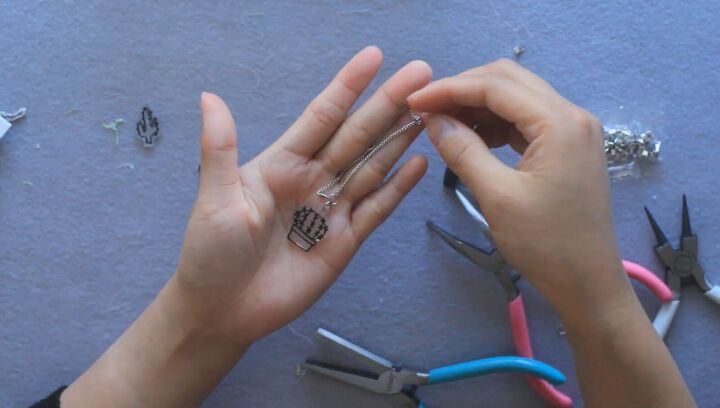
9. Add a chain
Add a chain and you’re done! Here are the final keychains:
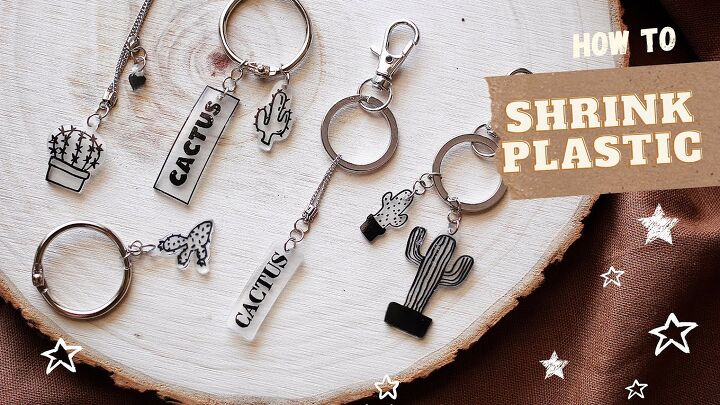
DIY shrink plastic keychain tutorial
How easy were these DIY shrink plastic keychains? If you enjoyed this tutorial and decide to do it yourself, let me know which designs you decide to do and how they turn out! Thanks for joining.
The author may collect a small share of sales from the links on this page.


Comments
Join the conversation
This is the best! Brava!
In our area, #6 plastic is not recyclable...so what a creative way to make something useful!