How to Make Your Own Fruity Buttons

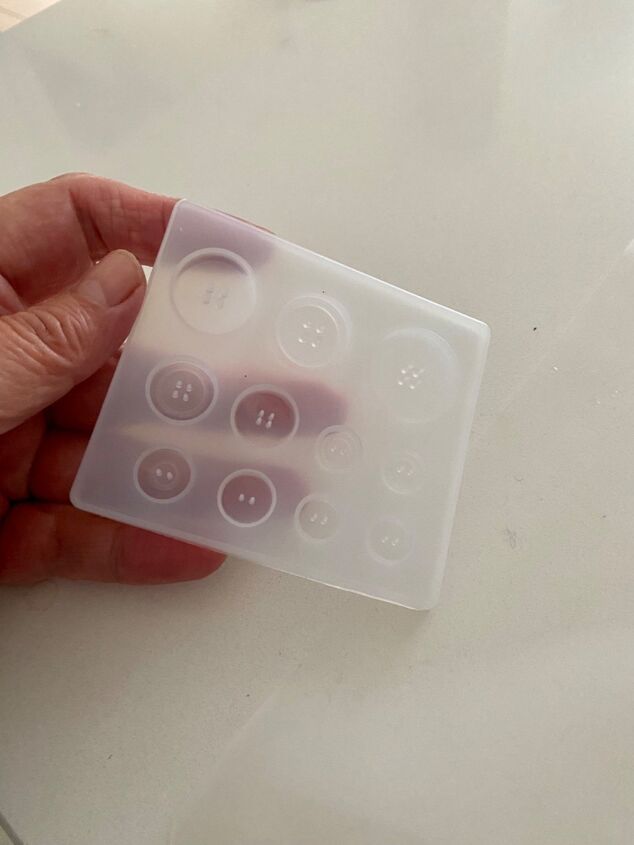
I recently started learning the joyful creative process of making my own jewellery in silicon molds using resin and so when I saw the silicon little mold for various sizes buttons, I just had to give it a go!
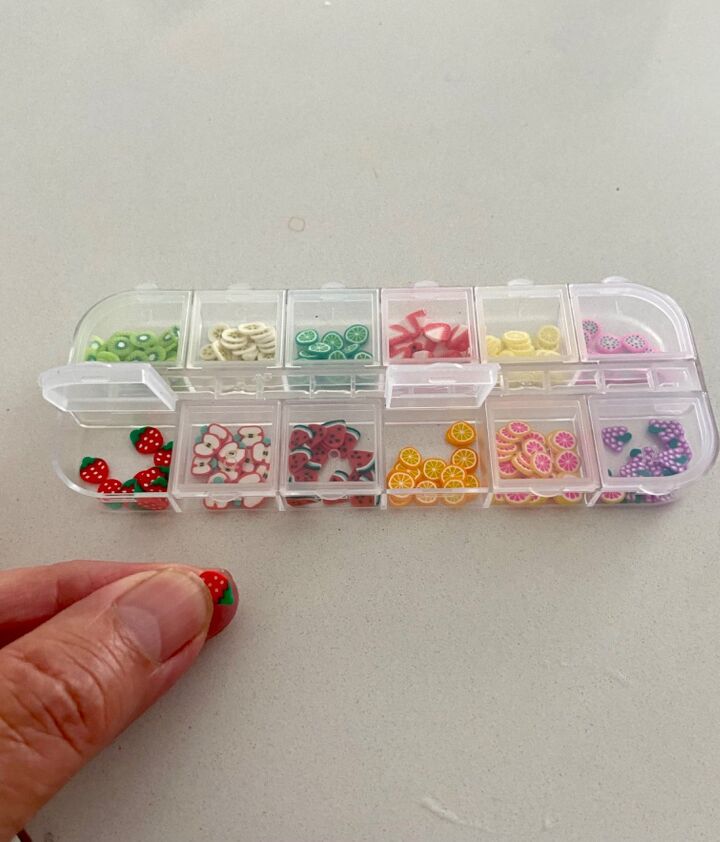
I found these packs of various beautiful little polymer fruity shapes which are so thin small and delicate. Perfect for button designing!
It’s quite fiddly to work with them as they are so small but I try and arrange them carefully into the round molds. I position them in such a way to design the space fully and with same type in each little mold.
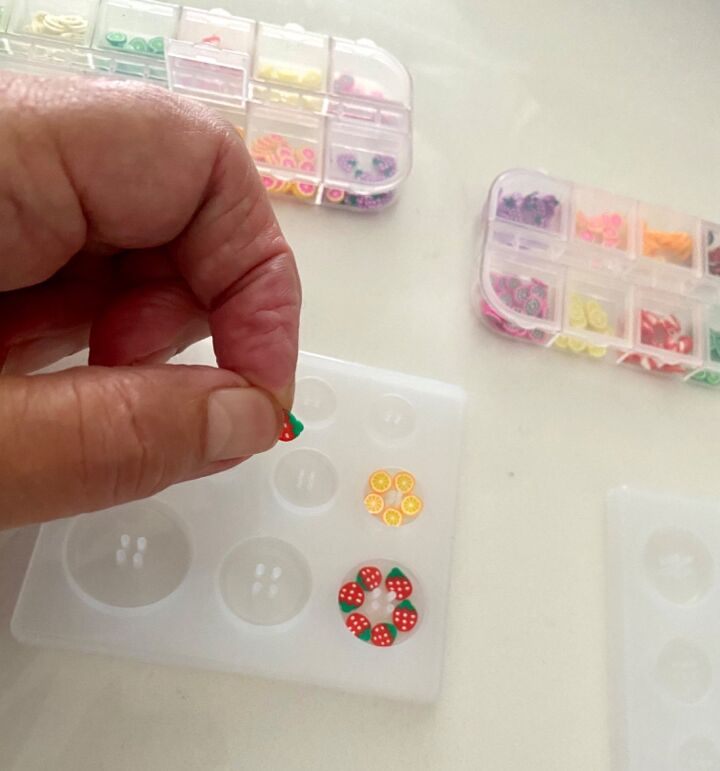
I do a few more and settle on experimenting with each size button mold to see which seem to work best.
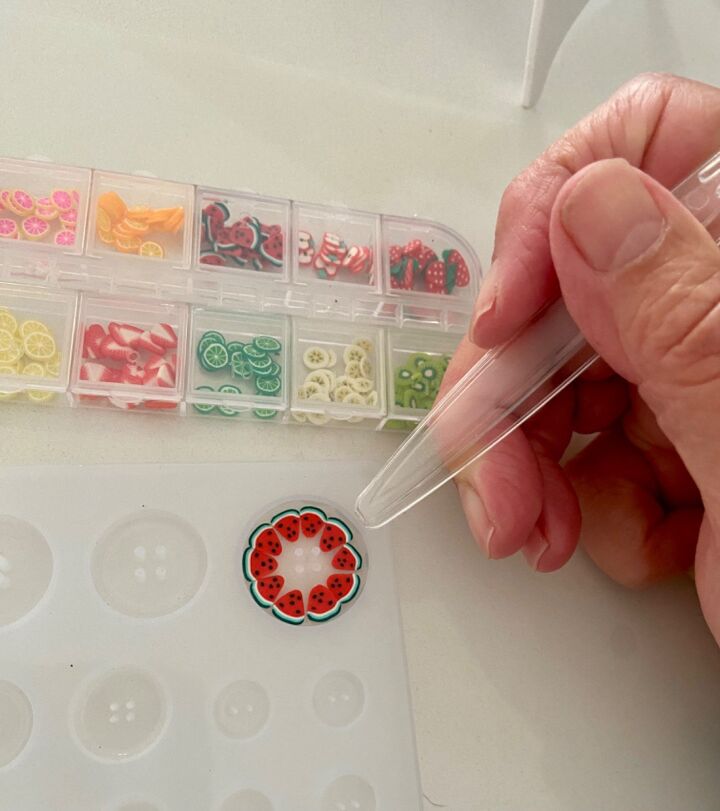
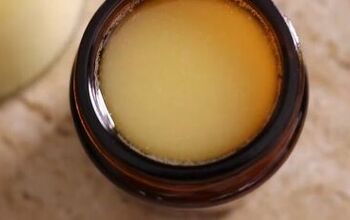
When all filled with fruit I begin squeezing in the resin carefully. I try to cover the shapes and all crevices and little button hole prongs.
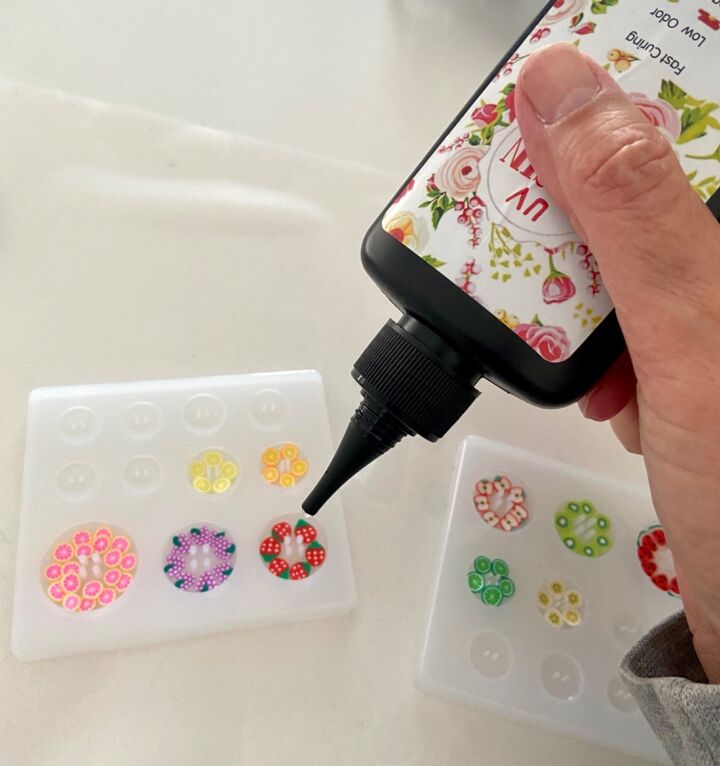
It’s useful that the nozzle reaches in gaps easily and when all filled it’s time to cure them under UV light.
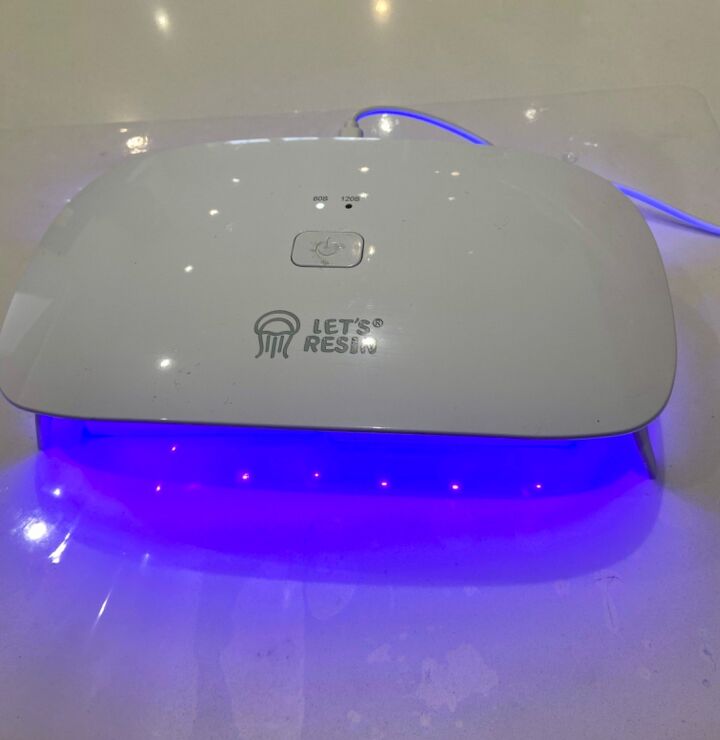
I take out the little buttons from the molds and also pop them over to help the under side in to cure for extra minute to make them hard.
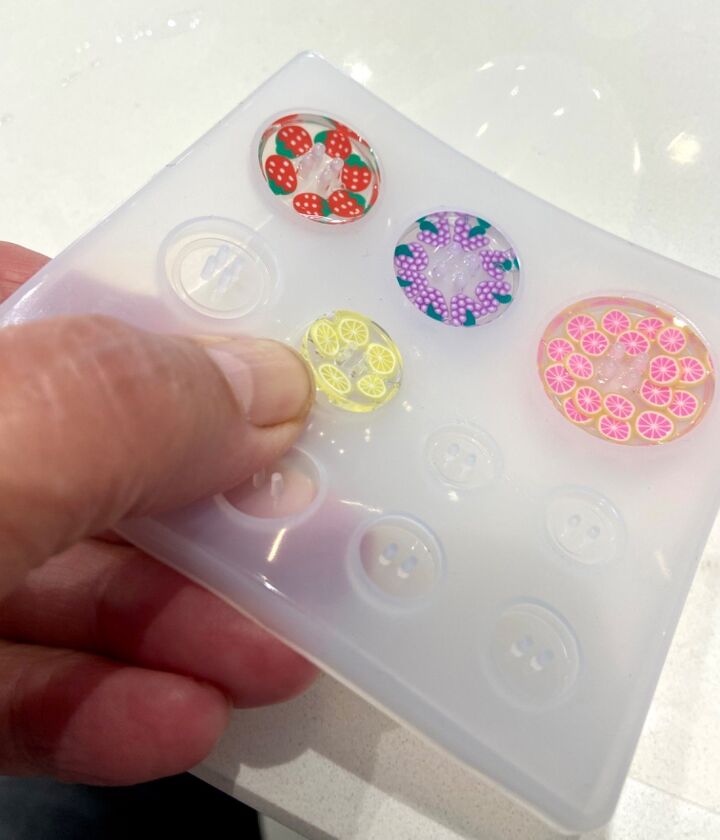
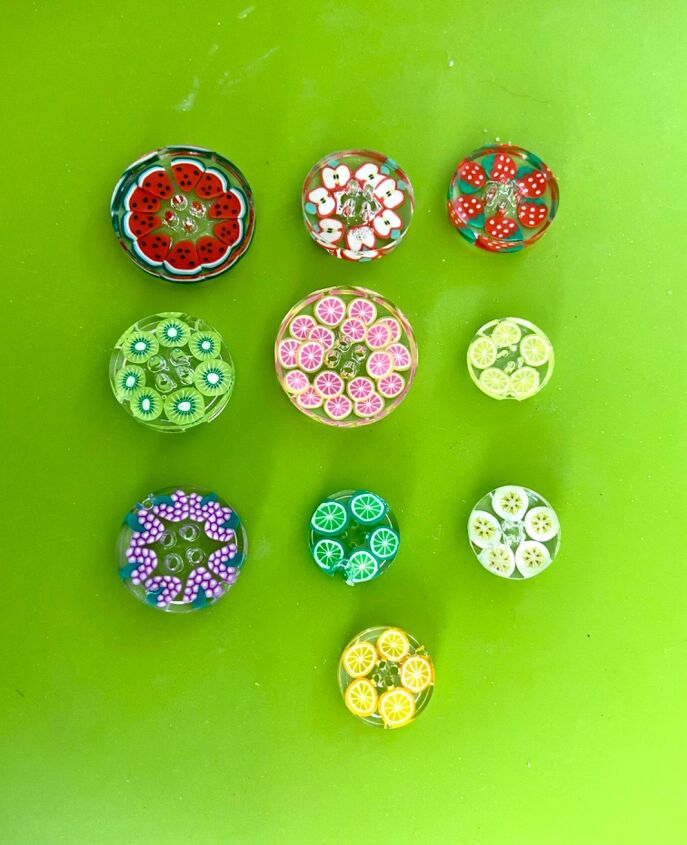
So pleased with how they all turned out!
The author may collect a small share of sales from the links on this page.


Comments
Join the conversation