How to Make a Basic Beaded Bracelet

Everyone could use a few simple beaded bracelets on their arm to make the day a little brighter! Whether you make these for yourself or for a friend, the classic flower shape will suit many people’s tastes. So gather your supplies, and let’s make some bracelets!
Tools and materials:
- Yarn or Embroidery Floss
- Scissors
- Tape (Something easily removable, like washi or masking tape)
- Needles
- Pearl Beads
Make two knots
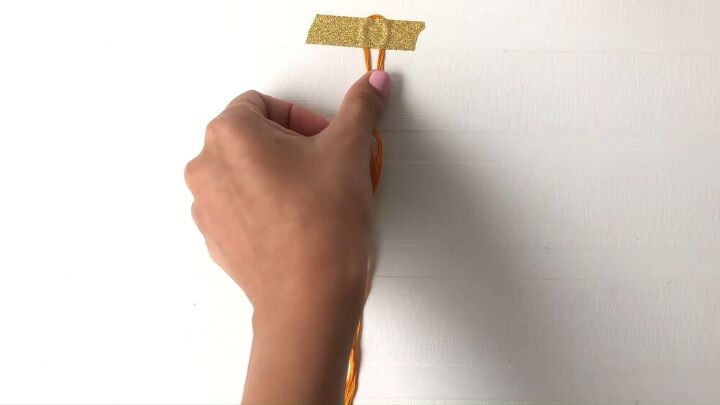
Fold your yarn in two, and make a knot at the folded end, essentially making a loop. Then, tape the yarn onto your work surface. Tie a second knot almost at the center of your yarn.
Thread the needles
Separate the two strings of your yarn, and thread each end through a needle.
Thread the beads
Take one bead, and thread it onto one of the strings of yarn. Push it almost to the top of the string. Take the needle from the second string and thread it through the same bead. Pull on both of the strings to tighten and center the bead below the knot.
Complete the flower
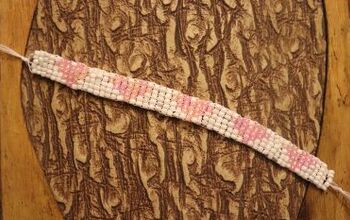
Using the same method, thread the next four rows of beads. The second row has two beads, the third row has three, the fourth row has two, and the final row has one. Remember to tighten the strings around the beads after each row is completed.
Tie the final knot
Once all of the beads are in place, tie one more knot against the last bead. You’re all finished!
Since the first bracelet design is so lovely and easy to make, here is a second one as well.
Make two knots
Tie a knot at one end of the yarn and tape it to your work surface. Tie a second knot towards the center of the yarn.
Thread the needle and add the beads
Thread the yarn through a needle and string six beads onto the yarn.
Make the flower shape
Thread the needle back through the top bead only, and pull the yarn tight. The beads will form a tight circle like the petals of a flower.
Add the flower center
Take a different colored bead and string it onto the yarn. Thread the needle through the third bead in the circle. Pull tight so that the bead lies flat.
Make the final knot
Tie a final knot against the beads to keep everything tight. And that’s it! Wear and enjoy!
I hope you guys make lots of bracelets to spread joy to your friends and loved ones! If you like this tutorial, please let me know in the comments below.
Enjoyed the project?
The author may collect a small share of sales from the links on this page.


Comments
Join the conversation
how is the bracelet secured on the wrist? Is there a clasp?
I love it!