How to Create a Badge Pin From Old Teacups

I enjoy recycling and supporting environment by not letting vintage crockery go into landfill. These box of broken goodies given to me will keep me going in creations for long time!
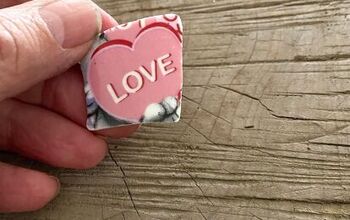
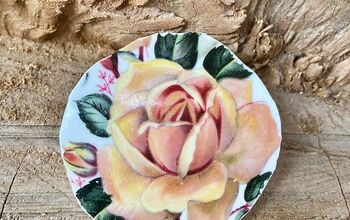
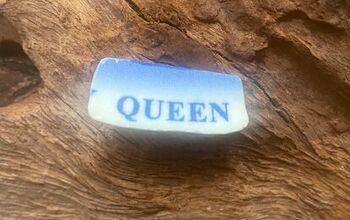
I thought to give people some little badge pins as Xmas pressies and rummaging in this selection I find some florals that I think will make nice pieces to wear.
using wheeled tile nippers to nibble the china into a shape that looks nice and shows the design to its best. The trick is to go carefully so you don’t cut through or damage the very piece you’re trying to preserve!
Always wear proactive eye goggles to prevent flying china accident.
I use a small mini rotary sander to smooth the edges and make it wearable.I also rough up and sand the reverse side to help sticking the pin on later.
When happy with the smoothness and shape it’s time to glue the brooch pin onto back of ceramic.
I mix two part epoxy resin. One pea size of each and mix together and spread in both pin and ceramic.
I place pin so it’s central and won’t stick out and be seen. You can find these in a range of sizes to best fit your piece.
Leave it to dry and after an hour should be very fixed.
lovely little pin badge that makes a unique handmade Christmas gift.
The author may collect a small share of sales from the links on this page.


Comments
Join the conversation