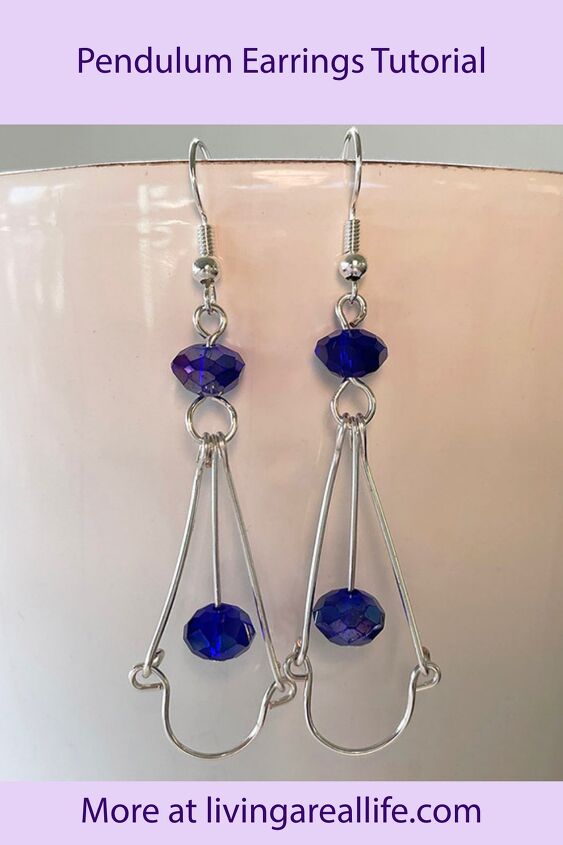
Wire Pendulum Earrings DIY Tutorial

Today I’m going to be showing you how to make some pendulum earrings. These earrings don’t take much in terms of materials but there are some special tools you need.
Materials
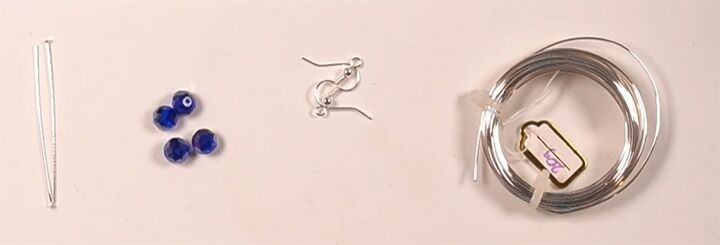
Here’s the materials you need to make these earrings:
- 5cm Silver Headpins x 2
- 8x6mm Purple AB Glass Crystal Faceted Rondelle x 4
- 19mm Silver Twist Earhooks x 1 pair
- 20 gauge Silver Beadsmith German Style Wire x 35cm
Tools
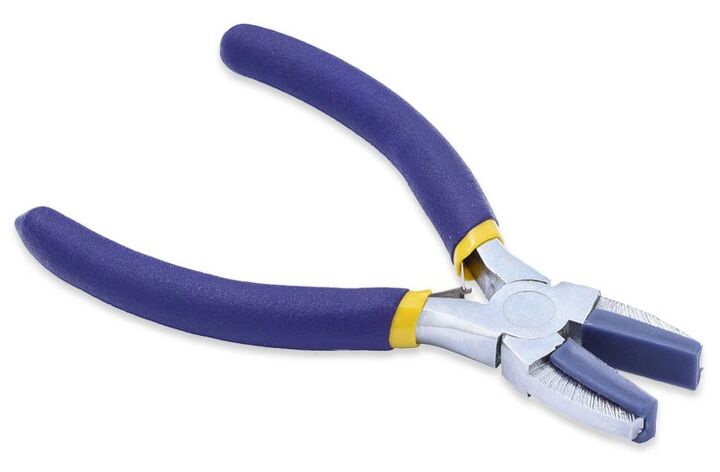
As I said, you will need one specialised pair of pliers for these earrings – nylon jawed pliers. These pliers are great for straightening wire so they are good to have in your arsenal of tools anyway, and they are reasonably priced. The nylon jaws are replaceable.
- Chain Nose pliers x 2
- Nylon Jawed Pliers
- Round Nose Pliers
- Flush Cutters
- Sharpie Marker (or similar sized cylinder)
- Fine Tip Marker
- Ruler
Instructions
Please watch the video or read the instructions below.
Prepare the Wire
Unravel a piece of wire about 35cm long. Leaving it attached to the roll, straighten it by running the nylon jawed pliers along the length of the wire. Repeat several times until the wire is reasonably straight
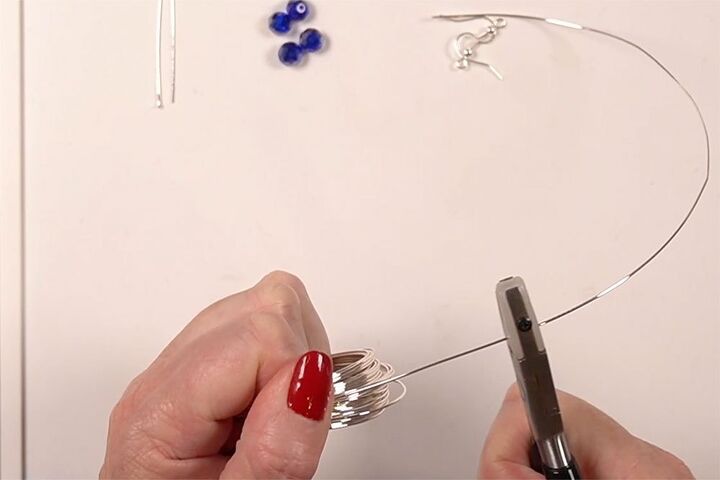
Next, trim the end of the wire so that you have a flat cut. If you don’t know what I mean by this, please watch the video. This step is important so that you get nice closed loops.
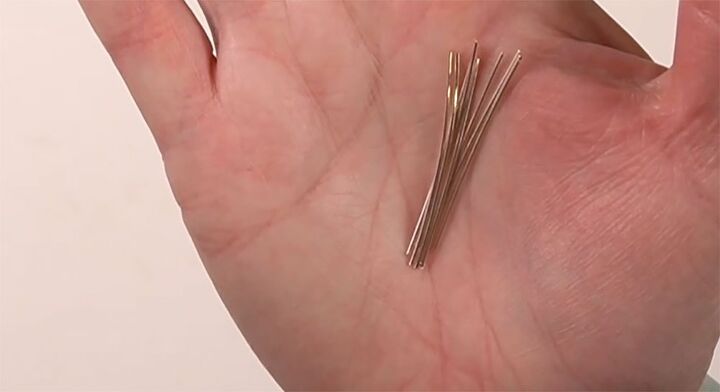
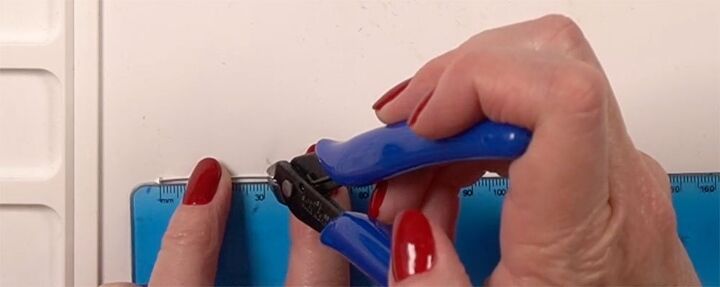
Lay the wire along the length of the ruler and cut a 4cm long piece with the flat side of your cutters. Now you will have a piece of wire with two flat ends.
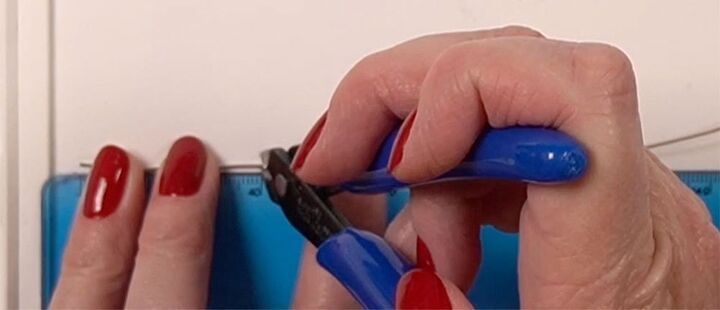
Repeat this until you have eight pieces of wire the same size. It’s important to cut all the pieces at the same time so that you can ensure they are all exactly the same length.
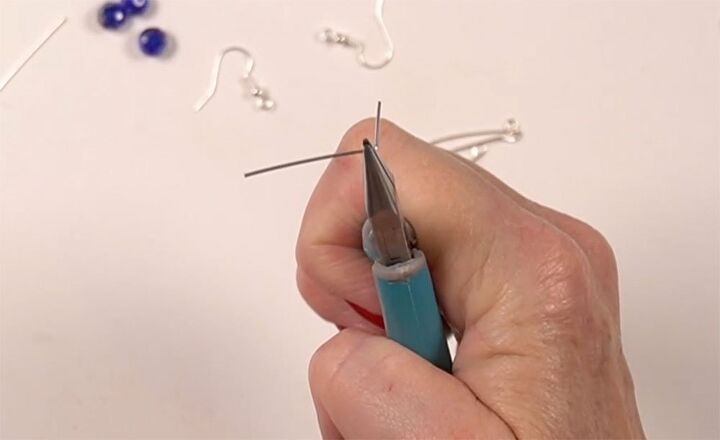
Make the Loops
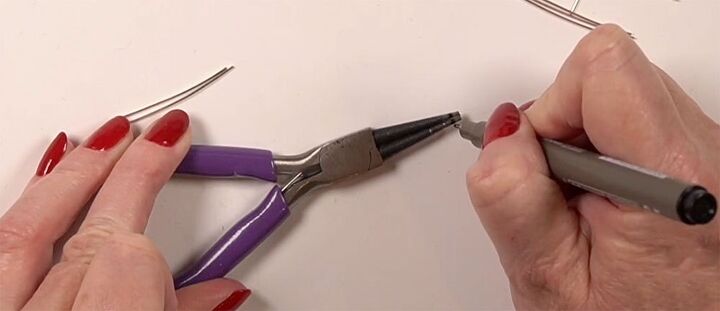
Take the fine tip marker and make a mark on your round nose pliers quite close to the end. For my pliers, it was about 3mm from the tip. This will help you make all your loops the same size.
Place one piece of your cut wire between the jaws of the pliers at the mark and make a P loop. If you haven’t made loops before, watch this video about how to make simple loops.
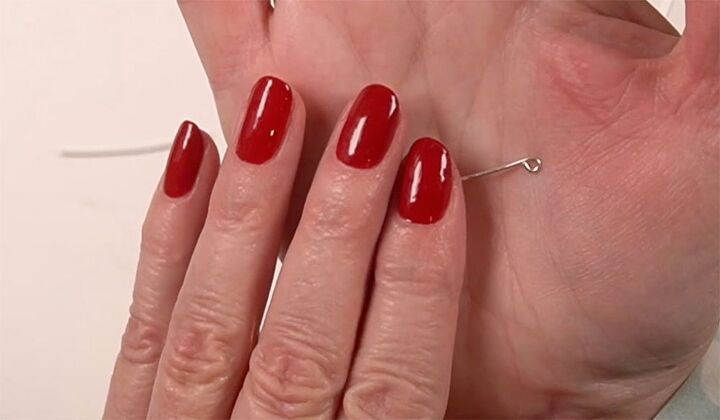
Repeat using another of your 4cm pieces of wire.
Make a centred loop on the other end of each piece. Repeat for the other piece.
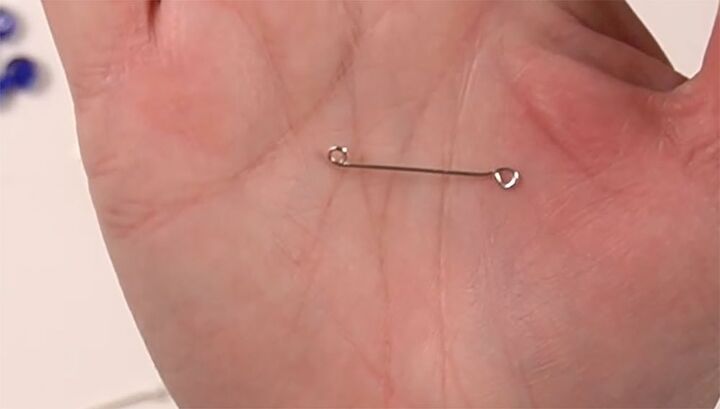
Make sure the loops are both facing the same way by taking each loop in a pair of chain nose pliers and twisting them until they are facing the same way. The openings of the loops should be on the same side.
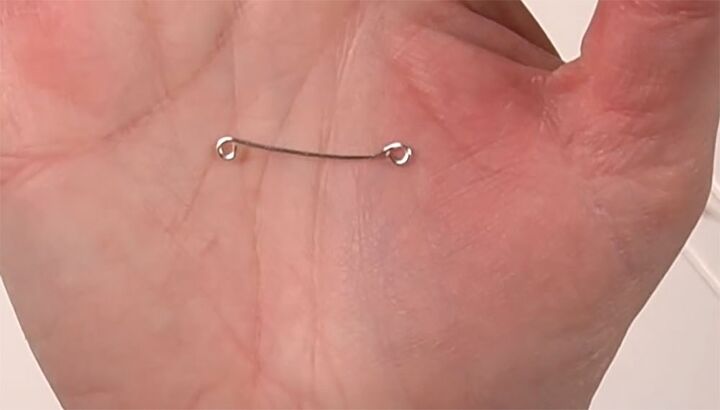
Make the Bottom Horseshoe Shape
Make a P loop on each end of one of your 4cm pieces of wire, facing the same way. Bend it around the Sharpie to make the horseshoe shape. You may need to reposition your loops if you bend them while doing this. You want the loops facing out.

Repeat for the other earring. It’s important to make both these shapes at the same time so that you can compare them. They need to be as similar as possible.
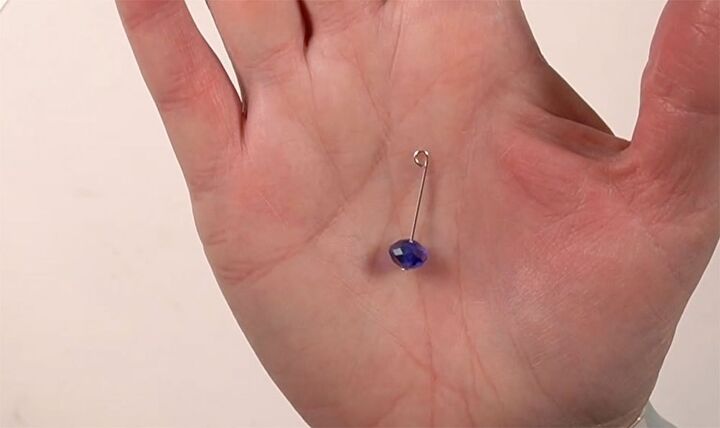
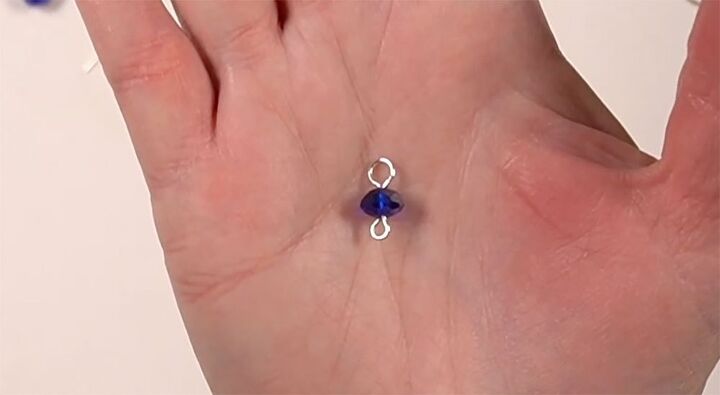
Make the Pendulum
Measure and cut the head pin to 3cm long.
Thread on one bead and make a P loop in the top of the headpin.
Make the Top
Hold another 4cm piece of wire about 2/3rds of the way down in your chain nose pliers. Make a right angle bend.
Make a large centred loop by placing the tip of the wire in the jaws of the round nose pliers right up close to the top. Make the loop as before.

Thread on a bead.
Make a right angled bend at the top of the bead, then make a standard sized loop. Make sure your loops are both facing the same way using your chain nose pliers. You will have a smaller loop on one end and a larger loop on the other.
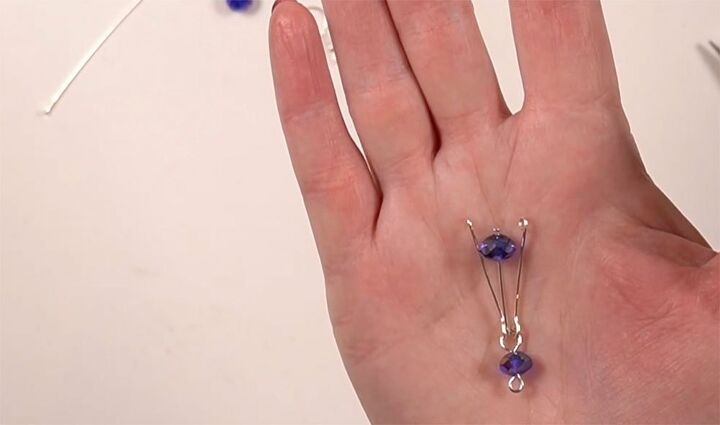
Put it all Together
Open the large loop and add on one of the centred loops, the pendulum and another centred loop. Make sure they all go on the same way so that the openings are all facing either back or front. Close the loop.
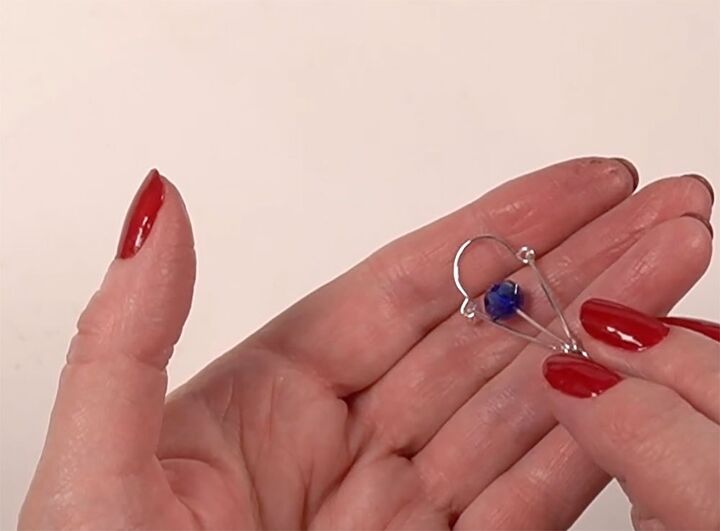
To add the bottom, open one of the P loops and feed on one side of the horseshoe. Make sure you support the wire really well so that you don’t bend it. Repeat for the other side, making sure everything is facing the right way and sits correctly.
Add the Ear Hook
The last thing to do is add the ear hook. Open the loop of the ear hook and thread on the top loop above the bead. Close the loop.
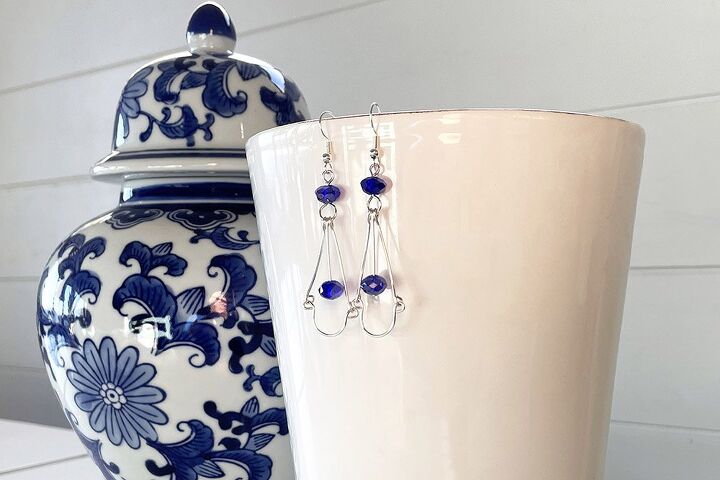
While this project is a little more challenging that some I’ve done in the past, it is very rewarding as these earrings are absolutely stunning.
Please leave me a comment below and let me know if you make these earrings and whether you found them challenging.
⇓ REMEMBER TO PIN THIS PROJECT FOR INSPIRATION AND SHARE WITH YOUR FRIENDS!!⇓
If you like my blog be sure to click on the RECOMMENDED button and SHARE it with your friends! It’s the best way for my blog to grow so I can continue to you great content. I would love for you to be part of my family so sign up to receive my emails. Every time I post a blog, I will send you an update email. Also, follow me on Facebook HERE, Instagram HERE and Pinterest HERE.
Come by and say Hey!
The author may collect a small share of sales from the links on this page.


Comments
Join the conversation