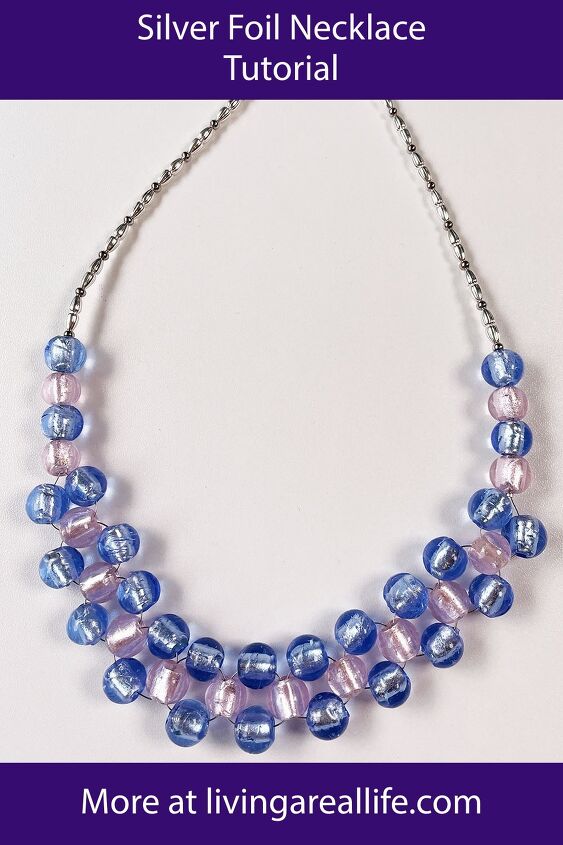
Silver Foil Necklace Tutorial
Today I’m going to be doing some bead weaving but on a giant scale.
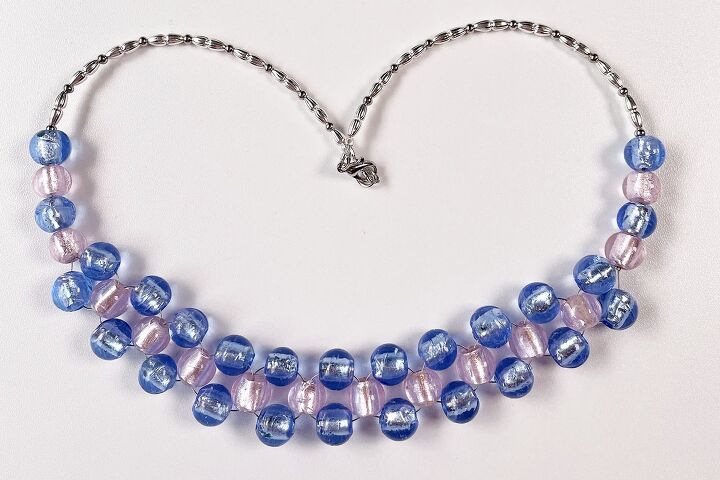
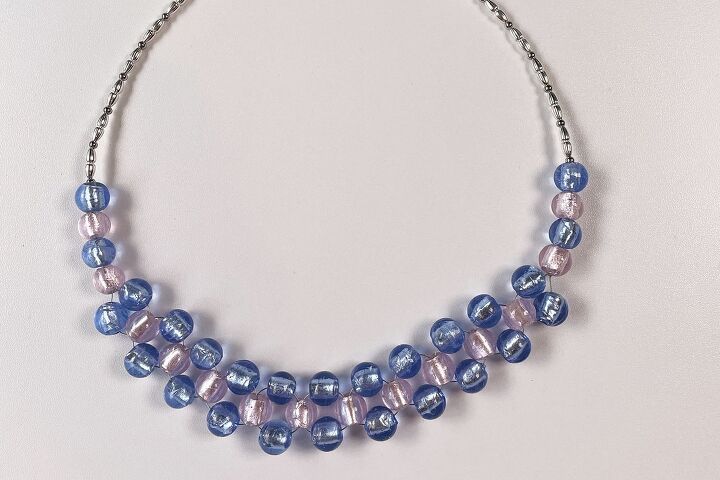
I’m using the bead weaving techniques to make this necklace with these lampwork glass silver foil lined beads and some Tiger Tail.
This one is stunning but super easy to make – you won’t believe how easy it is.

Materials
Here’s what you will need to make this necklace.
- 10mm Aquamarine Silver Foil Round Beads x 26
- 10mm Pink Silver Foil Round Beads x 14
- 10x3mm Silver Corrugated Double Teardrop Beads x18
- 3mm Platinum Smooth Brass Spacer x18
- 6mm Silver Jump Rings x1
- 12mm Platinum Lobster Claw Clasp x1
- 4.5x4mm Platinum Wire Guardians x2
- 1.5mm Silver Crimp Beads x2
- 2mm Silver Magical Crimp Tubes x2
Tools
Instructions
Watch the video or read the instructions below.
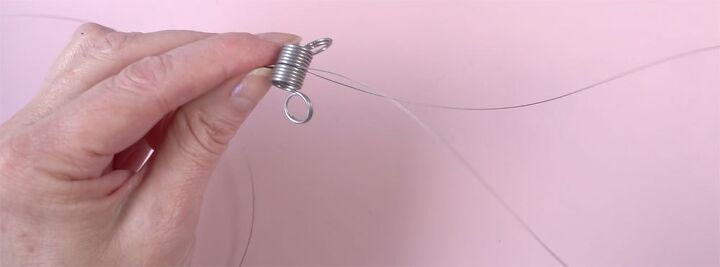
Cut the Tiger Tail
The first thing you need to do is cut two pieces of tiger tail approximately 1 metre (1 yard) long. Place them together and put the bead stopper approximately 25cm (10 inches) from the end.
Start Stringing
Thread four beads onto both strands, starting with a blue and alternating.
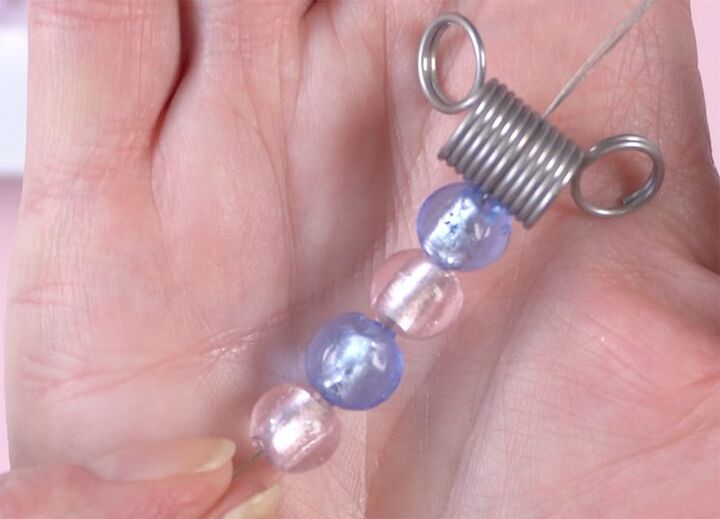
Crimp
Thread one of the 1.5mm crimp beads onto the two strands. Push it hard up against the pink bead (be careful it doesn’t disappear) and squeeze it with the chain nose pliers. Don’t worry about folding it over, you won’t really see it.

Bead Weaving
Separate the strands of tiger tail and thread one blue bead onto each strand.
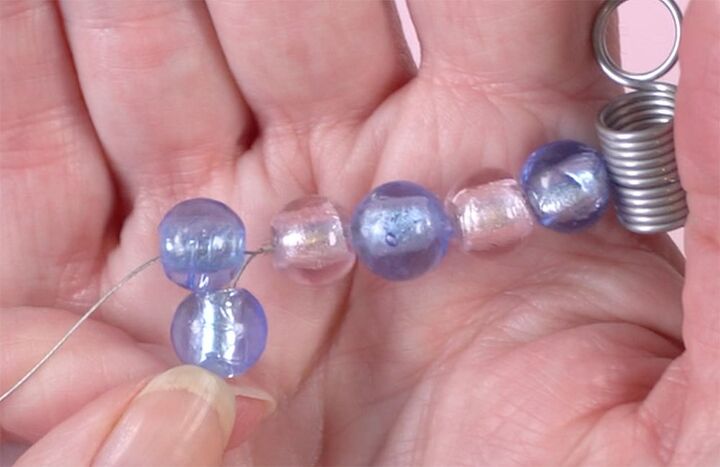
Thread a pink bead onto one strand, then take the other strand and thread it through the bead in the opposite direction so that you have a piece of Tiger Tail going each way.

Pull the Tiger Tail tight so that the pink bead tucks nicely into the space between the blue beads.
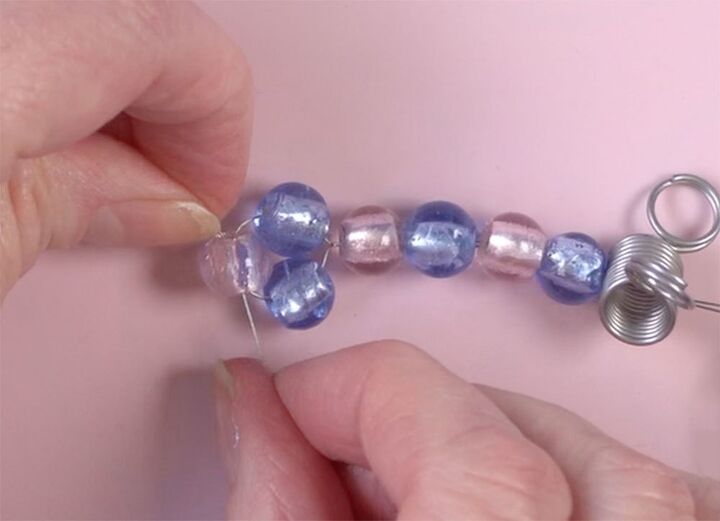
Repeat this process 9 more times. End with two blue beads. Add the 1.5mm crimp, just as you did for the other end, then thread on the remaining four beads, beginning with a pink and alternating.

String Up The Remaining Beads
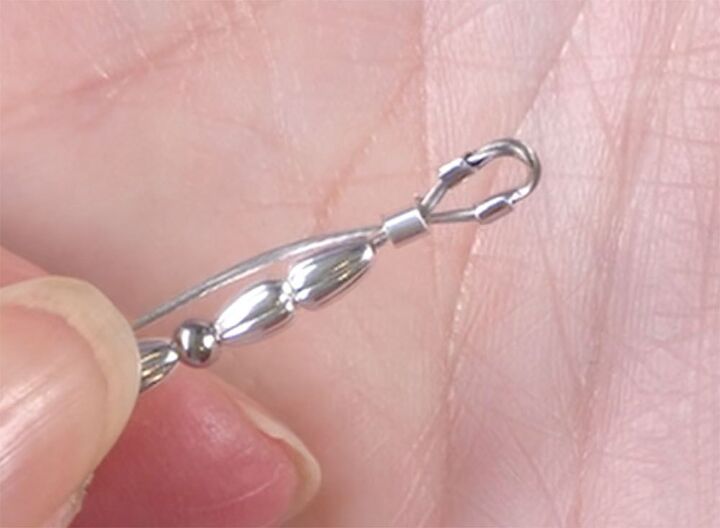
The remainder of the necklace is made by alternating the double teardrop beads and the 3mm balls.
Begin with a 3mm ball and then add a tear drop. Repeat until you have 9 or 10 teardrops (depending on how long you would like the necklace to be).

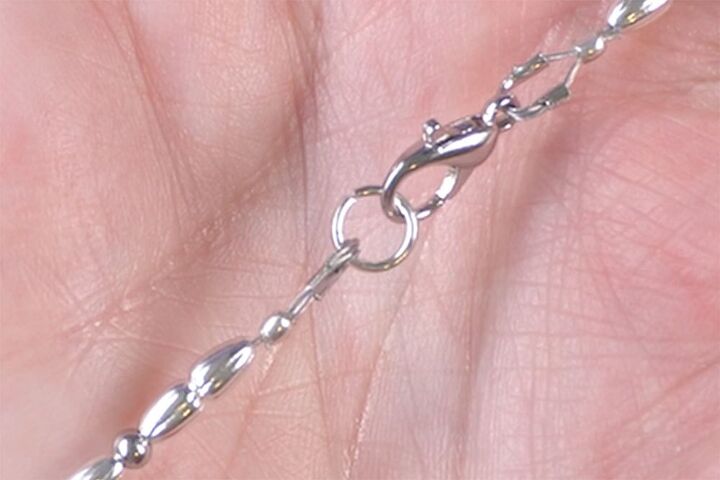
Attach the Clasp
Once you have added all the beads, you need to attach a jump ring to one end and the clasp to the other. I’m using a wire guardian on each side to keep things looking nice and tidy. If you’ve not used a wire guardian before you can watch this video all about how to use them.
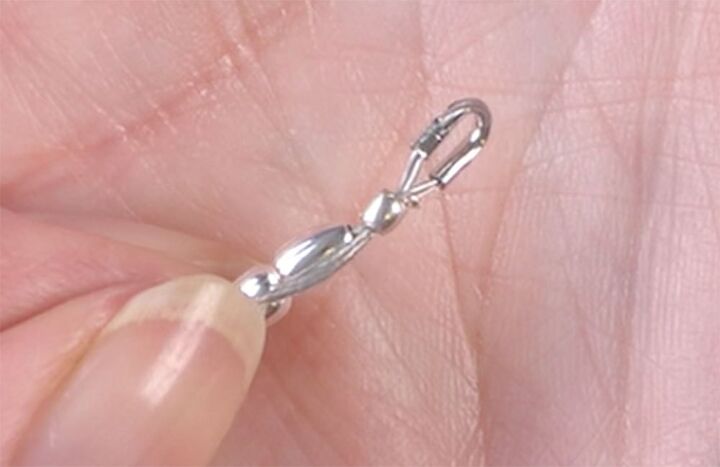
We will attach the 6mm jump ring first. Thread both strands of the Tiger Tail through the 2mm Magical Crimp Tube. Then thread the wires up through the side of the wire guardian and back down through the other side. Next, thread the wires back through the crimp bead. Pull everything up so that it’s sitting nicely – remember to leave yourself a little bit of room.
Use the Magical Crimp Forming Tool to squeeze the bead into a ball. If you’ve not used a Magical Crimp Forming Tool before you can watch this video. If you don’t have this tool, just crimp it using whichever method you prefer and place a 3mm crimp cover over the top.
Using the flush cutters, cut the Tiger Tail as close as possible to the crimp. Open the 6mm jump ring, thread on the wire guardian and close the jump ring. If you’ve never worked with jump rings before you can watch this video.
Repeat the above process to add the clasp except that this time, you will need to thread your clasp onto the wire guardian before you thread the Tiger Tail back down through the crimp tube.
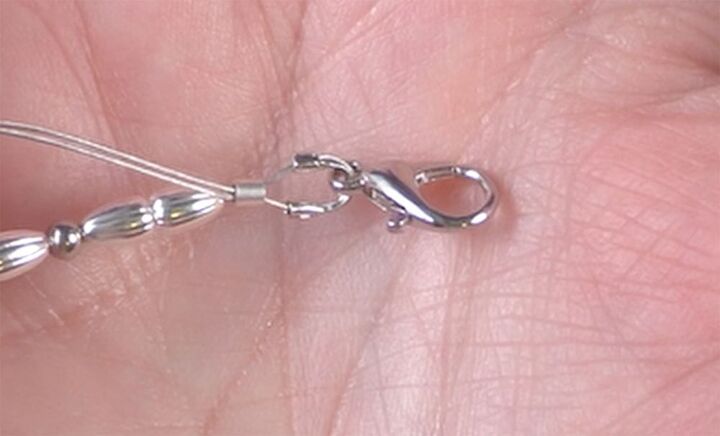
Do up the clasp, and you’re done.
Did you enjoy this tutorial? I really enjoyed the fact that we were using these bead weaving techniques with 10mm beads.
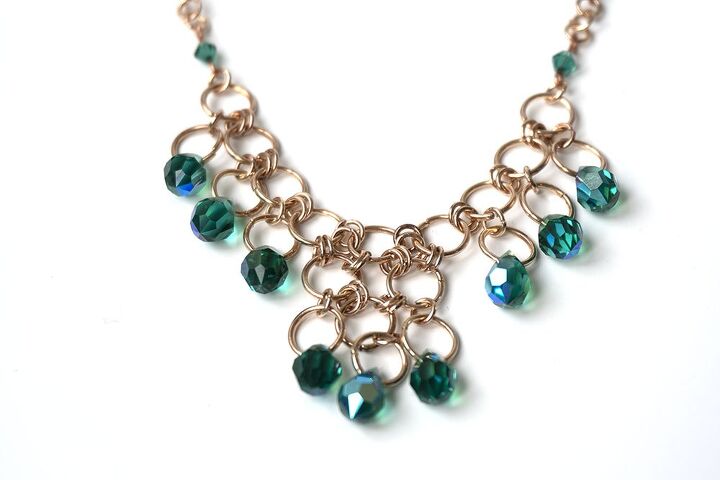
Jewellery I’m Wearing
In this tutorial I’m wearing my Mum’s vintage necklace. If you would like to make a replica you can see the tutorial here:
REMEMBER TO PIN FOR INSPIRATION AND SHARE WITH YOUR FRIENDS!!
⇓ PIN THIS ⇓
If you like my blog be sure to click on the RECOMMENDED button and SHARE it with your friends! It’s the best way for my blog to grow. I would love for you to be part of my family so sign up to receive my emails. Every time I post a blog, I will send you an update email.Also, follow me on Facebook HERE, Instagram HERE and Pinterest HERE.
Come by and say Hey!
The author may collect a small share of sales from the links on this page.


Comments
Join the conversation