How to Make a Multi-Way Wrap That Can Be a Top, Shorts, or Skirt

Ok, I’ve got something super cool for you to make. A multi-way wrap top, skirt, and shorts, but it's just one item of clothing! The DIY wrap itself is so simple to make, and transforming it into a top, skirt, or shorts is also a breeze.
My most popular tutorial is a multi-way wrap that can be worn as a dress, pants, skirt, and romper. So, I decided to make another version, but shorter.
Ready to go through the steps? Let's start!
Tools and materials:
- 1.5m (59.05”) Jersey knit fabric
- Pair of shorts
- Measuring tape
- Scissors
- Sewing machine
- Thread
How to make the DIY wrap
Making the multi-way wrap top is easy. You’ll need a stretchy material; I’m using a jersey knit.
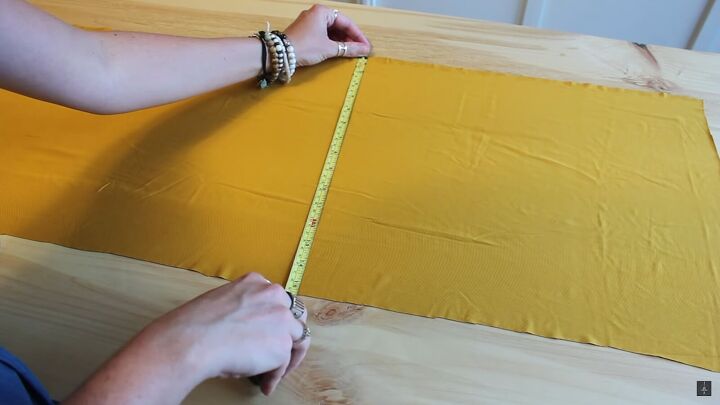
First, you need to find your measurements. For the length, measure from your waist (go for a high waist if you like) to where you think your shorts/skirt would fall. Then, add extra inches. Mine was 15 inches.
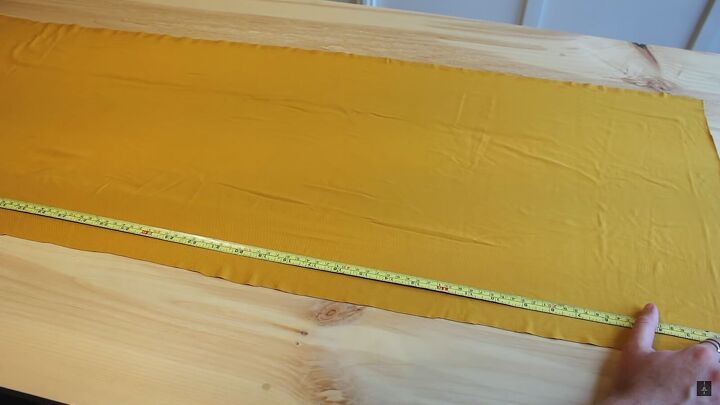
The width is going to be at least 1.5 times around your waist. I ended up with 3 feet for mine.
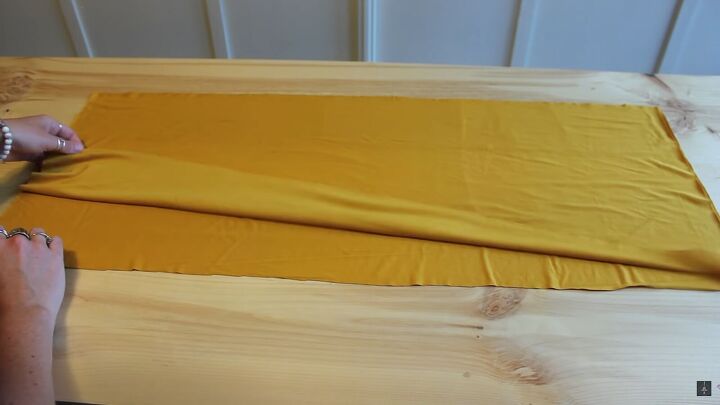
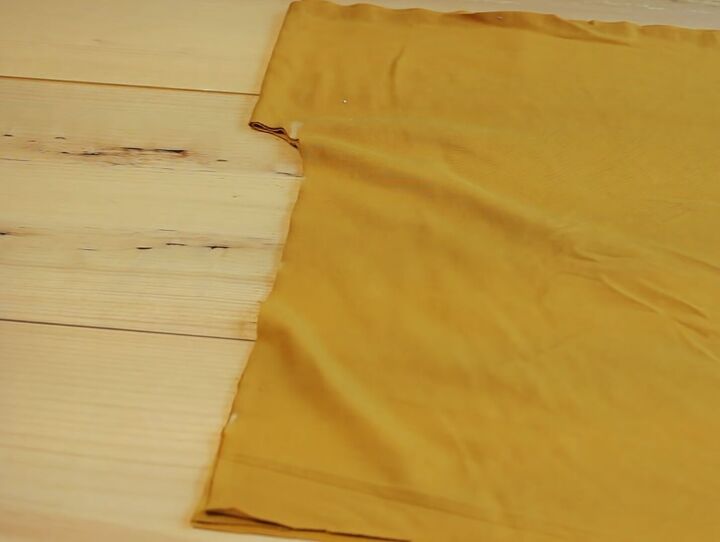
You’ll need two of these rectangles. Lay them flat on top of each other and fold them in half. The left side is where your fold should be.
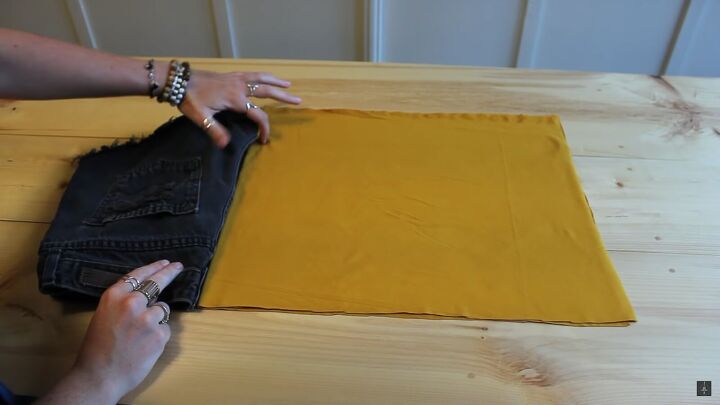
Take a pair of shorts and place them by the fold. You want to find out how deep you want to make the crotch area.
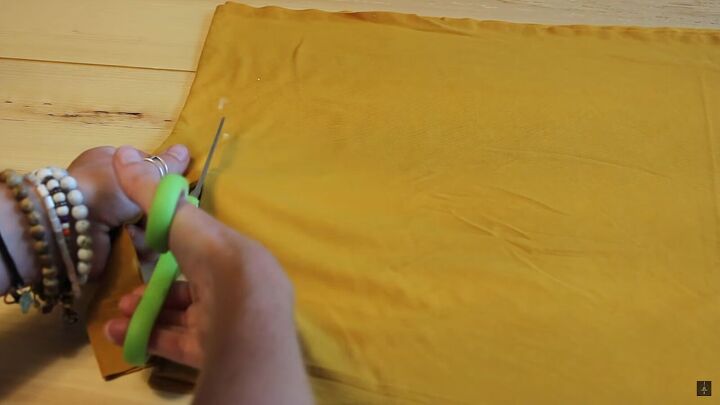
Now, follow the shape of the crotch area, measuring where needed. I made my incision 10 inches up and 1½ inches in.
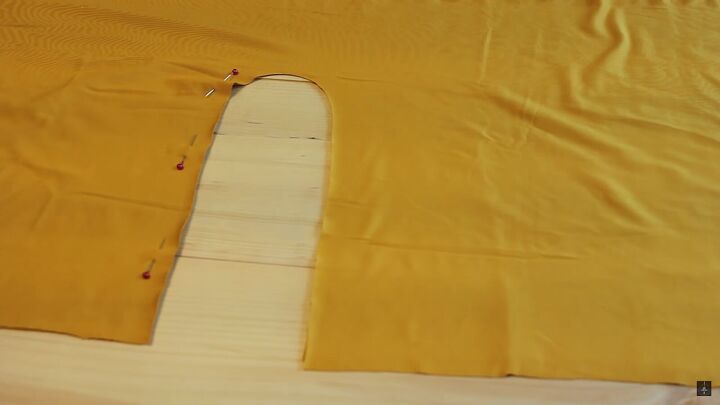
Here’s how it should look. Just round it out at the top.
Pin the fabric and sew a straight stitch.
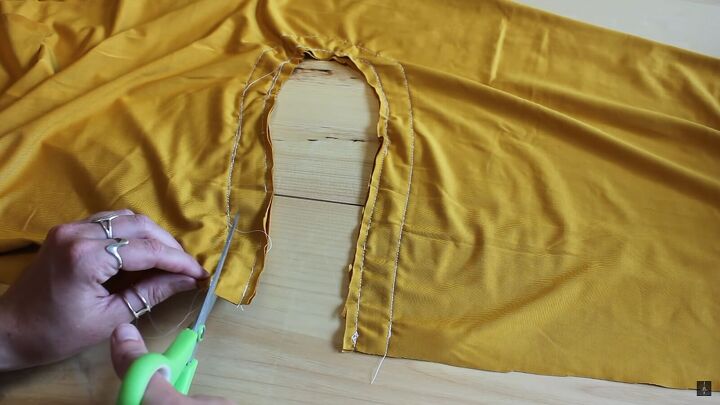
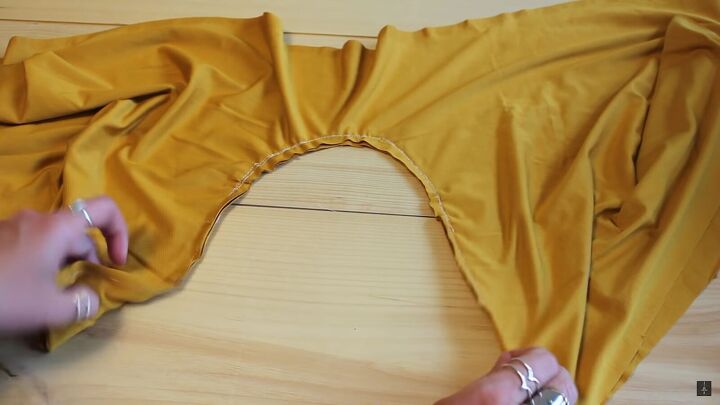
Now, try it on and see if you like the fit. I wanted mine to be deeper, so I went back and sewed another deeper stitch. Then, I cut off the excess.
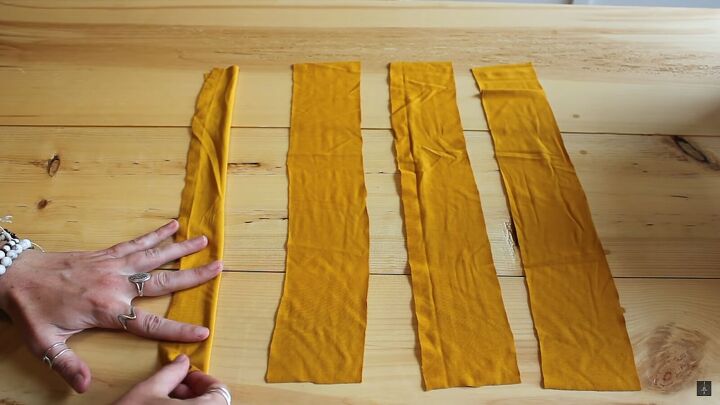
Last, cut out four 3x15 inch straps. Fold each in half and stitch the length and bottom.
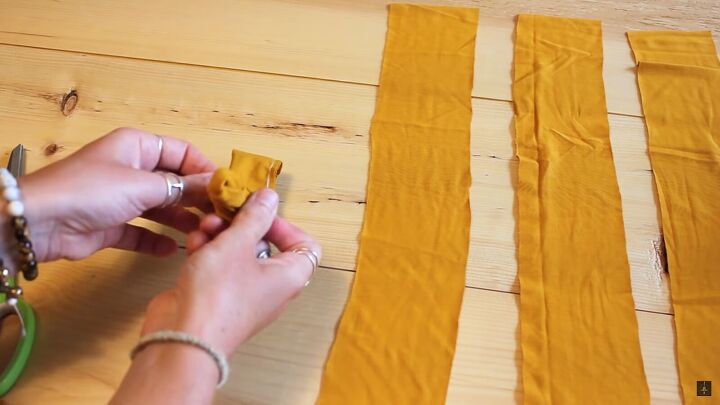
Then, flip inside out using the open side.
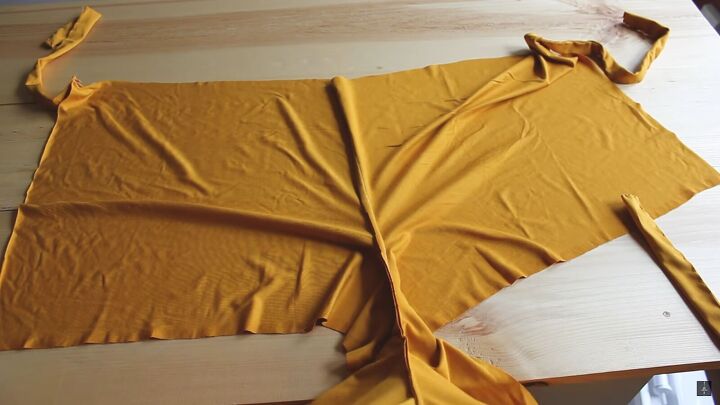
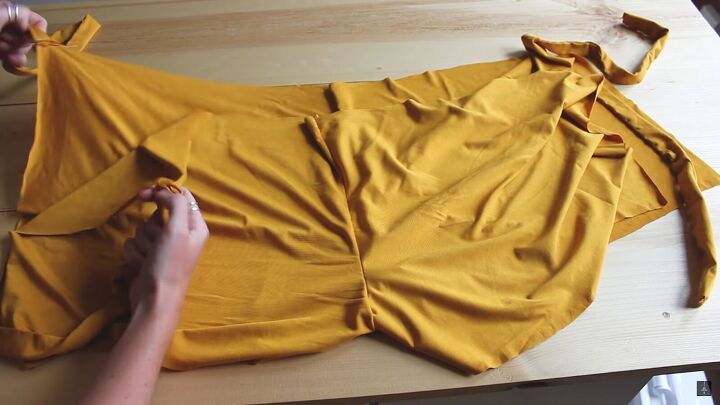
Attach all four straps to each top corner. Make sure to do a secure stitch on each, and you’re pretty much done! Now, I’m going to show you how to wear it!
How to wear the DIY wrap
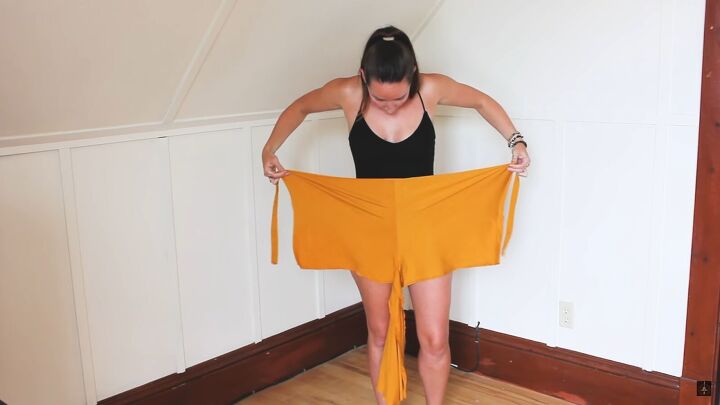
1. DIY wrap shorts
Line your front, as shown.
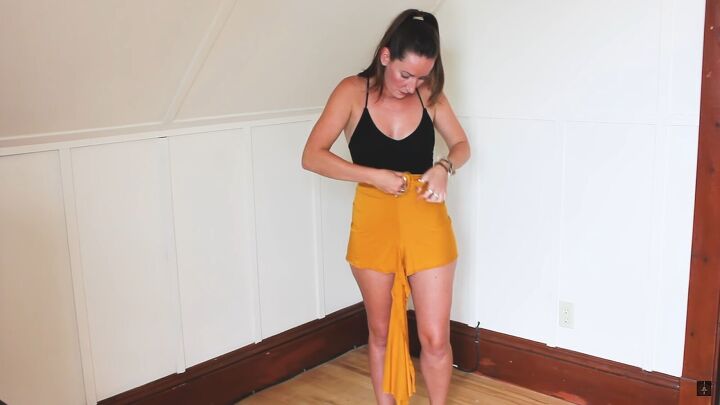
Wrap the front straps around your waist twice, and tie in front. I made mine high-waisted, so they sit higher.
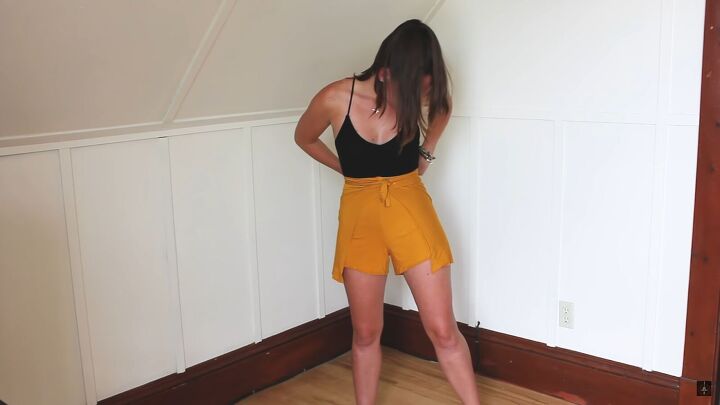
Do the same for the back piece. You can either tie it up in the front or wrap it to the back.
What do you think? They are so comfortable and would be perfect for a beach outing!
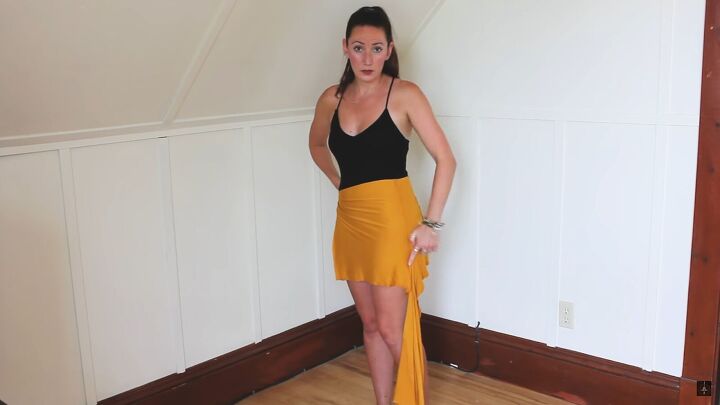
2. DIY wrap skirt
Put the DIY wrap so that the seam is on the side.
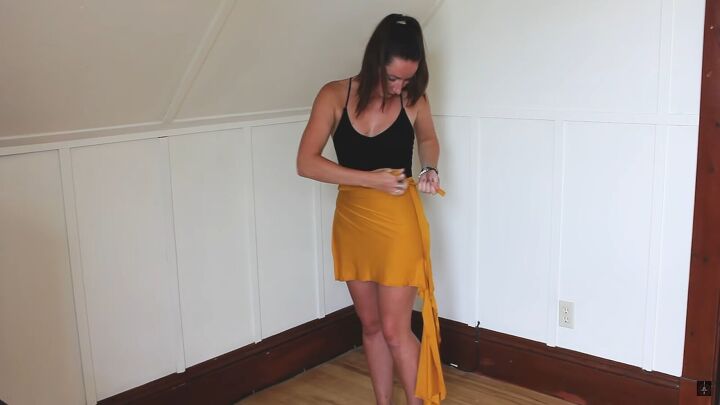
Then tie the straps to the opposite side or wrap them around your waist and secure.
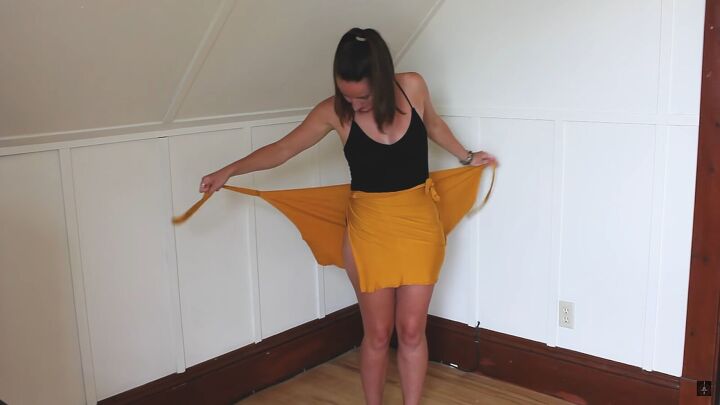
Take the loose piece, and wrap it behind you.
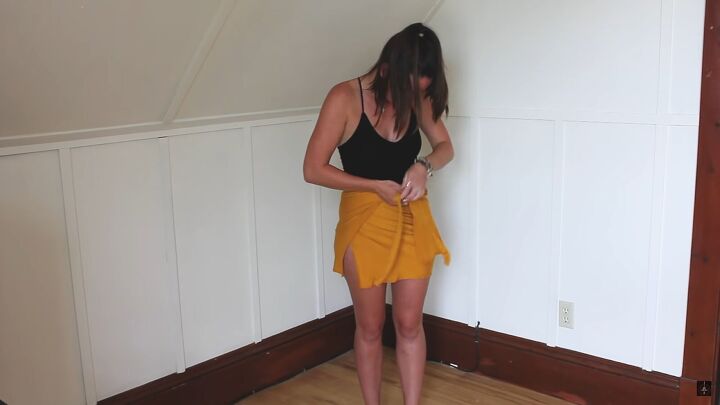
Open it up on the side and tie it up in front.
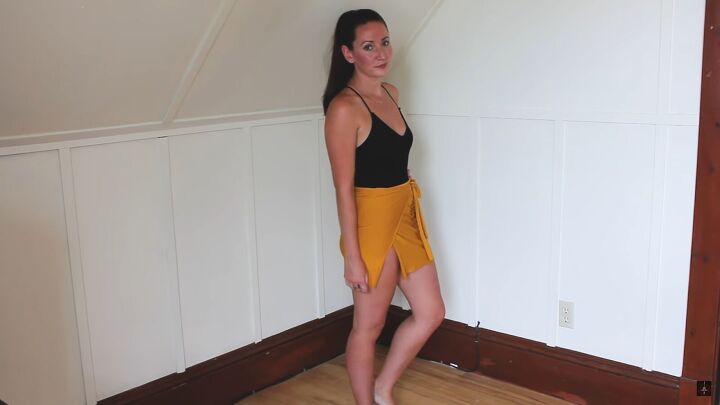
There's a little slit at the side, but I think this is perfect for the beach, too! I love the fit. What do you think?
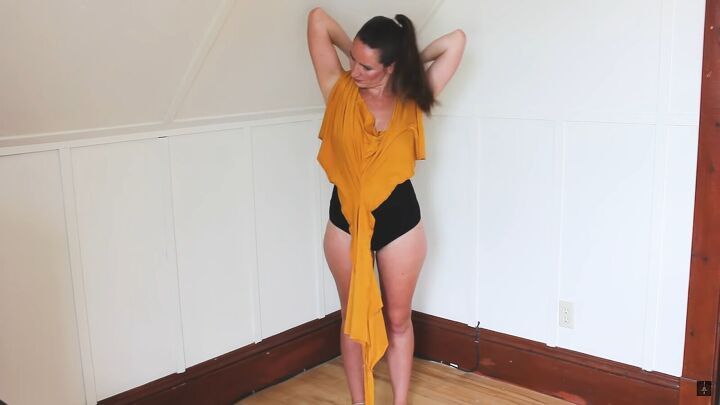
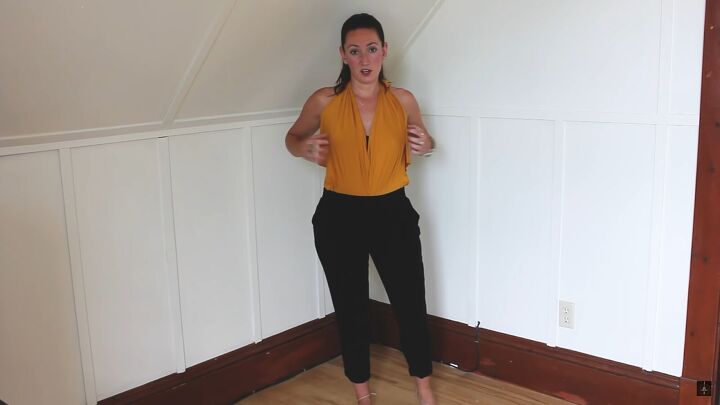
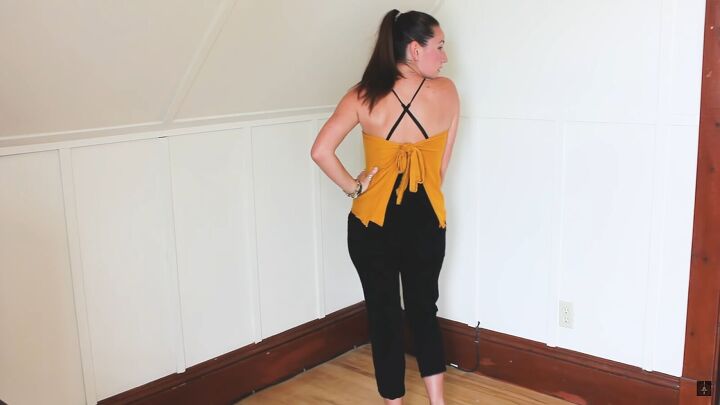
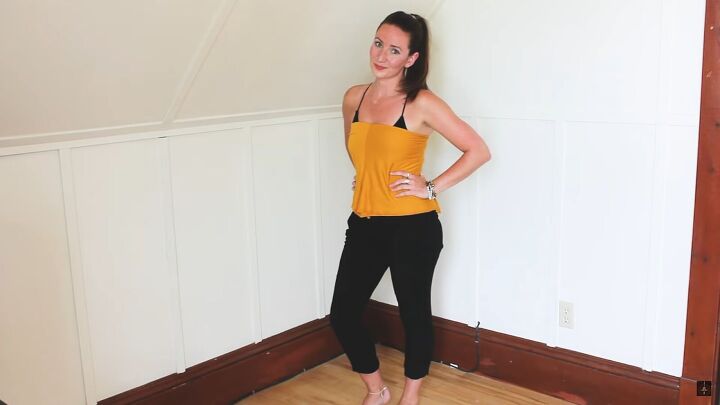
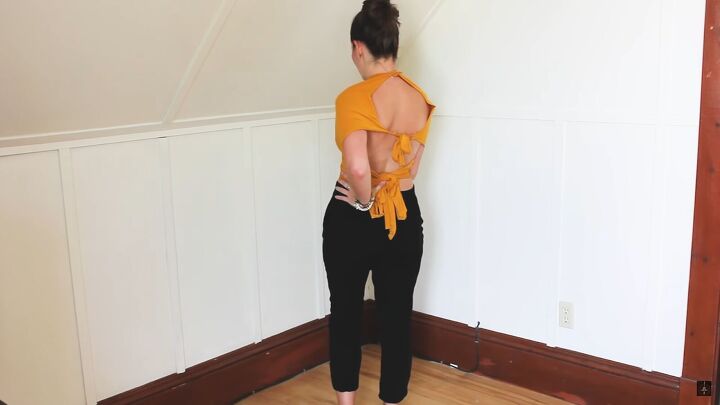
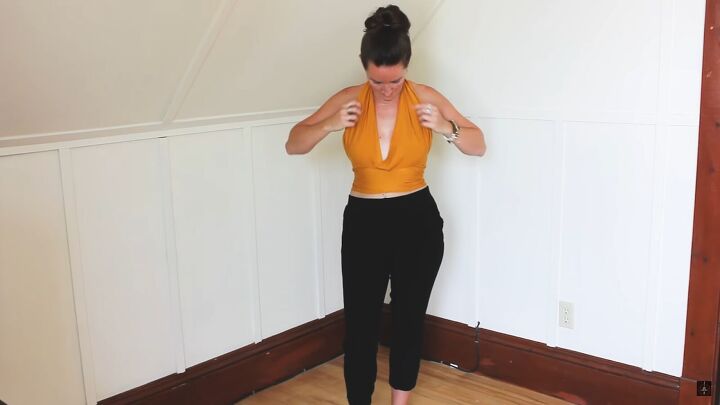
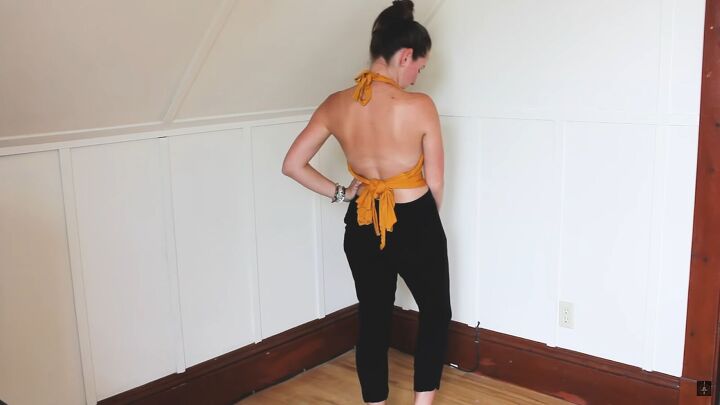
3. DIY wrap halter top
Ok, let’s wrap some tops! Place one section in front of you and tie the straps by your neck area.
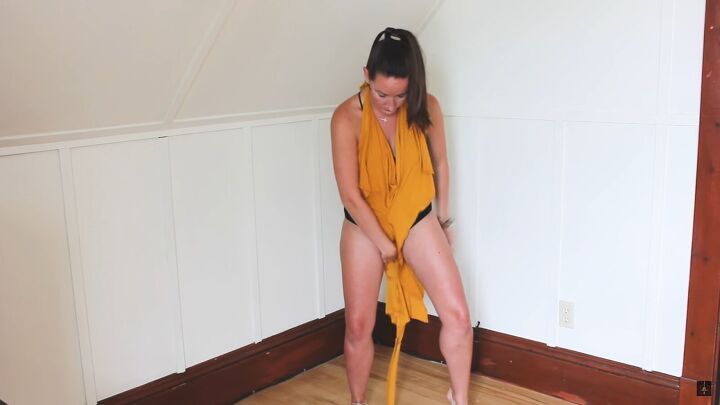
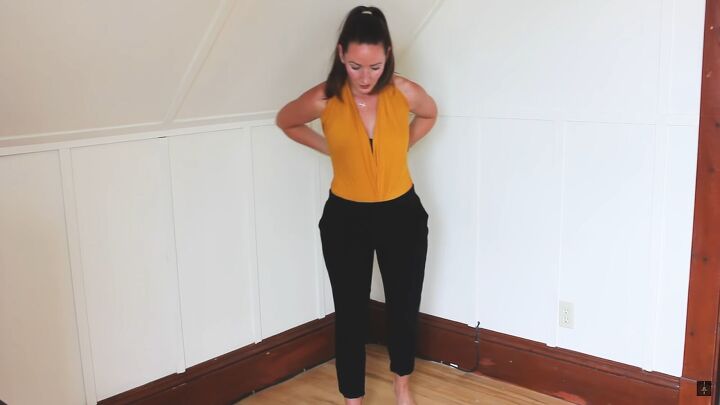
Now, take the loose piece and tuck it up from the back.
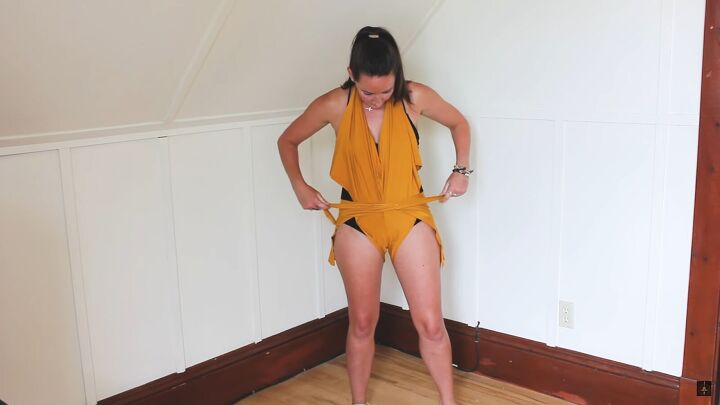
Then, tie the straps around your waist.
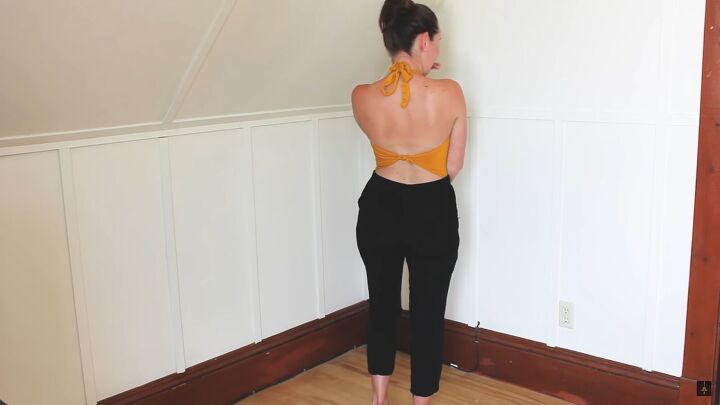
This one-piece looks super cute with pants on!
If you feel that the side flaps are too racy for your liking, simply stretch the two corners, wrap them to the back and tie a knot.

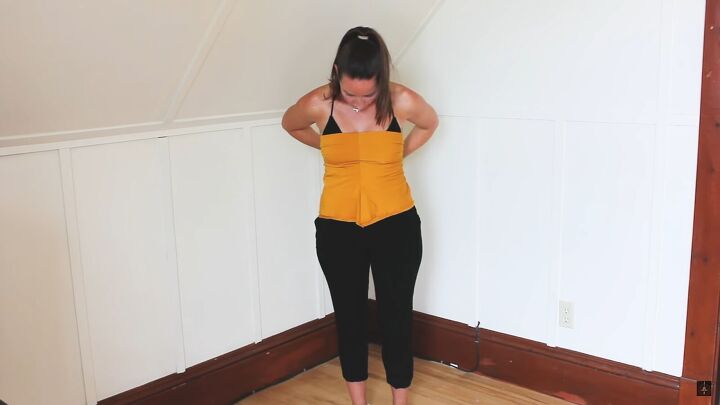
As you can see, it’s a pretty cute outfit!

4. DIY wrap tube top
Fold your DIY wrap in half, so both front and back sections line up evenly.
Then, wrap the whole DIY wrap piece around the front, and tie it at the back.
So, this is a loose tube top - easy to put on, and it looks real cute.
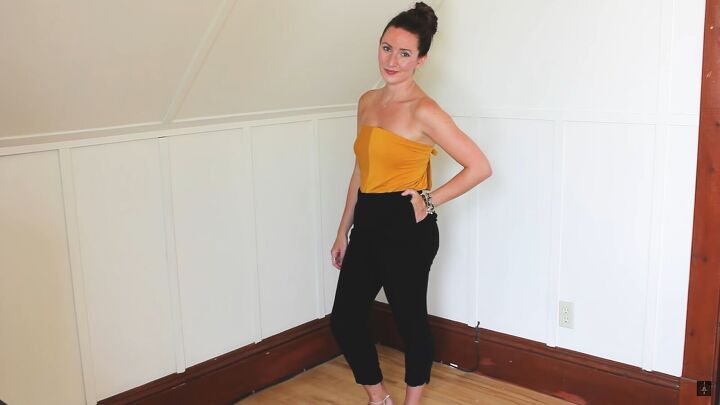
If you’d like a more fitted look, then simply tuck the button into your pants.
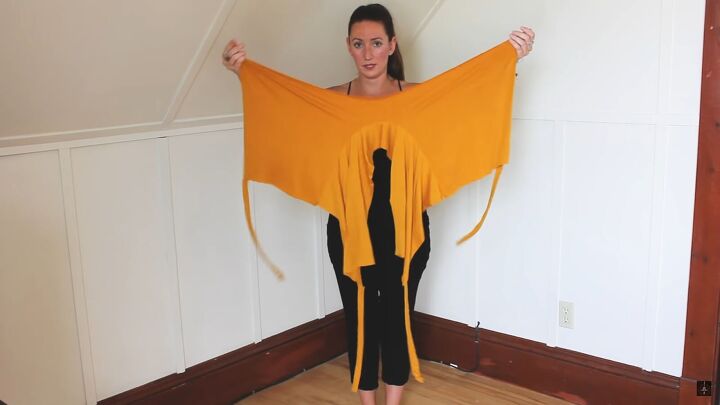
5. DIY wrap sleeved top
Grab the two ends that don’t have straps. So, the hemline should be lining up horizontally.
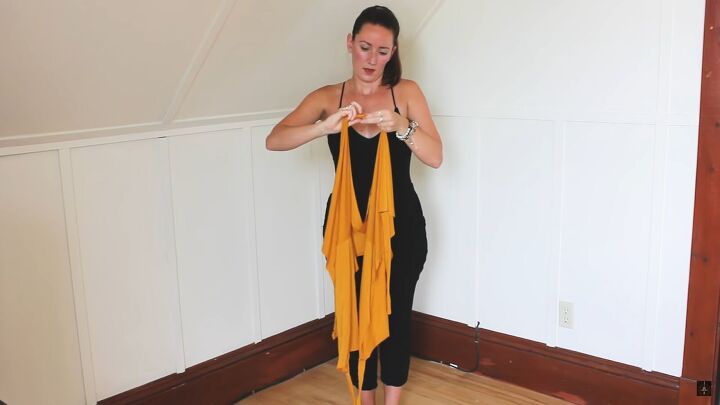
Then, tie those ends together as close to the edge as you can.
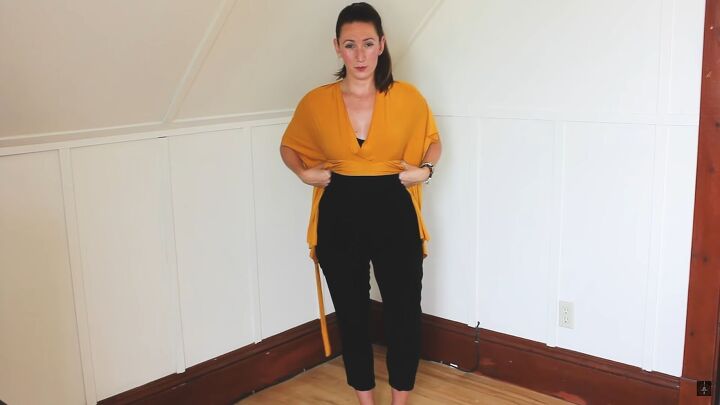
Then, put your head through and drape the fabric over your shoulders.

Put the two top straps behind you and tie them at the back.
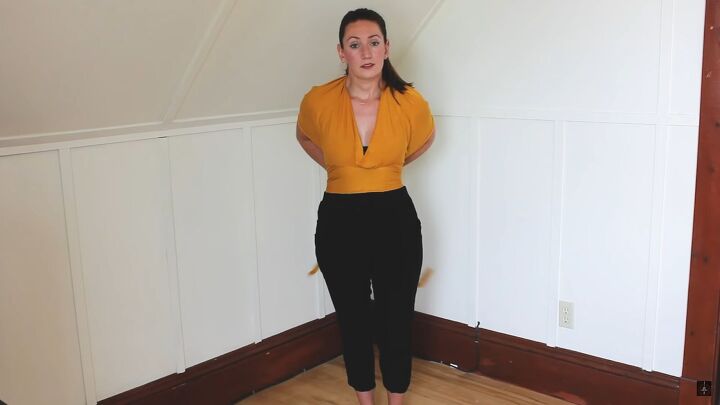
Then, take the bottom fabric, pull it down below your bust area, and tie it at the back. Simple!
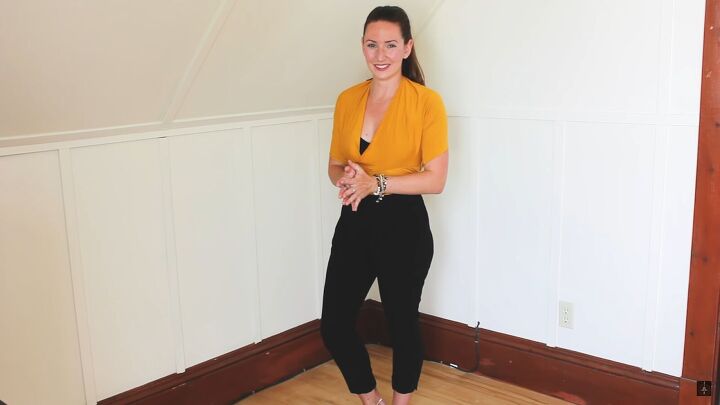
I really liked the way this DIY wrap top turned out! You can wear it with a crop top under or nothing at all!
Bonus! You can turn this into a halter top by pulling the top knot to your neck and tucking in the front sides.

DIY multi-way wrap top tutorial
I could not be happier with this multi-way wrap top! Thanks for joining me, and I hope you make this for yourself; it’s definitely a fun (and functional) piece to make.
Let me know your thoughts in the comments below.
The author may collect a small share of sales from the links on this page.


Comments
Join the conversation
yes ,I have a grand daughter & 2 nieces i think would love this!
thank you