4 Pretty Messy High Bun Hairstyle Ideas

Hey guys! Today, I want to show you 4 messy high bun hairstyles. These messy buns are great because they are easy to make and only take a couple of minutes.
Messy hair buns are a fun way to take a casual look and elevate it into a cool, fashionable hairstyle. Let's get started!
Tools and materials:
- Blow dryer
- Hair tie
- Bobby pins
- Brush
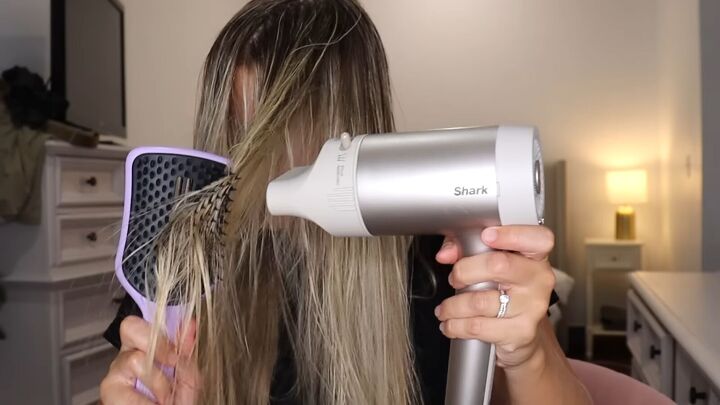
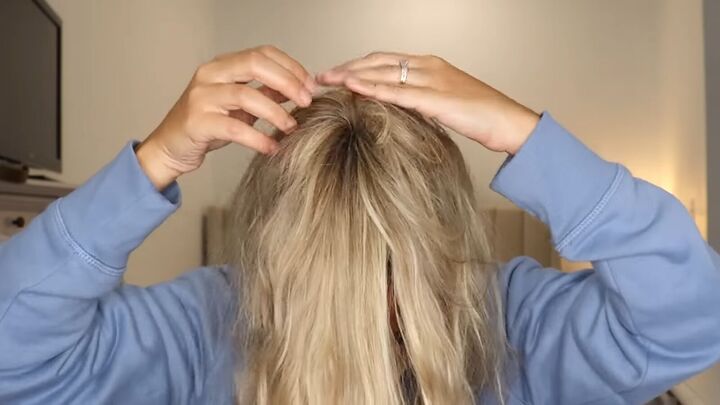
The first step for all 4 of these messy buns is to dry and detangle your hair. Make sure that your blow dryer is not touching the teeth of the brush.
You want to keep at least an inch away. Use the brush starting from the root all the way down to the ends for a nice, smooth, frizz-free finish.
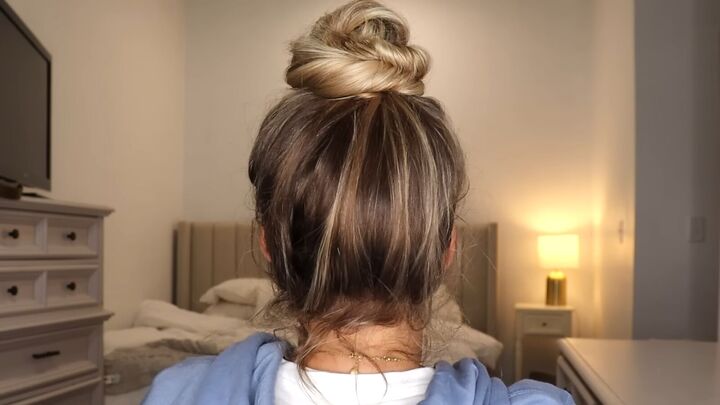
1. Donut bun
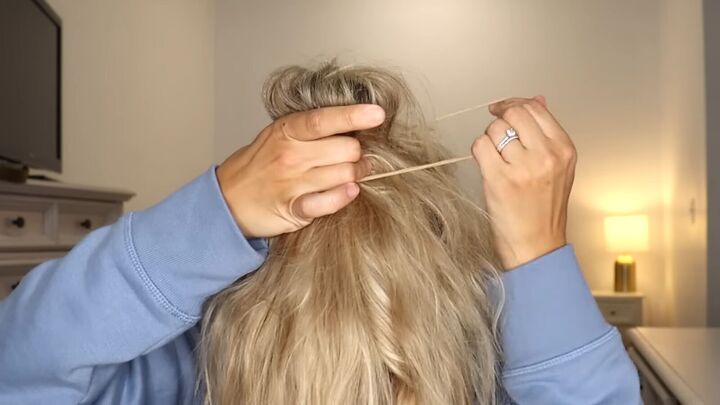
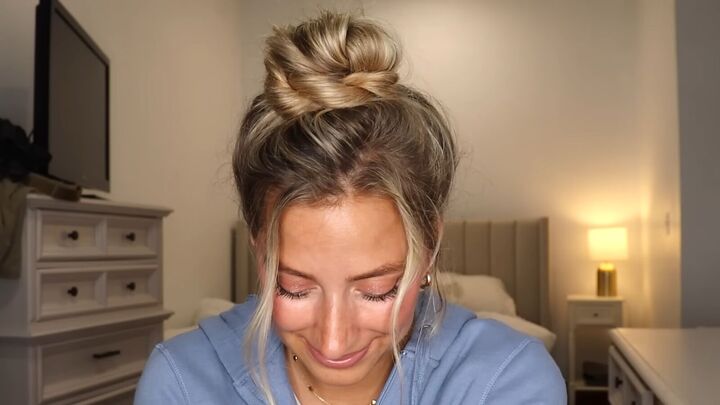
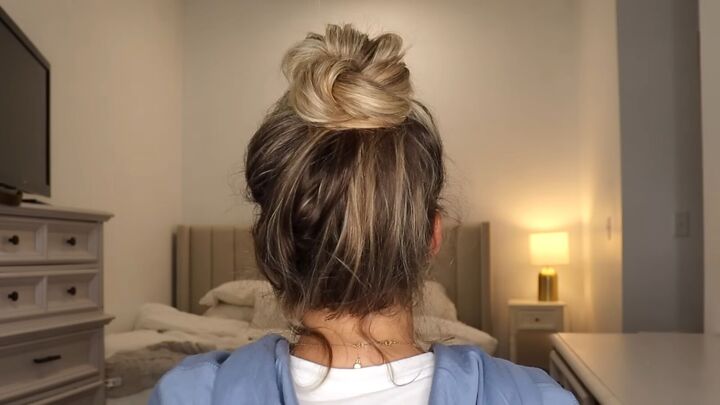
The first bun we are going to make is called a donut bun. When you see the finished product, you’ll understand how it got its name.
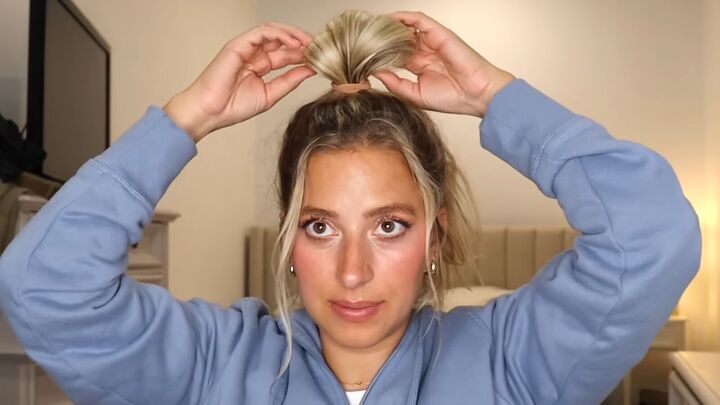
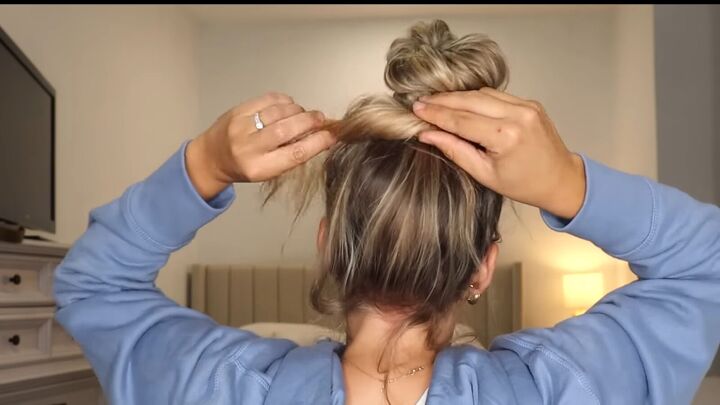
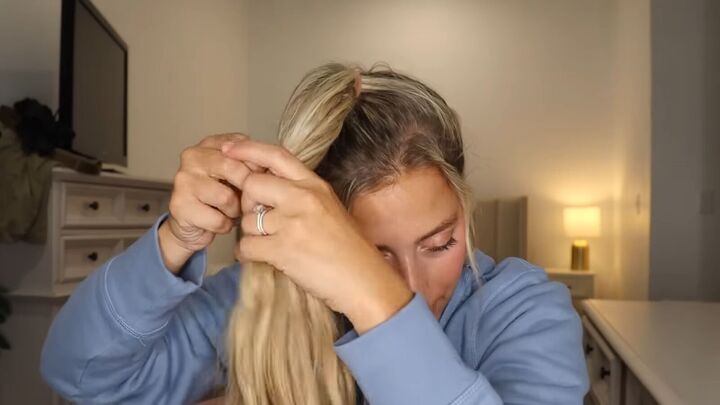
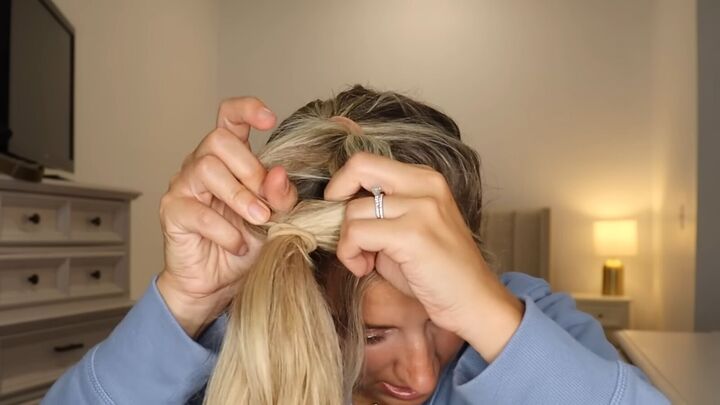
Take your hair and pull it through your hair tie twice. Then on the third time, pull your hair partially through to create a little bun.
Take the ends sticking out from under the bun, flip them up into that ponytail and just push them through.
Make sure all your ends are tucked in.
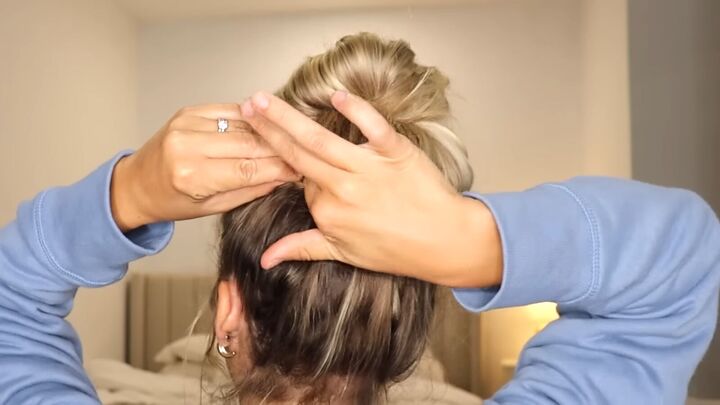
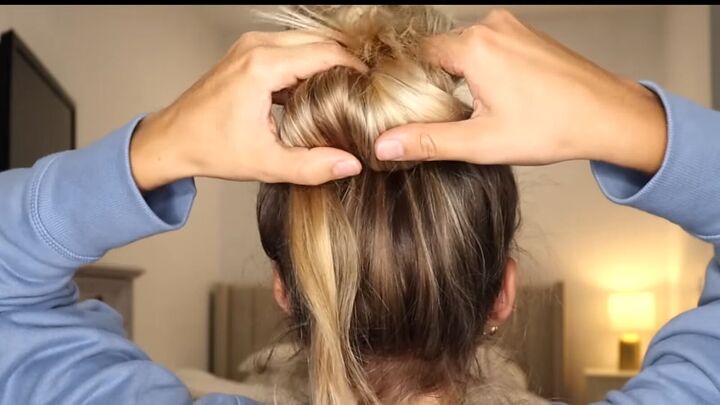
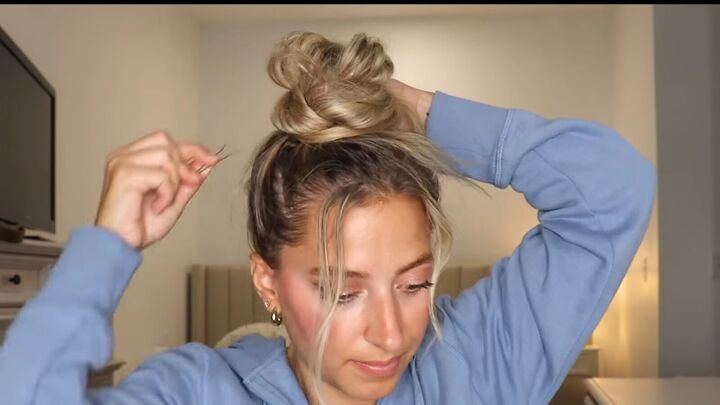
With the top and the bottom section, take a bobby pin and stick it in between them so there are no noticeable gaps.
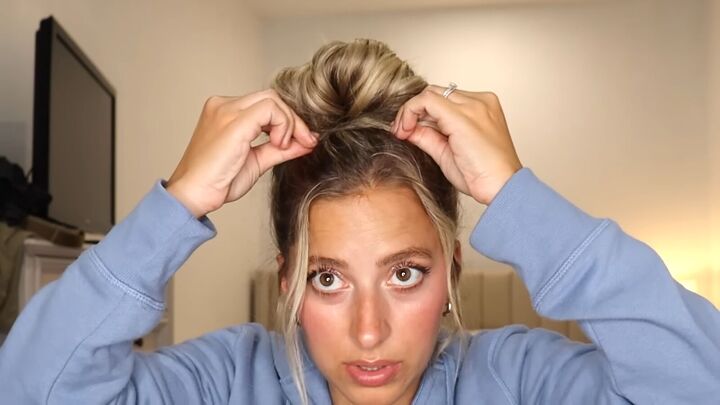
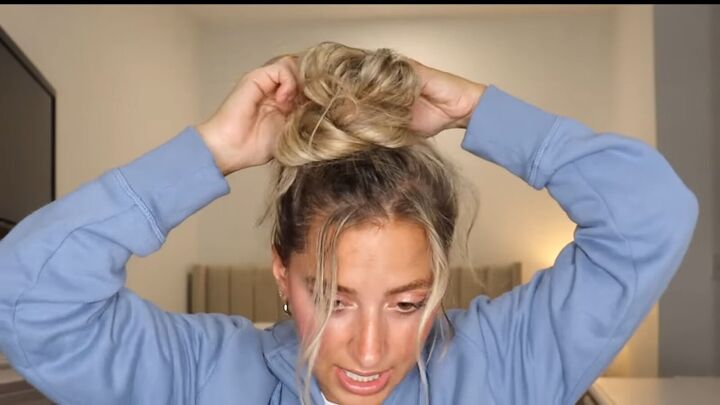
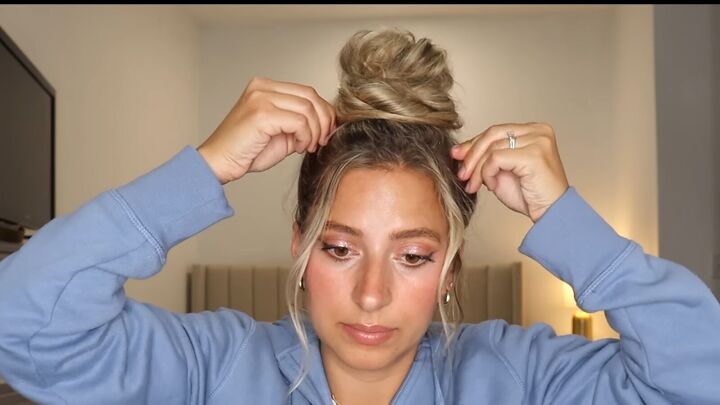
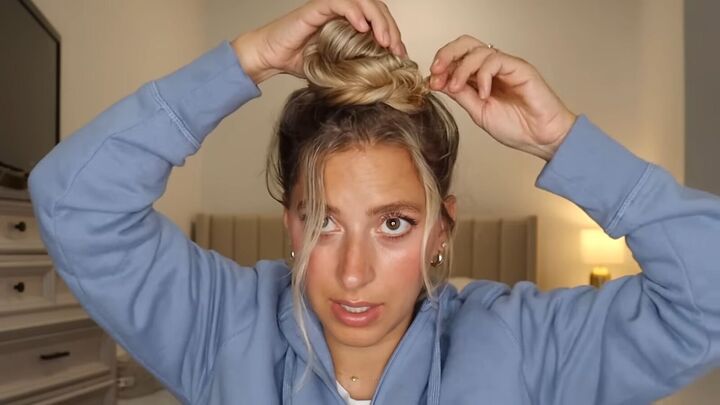
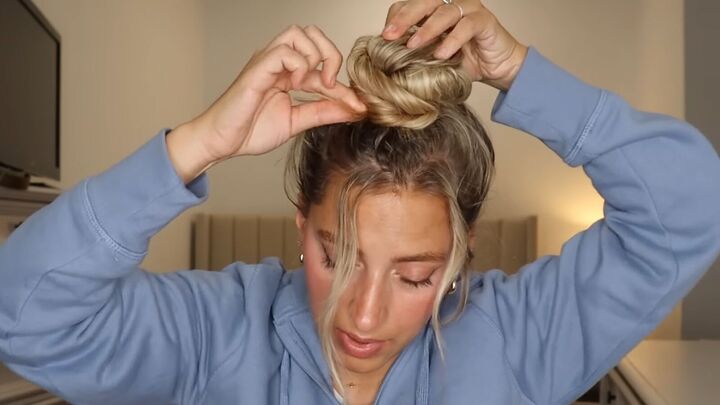
Take the front and pull it a bit to maximize the volume. When you pull at the top of your head, it's going to shrink this bun down a little bit, but that's okay. It doesn't have to be perfect because it is a messy bun.
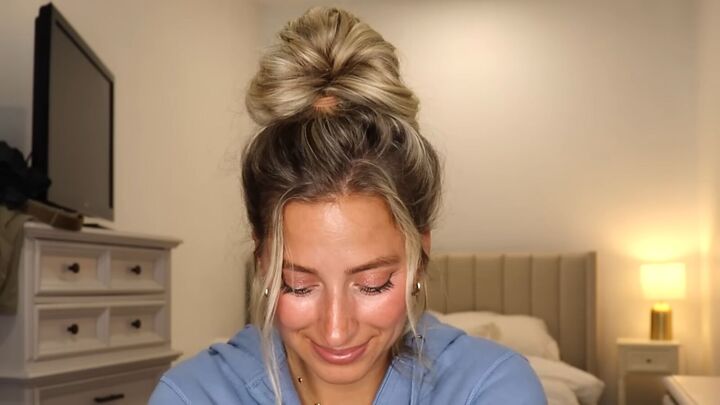
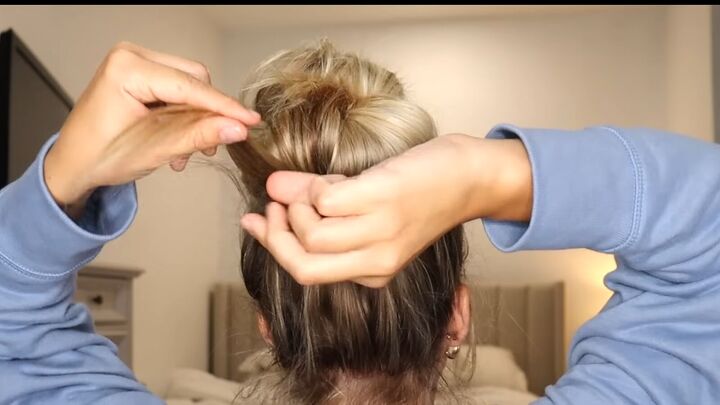
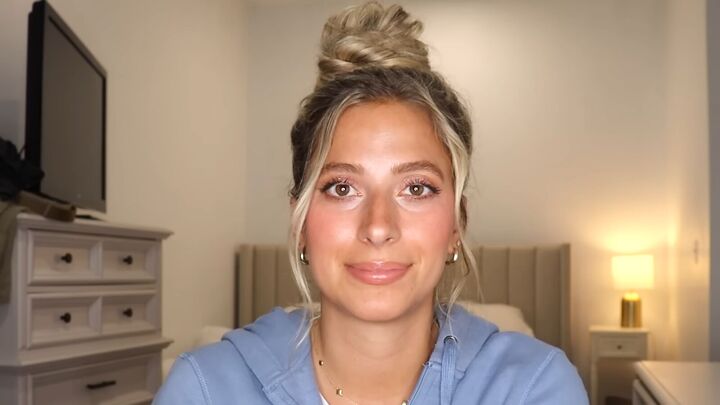
This is how it looks in the front.

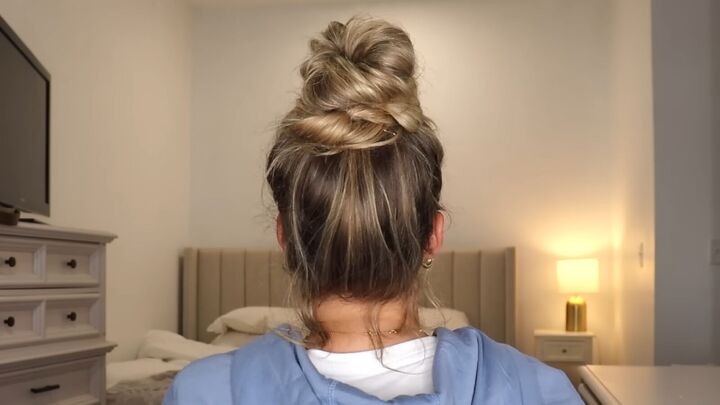
And here’s the back. That's our donut bun.
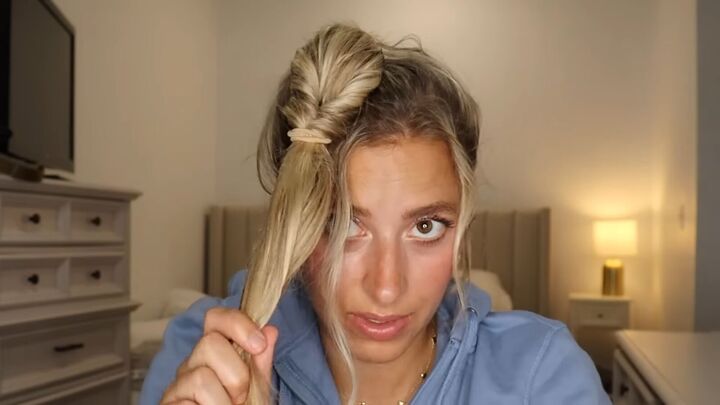
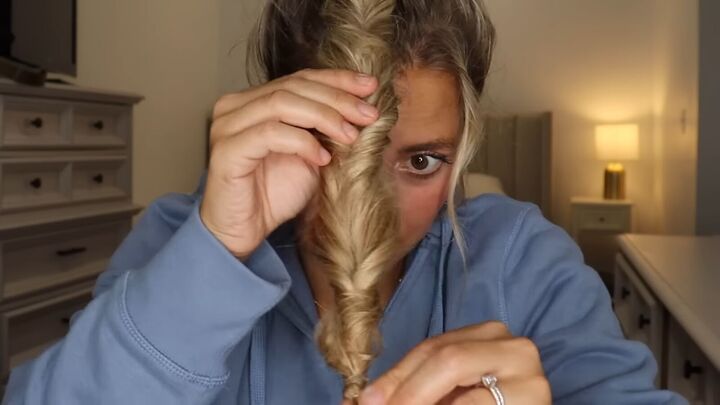
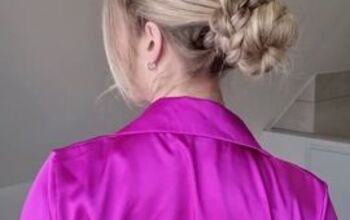
2. Braid bun hairstyle
Put your hair into a ponytail and spread it around itself in a circle. Make sure it's evenly spread out.
Bunch up the hair, wrap a hair tie around it, and spread it out.
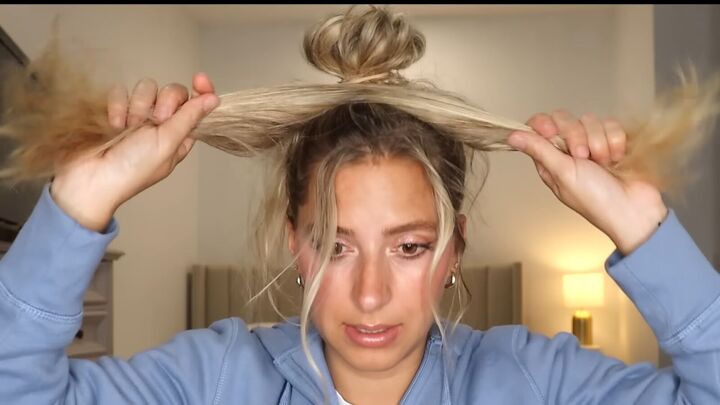
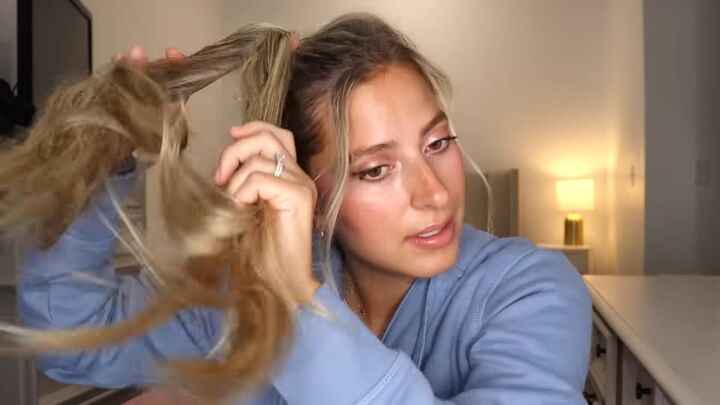
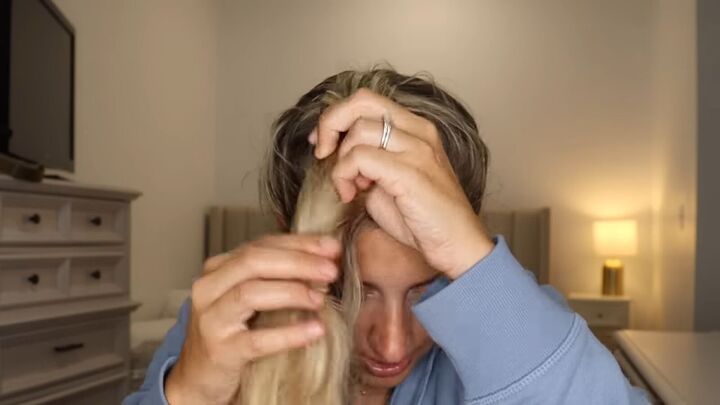
Take the loose hair in front and split it into two even sections.
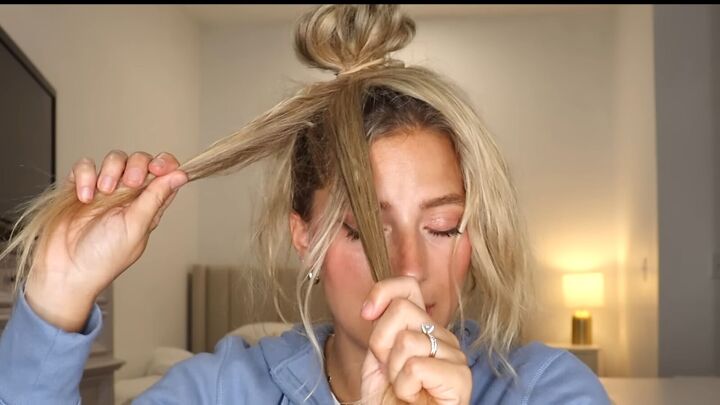
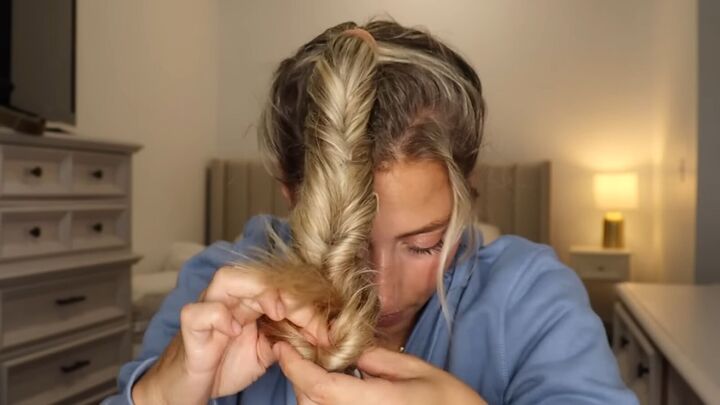
Take one of the sections and once again, split it into two strands.
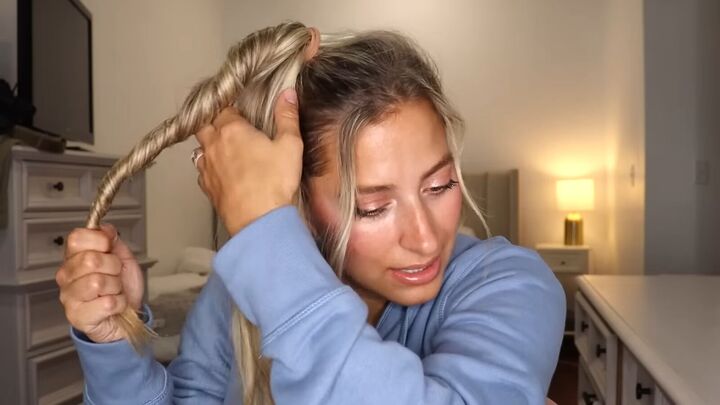
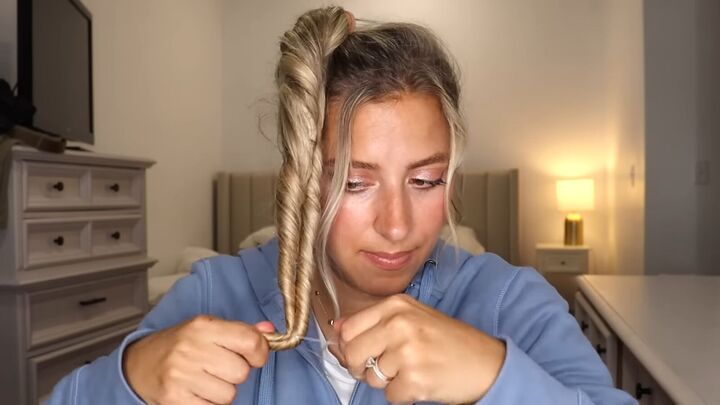
Take those two strands and twist them around each other. Twist them all the way around each other, all the way down.
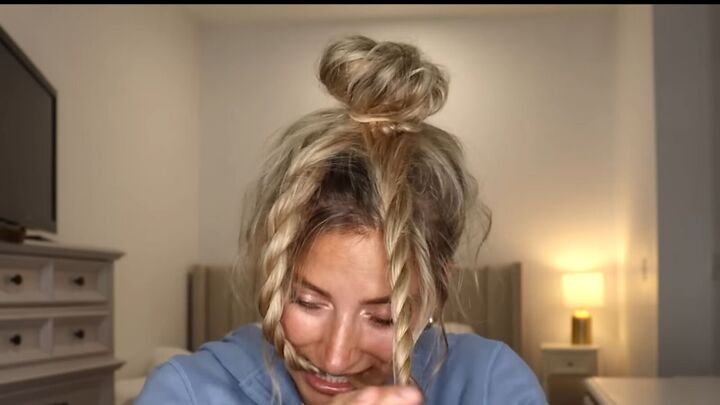
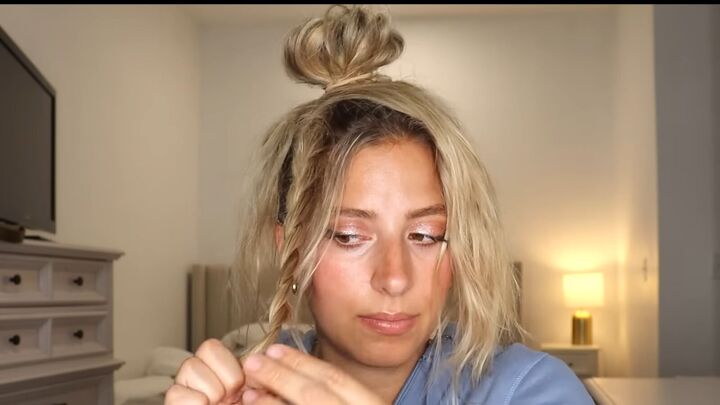
Do the same thing on the other side.
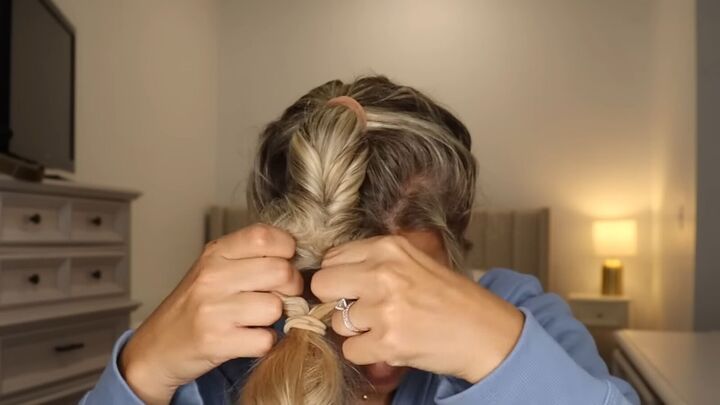
Take the two twists and combine them and twist it again.
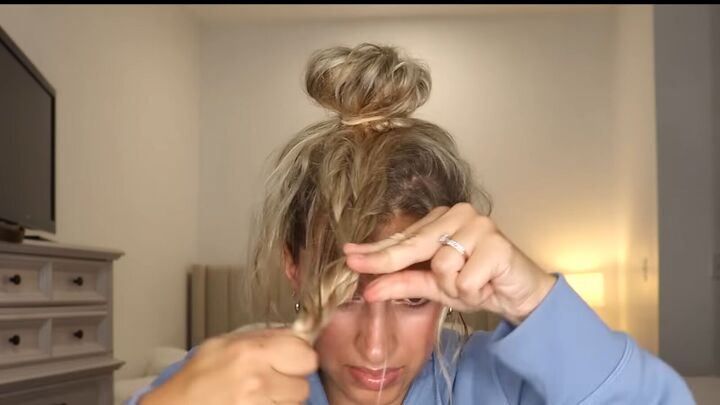
Take the opening, and flip it around the bun.
Pull your bun through.

Your ends are going to be hanging out.
Take those ends and wrap them up underneath everything.
Tuck it in and secure it with a bobby pin.
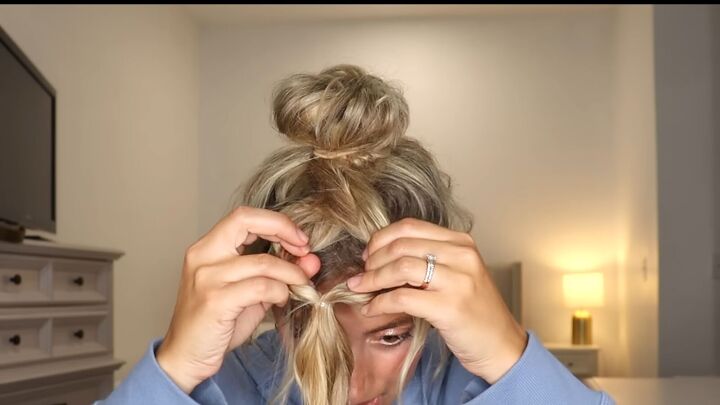
To finish off, take your hair up top and pinch and pull to give yourself some volume so it's not too flat against your head.
I love this one. Here’s how it looks in front.
Here it is from the back. I think this is just adorable.
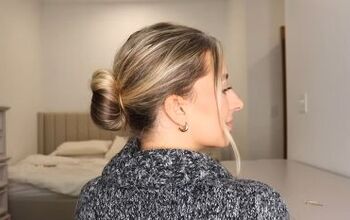
3. Twist bun hairstyle
Make a ponytail, then take your hair and split it into two sections.
Take one section and twist it.

Now take the other section and twist it in the same direction as the first one.
Combine them together with a hair tie. When you let go the twisted strands will twist around each other into one big twist.
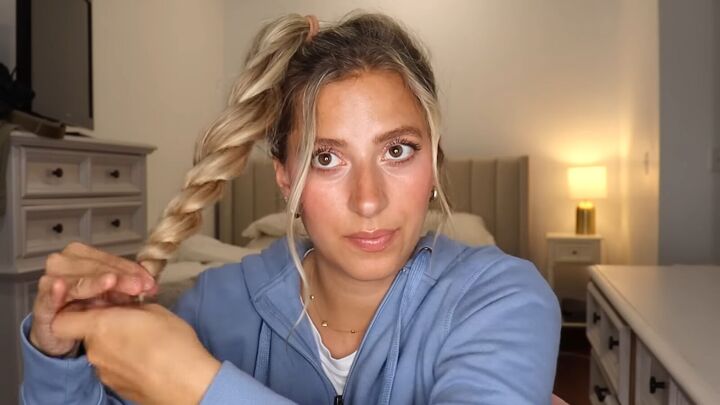
Take your twist and give it an extra twist or two to make it a little bit tighter.
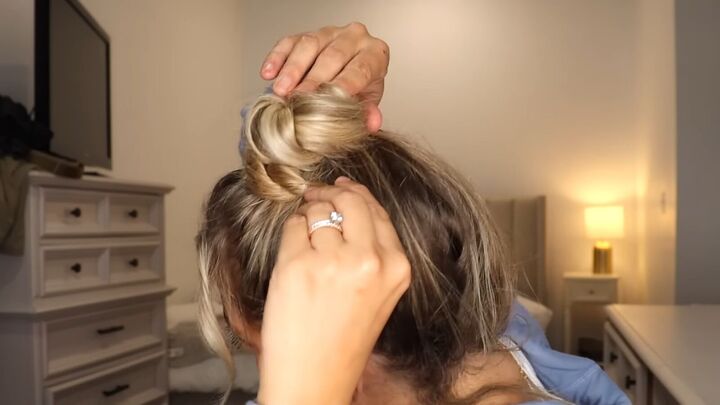
Take the twist from the front to the back, wrapping it around the base of the bun. Give it another twist and then just keep wrapping it.
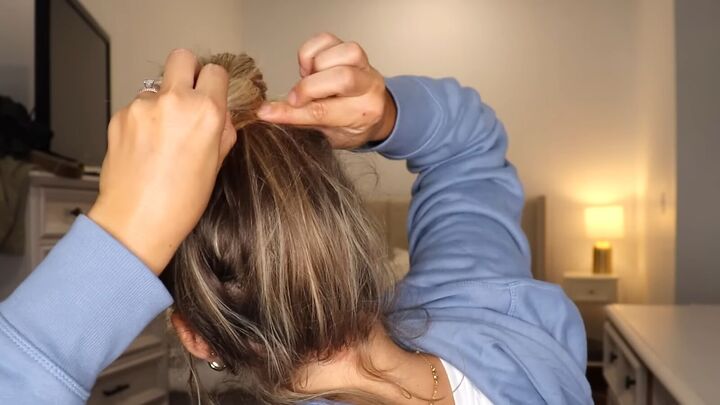
Once it’s wrapped all the way around, tuck the end up underneath the bun and stick in a bobby pin.
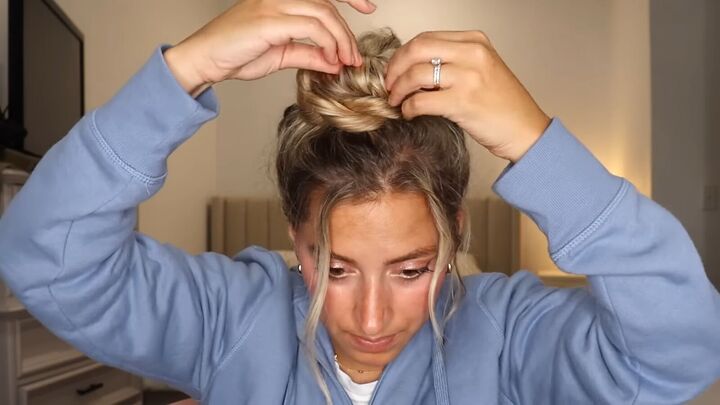
Use your fingers and start pinching and pulling. Do this all the way around.
Be careful not to pull too much. Just a little bit at a time. Pinch up top around your head to loosen things up just a bit.
Here it is from the front. It looks so cute.
And here is the back. Simple, easy and fun!
4. Looped messy bun hairstyle
Start with a ponytail, then take another hair tie and tie it around a few inches down from the first hair tie.
Open a hole between those two hair ties.
Flip your ponytail up through that hole.
Then you're going to pull that second hair tie down a bit.
Open up another hole and flip it up and through again.
Again, pull the ponytail down a bit, open up a hole, and flip it through again.
You’re going to repeat this step along the length of your ponytail.
Now take it around the front and wrap it around the base of the bun.
Once you get to the ends, tuck them up underneath the bun and secure it with a bobby pin.
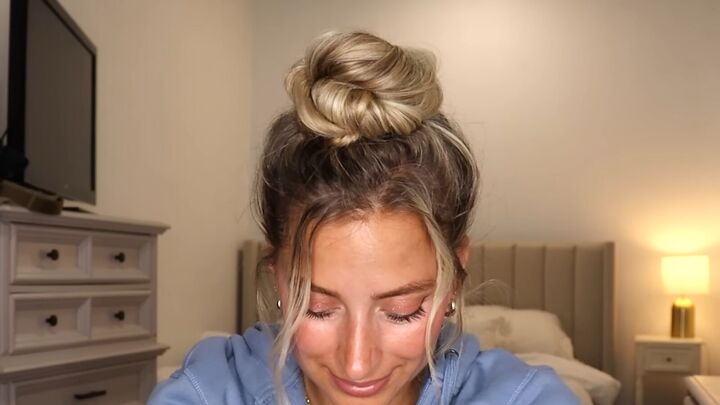
This look only takes a minute or two to pull together. Here it is from the front.
This is the back. It was simple to make and looks so cute.
Messy high bun hairstyles
I hope you guys enjoyed learning these easy messy bun hairstyles. I love them because I can make them so quickly and they’re much more interesting than a plain, simple bun.
Let me know in the comments which one was your favorite!
The author may collect a small share of sales from the links on this page.


Comments
Join the conversation
Would like to see older models with medium length hair.
I like all of them . Can’t wait to try them