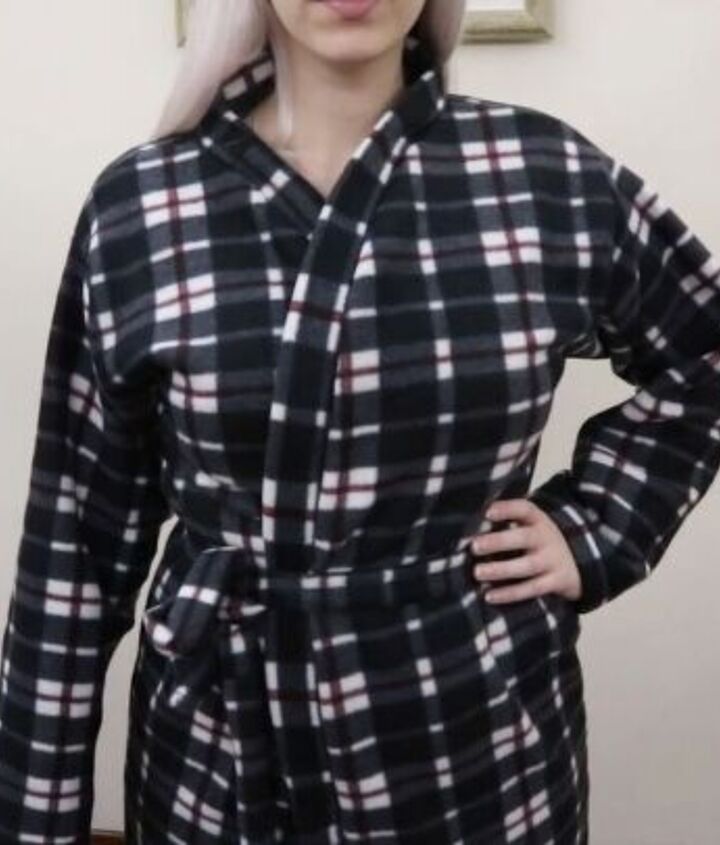
Ready for the Colder Nights? Make This Cozy, Fleecey DIY Robe

How cozy is a fleece robe on a cold night? If you’ve been wanting to make one, here’s an easy DIY robe tutorial that creates a robe sewing pattern using just a t-shirt. Let's see how it's done.
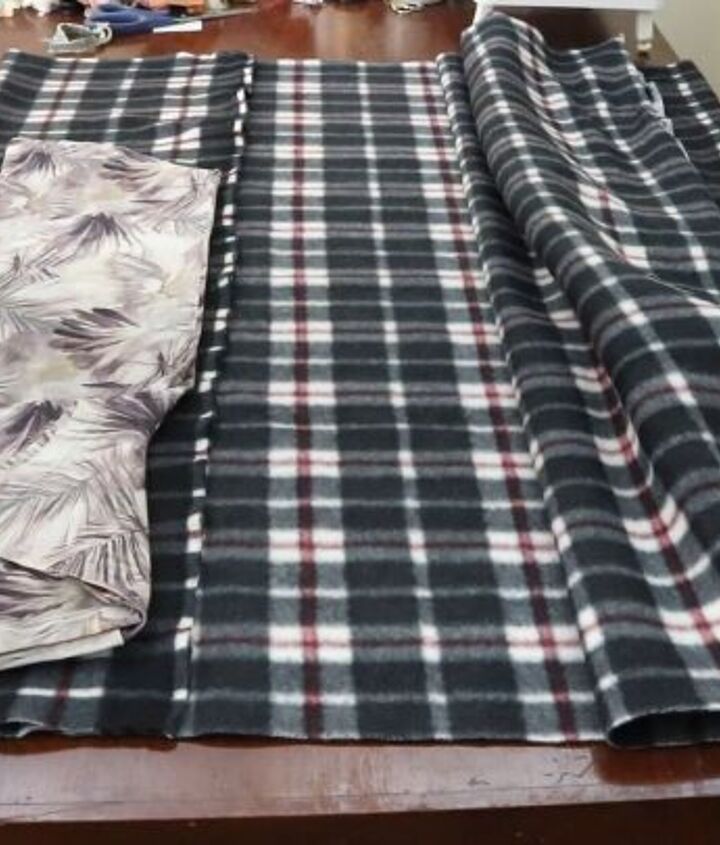
Tools and materials:
- Fleece or towel fabric
- T-shirt
- Scissors
- Sewing machine
- Pins or clips
- Marking chalk (optional)
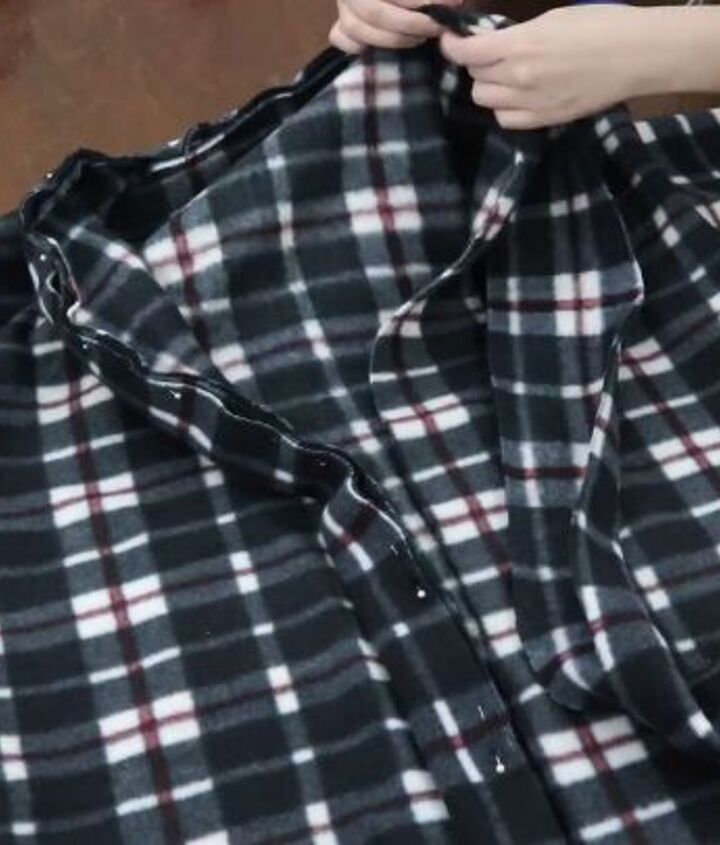
1. Make the pattern
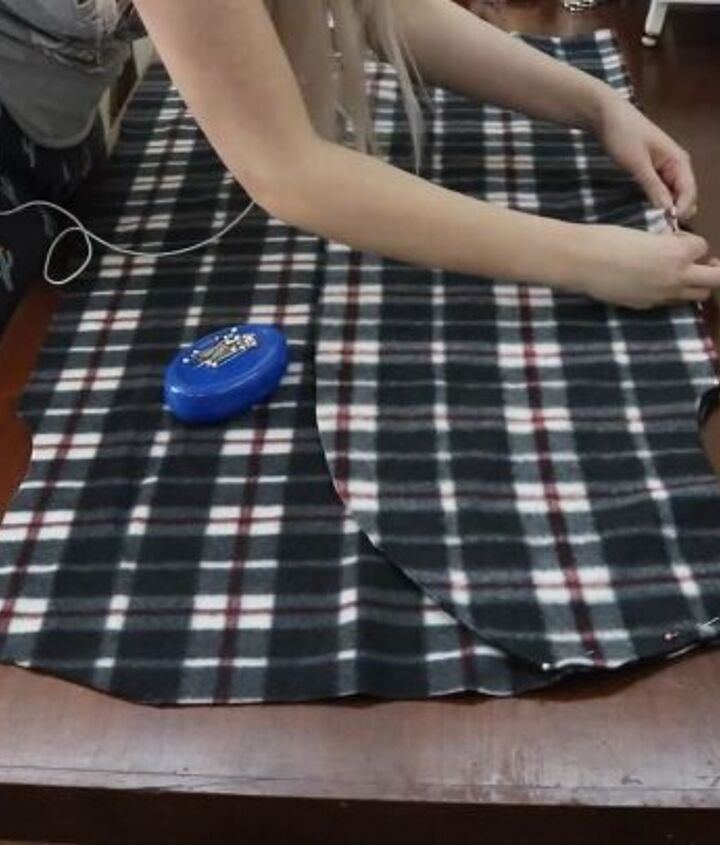
First is the back. Fold the fleece fabric in half to measure the top of the robe. Lay the folded t-shirt on top of the fabric and add an extra 4 cm (1.5 inches) to allow for more space. Fold in the sleeves of the t-shirt to see the armholes better.
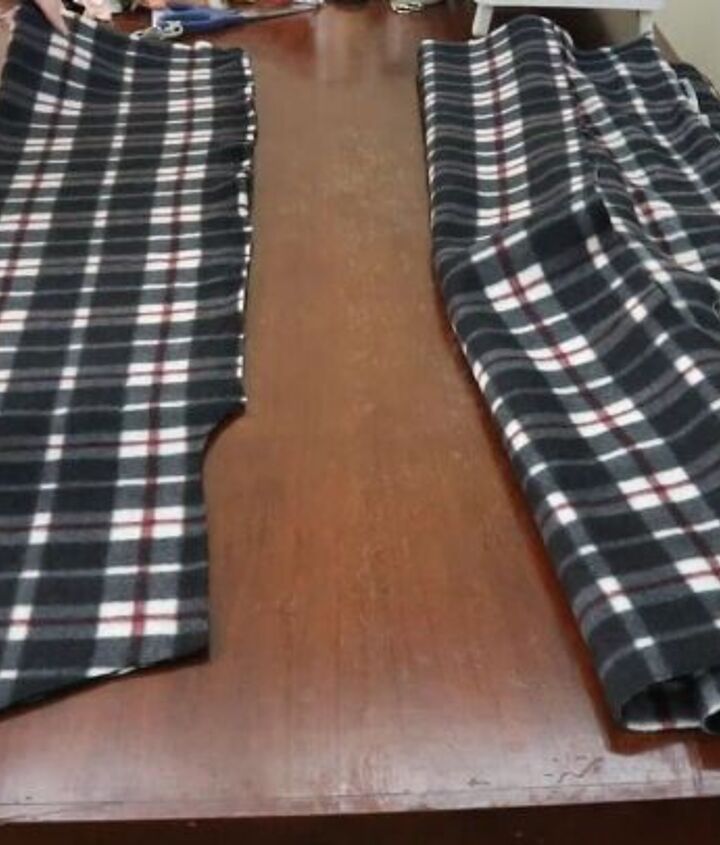
Leave the collar straight with 3 cm (1.2 inches) excess at the top of the neck. Leave 1 cm (0.4 inches) extra for seam allowance.
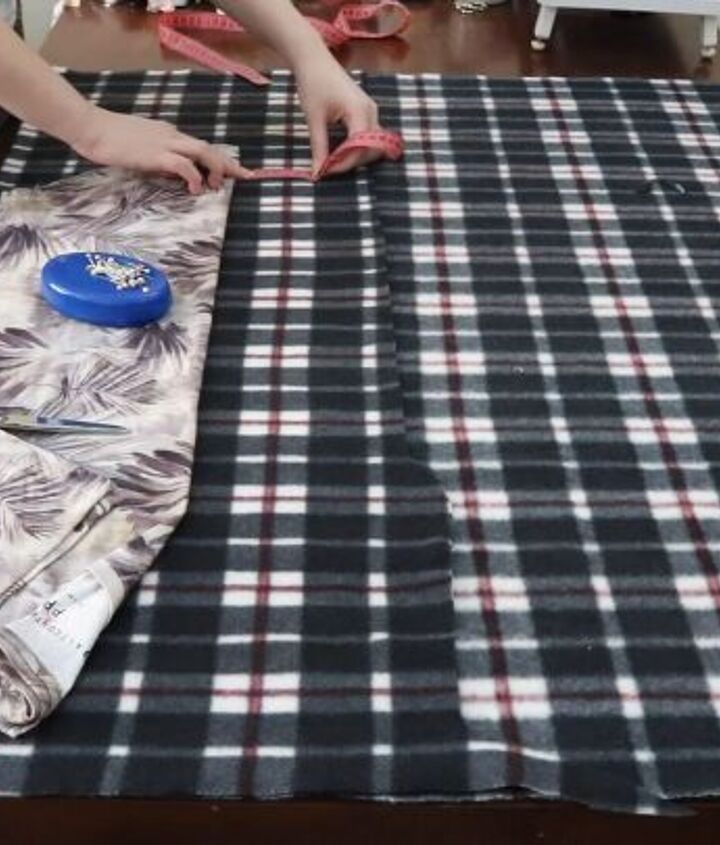
Now make the front pattern. Fold the fleece fabric. The front needs more fabric than the back because it has to cross the body. Fold the t-shirt with the sleeves in. Fold and tuck the collar in for the classic V shape of a robe. Add 10 cm (4 inches) additional.
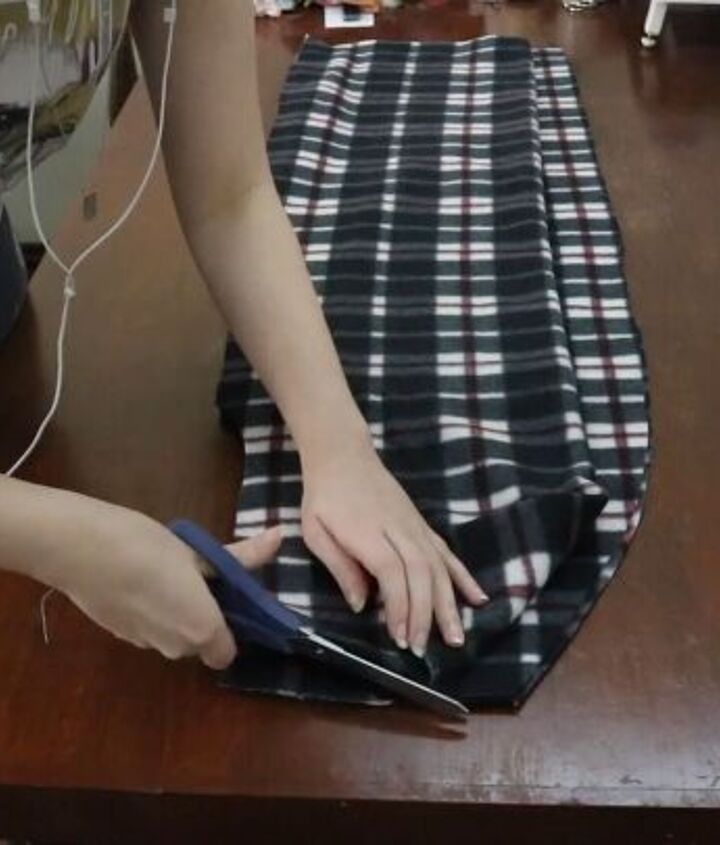
Cut along the folded side and around the other side. You will have 2 pieces.
2. Sew the bodice of the DIY robe
Lay the pieces on top of each other. Match the shoulder line of the front and the back. Cut them to the same measurement.
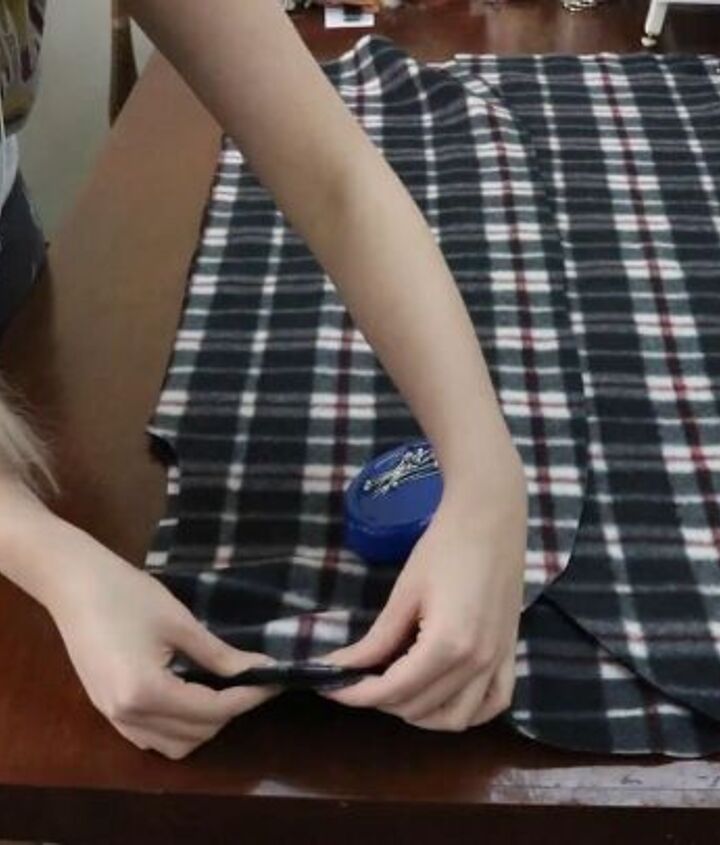
Open the back so the right side is facing up. Put one of the front pieces on top of the back piece with the right side facing down. Pin the fabric together at the shoulder and the sides. Do the same for the other front piece.
Sew the side seams and shoulder seams with ½ cm (0.2 inches) seam allowance using a straight stitch.

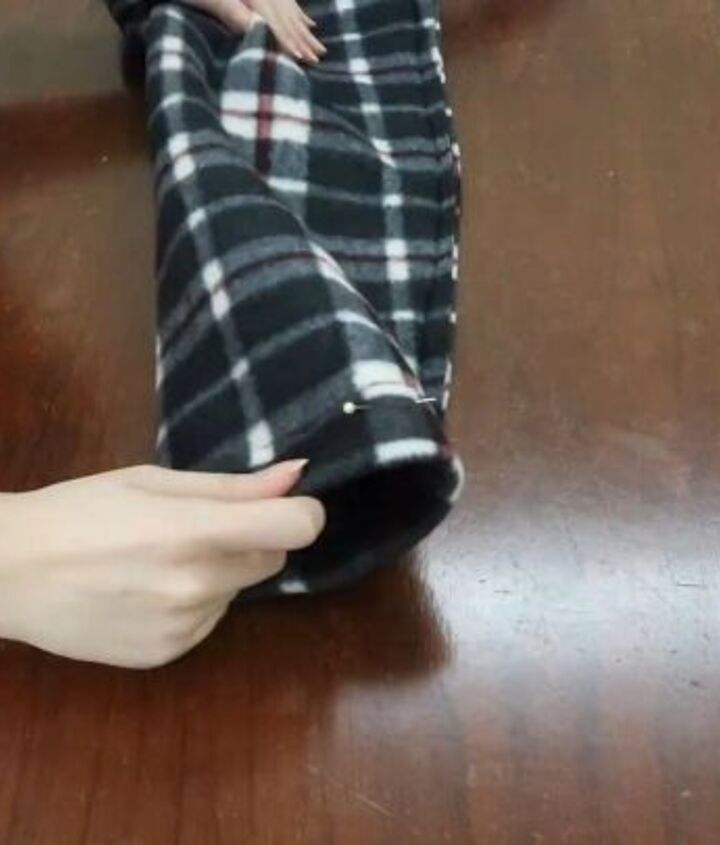
3. Make the sleeves
Measure the arm length to the wrist, as well as the wrist circumference. Fold the fabric and mark the measurements. Cut the fabric and match the wrist, sleeve length, and armhole measurements. Use the first sleeve as a pattern for the second sleeve.
Lay the sleeves right sides in. Pin in place and then sew using a straight stitch.
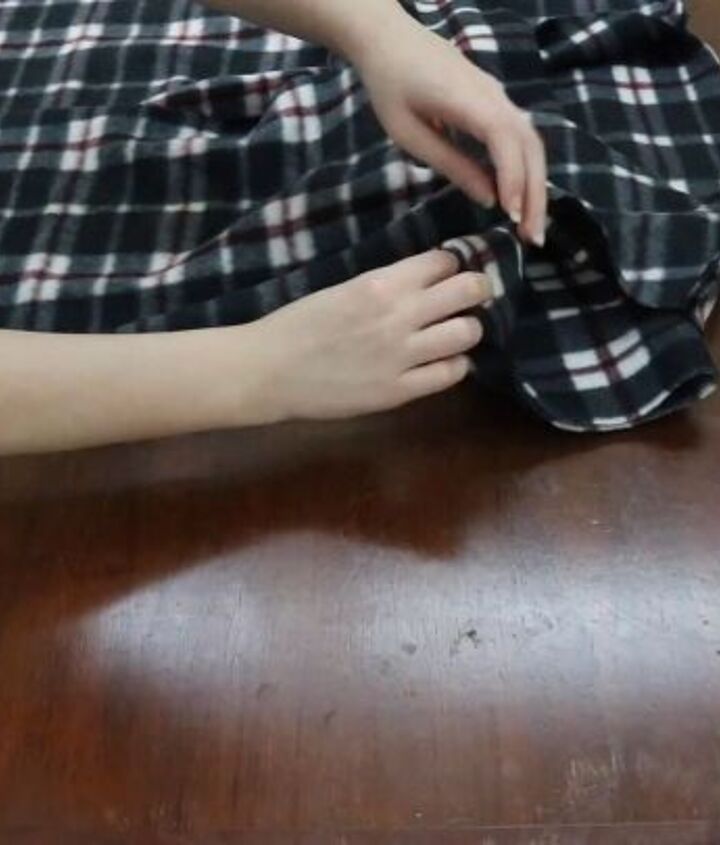
4. Attach the sleeves
Pull the sleeves so the right side is facing up. Leave the robe on the wrong side facing up. Put the first sleeve inside the robe and match the armhole and inner seam to the armpit. Pin in place and sew. Do the second sleeve.
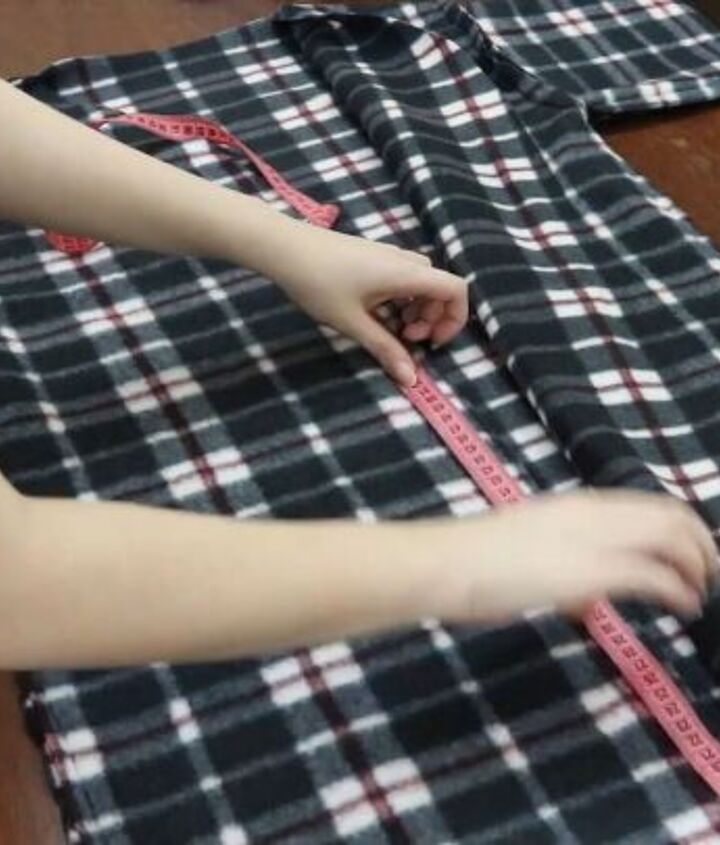
5. Finish the robe
Measure the entire front of the robe from the bottom all the way around the neck and collar down to the other side.
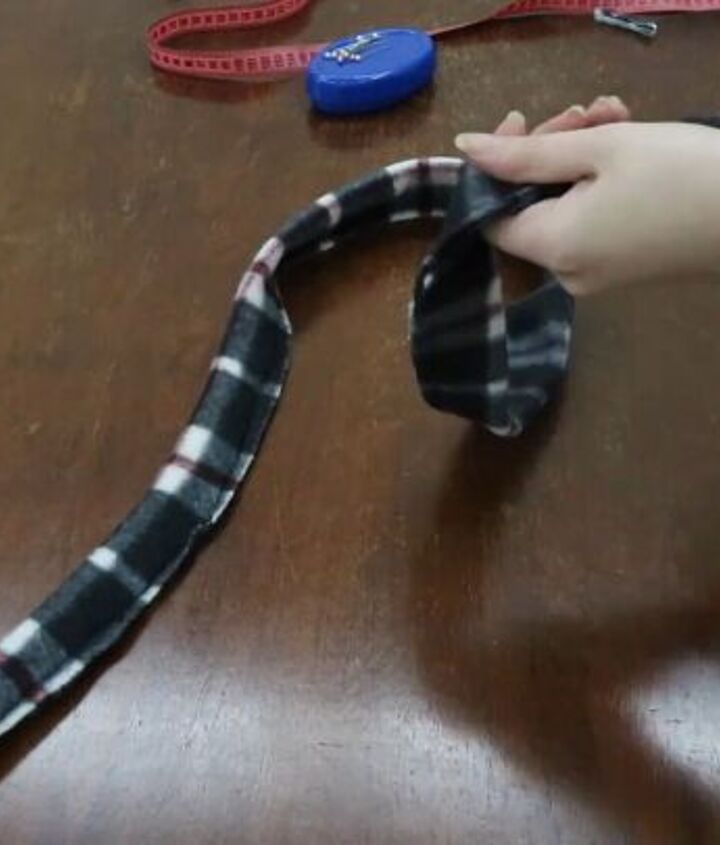
Cut a strip of fabric from the leftover fabric with a width of 8 cm (3 inches). In this tutorial, I didn’t have a long enough piece, so I cut several strips of fabric and sewed them together to match that length.
Fold the fabric piece in half. Pin the edges together directly onto the robe. Sew with a straight stitch.
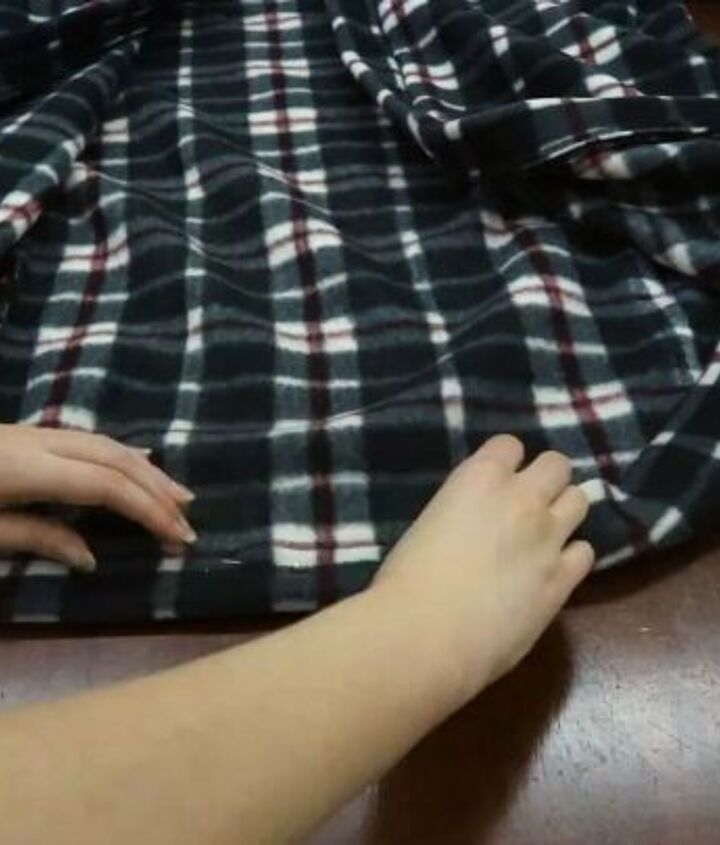
Hem the bottom of the robe.
Hem the wrists.
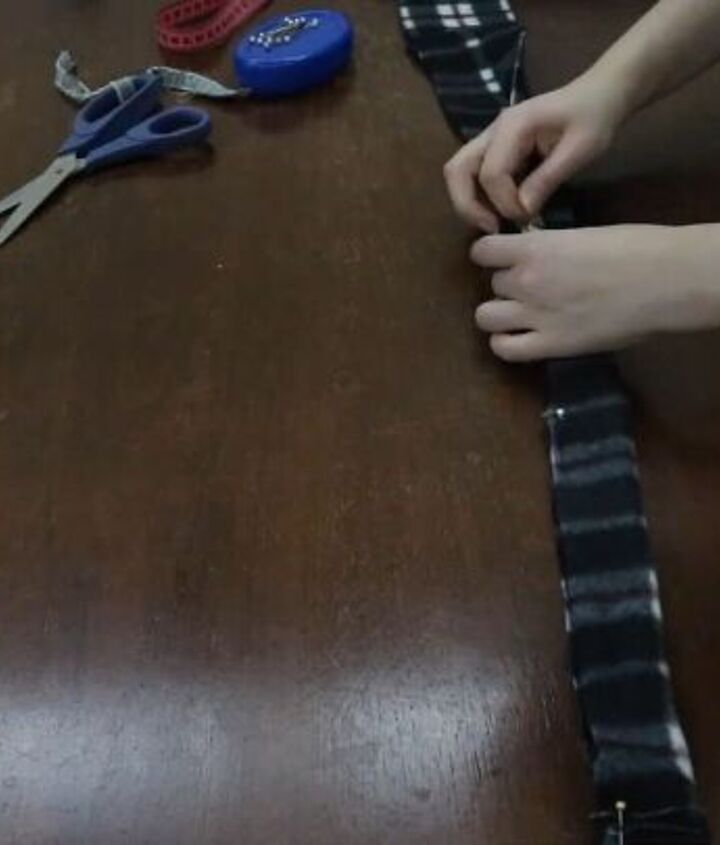
6. Make the robe tie
Make a tie using the leftover fabric. Fold the fabric half with the right sides facing in.
Pin and sew in place using a straight stitch leaving one short side open. Use a skewer or pencil or another object to pull the right side out and stitch the opening closed.
DIY robe tutorial
This cozy DIY robe is perfect to keep you warm after a bath or simply lounging around. I hope you found this robe sewing tutorial helpful. Please let me know what you think by commenting or giving me a thumbs up!
The author may collect a small share of sales from the links on this page.


Comments
Join the conversation
Fleece is too warm for me. I didn't read all the instructions, but I know for fleece you don't need facings, If I use my flannel stash, I will add facings.