How to Upcycle Cute Ruffle Pants

Today, I'm taking you behind the scenes of a recent project and showing you how to upcycle pants to give them a paperbag waist.
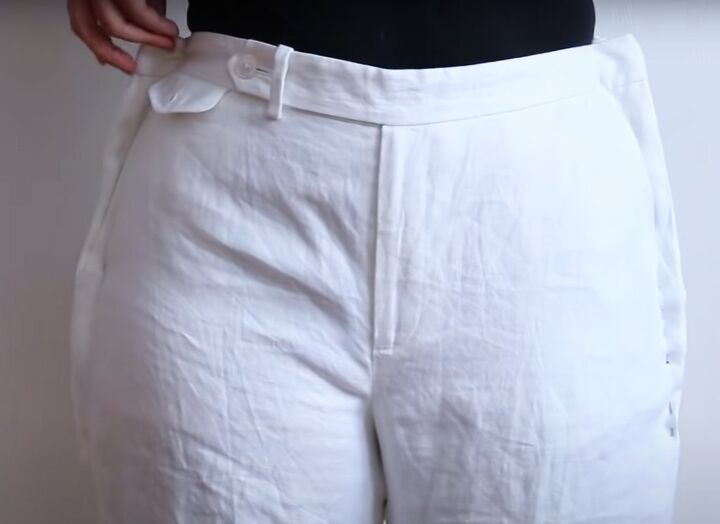
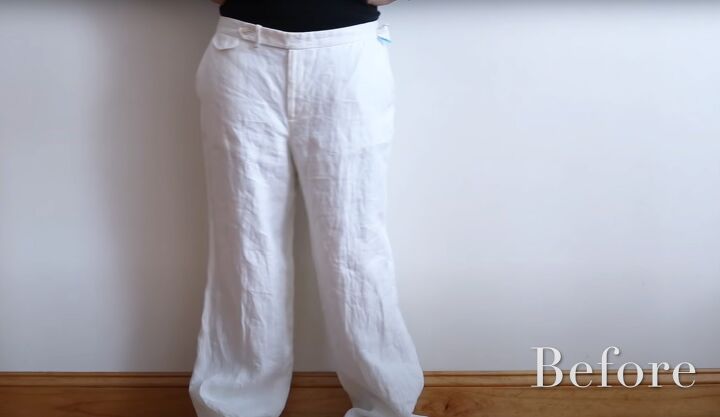
I'd been wanting a pair of white linen high waisted paperbag pants for a while and I was delighted to thrift a fully lined pair of pants. They were baggy around the crotch and waist but I didn't want to completely remodel them.
Luckily I found an easy way to get the look I wanted!
Tools and materials:
- Oversized pants
- 1/4 yd fabric for ruffles (optional)
- Pins
- Scissors
- Seam ripper
- Hand sewing needle
- Fabric marker
- Measuring tape
- Sewing machine

1. Fitting
The pants were so big that they sat almost on my hips.
When I pulled them up to waist height, the baggy hip and crotch problem disappeared, leaving me with an overly large waistband.
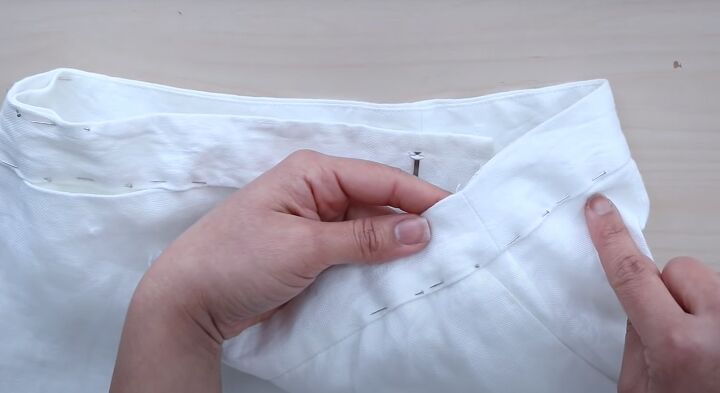
While wearing the pants, I made sure the crotch was at a comfortable level and distributed the excess waistband equally to both sides.
Then I tapered the new seam into the hips.

2. Baste the seams
I measured the width of the widest part of the new seam at the waistband, and the length of the tapered seam.
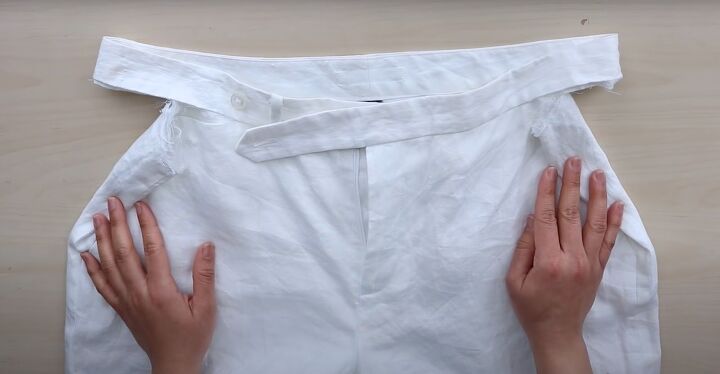
I removed the pins and separated the lining from the outer pants over the side seams, and removed both layers from the waistband.
I turned the pants inside out and used the measurements I'd taken to pin and baste the new seams in the lining and outer layer.
I pinned the waistband back in place temporarily and tried the pants on. I discovered I'd pinned one side unevenly so the pocket was bulging.
I fixed the seam and tried the pants on again to be sure I had it right the second time.
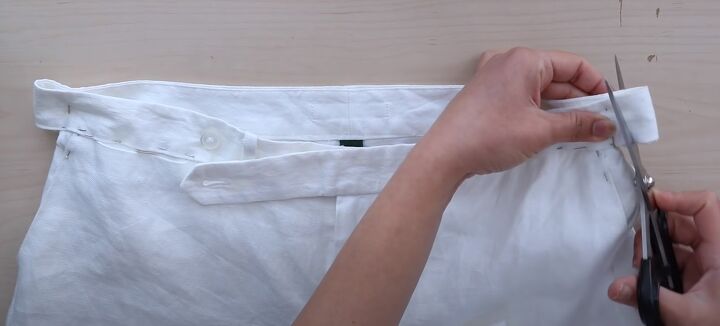
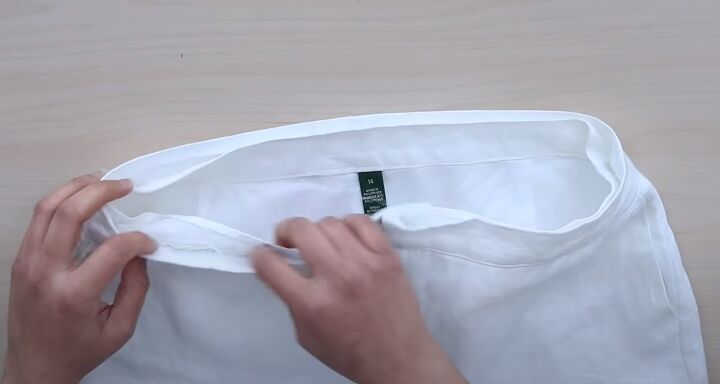
3. Prepare the waistband
I removed the excess waistband at the sides, leaving a half inch allowance.
I marked the new waistband seam on the inside before removing the pins, then opened the waistband.
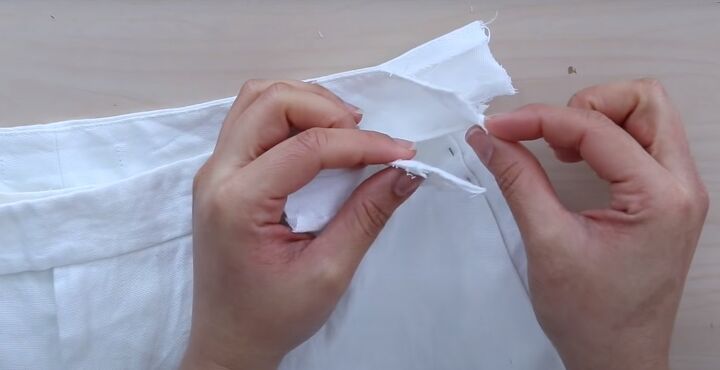
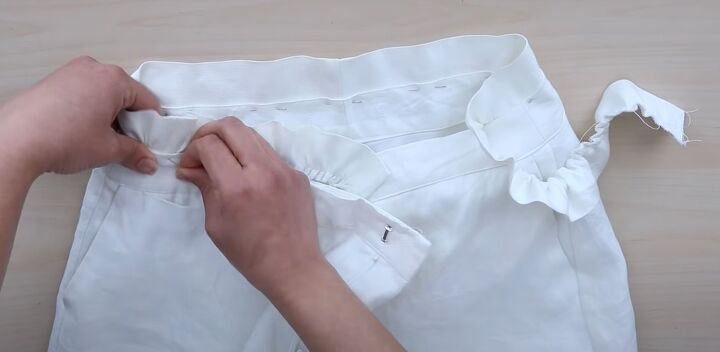
I joined the two front strips and two back strips together at the side seams.
I cut off the front overlap on the waistband and finished the ends, then reattached the waistband to the pants at the sides.
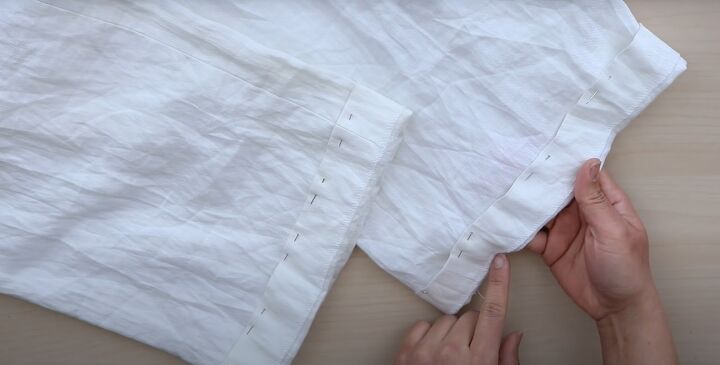
4. Shorten the hem
The pants were very long so I was hoping I could use the excess fabric from the hem for the ruffles.
I turned up the hem edge, pinned it and tried the pants on. I was lucky that the pants were too long by exactly the amount I needed!
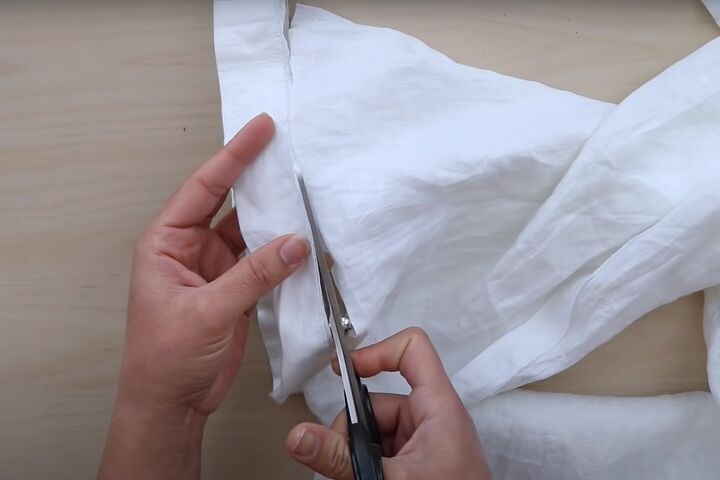
I cut just above the old hem and finished the raw edges. I turned under a narrow hem and sewed it in place.
I cut and hemmed the lining to match.

5. Make the ruffles
To calculate how much fabric you'll need for the ruffles, measure the waist of your pants.
If you want ruffles at the front only, add half the waist measurement again.
For front and back ruffles, you'll need double the waist measurement for the length of your 4 inch wide strip.
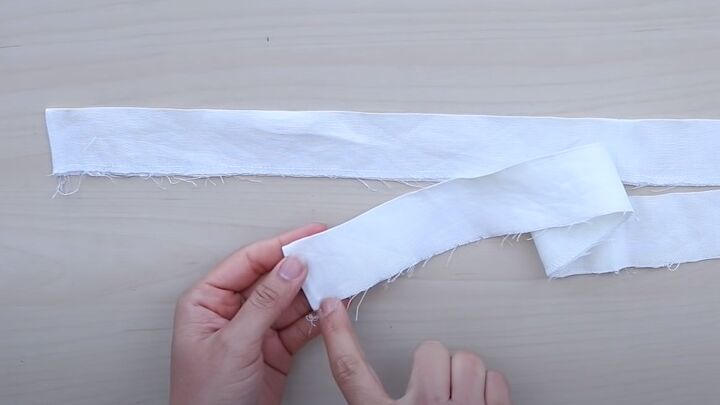
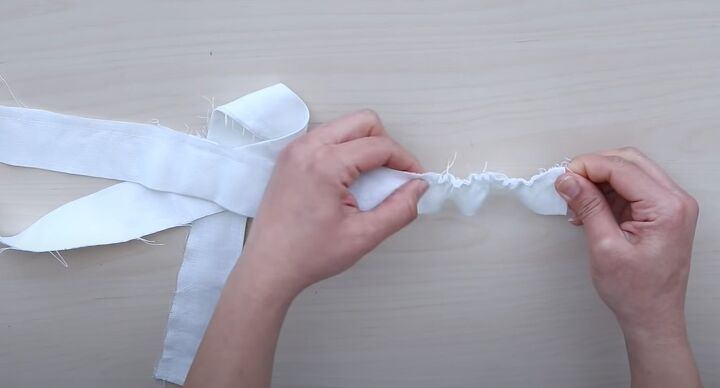
I sewed my two hem strips together and closed the ends. I folded the strip in half lengthways and sewed a row of basting stitches half an inch from the raw edge.
I used a heavier gauge thread for this because I would be gathering two layers of fabric. A single layer would mean the ruffles would be floppy and not stand up properly.
I didn't have enough fabric to ruffle the entire waist, but I was okay with that.
I marked the center of the strip and then gathered half the strip, with a quarter on either end.
6. Inserting the ruffles
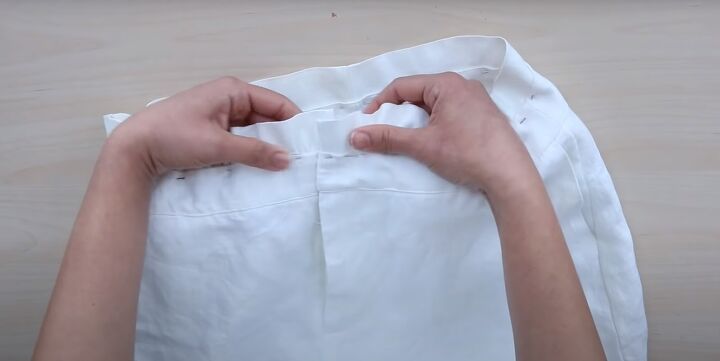
I opened the top of the waistband.
I aligned the center of the strip with the center back of the waistband and pinned the strip inside the band, using the basting stitches as a guide.
I pinned the ungathered section of the strip to the back of the pants. I started the ruffles at the side seams, stopping just past the front closure.
I checked that the ruffles were even and everything was sitting nicely before I basted and then sewed the ruffle edge in place.
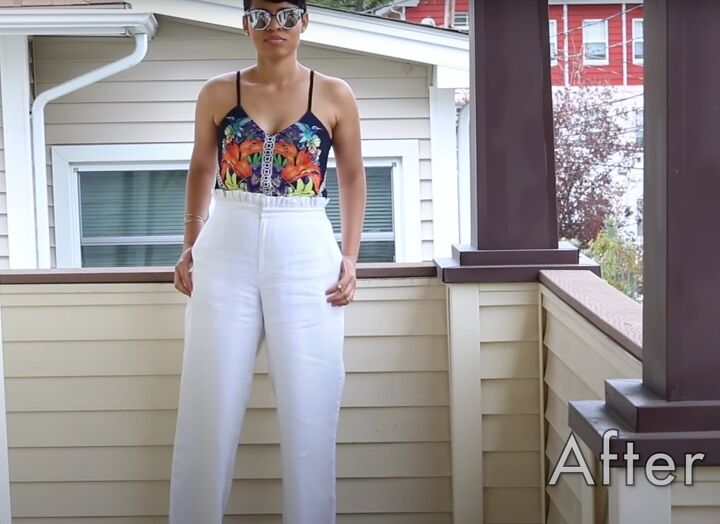
Upcycled pants
And that was pretty much it! I gave them a good press and I'm delighted with the way these pants turned out.
They fit very well and I made the right decision by only having the ruffles at the front. I didn't want that extra bulk around my waist and I think they look really good like this.
I hope you enjoyed this look behind the scenes and it inspires you to try something similar yourself.
I'd love to know what you think. Please leave me a comment below!
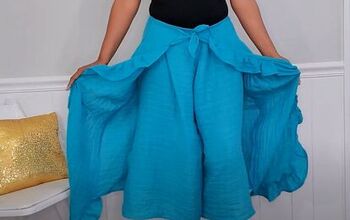
Check out my post on How to DIY a Super Cute Crop Top and Skirt Set From an Old Curtain.
The author may collect a small share of sales from the links on this page.


Comments
Join the conversation