Ready for a Unique Yarn Bomb? Here's How to Make Funky DIY Sandals

In this tutorial, I'm going to share how I made these cute and super-easy DIY sandals. I had a pair of sandals at home that I loved the look of when I bought them: clear straps that go with everything, trendy chunky heels etc. But they are SO uncomfortable to wear!
Then, I remembered I had all this multi-colored yarn leftover from my DIY crochet dress. DIY sandals ideas + loads of yarn lying around = let's yarn bomb my sandals!
This simple technique is so easy to do, it actually turns these shoes into something comfy to wear, and results in this adorable pair of DIY embellished sandals. Let's get started!
Tools and materials:
- Plastic sandals
- Multicolored yarn
- Scissors
- Fabric glue
Note: I recommend using a multicolored skein as they are cheaper than buying many different skeins. You can make this sandal all one color or in as many colors as you like.
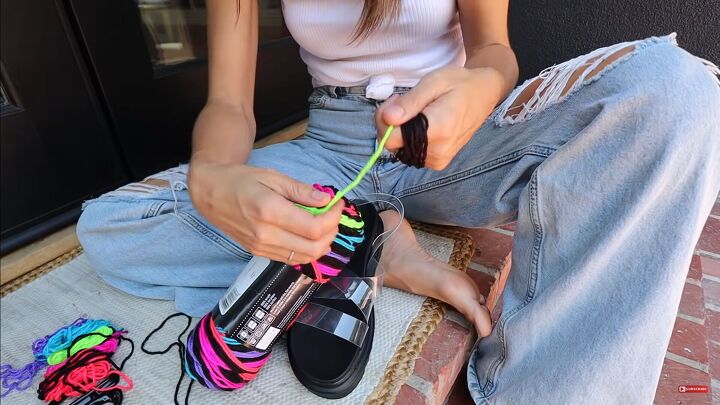
1. Separate the colors
Sort and separate the colors of yarn you want to use into spools.
2. Attach the yarn to the sandals
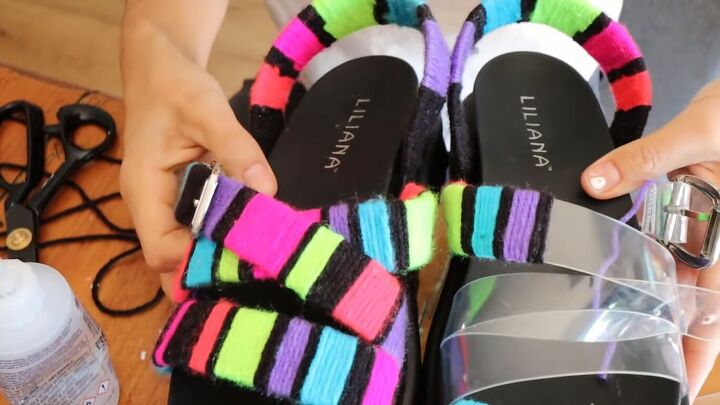
Start at the back strap of the sandal. With the first thread, tie a knot and tuck in inside at the bottom where the strap meets the sole. Keep wrapping the yarn around and slide the yarn down with your index finger and thumb so it wraps nice and tight.
Once you’ve got it to where you want it, cut the yarn about ½ inch or 1.5cm excess to fold inside. Add the fabric glue to attach it to the strap. Dribble some extra on when you start the next color to attach it to the first band of yarn.
Keep doing this for each color, making sure all the starting ends of the different yarn colors stay on the inside for a seamless look. Keep wrapping and sliding down the yarn to keep it tight.
3. Determine your look
For the rainbow look in this tutorial, add black in between the colors to make the colors pop. At the beginning and end of the strap, there are 12 rows of black yarn. Each color uses about 12 rows. The black rows in between use about 4 wraps of black yarn.
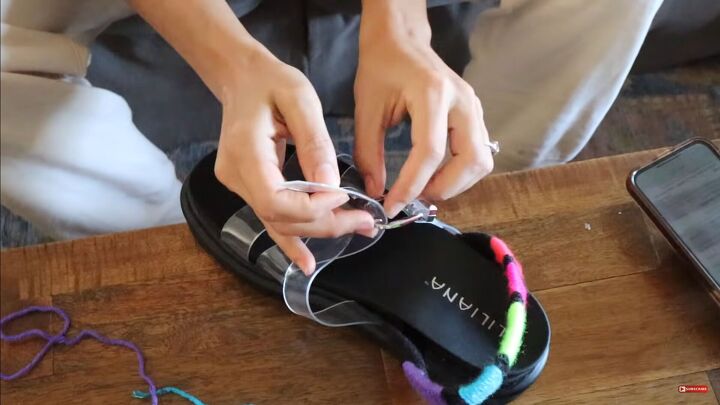
4. Criss-cross sandal
If your sandals criss-cross, be aware that the bottom strap color will be blocked by the top strap so use the colors carefully.

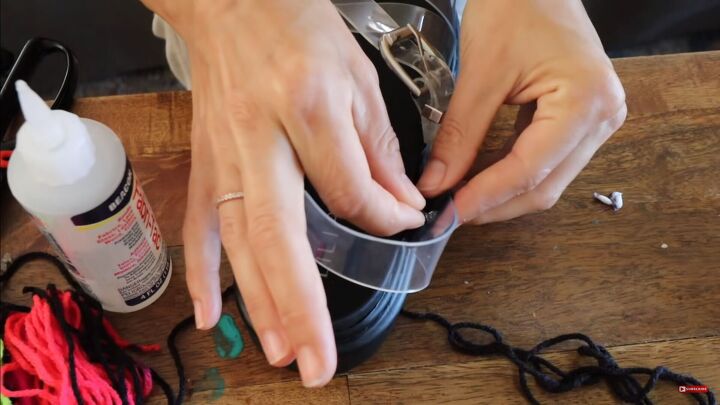
5. Strap closure wrapping
Try the sandal on to see where the buckle prong should go for your comfort.
Before you wrap the colors, determine which colors will be there so it is easy for you to find the hole for proper placement. Wrap the start of the yarn very tightly at the base where the strap touches the sole of the shoe.
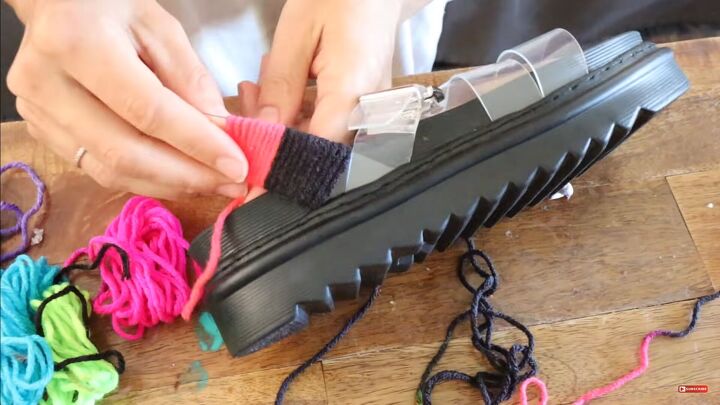
About one inch or 2.5 cm before you reach the end, begin securing the end with glue and keep the wrap tight. At the very tip of the strap, add some more glue to keep the yarn attached.
6. Finishing touches
If you decide to highlight a specific color in the center, start wrapping in the middle, working your way down either side.
Once you’re done with the first shoe, you can make a mirror image following the steps exactly or be wild and do something different.
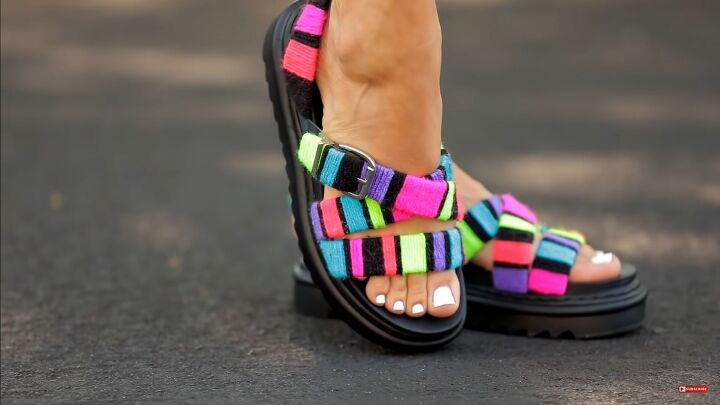
DIY sandals tutorial
These DIY sandals are simple, fun, and different. The yarn also adds some much-needed padding if your sandals aren’t the most comfortable. Let me know in the comments what you think of this unique yarn bomb idea!
The author may collect a small share of sales from the links on this page.


Comments
Join the conversation
That's a great idea! I often find footwear to be not quite comfortable enough, and at my age, I have no patience to choose beauty over comfort!
I am going to my closet right now and find the perfect pair of shoes!