DIY Jimmy Choo Heels

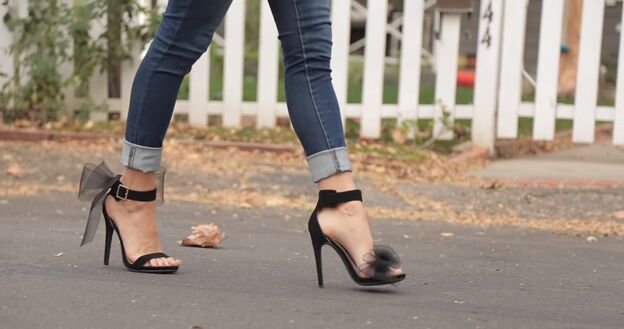
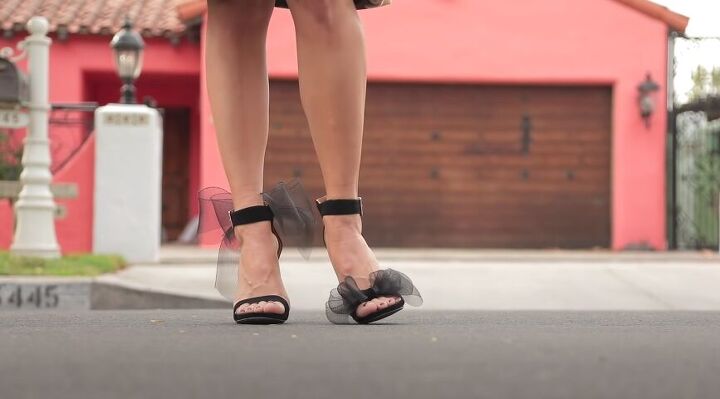
You asked for it, and I’ve brought it! Here’s the hack for making your own DIY Jimmy Choo heels just like the ones Hailey Bieber wore.
Tools and materials:
- One pair of strappy sandals
- 3” horsehair trim
- Velvet ribbon
- Sharp scissors
- Hot glue
- Needle and thread
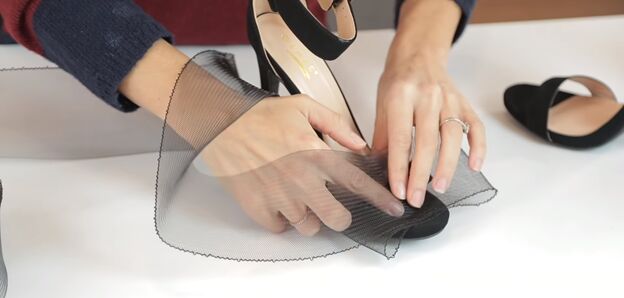
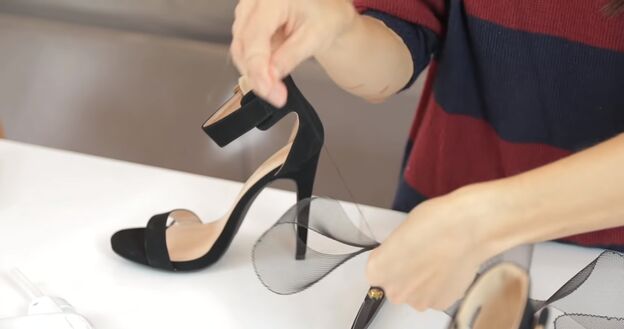
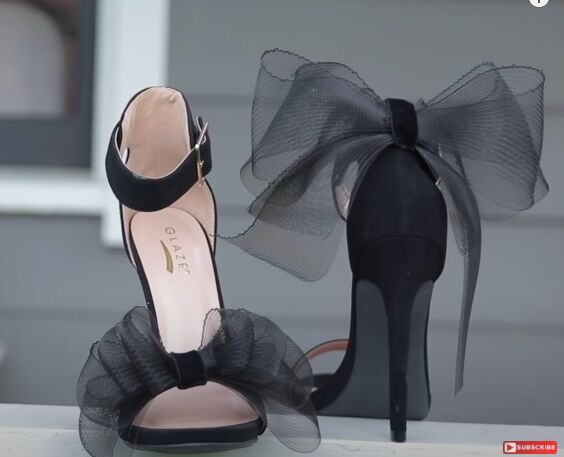
Determine bow size (left shoe)
The bow will be made from horsehair trim. You want it to be nice and wide but not touch the floor. For the toe bow, start measuring out the horsehair trim from the center of the sandal toe strap. Go out in one direction, then come back and forth with the trim making each layer about half an inch narrower than the last until you have four bow loops. Cut the trim with enough left to fold back into the center of the bow where you will attach it.
Tip:
Do not try substituting any other material for the horsehair trim. Only the horsehair will make the perfect shape and lay exactly the way you want.
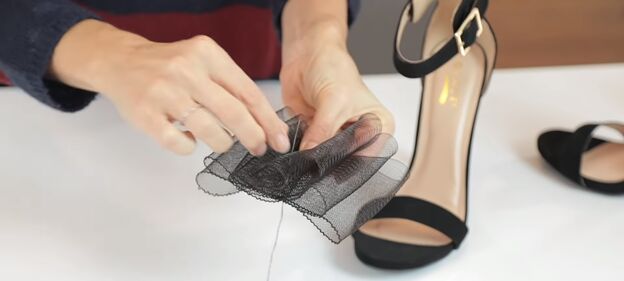

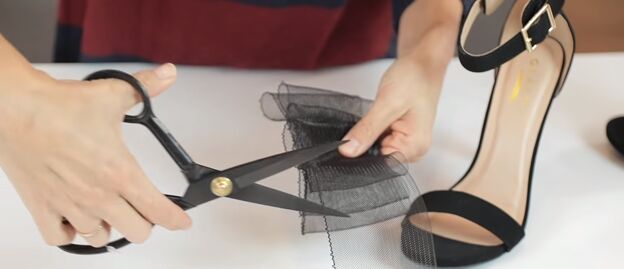
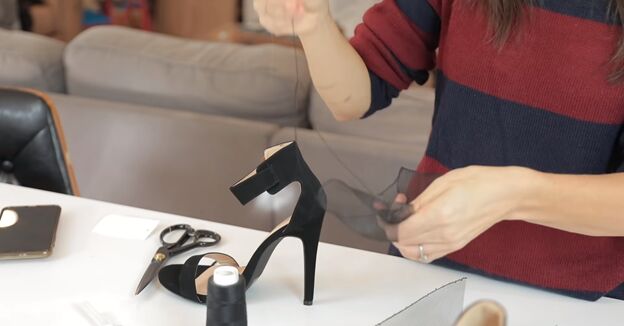
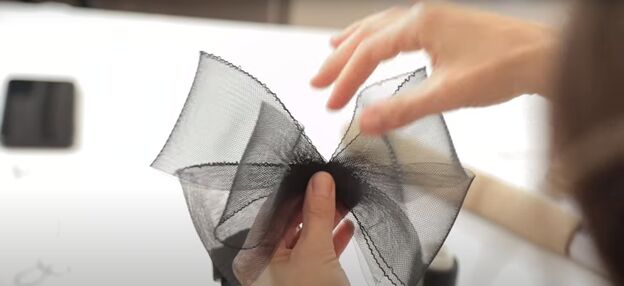
Shape the bow
While holding on to the bow in the center, pass your needle and thread through the middle, from the bottom up. Now, just start wrapping the thread around the middle of the bow tightly. Don’t let go! Once you’ve wrapped it well, pass your needle and thread through the middle again about eight times to secure all the layers together. Cut the excess thread, and trim off the extra piece of horsehair that you had folded back.
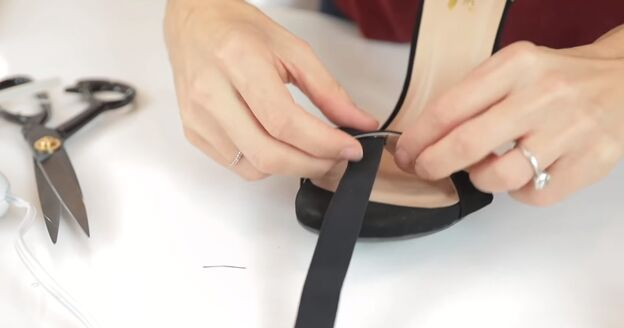
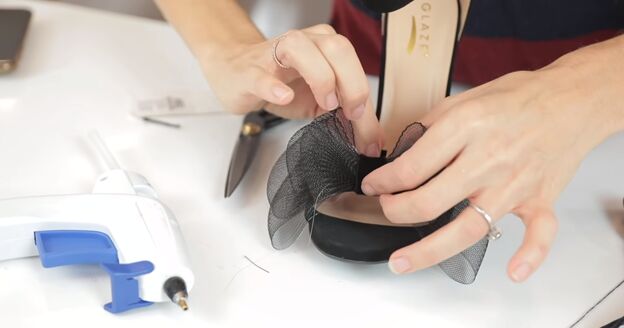
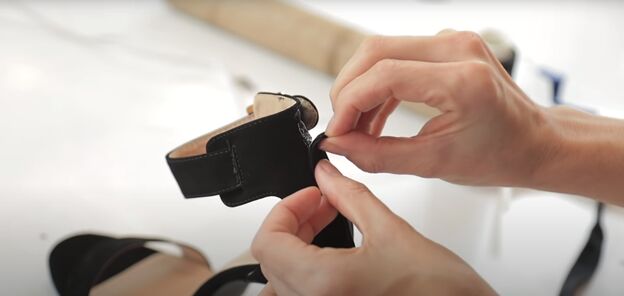
Attach the bow
Using velvet ribbon that matches your bow and sandals, tack the end to the underside of the sandal toe strap in the middle. Then wrap the ribbon, front to back, around the strap and cut to the length you need to fit around the bow.
Release the ribbon for now (it’s attached underneath, so won’t go anywhere), and use the hot glue to tack the bow onto the top of the strap. Now wrap the ribbon around the bow and attach it with hot glue under the strap, matching it up with the other end of ribbon that was already glued on.
Create the back of-of-heel bow (right shoe)
You’re going to create this bow in two pieces. Using the horsehair trim, make one large loop with two straight ends. Secure the one-sided bow with needle and thread, and the same wrapping technique used for the toe bow in Step 2. Make a second one-sided bow using the same technique.
Now make a simple one-layer two-sided bow with the horsehair trim as you did before – but this one has just one layer, not four like the toe bow.
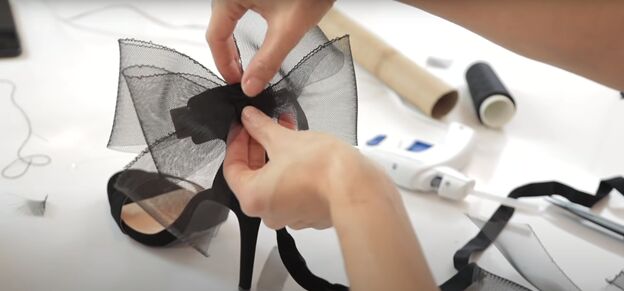
Attach the heel bows
Using the two half-bows, place each one diagonally to the back of the heel, in opposite directions so they cross over each other and the tails of the bow point downward.
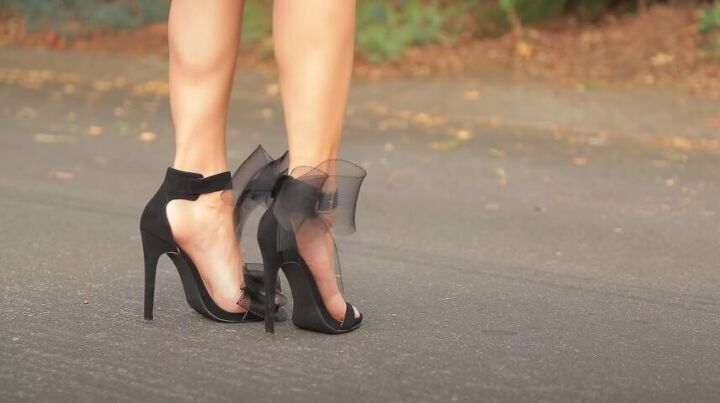
Tip: The bows will naturally bend one way. Place them on the heel so that they bend into the shoe and not outward. That way they will wrap around and hug your ankle a little bit.
Now place the middle bow horizontally on the center of the two diagonal bows. You can play around with positioning until the three bows look just right to you.
Attach one end of velvet ribbon to the back of the heel with hot glue, with the right side of the ribbon facing in. Now attach the two half bows together with hot glue and then add the third bow on top with the glue. Determine where you want the large bow attached to the back of your heel and glue it onto the velvet ribbon at that spot. Bring the bottom of the ribbon up, to wrap around the bow, and secure it to the center of the bow with some more hot glue. Now bring the top flap of ribbon around to the inside of the heel and tack it down there. If the bow doesn’t seem secure enough, just pull it back and bit and apply more glue.
Consider making two toe bows instead of one toe and one heel bow, for more versatility. How would you personalize your own DIY pair of heels?
The author may collect a small share of sales from the links on this page.


Comments
Join the conversation
Very pretty!!!
Loved it. You are genius!