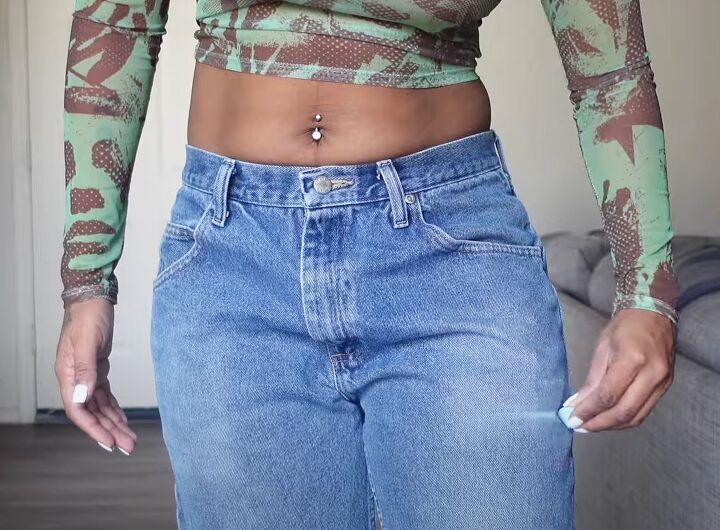
Easy DIY Denim Skirt Made From Jeans

Today, I want to show you this denim skirt that I made from jeans. It’s a no-sew project because I don’t know how to sew!
I used a hot glue gun in the video. Please use a proper fabric glue or double-sided seam tape with an iron or hair straighteners instead of regular glue.
Or if you have a sewing machine, pin and sew the seams instead.
Follow along for a step-by-step guide to make a DIY denim skirt from jeans.
Best fabric glue!
Tools and materials:
- Jeans
- Scissors
- Fabric glue or seam tape and iron
- Tailor’s chalk
1. Mark the length
Wear your jeans and mark on the legs the length you want your skirt.
You’ll get to try it on before the final cut but this will at least give you an idea.
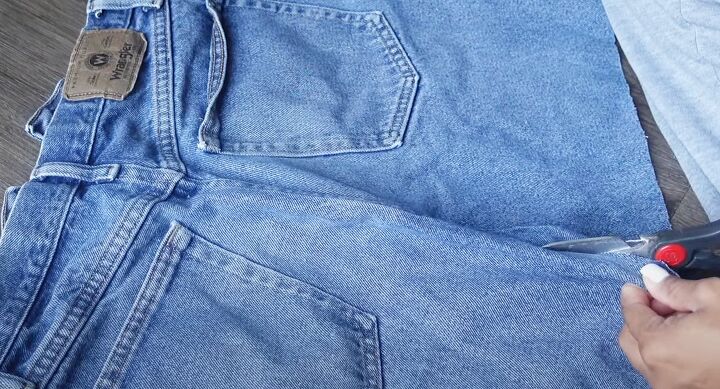
2. Cut the legs
Lay your jeans out flat and line up the side seams.
Cut across one leg, about 4 inches (10 cm) below the length mark you made, so you have plenty of material to play with.
I’m using my mom’s kitchen shears, which isn’t ideal. I’d advise using proper dressmaking or fabric scissors if you can.
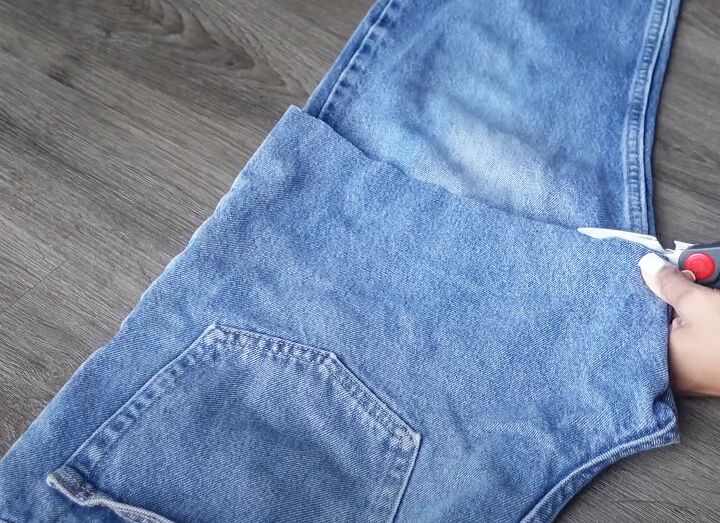
Fold the jeans in half lengthways and use the first leg as a template to cut the second one. That will make sure both legs are the same length.
Straighten up the cut as best you can.
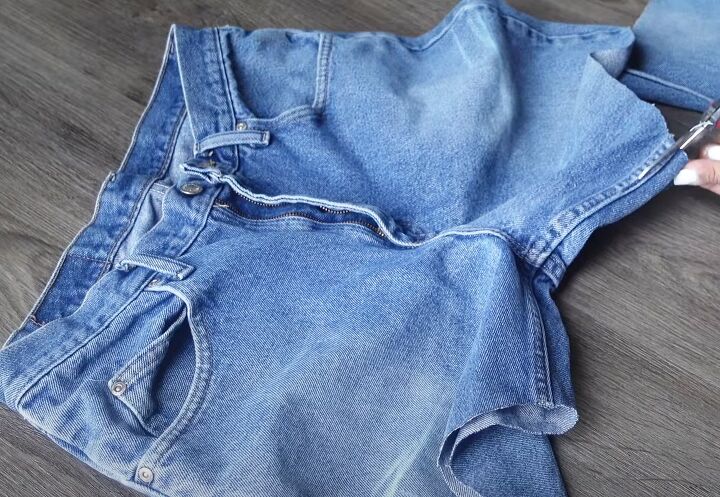
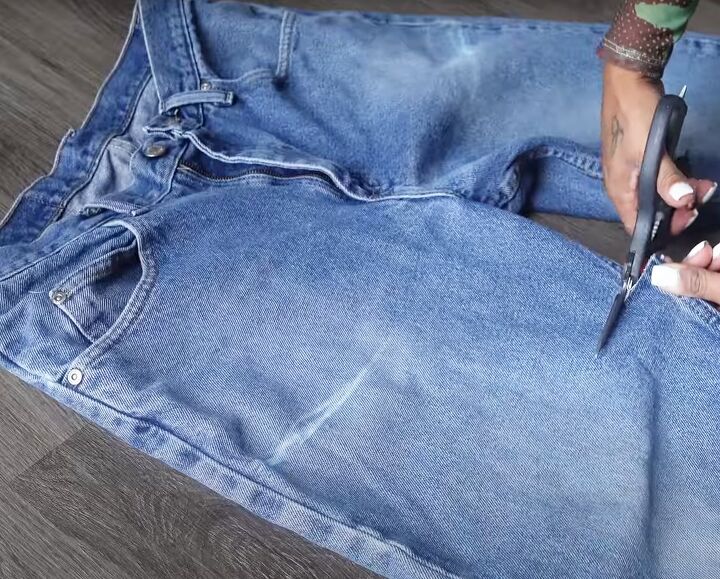
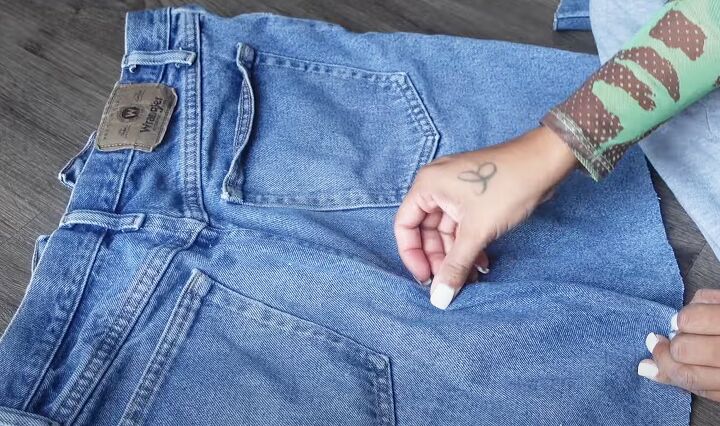
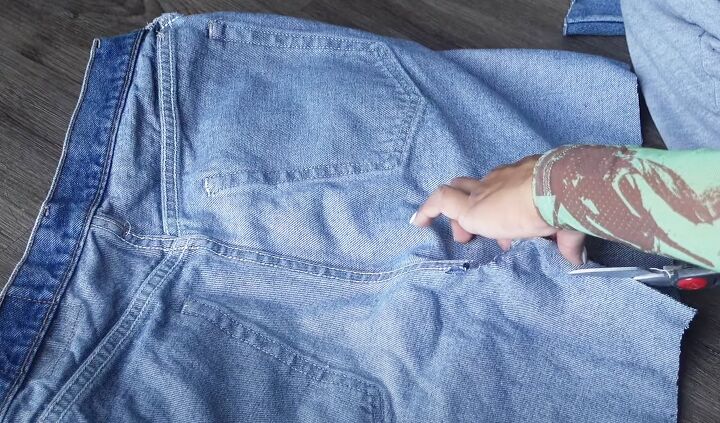
3. Separate the front and back
Cut open the crotch seam that separates the front from the back.
I found it easier to cut the seam from the back, so the bulky part of the seam remained at the front of the skirt.
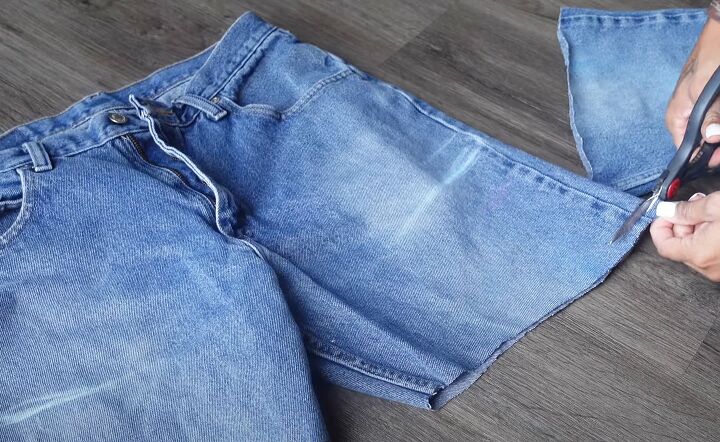
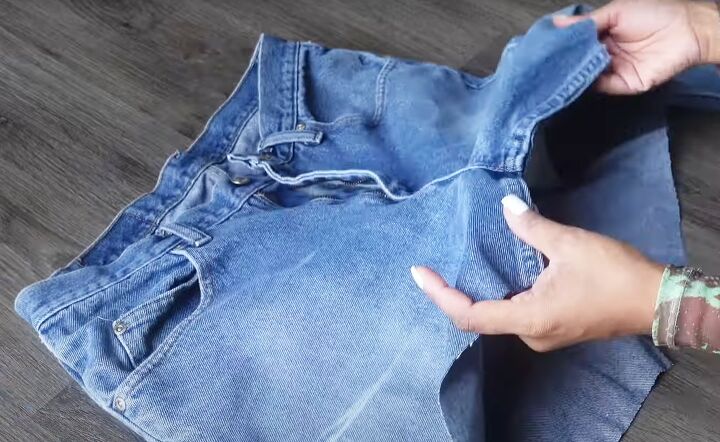
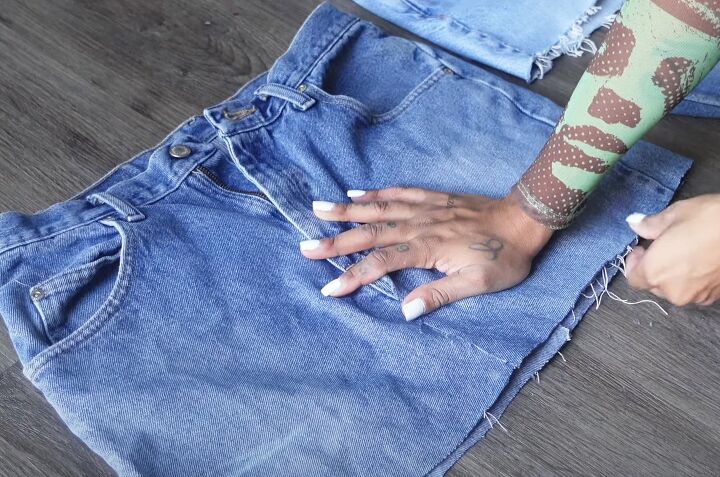
4. Center front seam
Now you need to bring the cut edges together at the center front of the skirt.
This is the most fiddly part of the project, because you want to make sure the front lies smooth and flat when you’ve finished.
Lay the skirt flat.
Fold in the cut edges and overlap the buttonhole side over the other, until you get a good result.
Press the edge with your fingers.
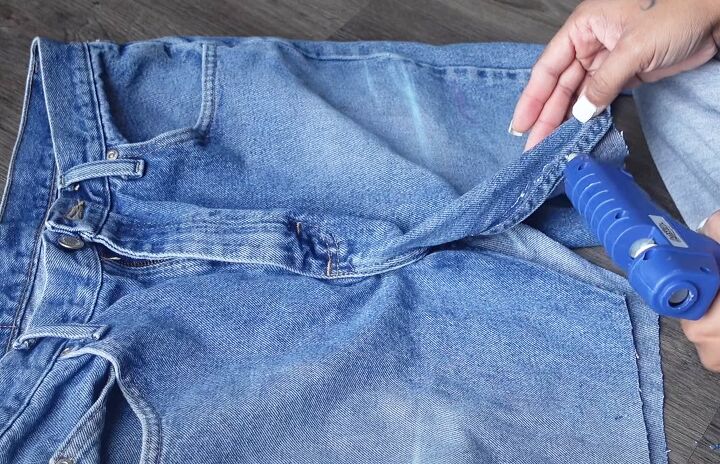
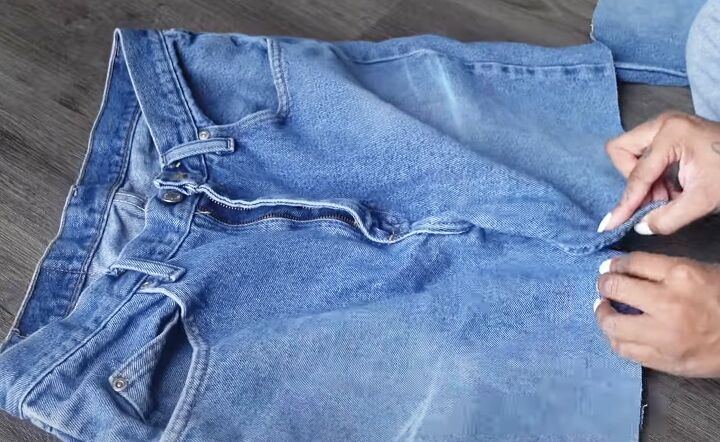
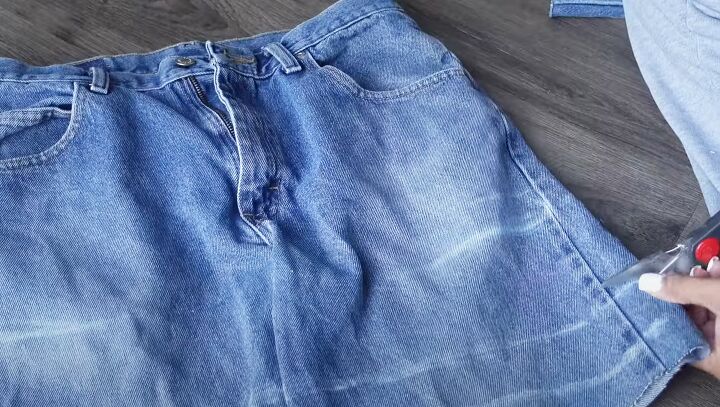
You need to fix the top edge in place and this is where I used the hot glue gun, which I don’t recommend.
Add a line of fabric glue on the top edge and press it in place, or for an even better finish, use double-sided seam tape (or your sewing machine, if you have one).
Press the fabric together firmly.
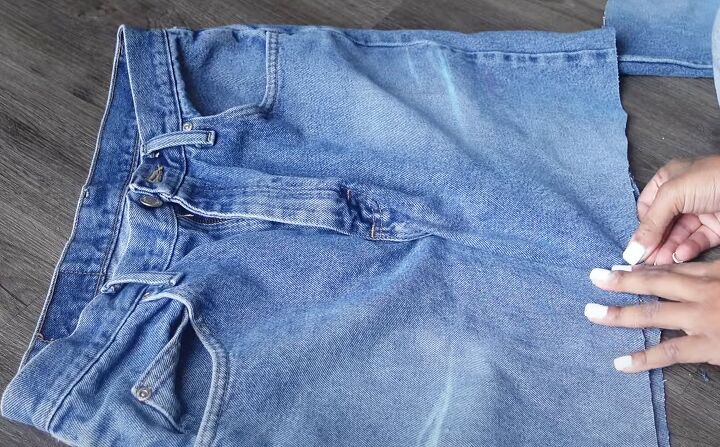
5. Center back seam
If you need to make the back of the skirt a little tighter than the jeans, you can fold in the main seam.
Turn in the raw edges as you did for the front, so that you get a smooth line down the back.
If you have a lot of excess fabric, cut some of it away before you add the glue or tape.
You might find it easier to turn the skirt inside out to get a clean line.
6. Adjust the length
Once the glue has dried, try the skirt on again and mark the final length.
If you want a frayed edge like mine, allow a little extra length for that.
Line up the side and lower edges of the skirt before cutting.
Remember the waistband should be lower in the front.
Draw a cutting line straight across the skirt and cut the front and back together.

Even up the lower edges if you need to.
7. Fray the hem
Pull on the threads at the lower edge to give a frayed hem.
It’s up to you how deep you want the frayed edge to be.
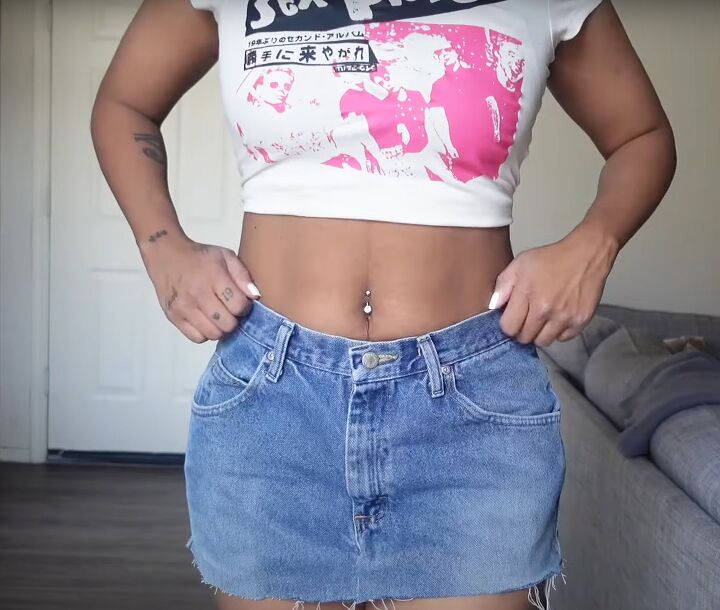
DIY denim skirt made from jeans
I love the way my DIY jean skirt turned out! It’s proof that even if you can’t sew, you can still upcycle your clothes.
I hope you enjoyed it. If you have any questions or comments, please drop me a line below.
Next, learn How to Take in Jeans at the Waist.
The author may collect a small share of sales from the links on this page.


Comments
Join the conversation