DIY Sheer 2-Piece Set
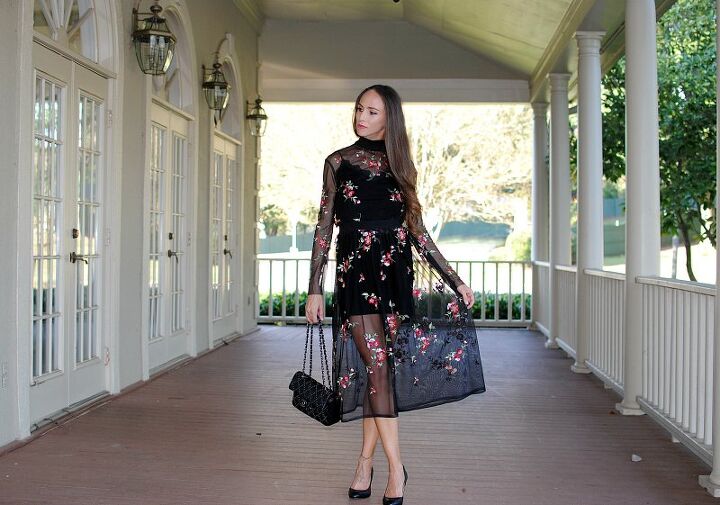
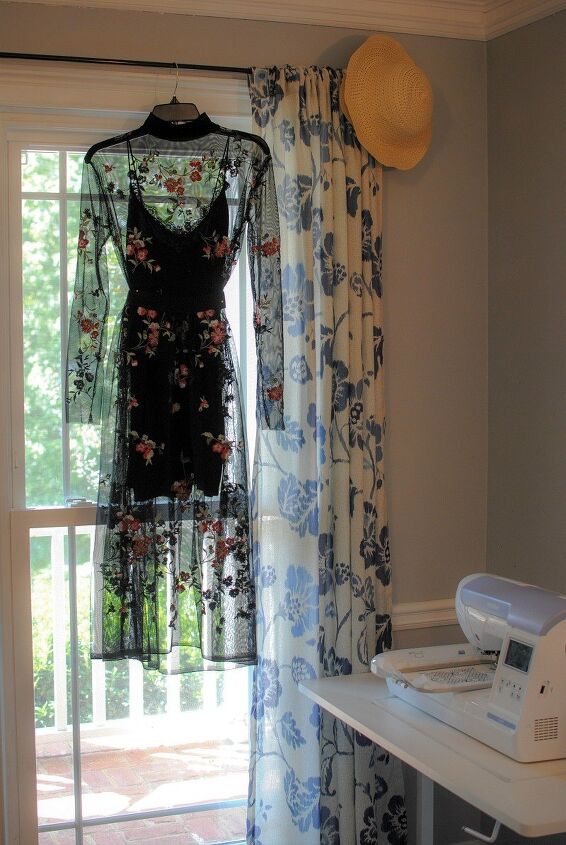
This was one of the looks I designed for New York Fashion Week earlier this month but unfortunately didn't have the time to finish it up (I found out I was going about 1 week before). Now I'm regretting not making this one first considering how well it turned out. Really it's a very simple project but the fabric is the real stunner here. This is an embroidered power mesh from Stylish Fabric. It's so beautiful you won't believe the bargain price! Plus it has 2-way stretch which makes it ideal and comfy for the slim fit. This may look like a dress but it's actually a 2-piece set which I intentionally created it to be. I wanted to be able to wear the midi skirt and top as separates. So I'm going to make this a 2-part post. The first is the skirt and it's a quick under 30 minute project.


Get the details below on how to sew your own:
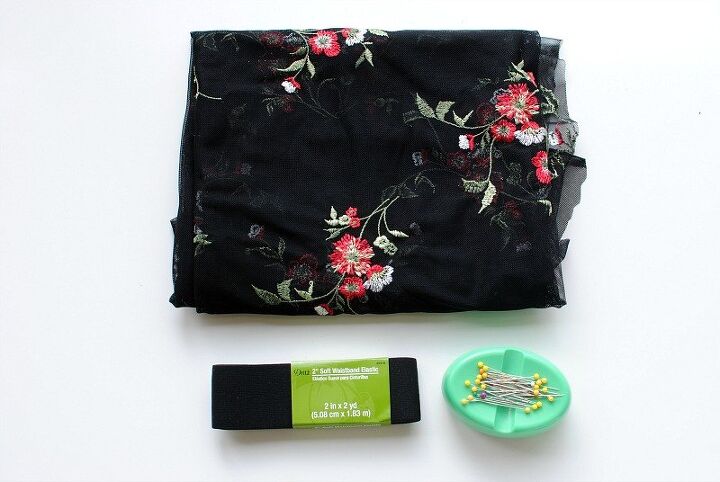
Supplies:
DIY Sewing Instructions:
Note: I made this skirt with one cut of fabric and 1 seam (center back). You can also create 2 parts (front and back) and sew the 2 side seams.
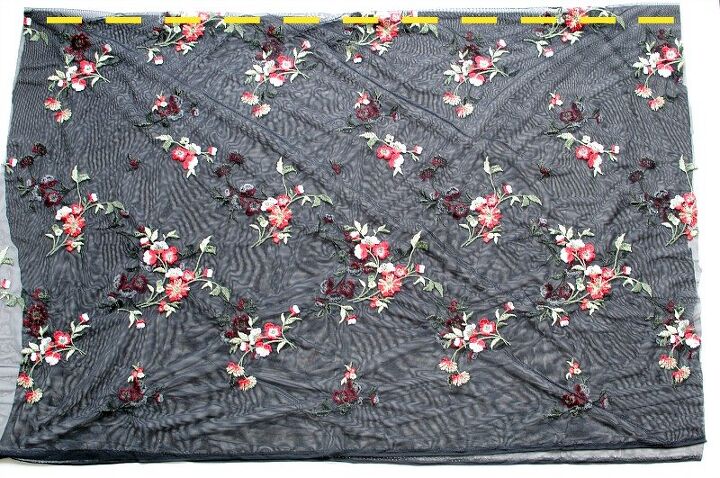
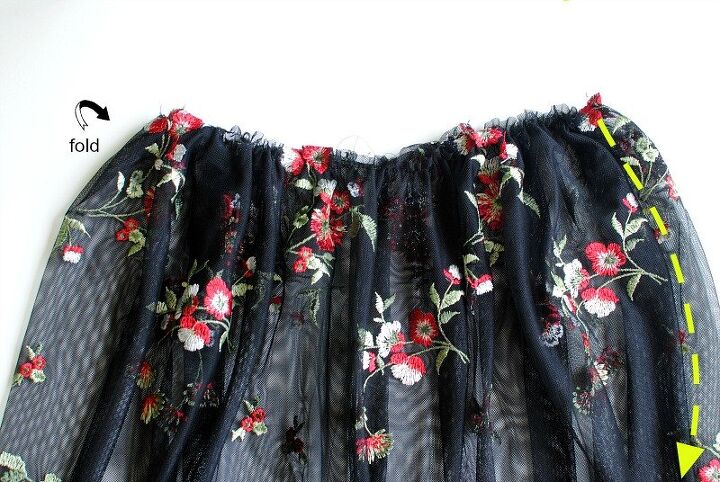
I folded 2 yards of the fabric in half and cut at the fold creating 2 halves. I used the selvage edge as the bottom hem of the skirt. My skirt piece was 2 yards x 26" long.
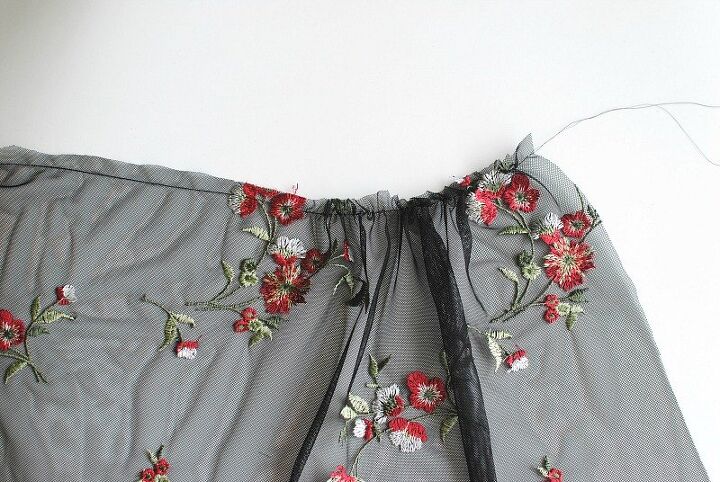
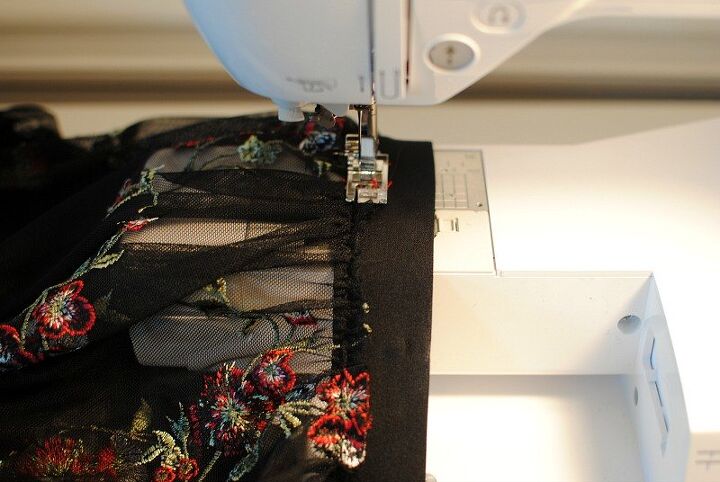
Begin by basting the top edge of the fabric just 1/8 or so from the edge. A baste stitch is the longest stitch on your sewing machine and don't back stitch start or finish.
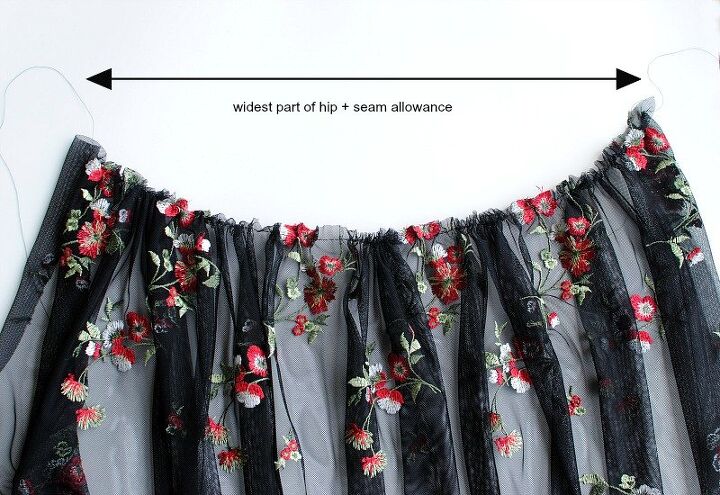
Pull the thread to create small ruffles. You will want to pull them to equal the widest part of your hip measurement plus 1/2" seam allowance. If you're using a front and back then adjust accordingly.

Fold the fabric in half so right sides are facing and sew the one center back seam up with a 1/2" seam allowance.
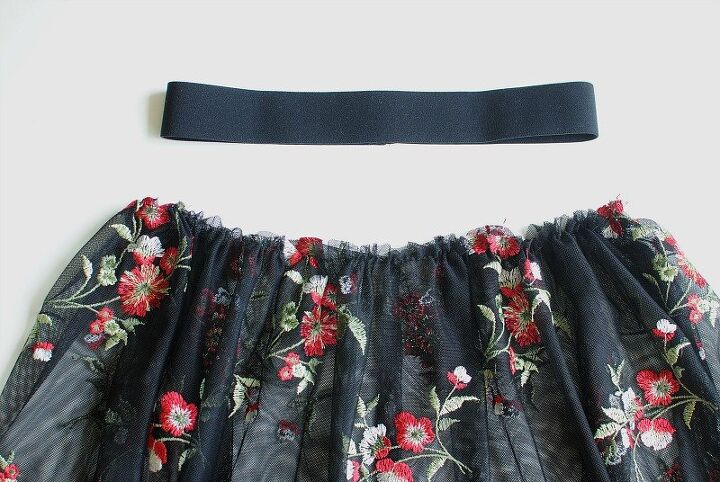
Measure your waist (where you want the waistband to be) and cut an elastic waistband that equals this measurement.
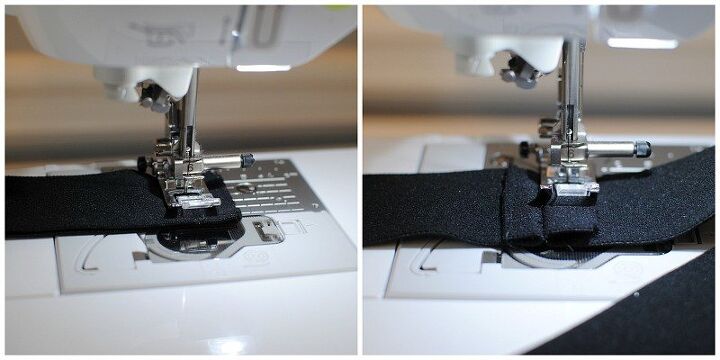
Fold the waistband together so right sides are facing. Sew a 1/4" seam allowance using a zigzag stitch. Flatten the seam allowance and sew each side down just along the edge using a zigzag stitch.
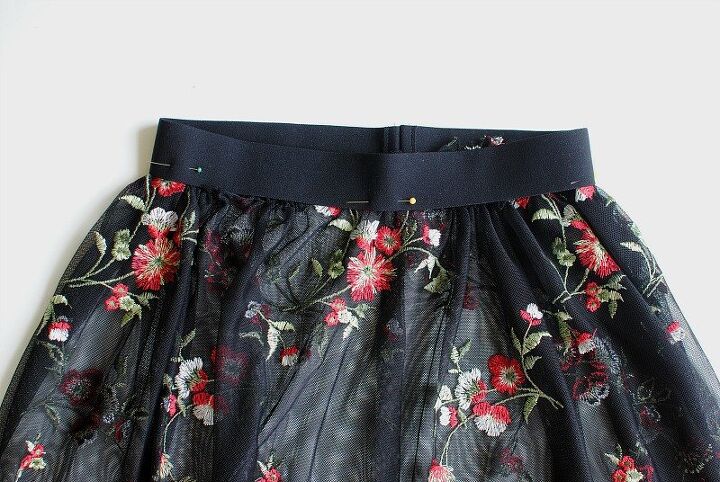
Place the center back seam of the waistband and skirt together and pin. You will need to evenly distribute the elastic. Measure and mark off the quarters on the skirt and the elastic waistband. Pin matching the quarter marks together. You will need to stretch the elastic to match with the garment marks since the elastic should be slightly smaller.
Sew the waistband and skirt together using a zigzag stitch all the way around. As you sew you will need to pull the elastic to fit the skirt.
I will be sharing part 2 for the top next month! Hope you snag some of this fabric before it's out and give this one a try!
***In collaboration with StylishFabric.com
The author may collect a small share of sales from the links on this page.


Comments
Join the conversation
This reminds me of my Easter dress I made in 1982 but way better!
That’s adorable and lovely.