This Stunning DIY Open Abaya-Kimono Is Super Easy to Make

In this tutorial, I’m going to show you how to make a DIY open abaya from scratch. This gorgeous open-front abaya is an easy sewing project for beginners, as well as a classy and chic addition to any wardrobe.
What is an abaya?
An abaya is somewhere between a cloak and a robe-like dress. It's a long-sleeved, floor-length overgarment worn by Muslim women in North Africa, Middle East, and the Arabian Peninsula.
An abaya is typically dark in color and worn closed, but here, I'm going to show you how to make an open abaya out of sheer fabric, which is a little bit like an open-front kimono.
Tools and materials:
- 60-inch wide fabric
- Silk fabric
- Elastic
- Ruler
- Chalk
- Measuring tape
- Pins
- Sewing machine
- Scissors
- Thread
1. How to make an abaya pattern
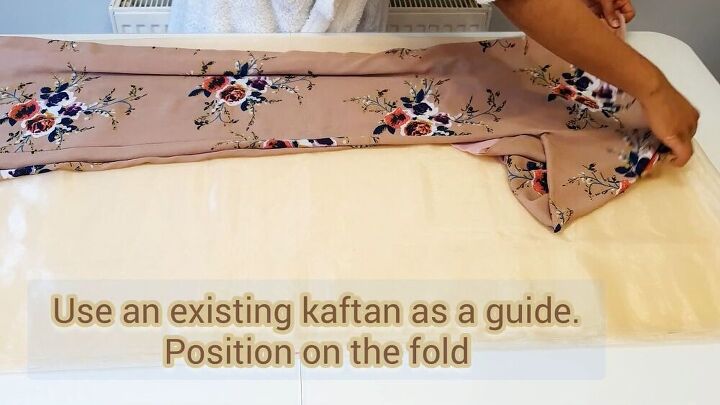
Taking a 60-inch wide fabric, fold the fabric in half and half again. Use an existing kaftan as a guide; position this on the fold, as shown.
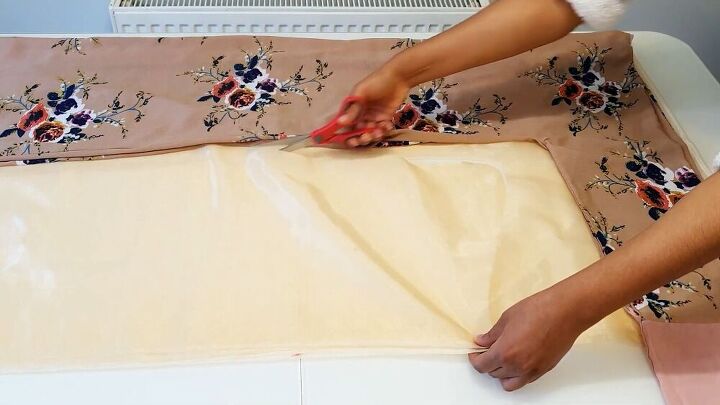
When cutting by the arm area, extend the arm measurement significantly, by at least 7-inches. This will be for the puff sleeve effect. Then, continue to cut around your existing kaftan.
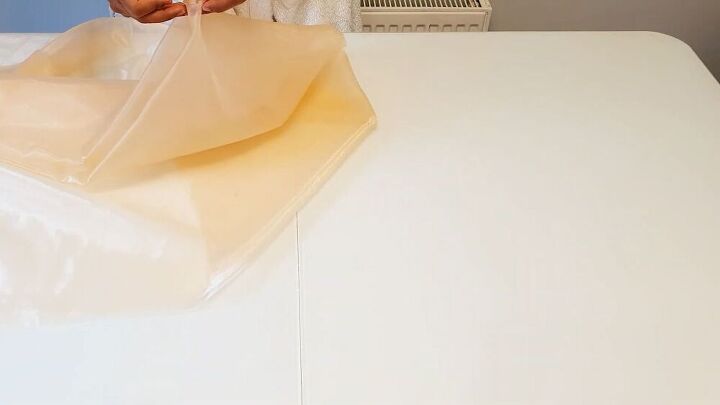
Fold your open abaya in half, and mark the center of the neckline with a pin.
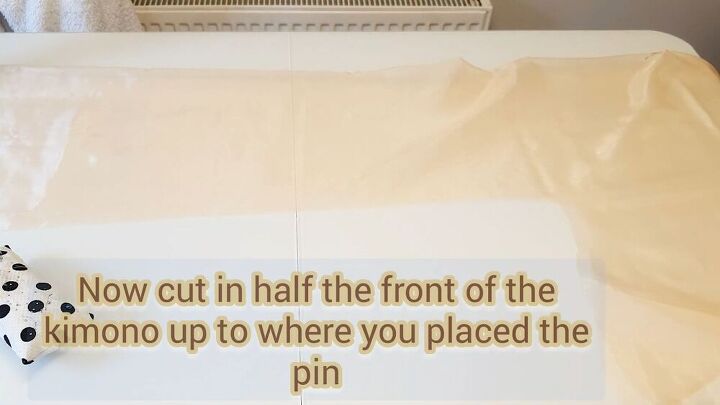
Then, choose one side of your kimono, and fold this in half. This will be for the front of the open abaya. Cut the front section in half, up to where you positioned the pin.
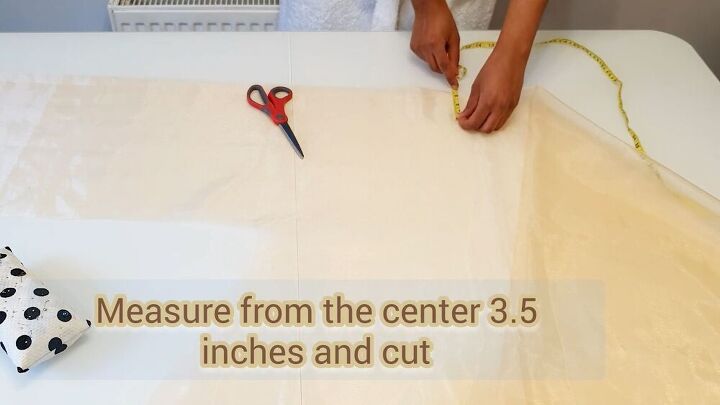
Fold it back in half again, and cut 3.5 inches from where you placed the pin.
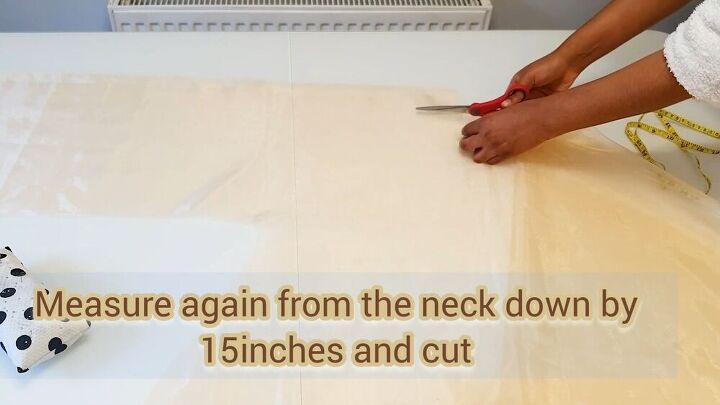
Now, measure from the neck down, 15 inches, and cut diagonally, as shown.
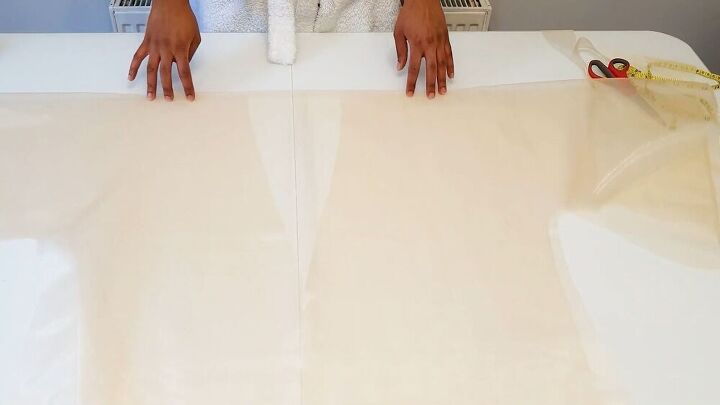
Your "kimono" should look like this.
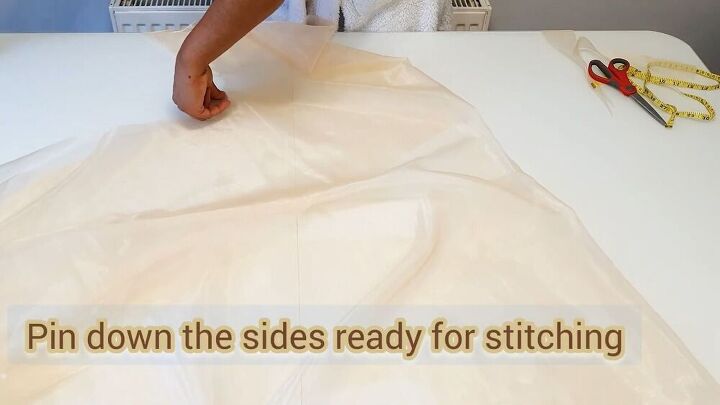
2. Pin the open abaya
Pin the sides carefully. Remember, since it’s an open abaya, the front piece is open, in half, so pin each half on either side of the back piece.
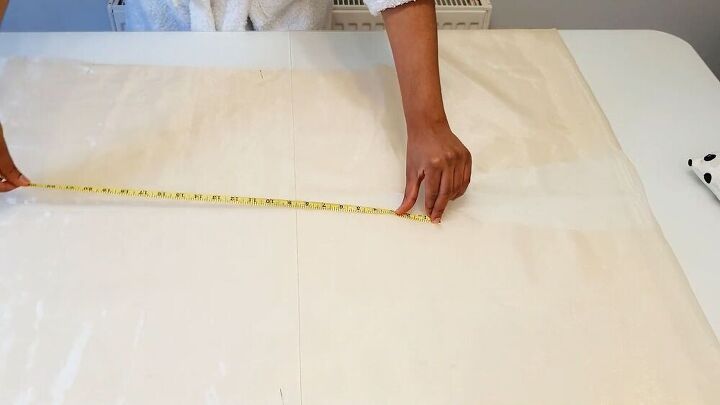
3. Measure the borders
Now, with a measuring tape, measure the front of the kimono to determine how much material you’ll need for the border.
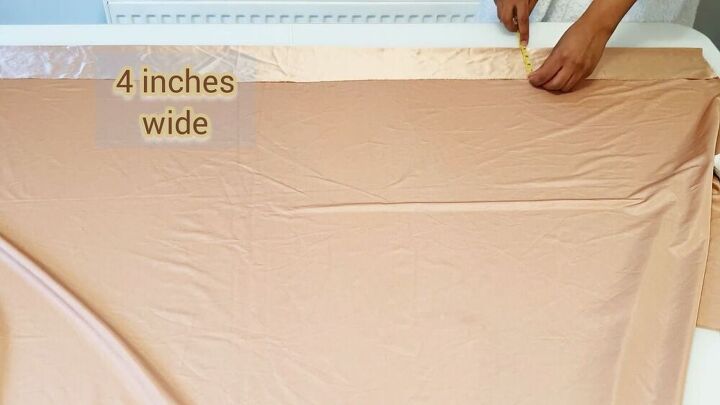
4. Make the border pieces
Fold your border fabric in half to 4 inches wide. Here, I am using lovely neutral silk fabric. Cut as many as you need to fit the front of your open abaya.
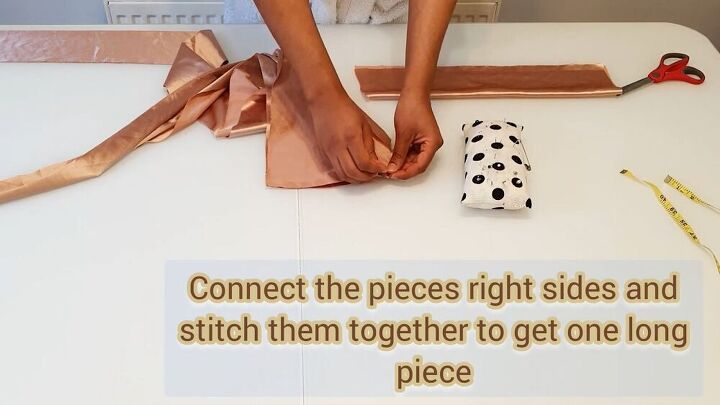
Pin these pieces, by the short ends, right sides together.

Then stitch, so you land up with one long piece.
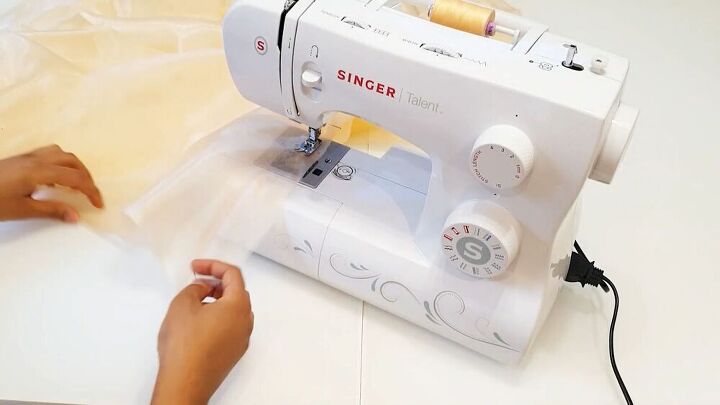
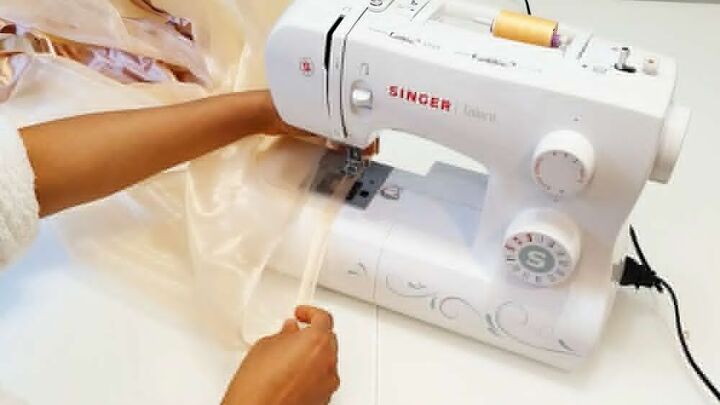
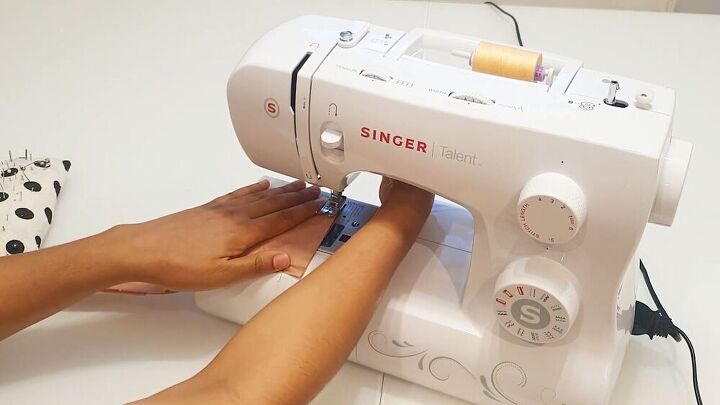
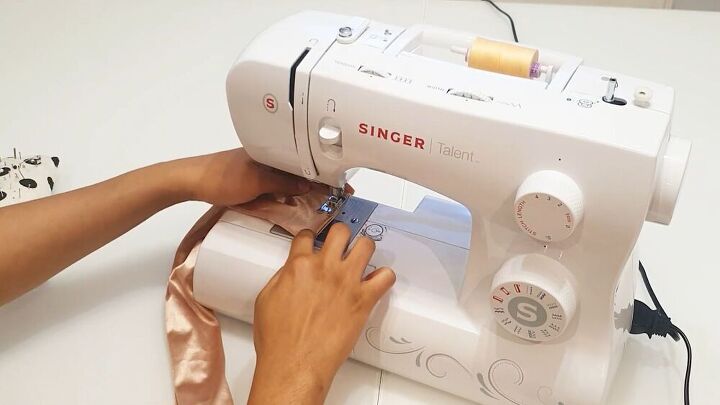
5. Stitch the sides
Stitch the sides of the open abaya. While you’re at it, go ahead and hem the bottom of the open abaya, too. Fold the raw edges over twice, and stitch.
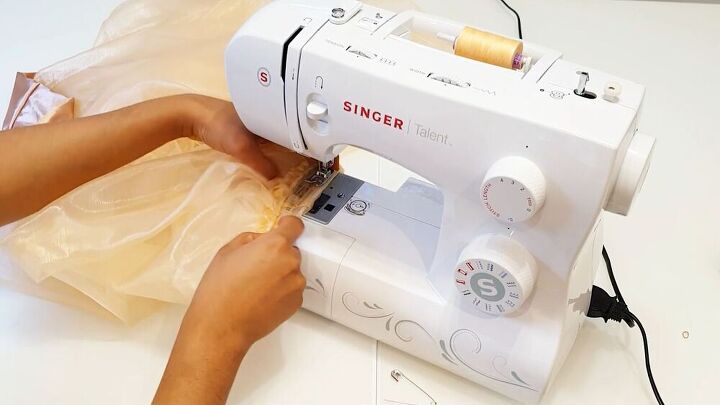
6. Attach the border
Fold the border fabric in half, wrong sides together, and pin it on the front of the open abaya.
To finish the short ends of the border, fold the fabric right sides together, and pin. Then, stitch these sides together.
Once you’re done, open it up, and you have a lovely end to your border fabric.
Carefully stitch the border on the abaya all the way around.
7. Attach elastic to the wrists
Cut two pieces of elastic that measure the circumference of your wrist. Then, create a fold on the wrist area of your DIY open abaya. Make the fold wide enough to accommodate the elastic. Stitch the fold leaving a 2-inch opening.
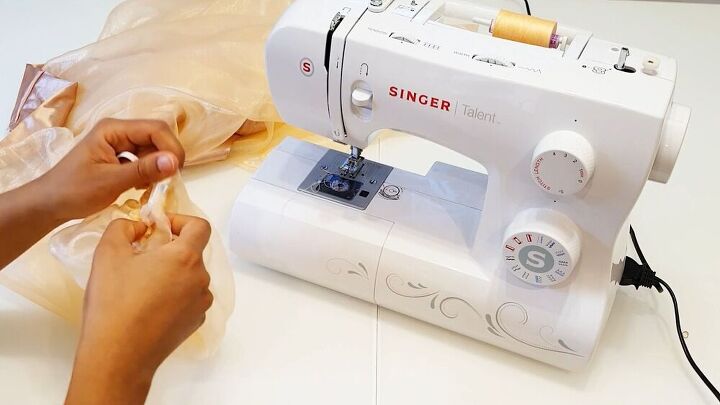
Next, feed the elastic band through the tunnel. Use a safety pin to help you.
Stitch the ends of the elastic, and then stitch the opening of the tunnel, too. Be sure to repeat this on the other side.
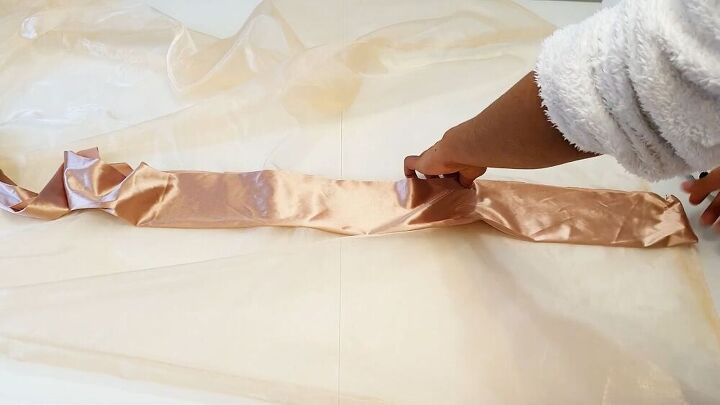
8. Make the belt
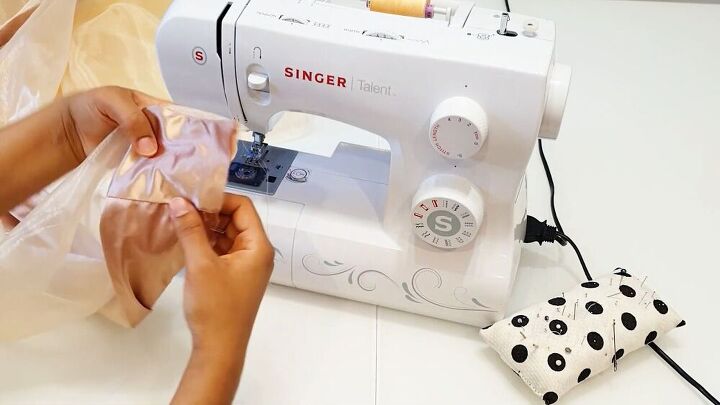
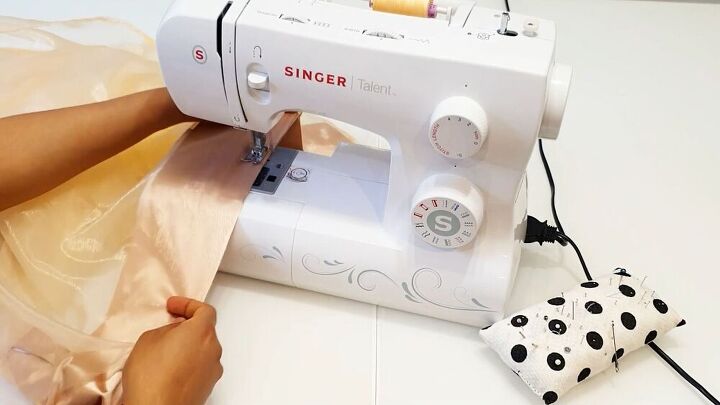
For the belt, cut a piece of silk fabric that is 8x50 inches wide. Fold the fabric right sides together and stitch around the short ends, and the whole length, too. Leave an end open so that you can turn it inside out afterward.
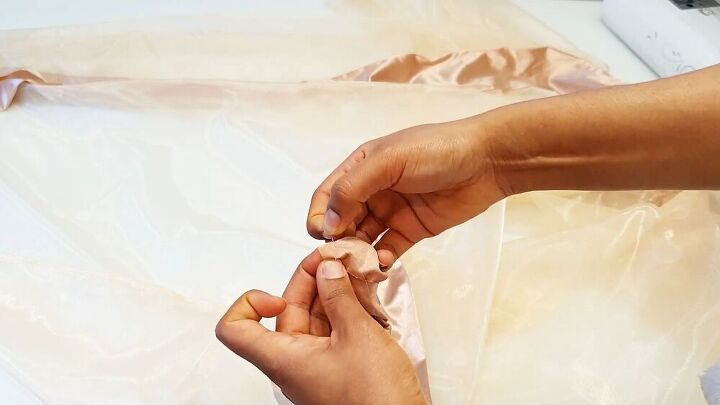
Turn the belt inside out, fold the raw edges of the open side, and stitch.
Tip: You can also wear the belt as a long scarf.
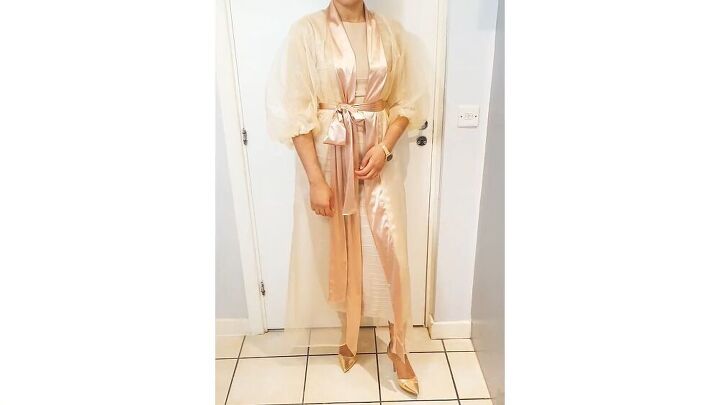
DIY open abaya
So, the DIY open abaya tutorial wasn’t complicated, right? Sure, it’s not an effortless project in terms of the duration, but would you just have a look at the result? Totally worth it! I love this so much, and I cannot wait to wear it out and strut my sheer open abaya!
The author may collect a small share of sales from the links on this page.


Comments
Join the conversation
Oh, wow, that is gorgeous! I love how shear the material is. It adds a great touch of glam to any outfit.
Could I make two small suggestions, please? Since the fabric is so sheer, it really needs french seams for the side and sleeve seams. This will encase the raw edges so they are not visible, and while I didn't see any raveling, sheer cloth is notorious for that. French seams will also prevent that possible problem.
Since you have such little sewing to do, and since the fabric is, again so sheer, could you please flat lap the elastic? Where the ends meet, just let them overlap flat. Then you could stich horizontally at the first end of elastic, sew vertically down the center of the double layer of elastic and finish with a last horizontal seam at the final end of elastic. This will prevent any lumps where the elastic ends meet.
You have created such a beautiful garment - and without a pattern - such a delightful video! Thanks for sharing!!