How to Make a Simple Turtleneck For Beginners (2 Easy Pattern Choices)

It’s winter! Are you looking to sew a DIY turtleneck sweater? Here’s how to make a turtleneck that’s cozy, soft, and flattering. The best part is, you make it yourself in the style you prefer.
Here, I'm including two turtleneck sewing patterns you can choose from. Let me show you how to make a turtleneck!
Tools and materials:
- Medium heavyweight rib-knit fabric
- Paper pattern printed
- Pins/clips
- Sewing machine
- Serger (optional but helpful)
- Scissors

Turtleneck sewing patterns
These are the patterns for the sweaters:
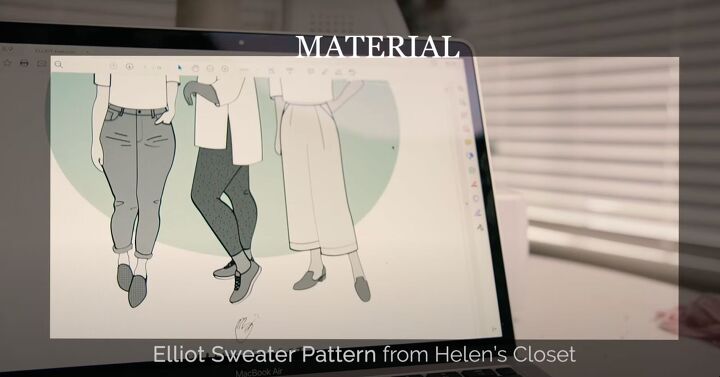
- Elliot Sweater PDF pattern from Helen’s Closet
- Toaster Sweater PDF Pattern from Sew House Seven (or you can use the printed version)
In this tutorial, I'll be using the Elliot sweater pattern, but they are all somewhat similar, including raglan sleeves.
Rib-knit fabric notes
Knit fabric may look very similar on the right and wrong side. Before you start pinning or sewing, it’s helpful to mark the wrong side.
Rib knits don’t fray. You can sew with a sewing machine or with a serger only. Using a serger helps prevent the fabric from wiggling or slipping as well as other stretch issues.
You may want to use a walking foot and ballpoint needle with a lower foot pressure setting and a longer stitch length.

Using a serger with knit fabric
When using a serger, use an adjusted setting to prevent gathering and puckering of the fabric. Adjust the differential feed to be a higher number. This leaves a beautifully smooth and professional finish.
1. Make the pattern
Use a ⅜-inch seam allowance all over unless otherwise indicated. Print the pattern and cut the fabric.
- Cut the front bodice on the fold.
- Cut the back bodice on the fold.
- Cut 2 mirrored sleeves.
- Cut the neck piece.

2. Sew the sweater sleeves
Place the bodice front on a flat surface. Clip the right sleeve at the notches.

Sew the sleeve in place. Then do the left sleeve.

Once both sleeves are sewn to the front bodice, clip the back bodice to the sleeves, right sides together. Sew them together.

3. How to sew a turtleneck collar
If you don’t have notches in the neck piece, mark the 4 center points at the neck by snipping a small snip at the center front and back, and two sides.

Stretch the fabric to see which way the stretch goes. Make sure the folding goes in the opposite way of the stretch. Fold the neck piece, right sides together and sew the sides.
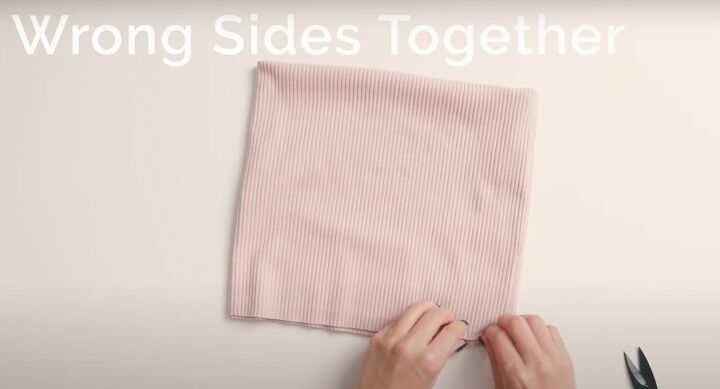
Flip the piece so it’s wrong sides together. Fold it in half. Mark the 4 centers on the neckline if there are no notches by snipping as well.

Insert the neck piece into the neckline of the bodice. Match up the notches with the raw edges meeting. Clip at the notches.
There will be a bit of a gap in the difference between the neckline and the neckpiece. This is normal and expected.
Sew or serge through all the layers. As you sew, stretch the layers to fit.

If you’ve got a serge thread tail and want a clean finish use an embroidery needle with a big eye. Thread the needle using the tail and weave it into your serging stitch. Trim the excess.

4. Sew the side seams
Place the front and back right sides together. Pin the underarm seams and side seams. Sew them together.

5. Finishing touches
Finish the sleeve edges and bottom hem in your preferred way. As knit doesn’t fray, you can leave as is. You can topstitch or understitch the neckline as an optional finish.

Another option is to make your own labels and sew them in to personalize your beautiful creations!

How to make a turtleneck
I hope you enjoyed my tutorial on how to make a turtleneck and it inspires you to make your own!
I'm wearing the dress-hacked Elliot sweater View A in a rayon blend rib knit, while my umma is wearing the Elliot sweater View B in a lightweight modal rib knit. She ended up taking this home with her!

I also made the Toaster sweater (Version 1) in a cotton-blend rib knit.
Enjoy wearing your DIY turtleneck sweater! Please let me know in the comments which one you made!
The author may collect a small share of sales from the links on this page.


Comments
Join the conversation