How to DIY a Quick and Easy Beach Cover-up

In this tutorial, I’m going to show you how to make a tulle dress. This DIY tulle dress can be worn a million different ways, even as a DIY beach cover-up.
You can wear it a ton of different ways and completely transform it based on the fabric you use.
Tools and materials:
- Tulle fabric
- Fabric scissors
1. Choose your fabric
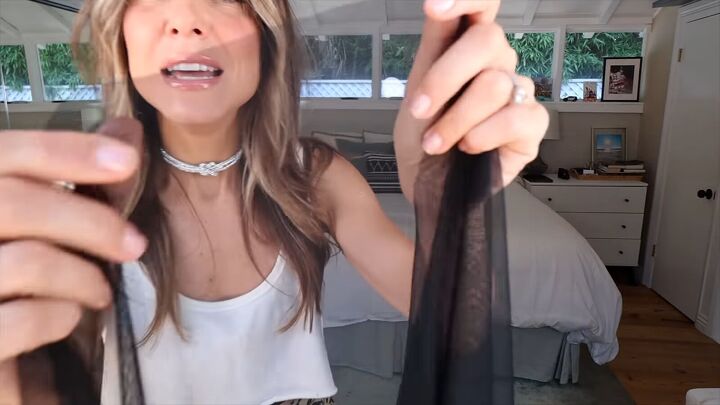
The fabric I’m using is this netting that’s not crunchy and stiff. It’s very drapey, so it’ll fall a bit nicer.
When you’re choosing your fabric, you want it to have a bit of weight so it falls on you.
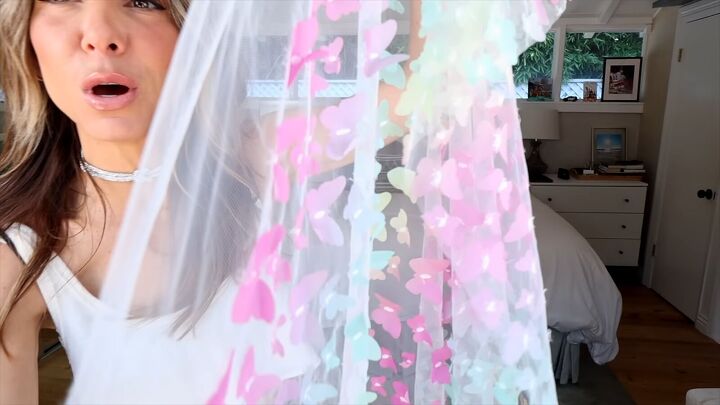
I also have this rainbow, three-dimensional butterfly fabric for a mini version.
Whatever fabric you choose, you’ll need 2-3 yards of fabric, depending on how long you want it.
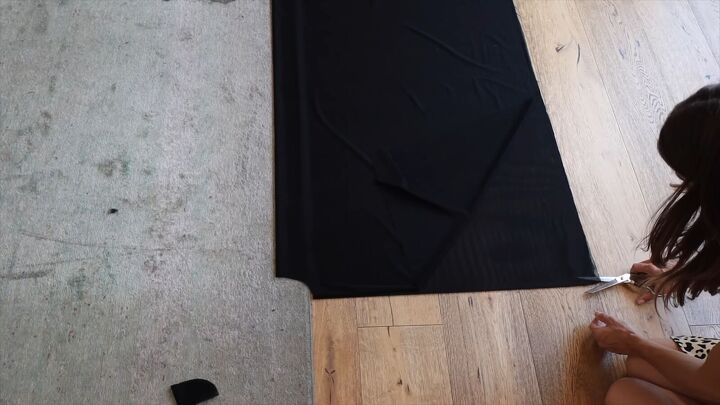
2. Cut off the edge (optional)
If your fabric has a selvage or perforated edge, cut it off. If your fabric’s edge looks cool, you don’t need to do this but mine wasn’t.
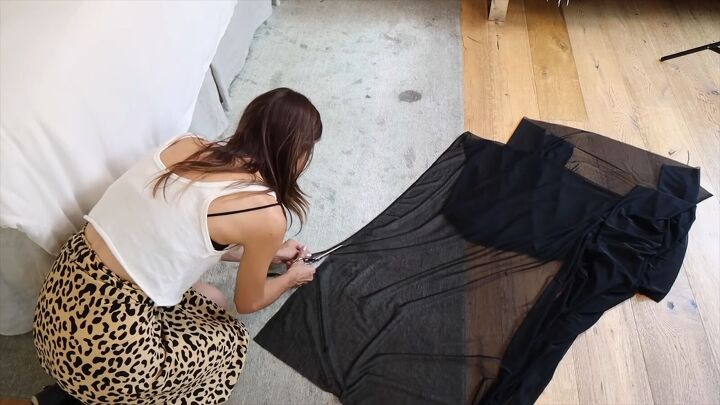
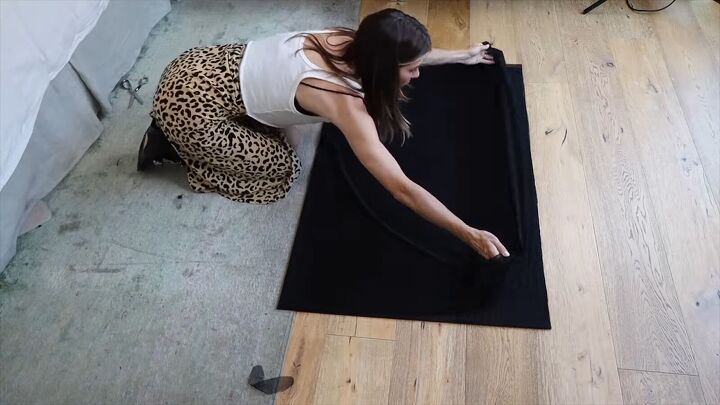
3. Fold the fabric in half twice
Fold your fabric in half. The way mine is folded is with the fold on the bottom of the screen.
What I’m touching is the hem, which will be the bottom of my dress. The right and left are going to be the sides of my body.
Take the “hem” and fold it in half again.
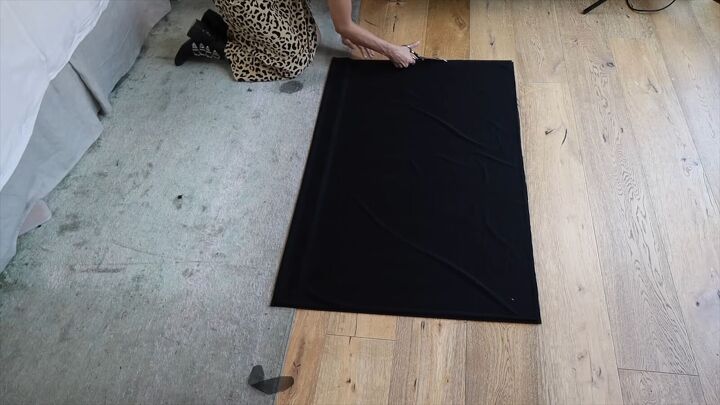
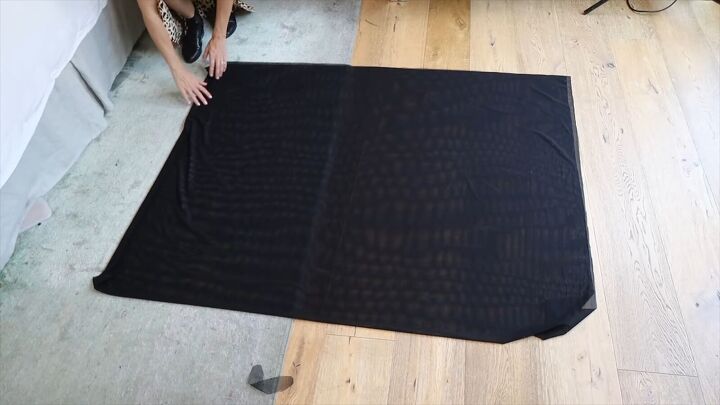
4. Straighten off the edges
By folding the tulle in half, you’ll be able to see what’s even and what needs to be cut to be straightened off.
If necessary, go ahead and do that now.
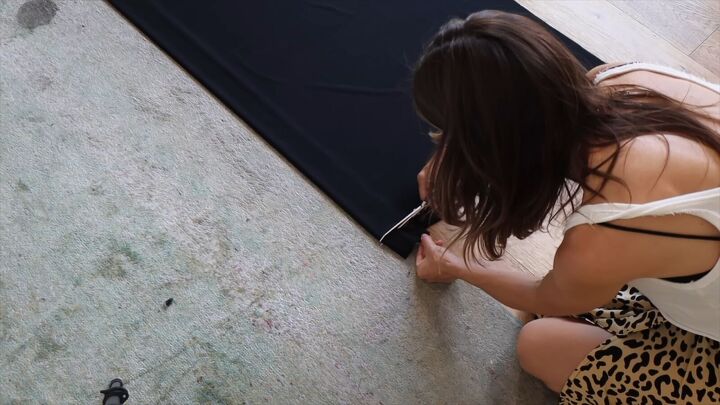
4. Cut a small circle in the corner
Cut a small quarter circle in the bottom left corner of the fabric.

This is going to be a perfectly symmetrical circle dead-center in your fabric.
When you unfold it once, it’ll be a half circle. When you unfold it entirely, it’ll be a full circle. This will form the neckline.
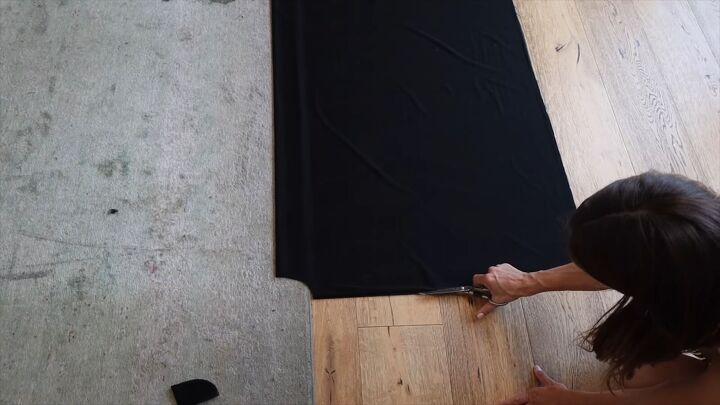
5. Slice open the folds
Slice open the fold, by cutting towards the neckline. Leave about eight inches closed.
Whatever is not cut becomes our shoulder. That’s the solid part. The part that is sliced falls open, draping beautifully.
Fold away the top and repeat for the next fold.
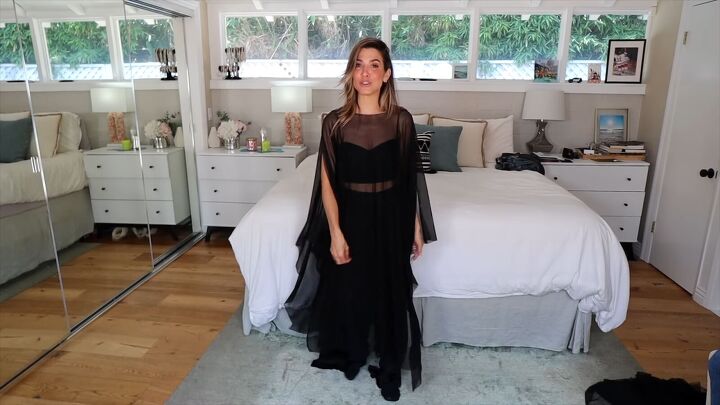
Here’s what the top looks like on its own. It’s very yacht-worthy and expensive-feeling, but I want to belt it to create a bit of structure.
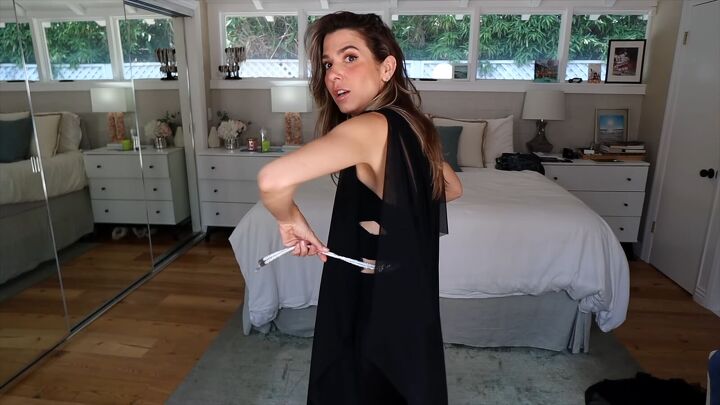
6. Style it
I’m using a belt with Rocksoft cording, so it’s not going to snag on the tulle, which is super-snaggable material.
To make it easier, I only belted the front by placing the belt against my back rather than against the back of the top.
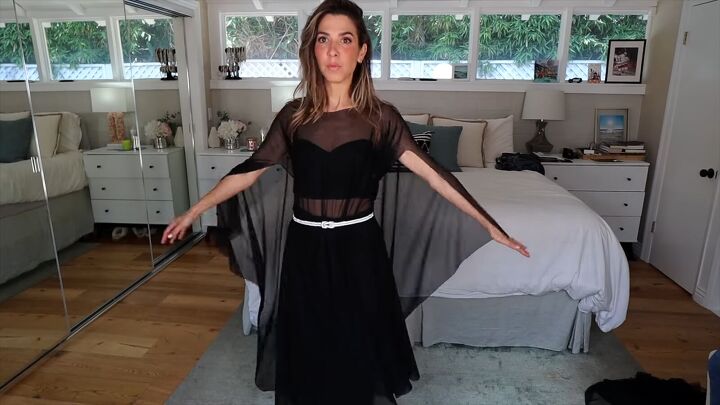
Here’s what that looks like. This look is wedding-worthy!
If the top was lace with a scalloped edge, it would look really cool. You can even do embroidered or sequined fabric.
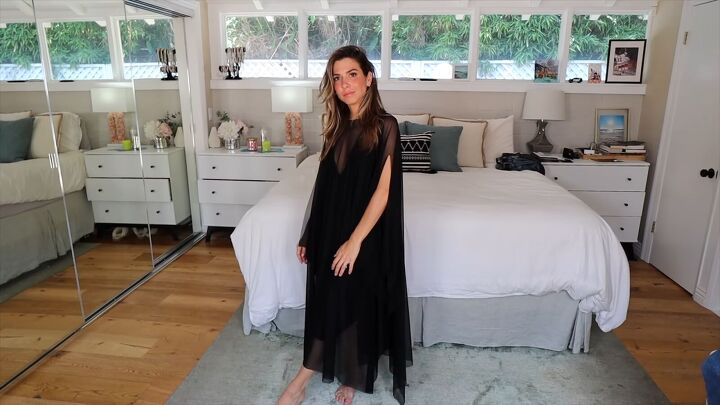
Even when it’s really loose and not-belted, it feels really elegant and chic.
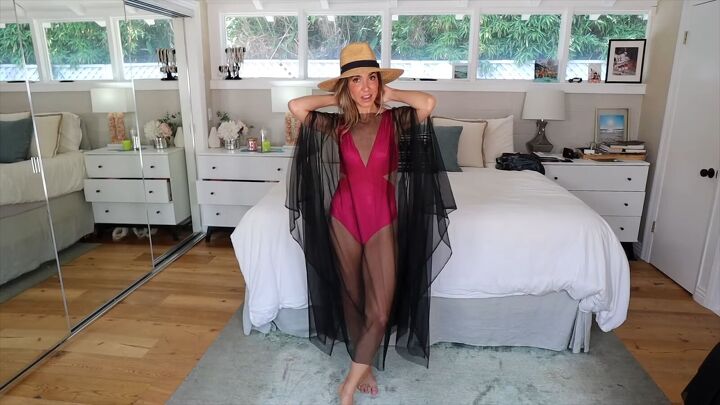
As a DIY beach cover-up, it feels so good. All it took was a circle, a slice, and you’re done.
I can’t recommend this DIY enough. It’s so easy and the impact is so high.
Let me know which fabric you’d try this with in the comments below!
Next, learn How to DIY a Sexy Summer Top From Doilies.
The author may collect a small share of sales from the links on this page.


Comments
Join the conversation