Cute and Stylish DIY Off-shoulder Top Tutorial

Are you a confident beginner or intermediate sewist who loves to take on a challenge and try something new?
Then this DIY off-shoulder top is a perfect project for you.
With a few measurements, you can upcycle a t-shirt into a stylish, fitted top that looks stunning.
Tools and materials:
- Oversized t-shirt
- 1 inch wide elastic
- 1/2 inch wide elastic
- Safety pin
- Measuring tape
- Fabric marker or tailor’s chalk
- Ruler
- Scissors
- Pins
- Sewing machine
1. Take your measurements
Take these measurements, or get someone to help you take them, and write them down. I’ve given my measurements in brackets.
The length of your top from 6 inches below your collarbone to where you want it to end (15 inches) and add 1 inch for the hems.
Measure from the same point to the fullest part of your bust (5.5 inches), and to under your bust (8.5 inches).
If you want your top to be longer than waist length, measure the length to your waist as well.
You will also need to measure around the fullest part of your bust (37 inches); around yourself under your bust (30 inches) and around your waist (28 inches).
Add a little ease and divide the final measurements by 4.
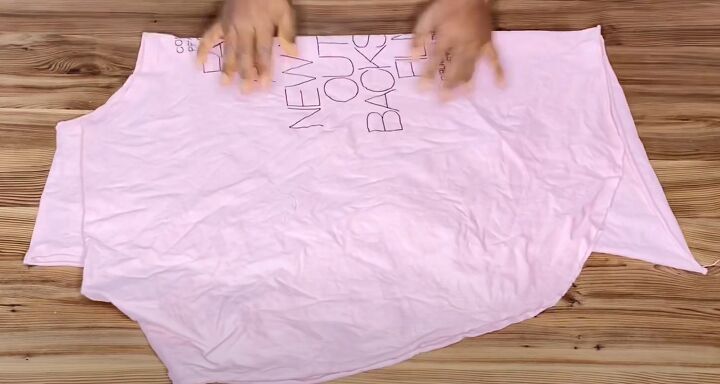
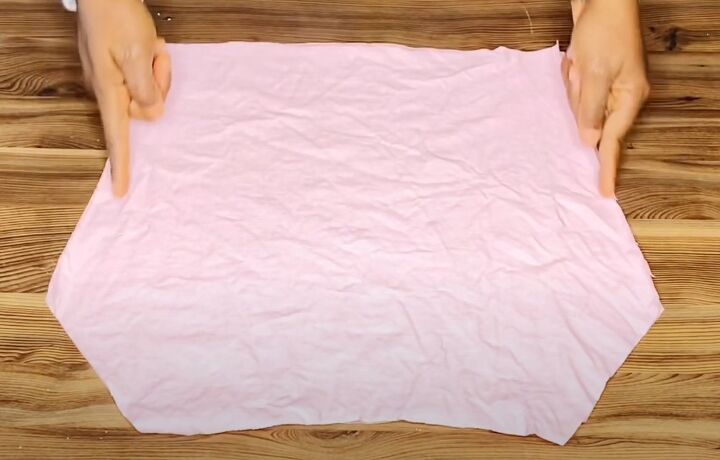
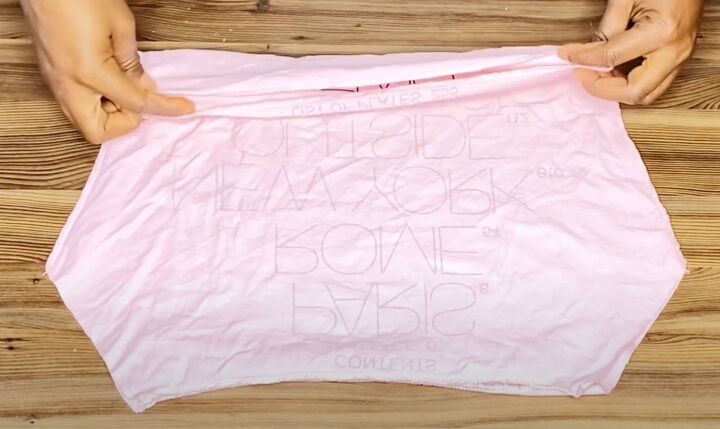
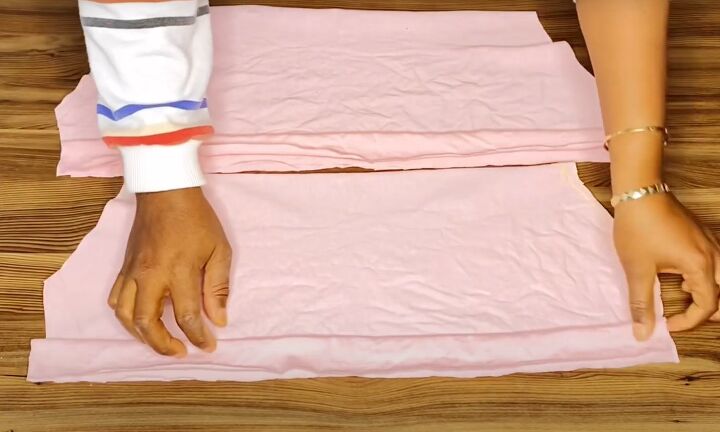
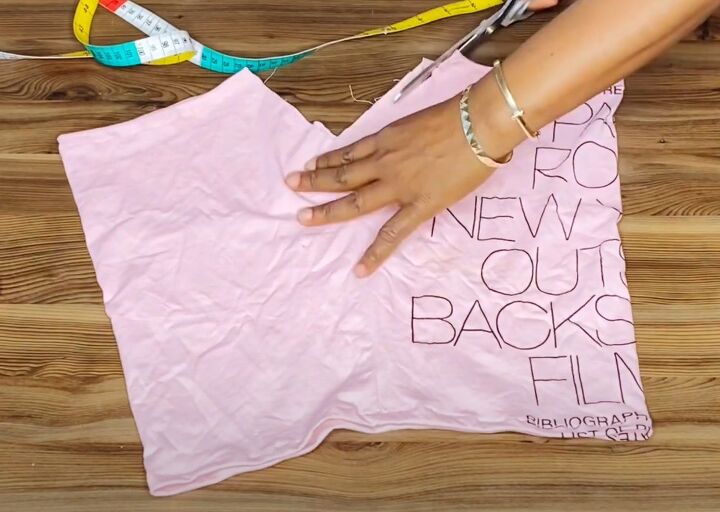
Fold your t-shirt in half lengthways with the center front facing you, and line up the shoulder and side seams.
My top was asymmetrical, so I matched the front and back where I could.
2. Cut out the bodice
My t-shirt already had quite a low neckline, so I measured the length from about 1 inch below it.
If yours has a standard high round neckline, start measuring from 6 inches below it.
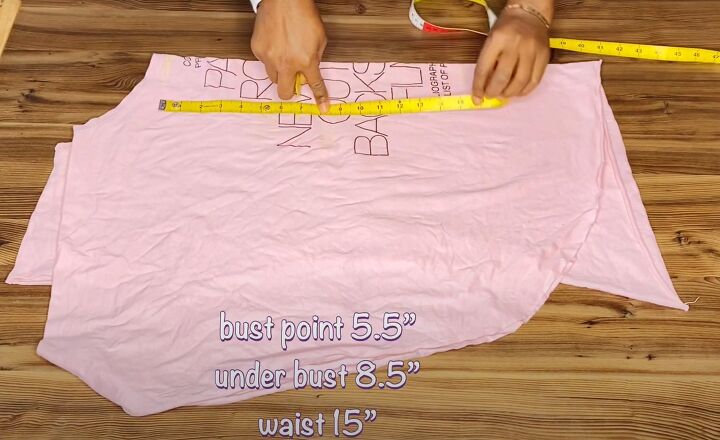
Measure and mark the lengths of your top, the bust point, under bust and waistline with tailor’s chalk.
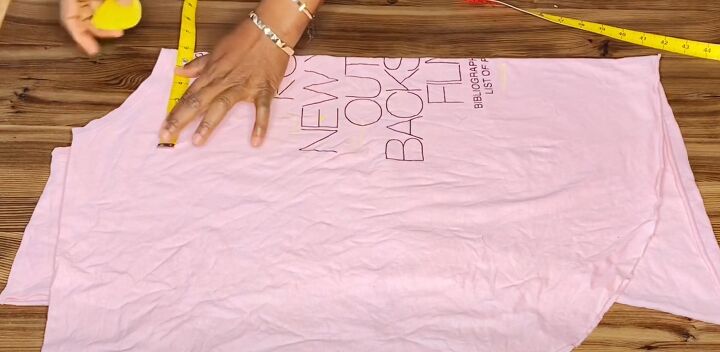
Measure 6 inches from the center front fold for the neckline width.
Mark the width of a quarter of your bust measurement at the bust point.
Continue marking the quarter-width of your under bust and waist at the appropriate lengths.
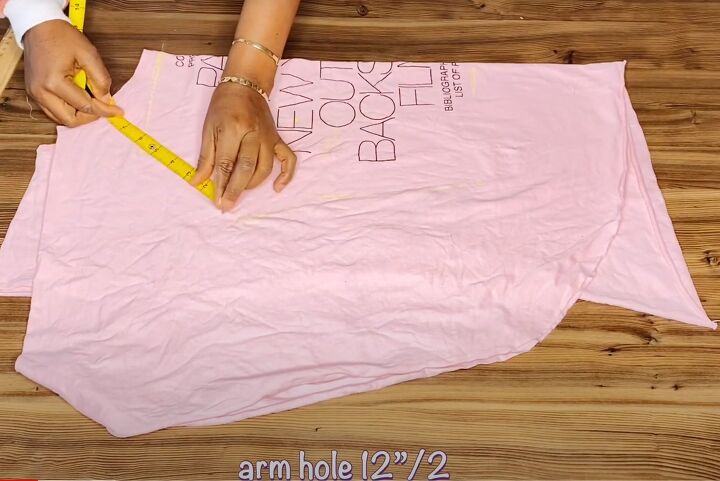
Use a ruler to join the points together, making sure you have an armhole length of 6 inches between the ends of the neckline and bust marks.

Cut out the bodice shape.
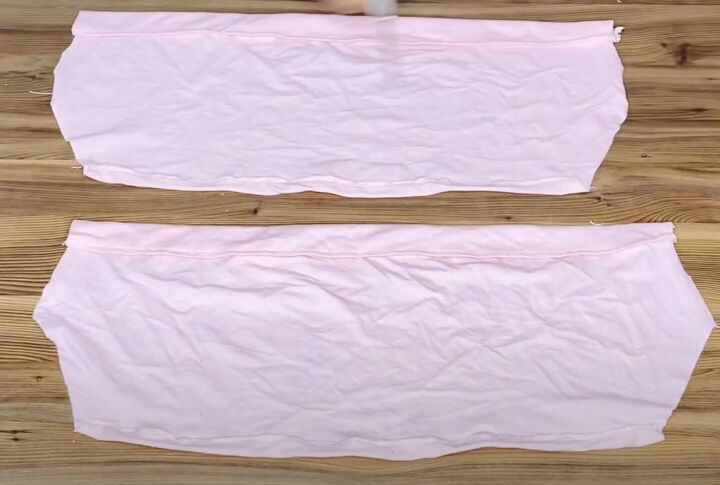
3. Assemble the bodice
Place the back and front with the right sides together and sew the side seams.
Turn in a single half inch hem at the neckline and lower edge and sew.
There’s no need for a double hem as t-shirt fabric doesn’t fray.
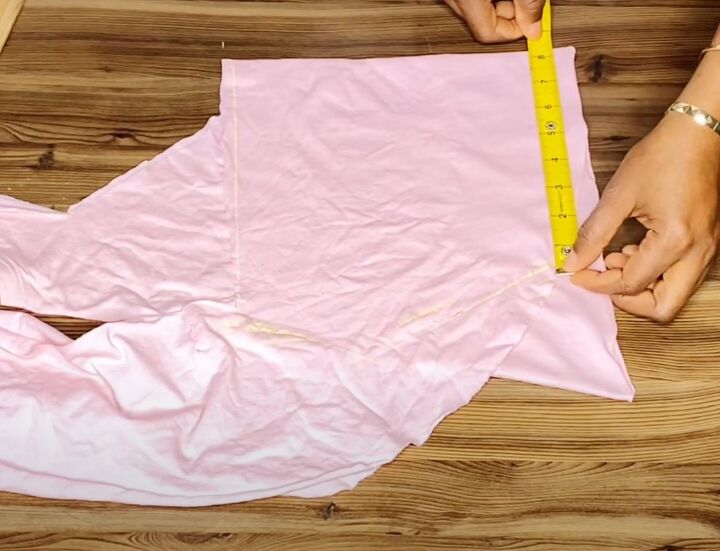
4. Cut out the sleeves
Fold a 9 inch by 20 inch piece of your surplus fabric in half. From the fold, measure 8.5 inches along the open edges and draw a line.
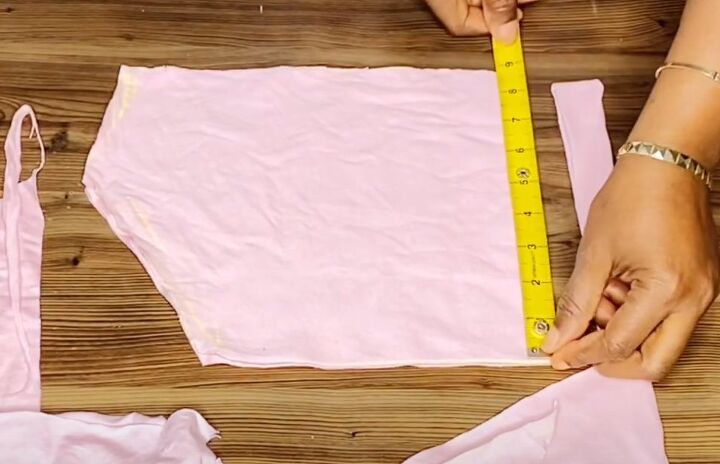
Measure 9 inches along the fold for the sleeve length and draw a 10 inch vertical line parallel with the first.
From the top of the first line, draw a diagonal line 6 inches long for the underarm and join that to the top of the second line with a 4 inch diagonal line for the sleeve seam.
Cut the sleeve out and use it as a template for the second sleeve.
Cut a strip of fabric on the bias for each sleeve, 22 inches long by 3 inches deep.
5. Make the elastic casings
Fold the bias strip in half lengthways with the wrong sides together.
Pin and sew it to the lower edge of each sleeve with the right sides facing.
Turn in the opposite edge of the sleeve by half an inch and sew in place.
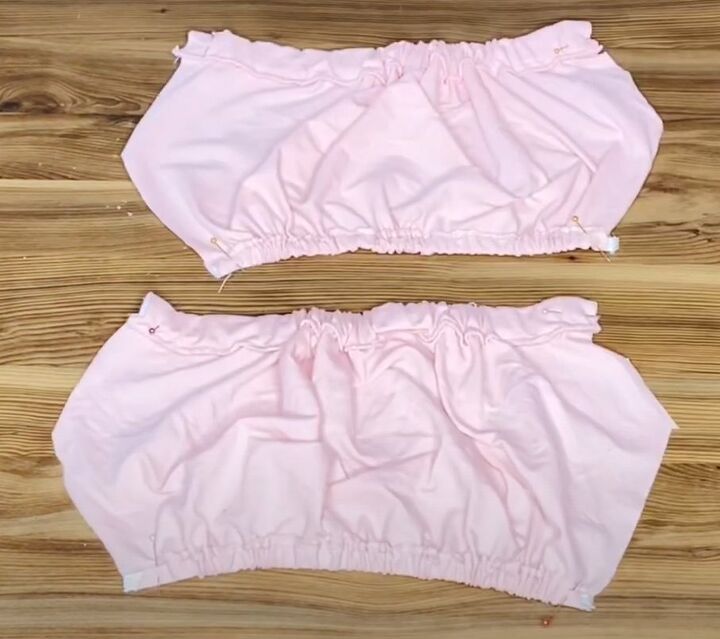
Cut the 1 inch wide elastic into two 11 inch long pieces. Feed them through the lower sleeve casings and pin in place.
Cut the 1/2 inch wide elastic into two 10 inch lengths and feed them through the upper casings.
Tack the elastic in place at the edges.
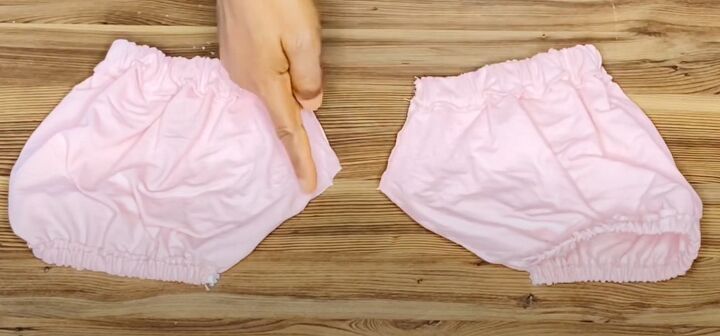
6. Insert the sleeves
Fold the sleeves in half with the right sides together and sew the inner sleeve seams.
Turn the sleeves right side out.
Fold the bodice in half lengthways at the center front and back, matching the two halves of the armholes.
Measure 5 inches from the center front along the neckline. Cut from there to the lowest point of the armhole through both layers.
Measure 5.5 inches along the back neckline, and repeat.
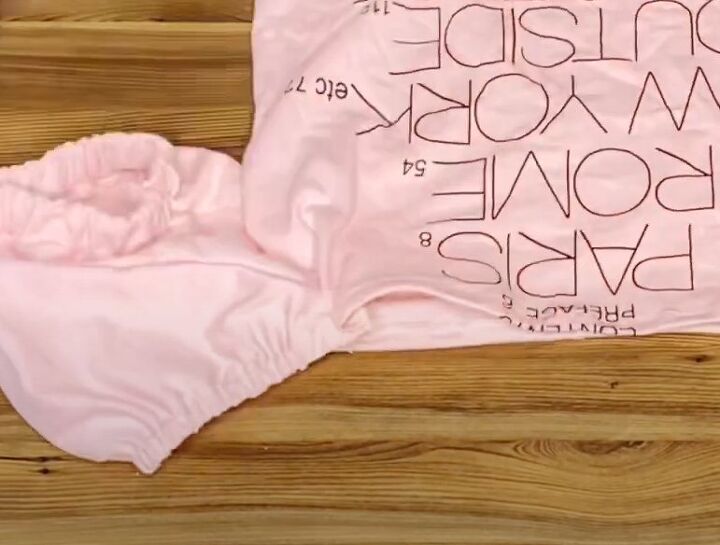
Pin and sew the sleeves to the armholes, with the right sides together.
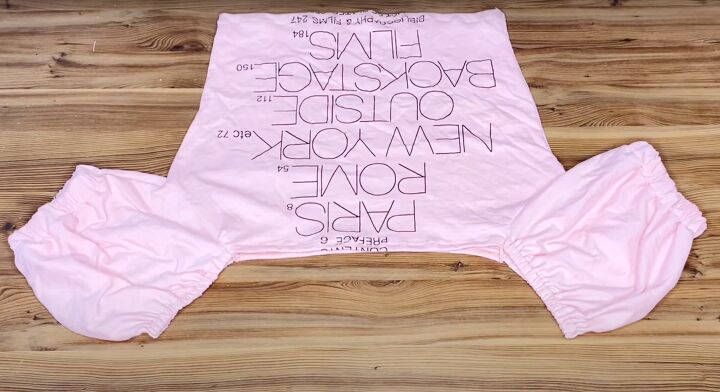


DIY off-shoulder top
You can wear this stylish, versatile top on or off your shoulders. The more accurate your measurements, the better the fit will be.
If you don’t want your top to fit as closely as mine, add some ease to the width measurements before cutting it out.
I’d love to know what you think of it! Please drop me a comment below.
Next, check out my Easy Upcycled Denim Skirt Tutorial.
The author may collect a small share of sales from the links on this page.


Comments
Join the conversation