How to Make a DIY Backless Halter Top For Hot Summer Nights

Today, I’m going to be showing you how to make an easy, trendy, and sexy DIY backless halter top. It was a pretty quick project, and I really love how it turned out. So follow along to see the process of how to make a backless halter top that will quickly become one of your favorite summer wardrobe pieces.
Tools and materials:
- Fabric
- Scissors
- Measuring tape
- Chalk
- Pins
- Sewing machine
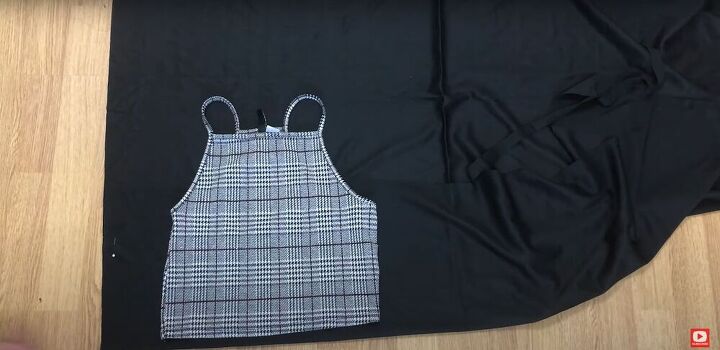
1. Make a pattern and cut the fabric
To begin, I folded my fabric in half. If you have a top like the one shown here, you can trace around it and use it as a pattern for this top. Otherwise, follow the instructions in the video from 1:01-1:54 to mark and cut the fabric. Make sure to use your own measurements.
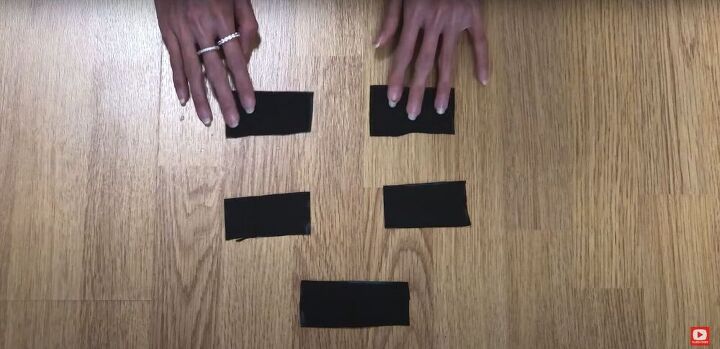
2. Cut rectangles
Next, I cut five rectangles, each 8 centimeters (3.15 inches) in length and 4 centimeters (1.57 inches) in width. I really only needed four rectangles, but I cut an extra just in case I made a mistake.
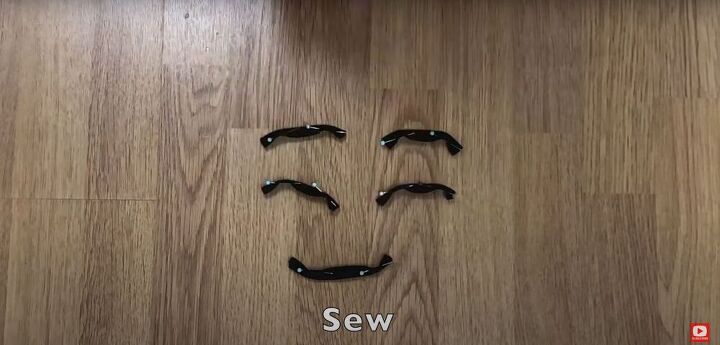
3. Pin and sew the loops
I folded the long edges of each rectangle in by about a centimeter (0.4 inches) and then folded the rectangle in half to hide the raw edges. Then, I pinned everything in place and sewed them down. These will be the loops that hold the straps in the back of the top.
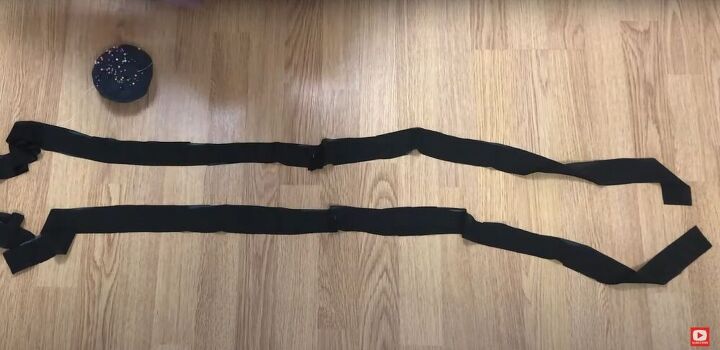
4. Cut the straps
For the straps, I cut two long strips of fabric, each about 150 centimeters (59 inches) long and 4 centimeters (1.57 inches) wide.
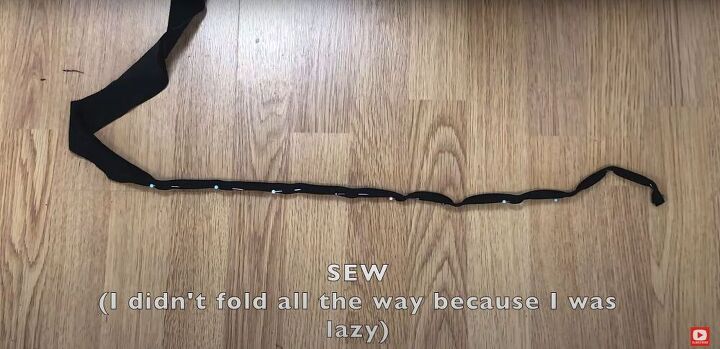
5. Fold, pin, and sew the straps
Just as I did with the loops, I folded about a centimeter (0.4 inches) of fabric towards the center along both long edges, then folded the strip in half to hide the raw edges, and sewed it down. I only pinned part of the strap. The rest I just folded in as I was sewing.
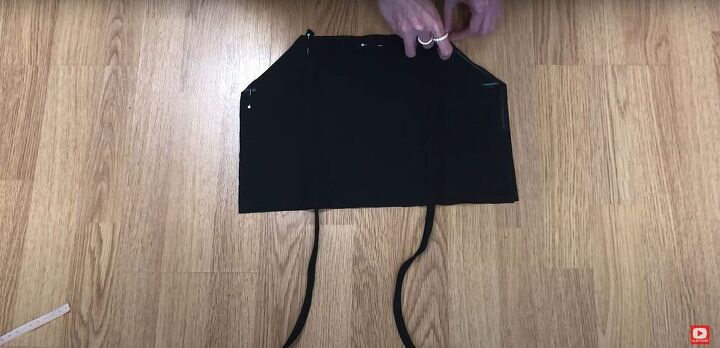
6. Pin the straps to the bodice.
Next, I sandwiched the straps between the two layers of the bodice and pinned them in place in the upper corners.
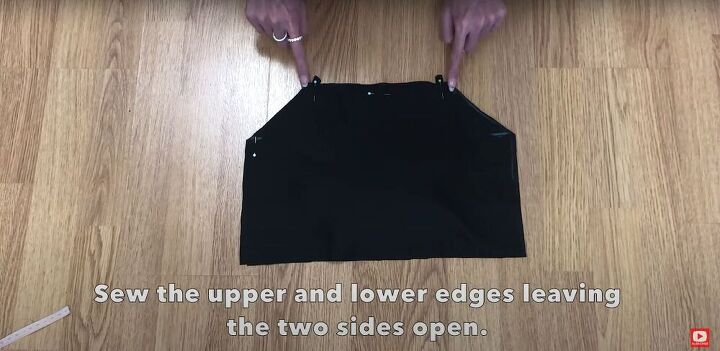
7. Sew the edges
I made sure the loose ends of the straps were collected between the two layers of fabric. I sewed the upper and lower edges, including the diagonal edges, and left the sides unsewn.
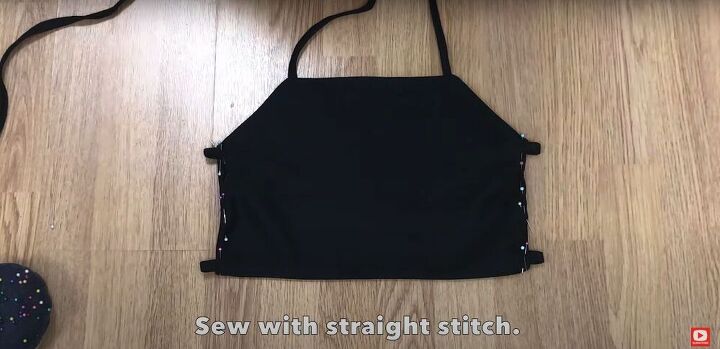
8. Pin and sew the side seams
Once the top and bottom edges were sewn down, I turned the fabric right side out. I folded in the edges of the openings on the sides by about a centimeter (0.4 inches) and pinned them in place.
Next, I folded each loop piece in half and pinned them in place at the corners of the top, sandwiched between the two layers of the bodice. Once everything was pinned, I sewed down the side seams.
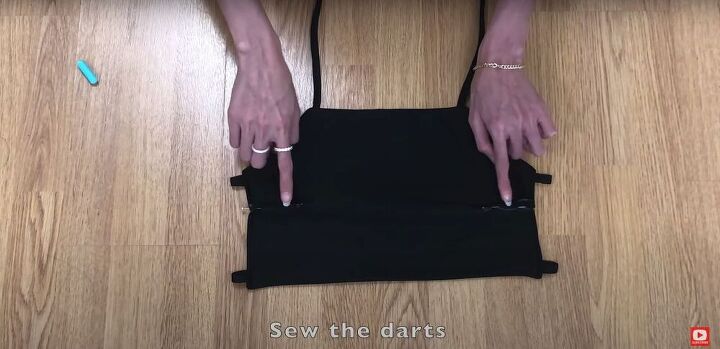
9. Make darts
To make a dart, make a mark at 7 centimeters (2.76 inches) on the upper side of the bodice, then make two marks a centimeter (0.4 inches) from the first mark. From the side, make a mark 6 centimeters (2.36inches) inwards. Connect the three marks to make a triangle.
Fold the triangle inwards, pin it in place, then sew it down. Repeat for the other side.
10. Insert the straps
Finally, I ran the straps through the loops and I was done!

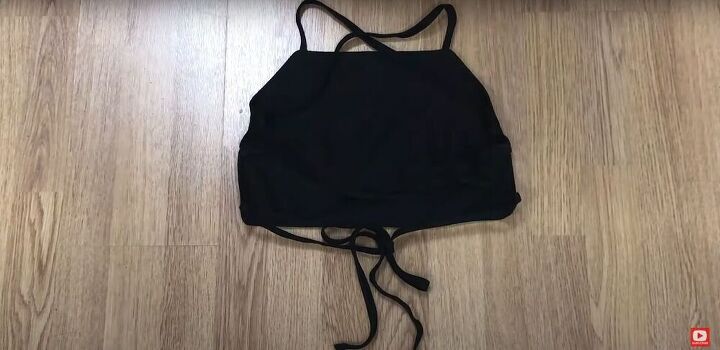
DIY backless halter top tutorial
Here’s the final result! This DIY backless halter top is so cute and trendy, and I love it! I usually style it with high-waisted jeans or shorts.

What do you think of my backless halter top sewing pattern? If you use my tutorial to make a backless tie top of your own, I’d love to see your results!
The author may collect a small share of sales from the links on this page.


Comments
Join the conversation