How to DIY Super Cute Tops From Napkins

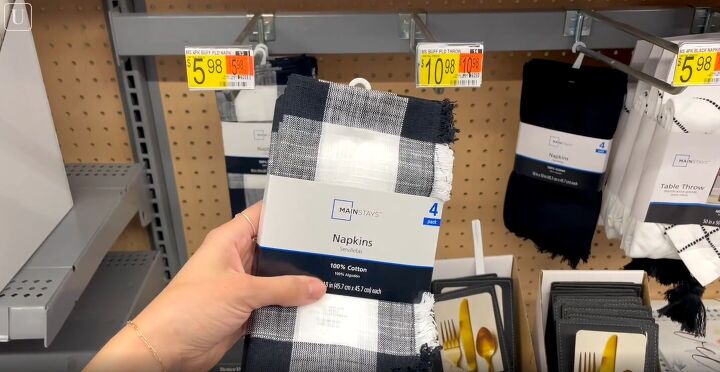
I found these adorable cloth napkins at Walmart and I just had to make a DIY napkin top out of them. Follow along with this easy tutorial and you’ll have yourself a unique napkin top.
This post was transcribed by a member of the Upstyle Editorial team from the original UpstyleTV episode.
Tools and materials:
- 8 cloth napkins, 18” x 18”
- Iron
- Tailor’s chalk
- Yardstick
- Fabric scissors
- Sewing machine or needle and thread
- Straight pins
- Pencil
- Dark cord
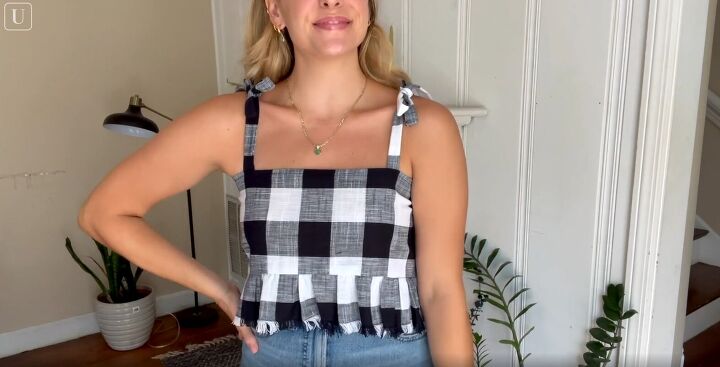
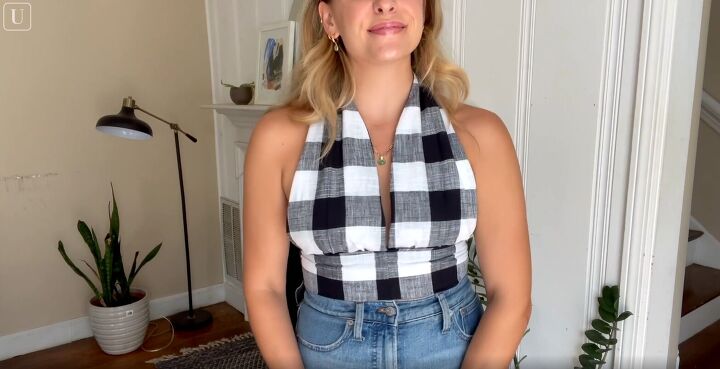
The checked crop top
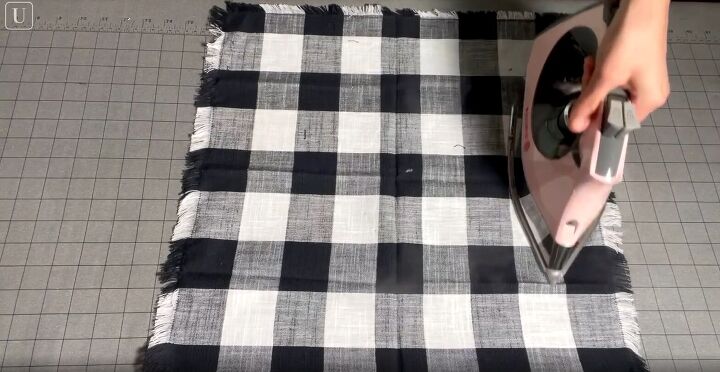
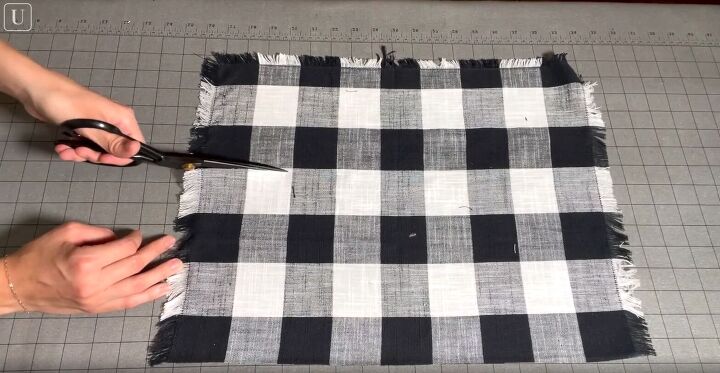
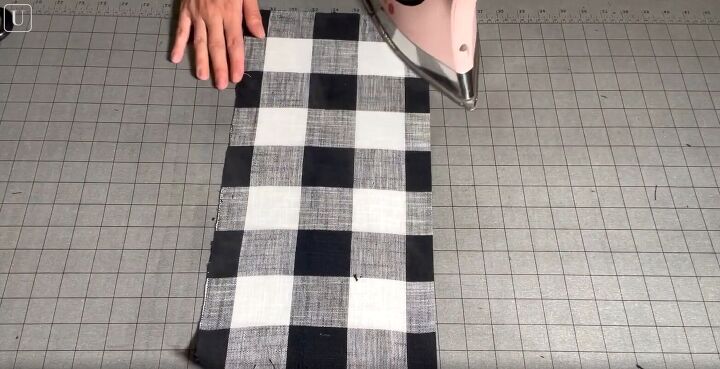
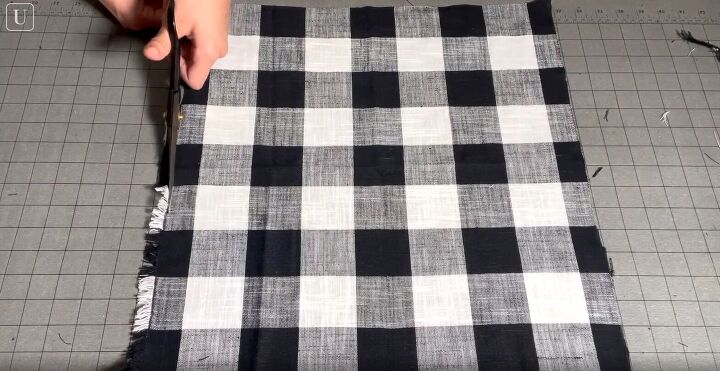
1. Prepare your first set of rectangular pieces
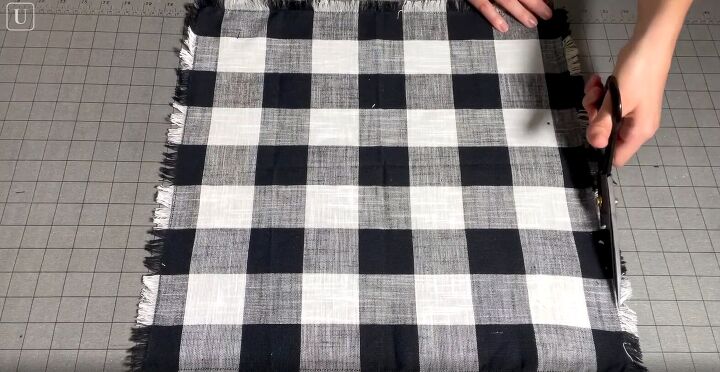
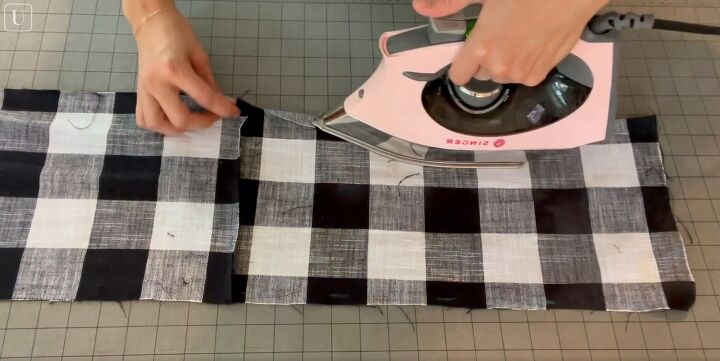
Iron your cloth napkins.
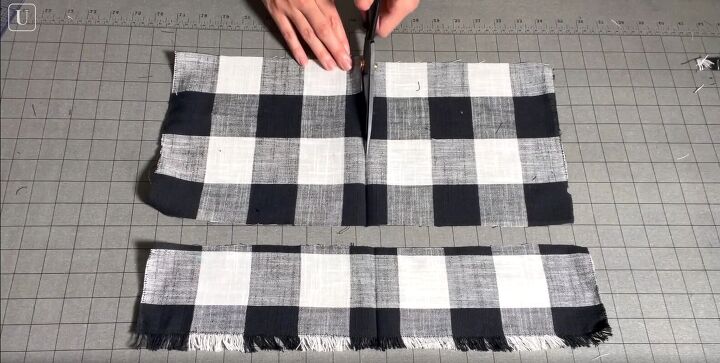
Next, with tailor’s chalk, mark about 4” from one end.
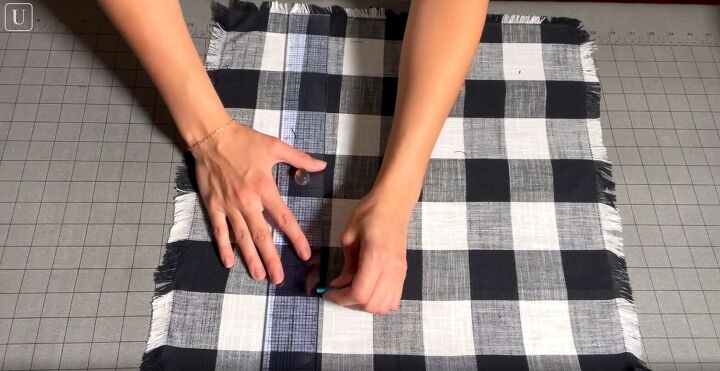
Then cut straight across.

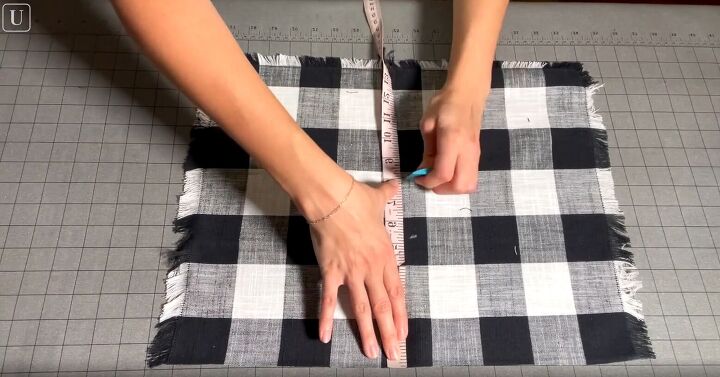
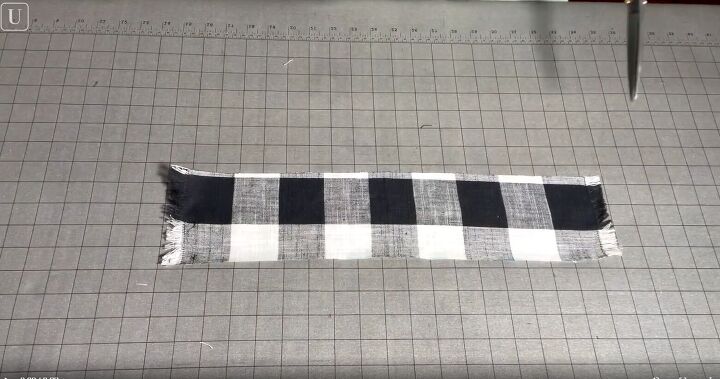
From the rectangle remaining, measure down another 8” and cut again.
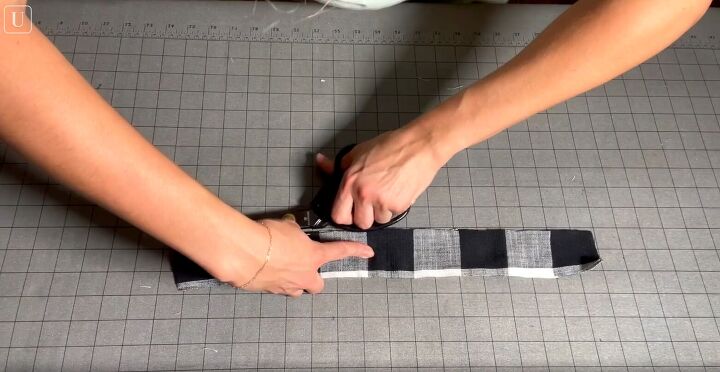
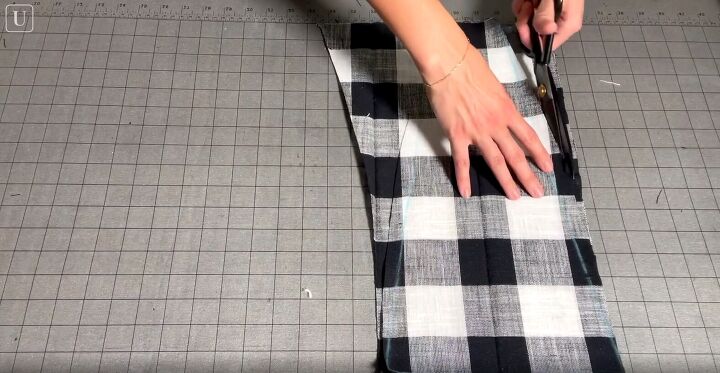
With your remaining fabric, cut shoulder straps. Measure and mark to cut a 4” strip.
Cut off the frayed sides, fold it in half horizontally and cut down the middle to create 2 straps.
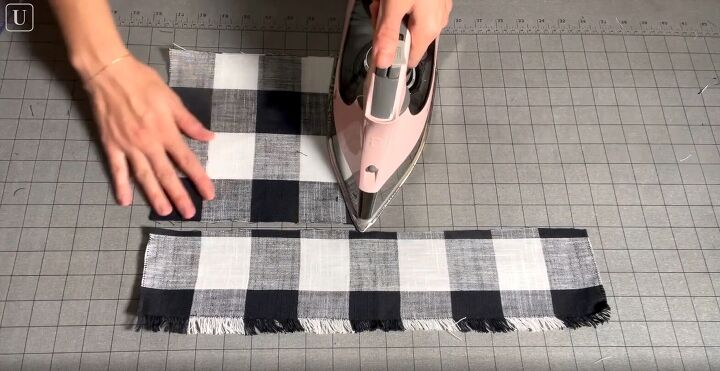
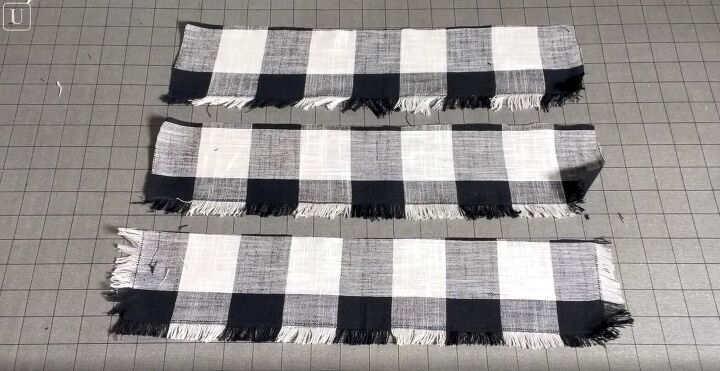
2. Duplicate
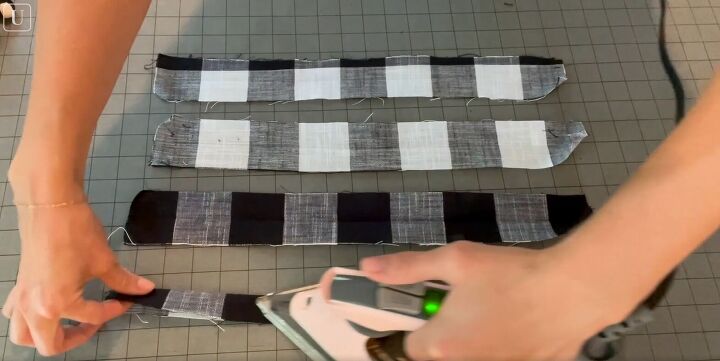
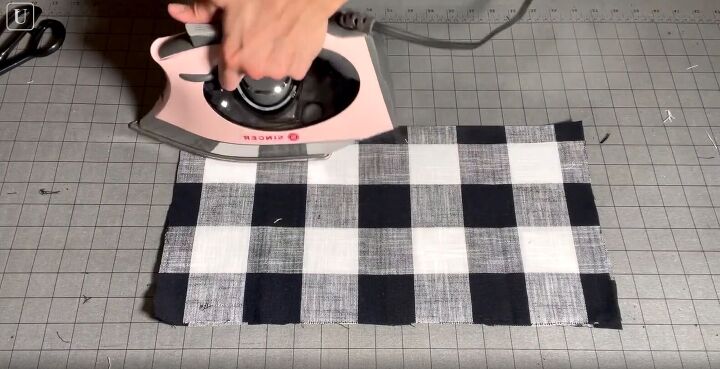
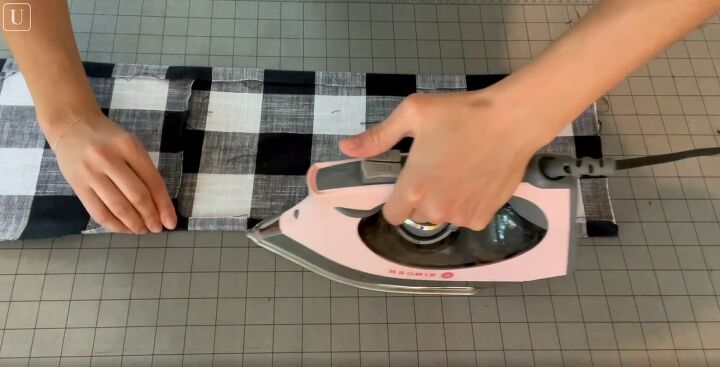
With a new, ironed napkin, cut the same exact pieces again. Cut off all frayed edges. (See video 0:36-0:47)
3. Prep one bodice piece
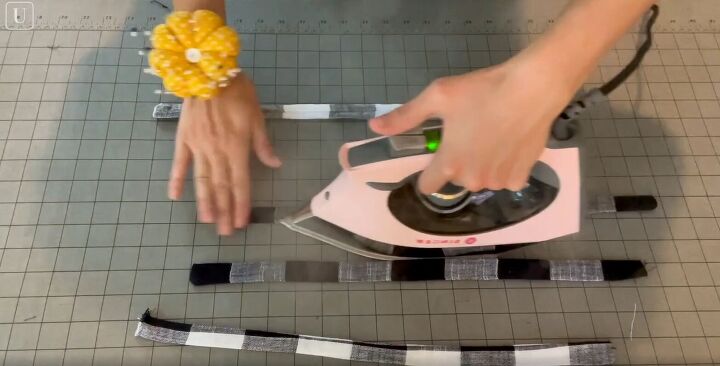
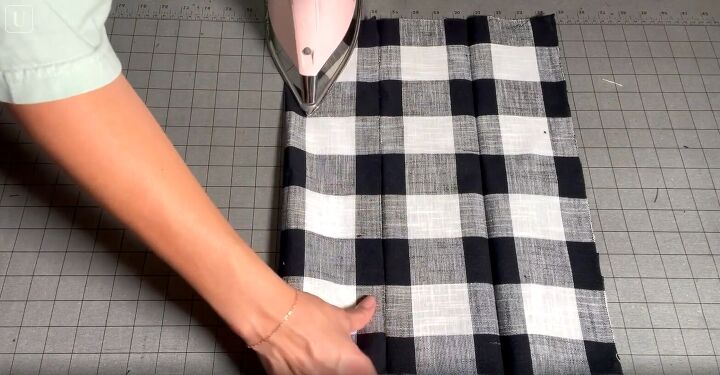
Take one main bodice piece, fold it in half and iron on the crease.
Then, cut down the crease.
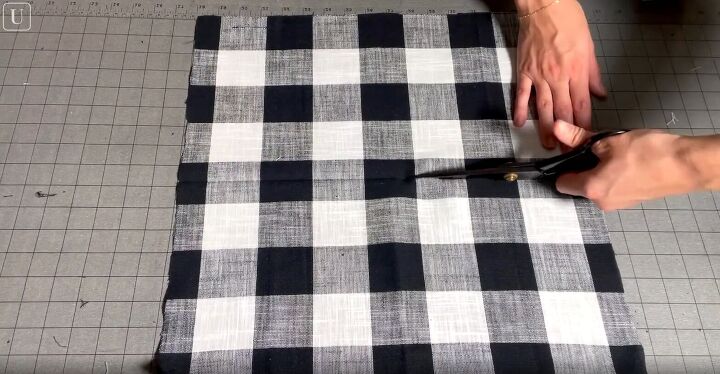
4. Create pieces for lower bodice
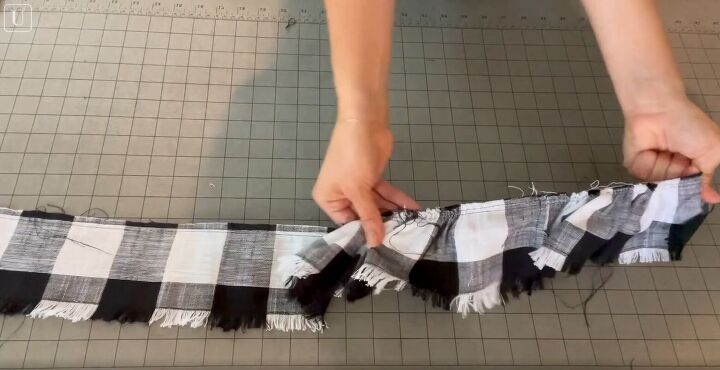
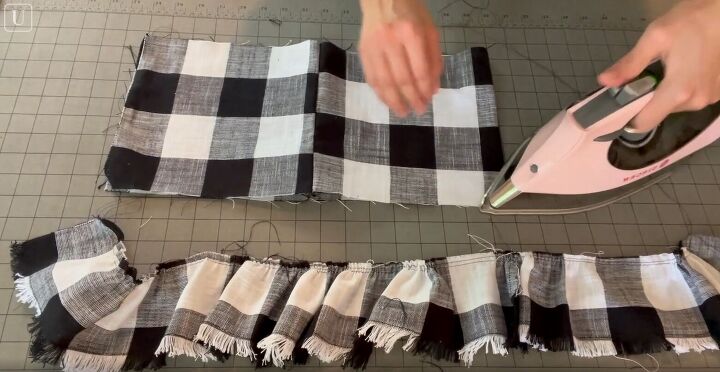
Take another napkin and cut another smaller piece with the frilled edge. Now, you should have 3 of those pieces.
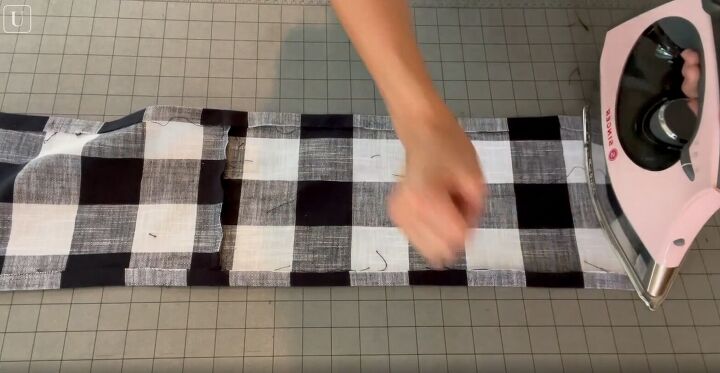
Iron them out, then pin them to make one large strip. Ultimately, you will place this strip at the bottom of the bodice. (See video 1:12 -1:21)
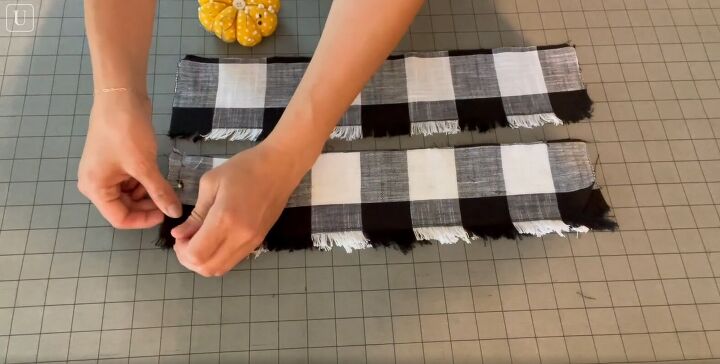
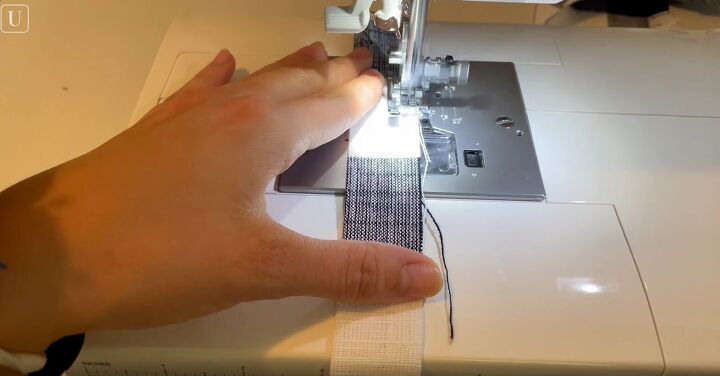
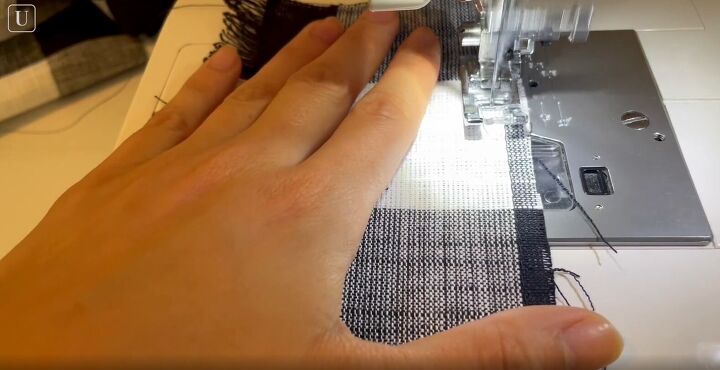
Next, sew those pieces together.
5. Create the straps
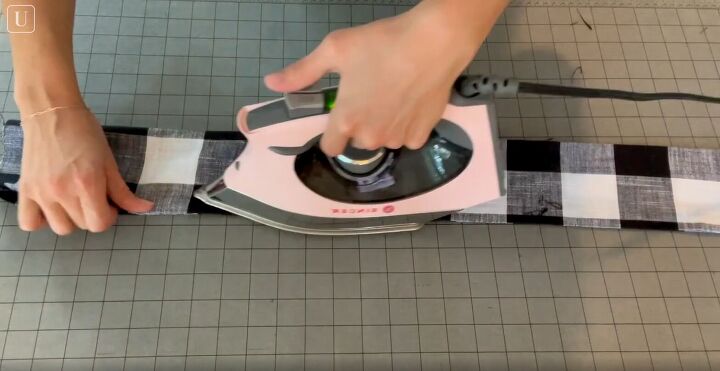
Fold the strap pieces in half horizontally and press them down with your iron.
Sew along one of the short edges, then sew down the open, long edge, leaving the other short end open.
With a dull pencil, reverse these strap pieces so that they are right side out.

Once reversed, they should look like tubes. Press these tubes with your iron to make crisp straps.
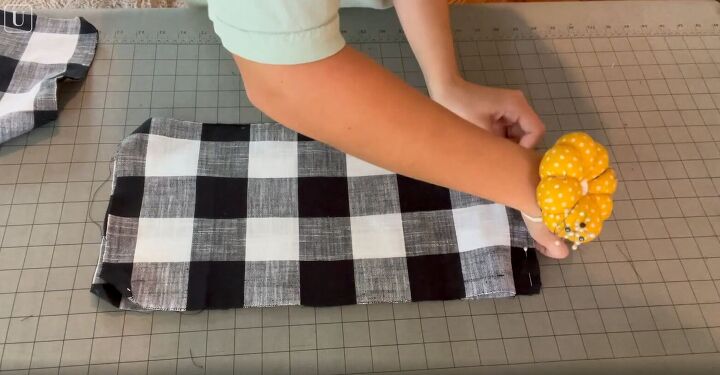
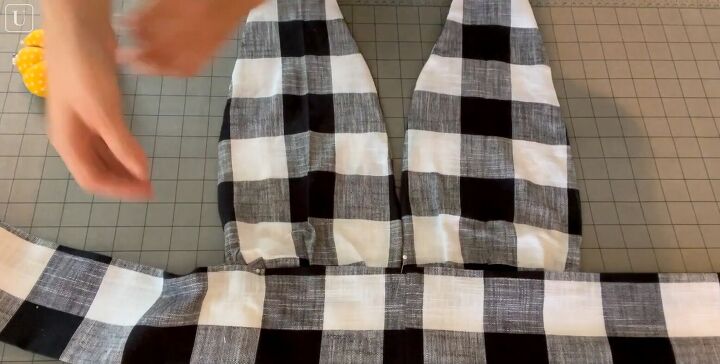
6. Create the bodice
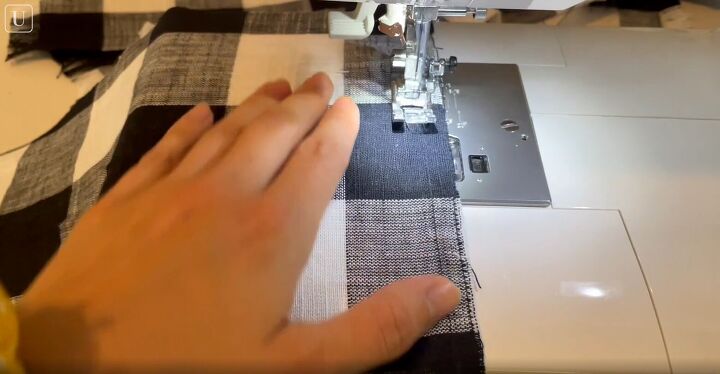
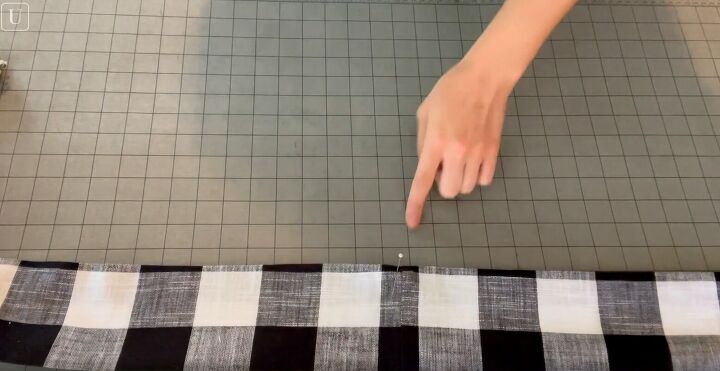
Pin the back bodice pieces on top of the front pieces, right sides together.
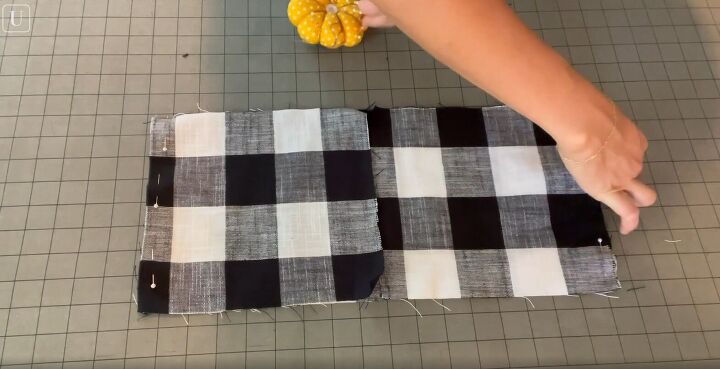
Sew them down at the side seams.
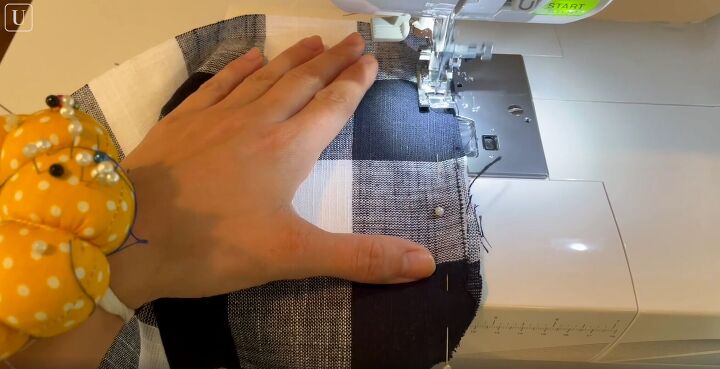
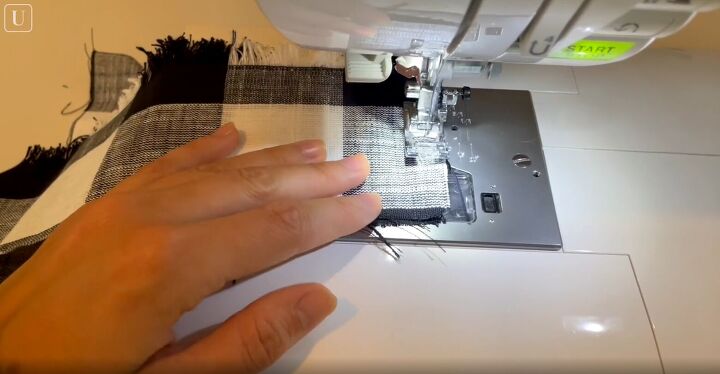
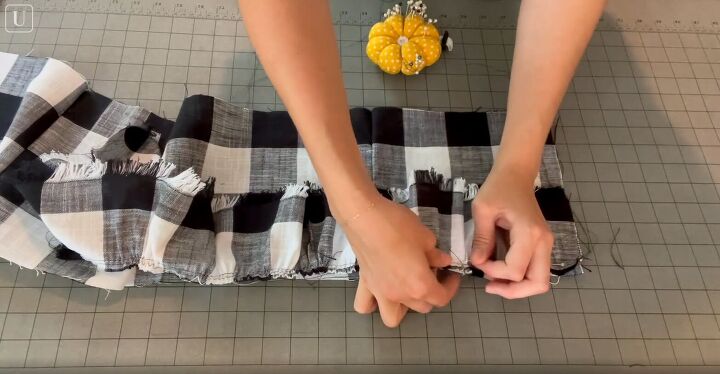
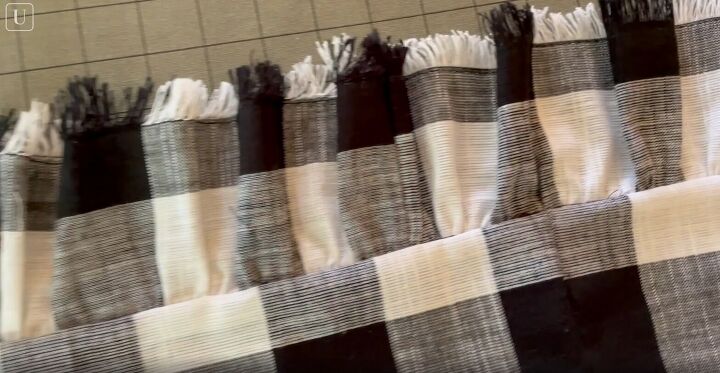
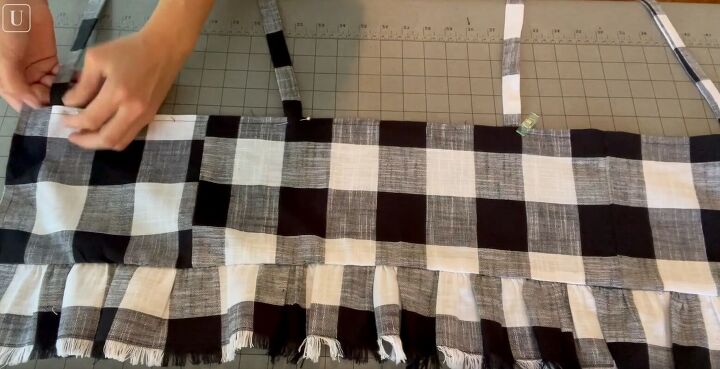
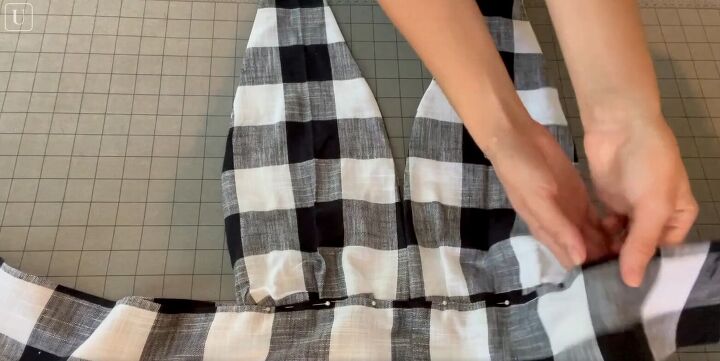
Grab the long pieces with the frilled edge and sew a basting stitch along the whole top edge. Then, add another row right above it. (See video 2:15 - 2:30)
Grab the excess thread at the end and pull to bunch the fabric, making a ruffle.
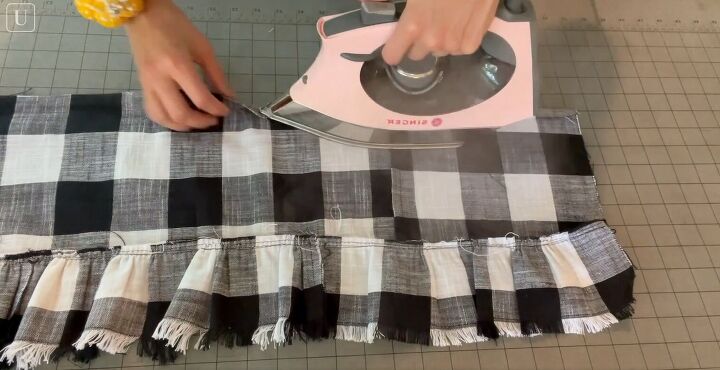
Mark the middle point of the bodice by folding it in half and creasing just the edge with your iron.
Match that point up with the middle of the frilled piece.
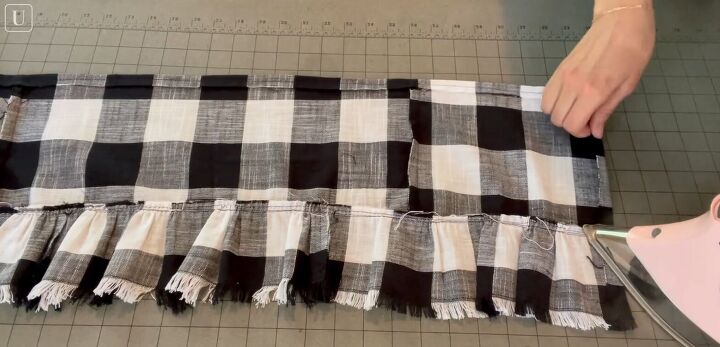
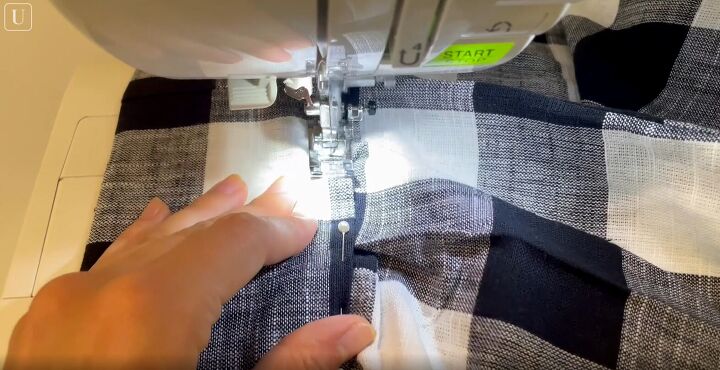
Once you’ve gotten the frilled piece to match the width of the main bodice piece, secure them together with pins, right sides together.
Finally, sew along the bottom to achieve this beautiful, custom frill.
7. Create a hem at the top of the bodice
Fold down about a ¼” of the top of the bodice and iron it down, then sew it.
Also, do the same thing to the open ends on the sides of the bodice and sew.
Make sure you are folding the fabric toward the inside of the top, to hide those hems.
8. Attach the straps
Affix the strap pieces in place with pins, then sew them down.
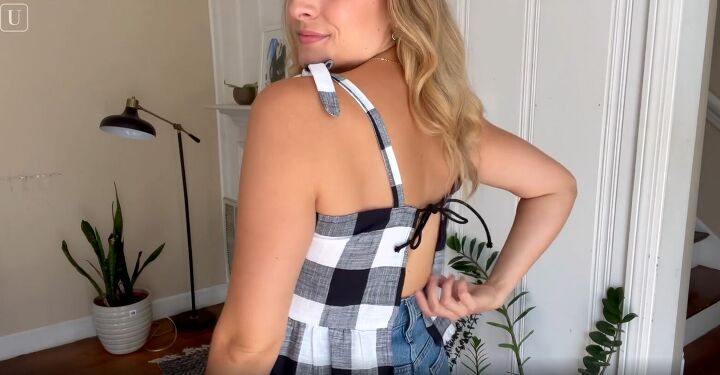
I also added a little tie in the back to mock an open-back look. Here’s the final look for this easy, DIY checked blouse:
And here’s a look at the back:
The DIY halter top
1. Prep your napkin
Iron 1 table napkin and cut off the frayed edges.
Fold the napkin in half and crease the edge with your iron.
Then, fold and iron again in thirds to make reference points for later.
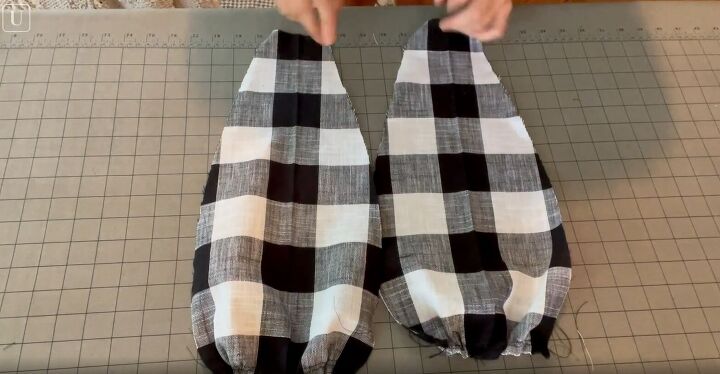
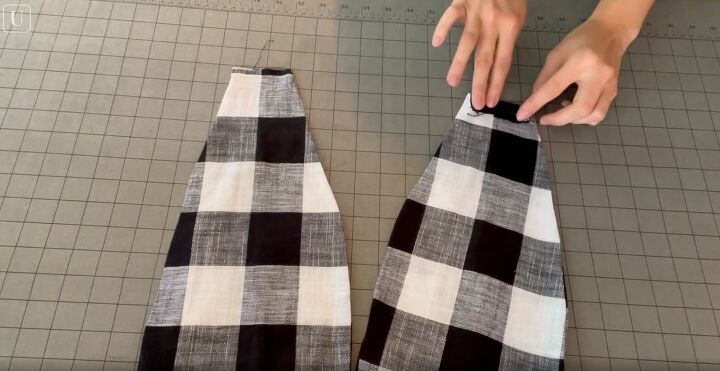
2. Create two pieces for the halter top
Mark with tailor’s chalk where you will cut to create the parts of the halter top. (See video 4:02 - 4:18)
Then cut that piece out, rounding the edges slightly.

Place that first piece on the other side of the napkin and cut around it.
Now you should have two pieces for the halter top:

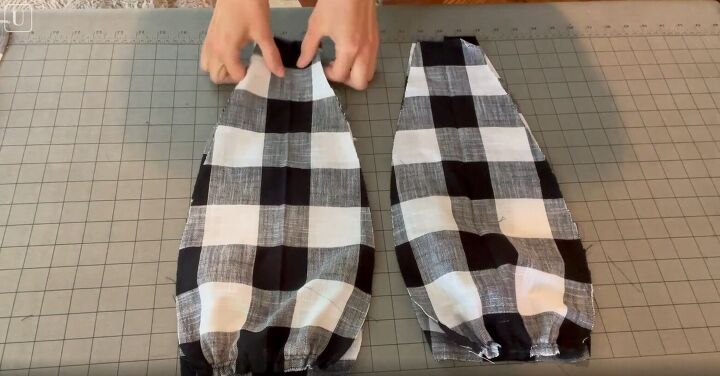
Start by basting the bottom edge. Once you have one row, sew another row of the basting stitch.
Follow by pulling on the loose strings at the ends to create a ruched effect, making them more form fitting.
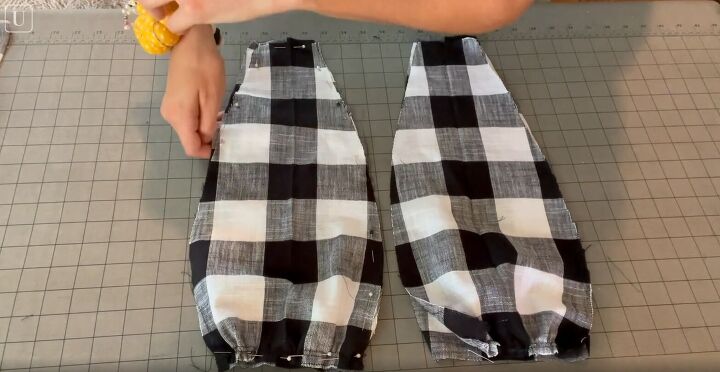
3. Create liner pieces
Next, trace this shape on another napkin to create two liner pieces.

Line the exterior pieces with the liners, right sides together.
Pin along the edges, then sew, leaving the top edges open.
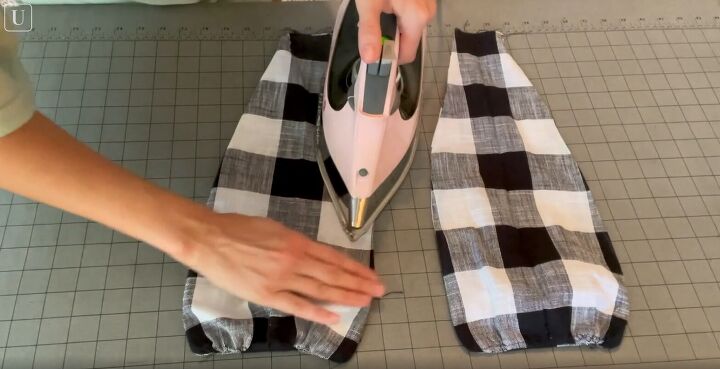
Flip the pieces right sides out via the open edges, then press them with your iron.
4. Create a waist tie
Grab another table napkin, iron it and cut off the frayed edges.
Fold the square in half and crease with your iron.
Then cut along that crease.
Then repeat this process so that you end up with four of these pieces.
Put them right sides together and pin them to create one long strip. Sew them together at the pins.
Once sewn together, fold the top edge down by a ½” and crease with the iron.
Then fold the bottom edge up by a ½” and iron.
Similarly, close the ends.
Then, fold the hold piece in half and iron.
Fold the tie in half and mark the middle point with a pin.
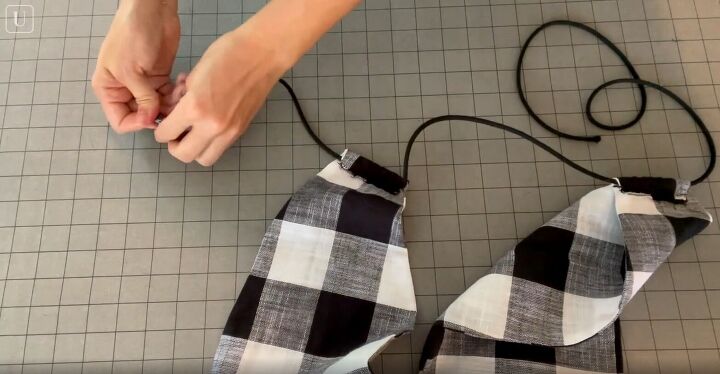
5. Attach halter pieces to waist tie
Place the halter pieces around the middle point and pin them in place.
Sew the long edge of the waist tie as long as connecting the halter pieces where we just pinned.
6. Create a tie at the neck
Lastly, fold down the top edges of the halter pieces by about a ½” and iron. Then sew them closed.
Take some cotton cording, put some scotch tape on the end, attach to a safety pin
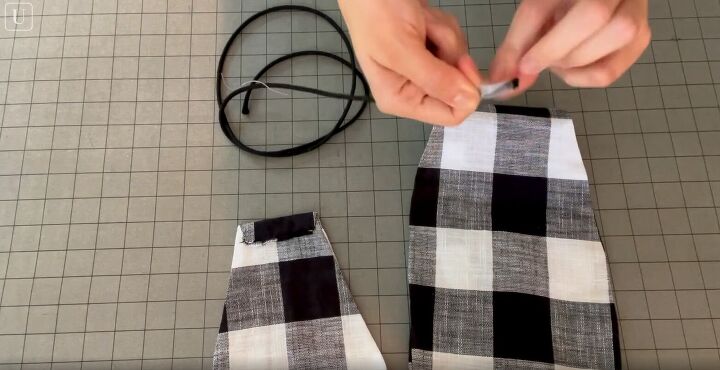
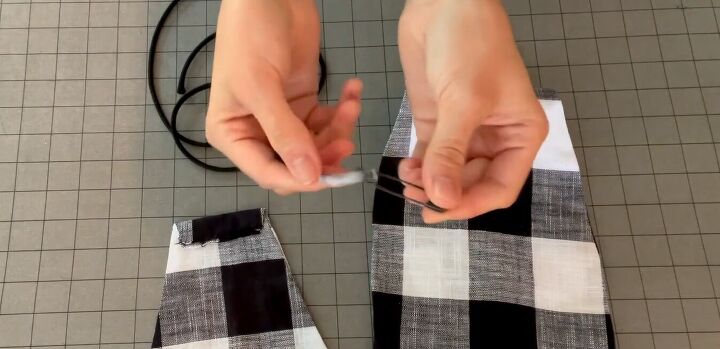
Then feed the cotton cording through the tops of the halter pieces.
I love how this DIY halter turned out. It’s so cute and comfortable and the back detail is great.

DIY napkin top
If you enjoyed these napkin DIYs, check out the video from 7:00 - 8:22 for a third cute top!
I hope this tutorial has inspired you to pick up some napkins and get creative. Show us your looks in the comments below!
The author may collect a small share of sales from the links on this page.


Comments
Join the conversation
It’s adorable!! Great job!
looks very well matched to me!
Very Cute Ideas