Learn to Sew This Quick, Easy, and Gorgeous DIY Top

Want to make a really easy and fast DIY top? I’m going to show you how to sew a DIY top in no time! What’s more, this is the perfect beginner DIY top tutorial for all the fresh sewing enthusiasts who want to learn simple hacks and techniques when it comes to sewing and creating your perfect garment. Let’s get this easy step-by-step DIY top tutorial started!
Tools and materials:
- Stretch fabric
- Serger
- Thread
- Sewing machine
- Top as a guide
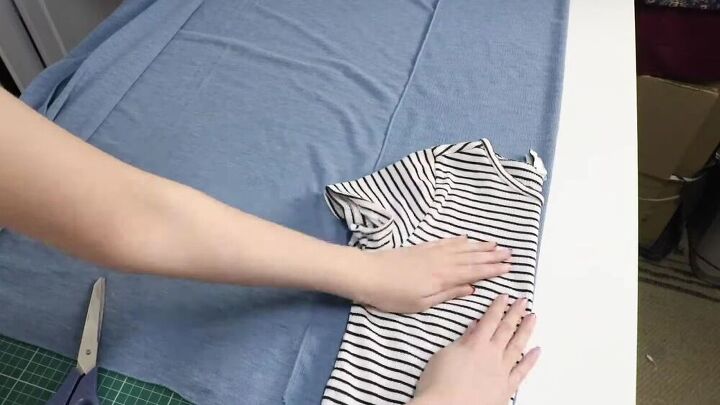
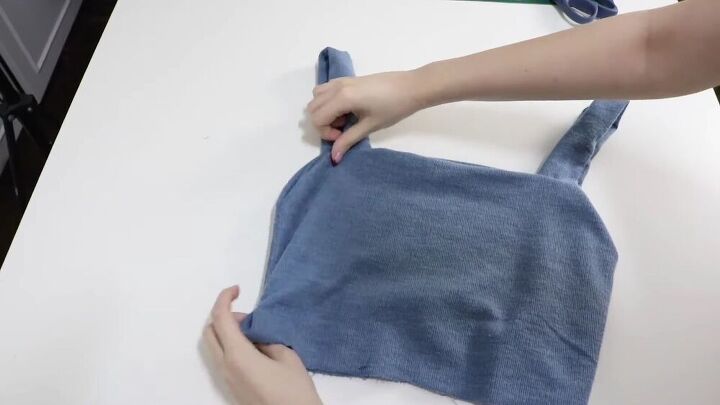
Make the pattern
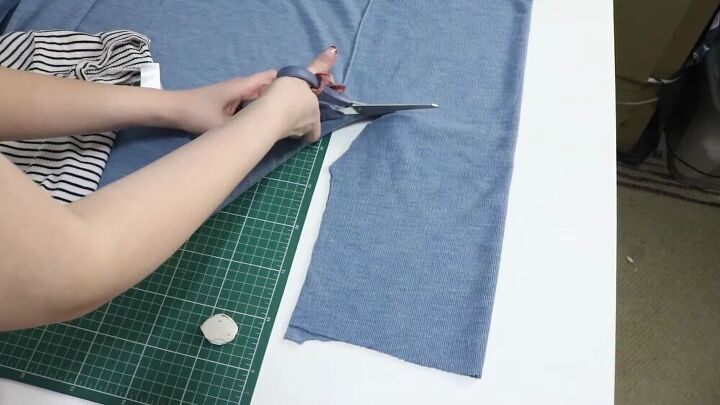
Fold your stretch fabric and place a top that fits you well on top, fold on fold.
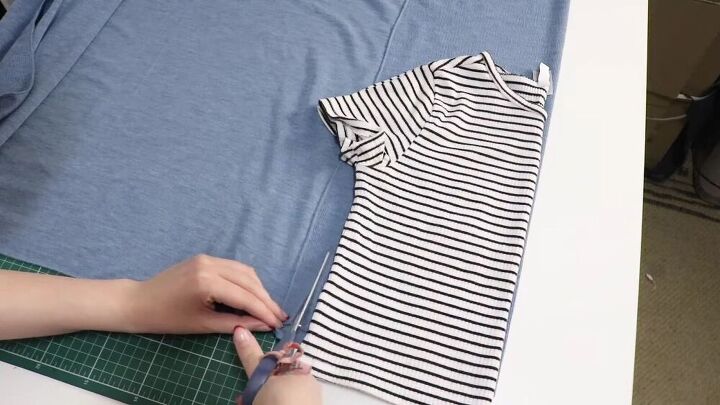
Now, cut the sides, leaving ½ an inch seam allowance.
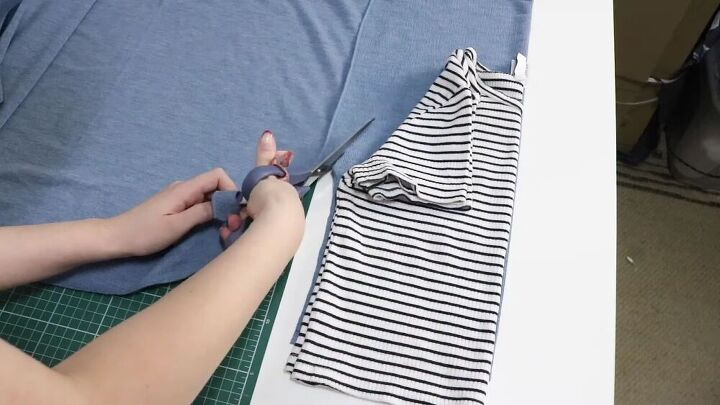
Once you get to the armhole, fold your sleeve over and cut through till you get to the half-mark of the armhole, as shown.
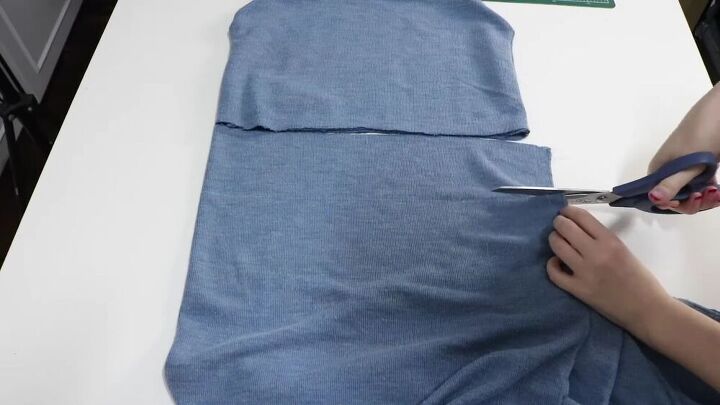
Then, fold the top part, make a dot where the fold is and connect the two dots with a straight line.
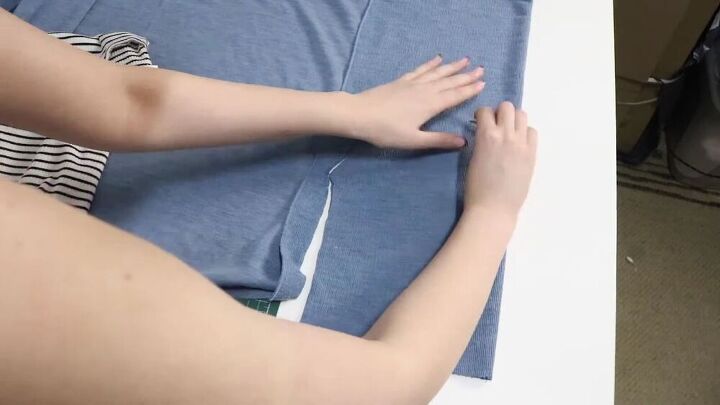
Cut along the line.
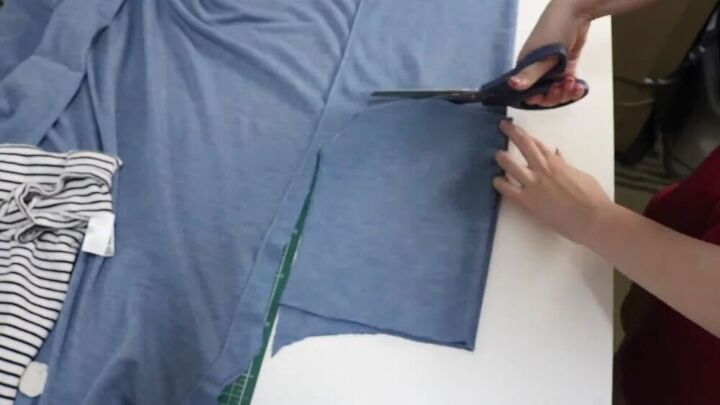
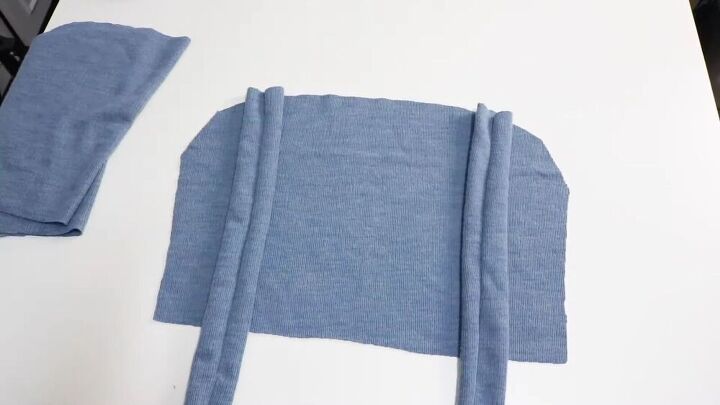
Cut four pieces on the fold using the first piece as a pattern and guide.
TIP-
To see how I do this, check out my video from 0:36 seconds.

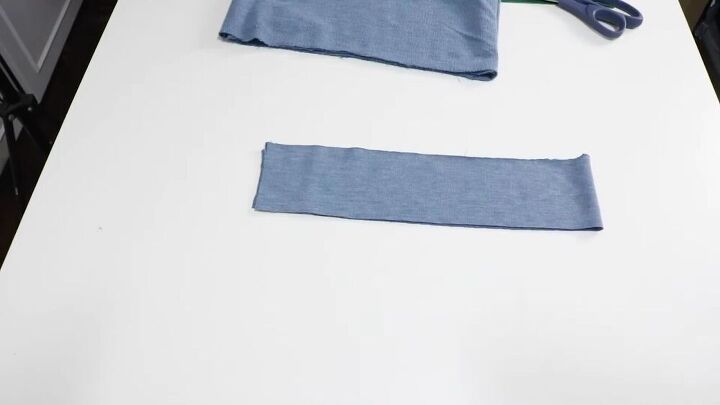
Make the straps
I wanted some nice, thick straps for this DIY top, so I cut two squares measuring 4.5 x 13 inches each.
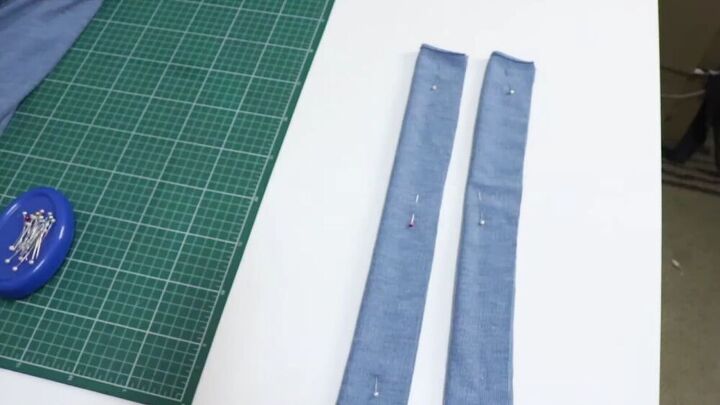
Fold them in half with the wrong side out and stitch the edge with a serger.
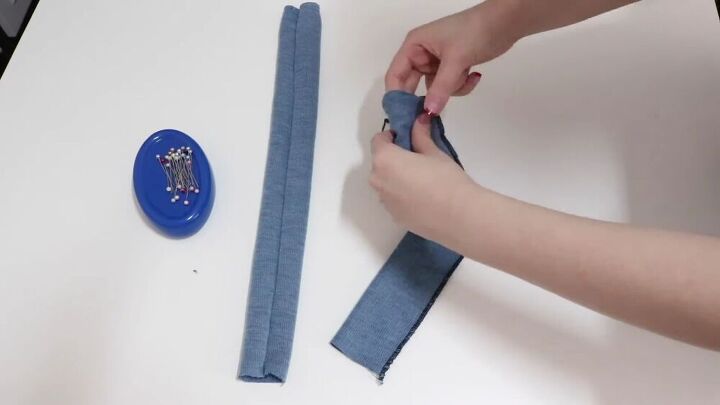
Turn the straps inside out with your fingers. It’s quite big, so you don’t need the help of a safety pin.
Add the straps to the fabric
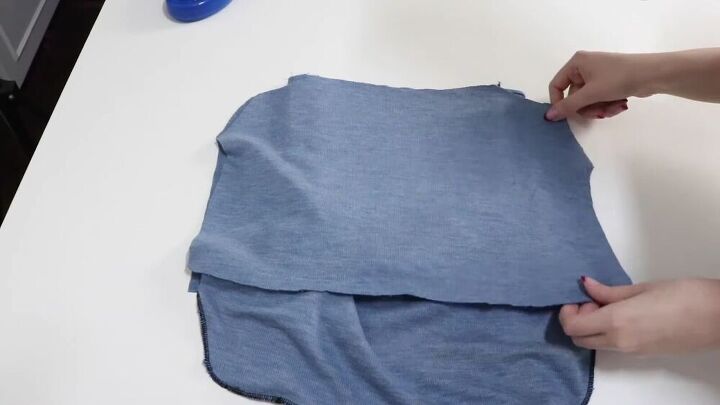
Take one of the bodice pieces, right sides up, and pin the ends of the straps to either side of the bodice, about 2 inches away from the corners.
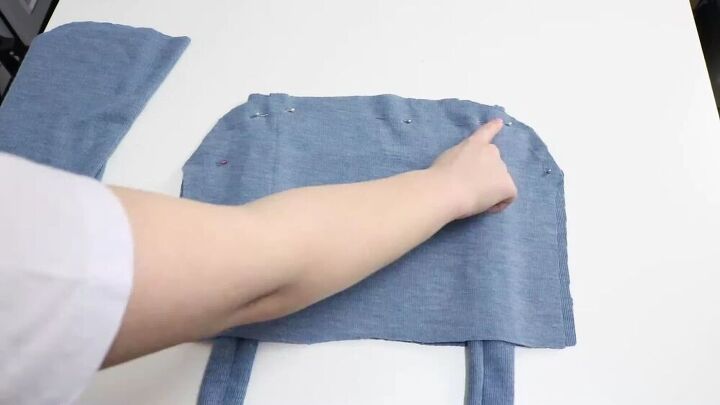
Place the second bodice piece on top, with the right sides facing down and pin the top part in place.
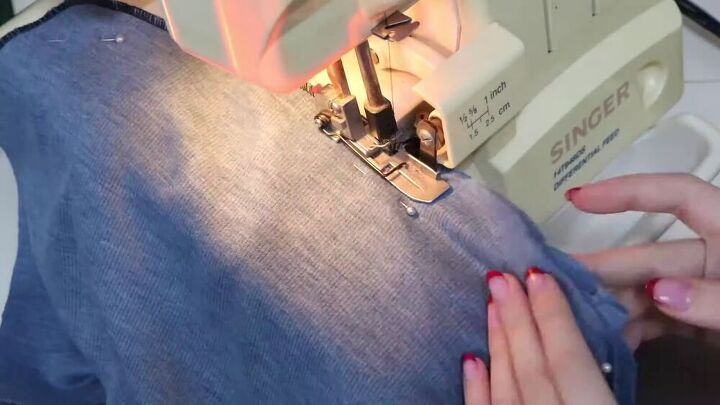
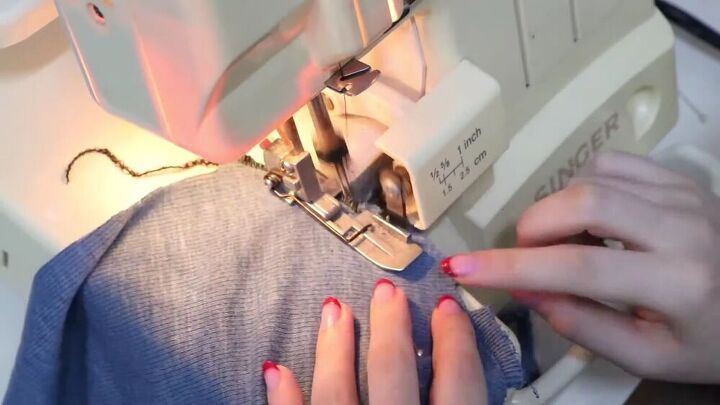
Sew the top part so that the straps are secured in place. Start from the armhole and serge all the way around the top part until you get to the other side.
Once the step above is done, take the third bodice piece, right sides facing up, and place the other end of the straps on the top corners of the third bodice piece. Again, it should be 2 inches away from the sides.
Now, place the fourth bodice piece directly on top and pin the curved part.
Head on over to your sewing machine again, and serge the curved part.

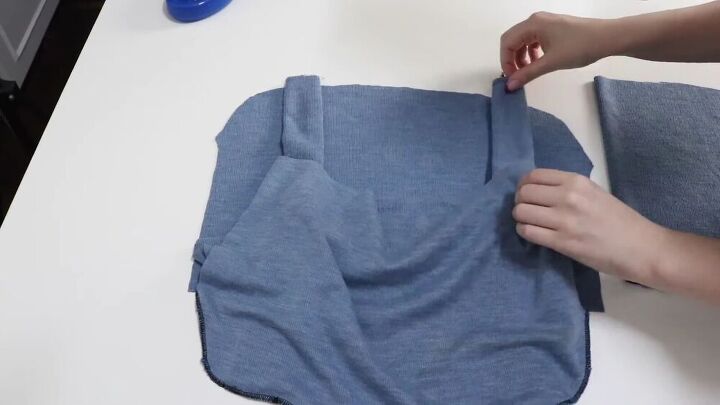
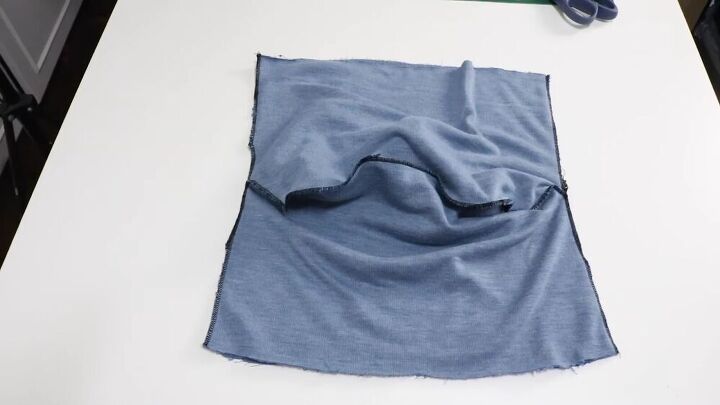
This is what you should have so far.
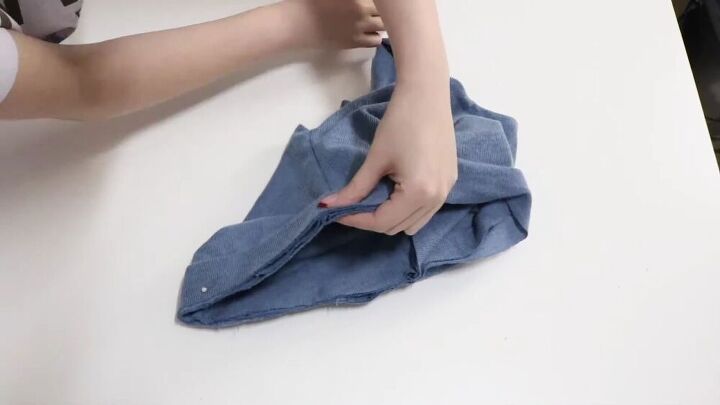
Assemble the easy DIY top
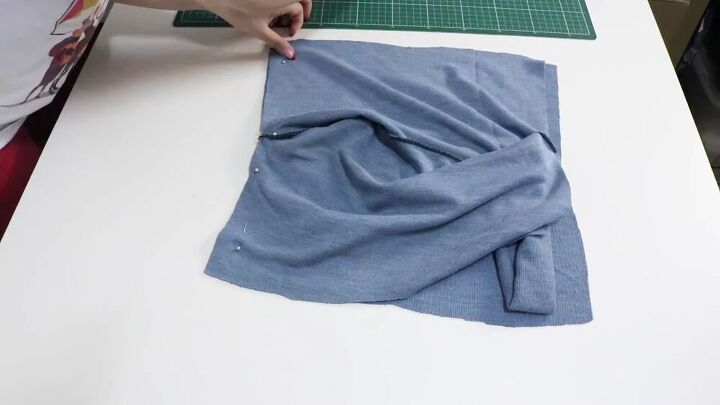
Ok, now here’s the fun part- putting your beginner DIY top together. Open the bodice pieces on both sides of the straps. With the one-piece laying right sides up, place the second part on top, with the right sides facing down.
Now, pin the sides and sew them together. Make sure the straps are inside the whole fabric piece.
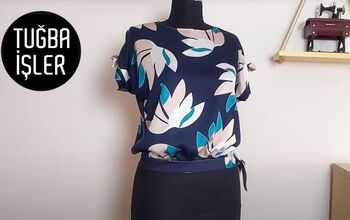
Turn the top right sides out. Your stunning DIY top is almost complete.
Finish off the DIY top
So, if you like the length of this top, go ahead and hem the bottom. I, however, wanted it a little longer, so I added an extra fabric piece. If you’d like to do the same, simply measure your fabric and cut a 4-inch wide panel and the same length as the top.
Then, fold the strip's right sides together and sew the side seam.
Fold the strip in half and match the strip's raw edges to the bottom of the top with pins. Make sure the side seams of both pieces match.
TIP-
You should be pinning four layers of fabric.
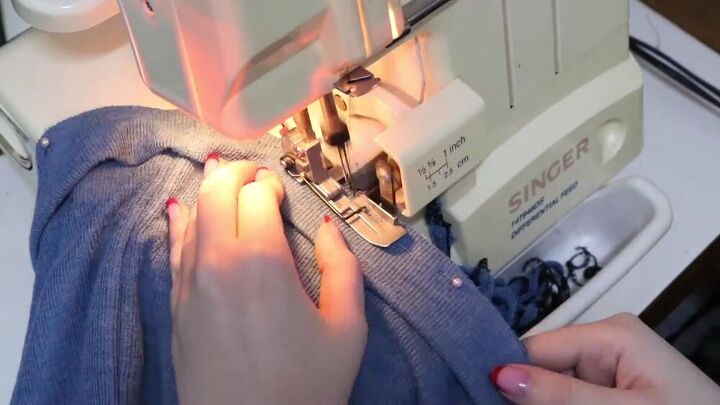
Next, stitch the panel to the bottom of the top with your serger.

Yay! All done and dusted. Now you have a lovely DIY top to add to your DIY sewing collection. This tutorial is so easy and teaches you exactly how to sew a DIY top, quickly. I hope you enjoyed this guide.
The author may collect a small share of sales from the links on this page.


Comments
Join the conversation